

Witch Hat Cookies
Posts may contain affiliate links, meaning that I may earn a commission if you use a link provided.

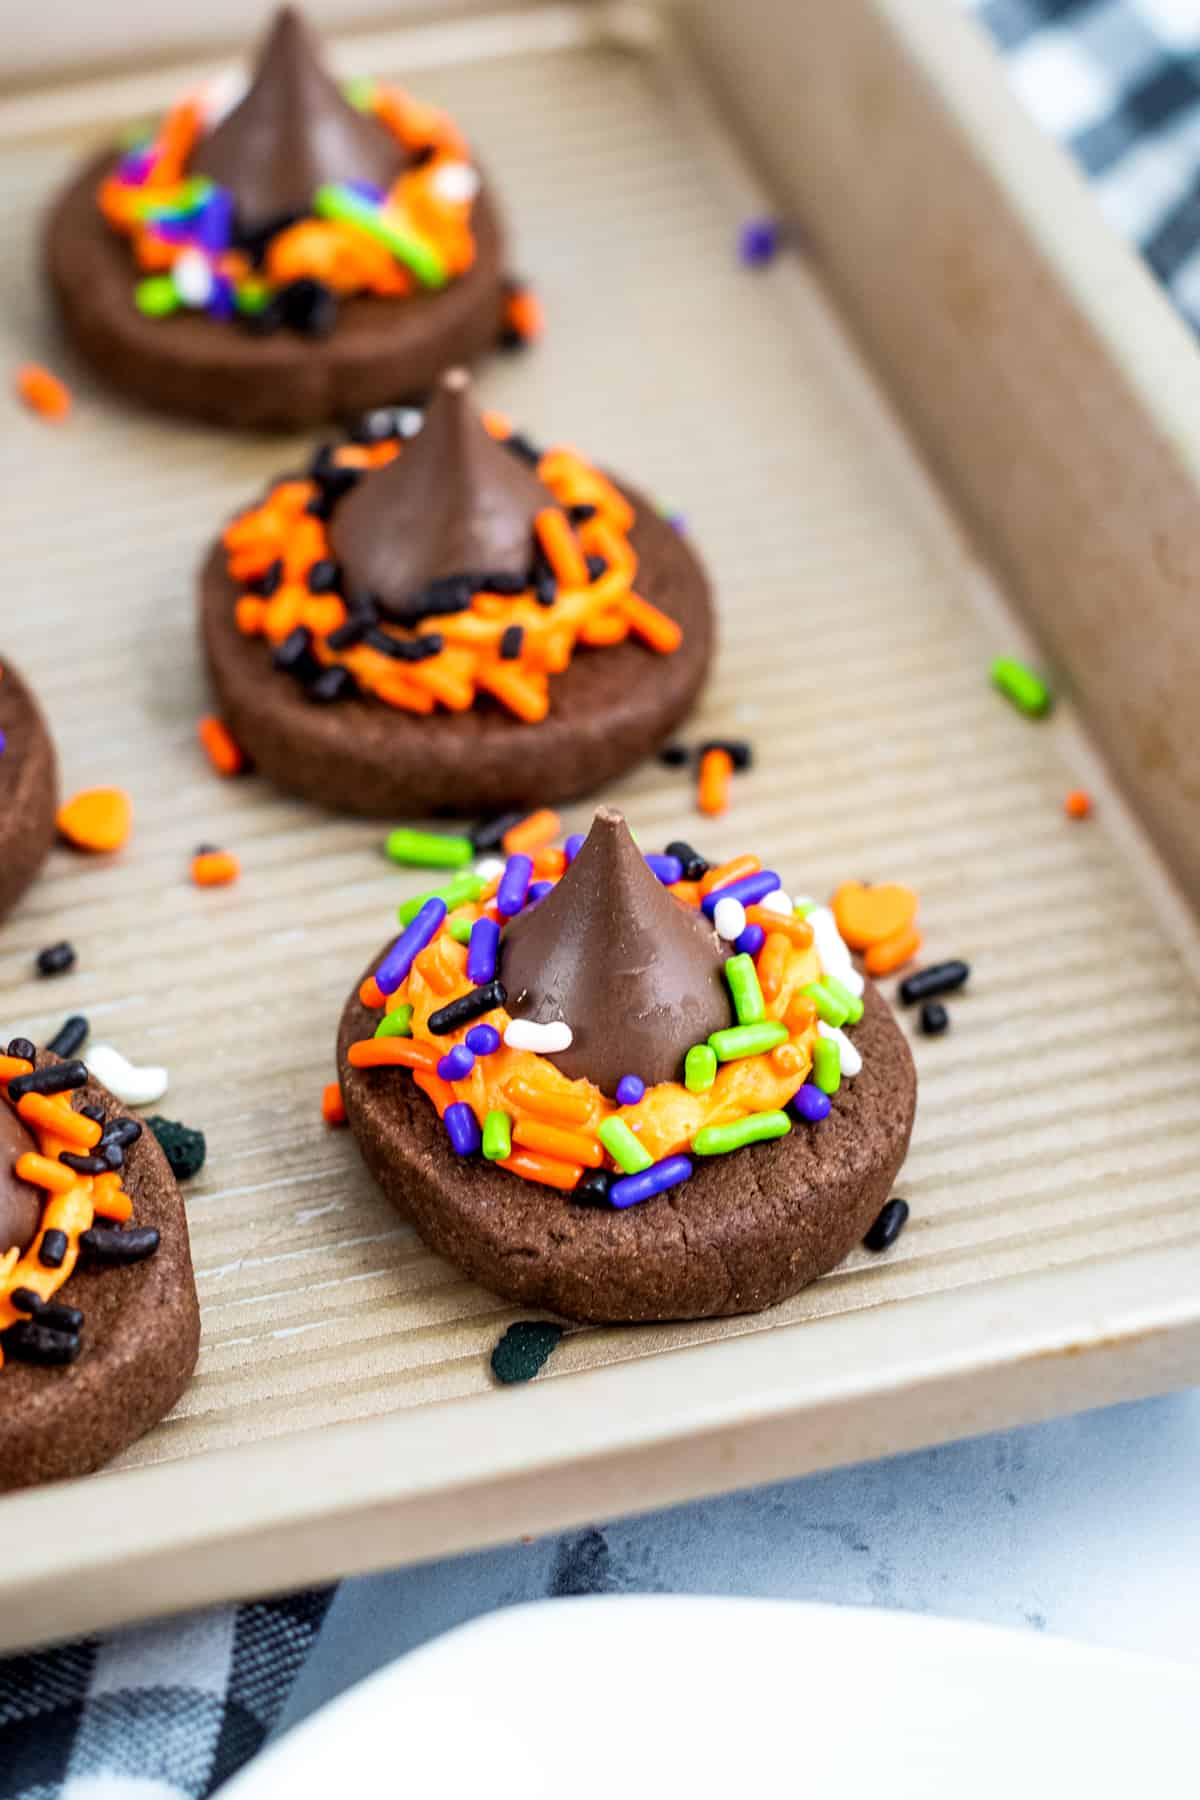
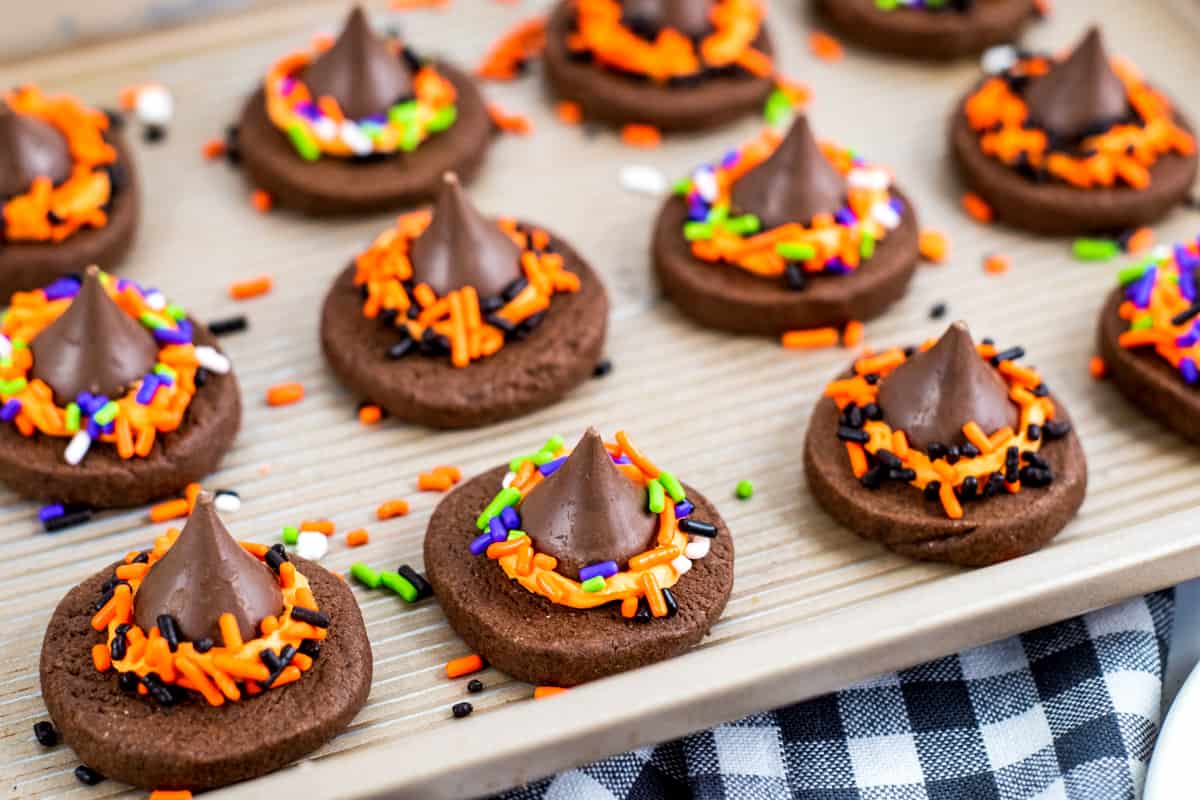
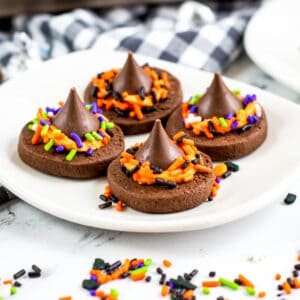
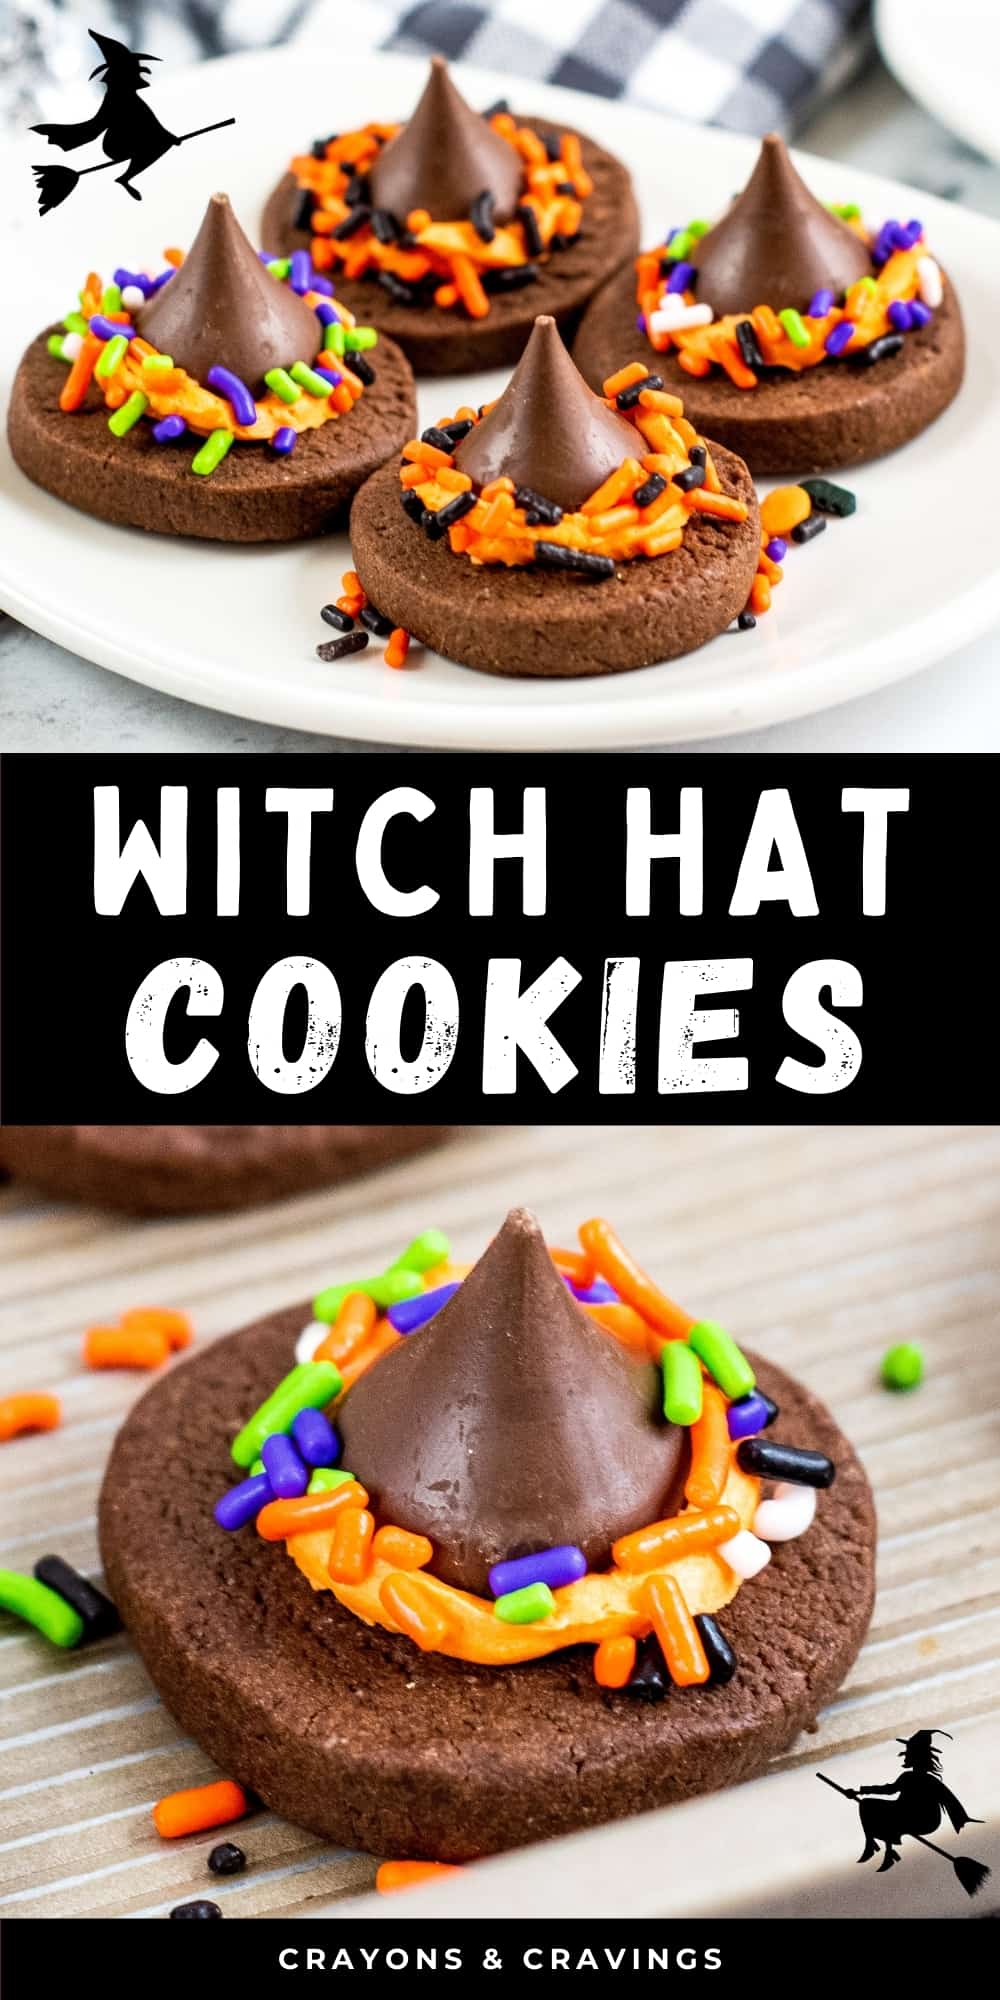
Witch Hat Cookies are a tasty and creative Halloween party treat made with homemade chocolate cookies, buttercream frosting, and Hershey Kisses.
For more Witch recipe ideas check out these easy Witch Hat Cupcakes and this non-alcoholic Hocus Pocus Punch recipe. Or give this Witches Brew Drink a try if you are looking for something for the adults at your Halloween party.

Whether you are looking for a dessert idea for your Halloween party, Halloween treats for the kids at school, or simply Halloween cookies to make for your family, you will love these Halloween witch hat cookies.
The adorable witch hat cookies with Hershey’s kisses are also a great recipe to make together with the kids. They will have so much fun putting the kisses on top of the cookies and decorating them with orange icing and festive sprinkles.
As with our mummy cookies, we used our favorite soft and chewy rolled chocolate sugar cookie recipe for the base of this fun Halloween cookie recipe.
Then we top them with homemade frosting, chocolate kisses, and festive sprinkles to turn them into a cute witch-themed Halloween dessert.
Ingredients
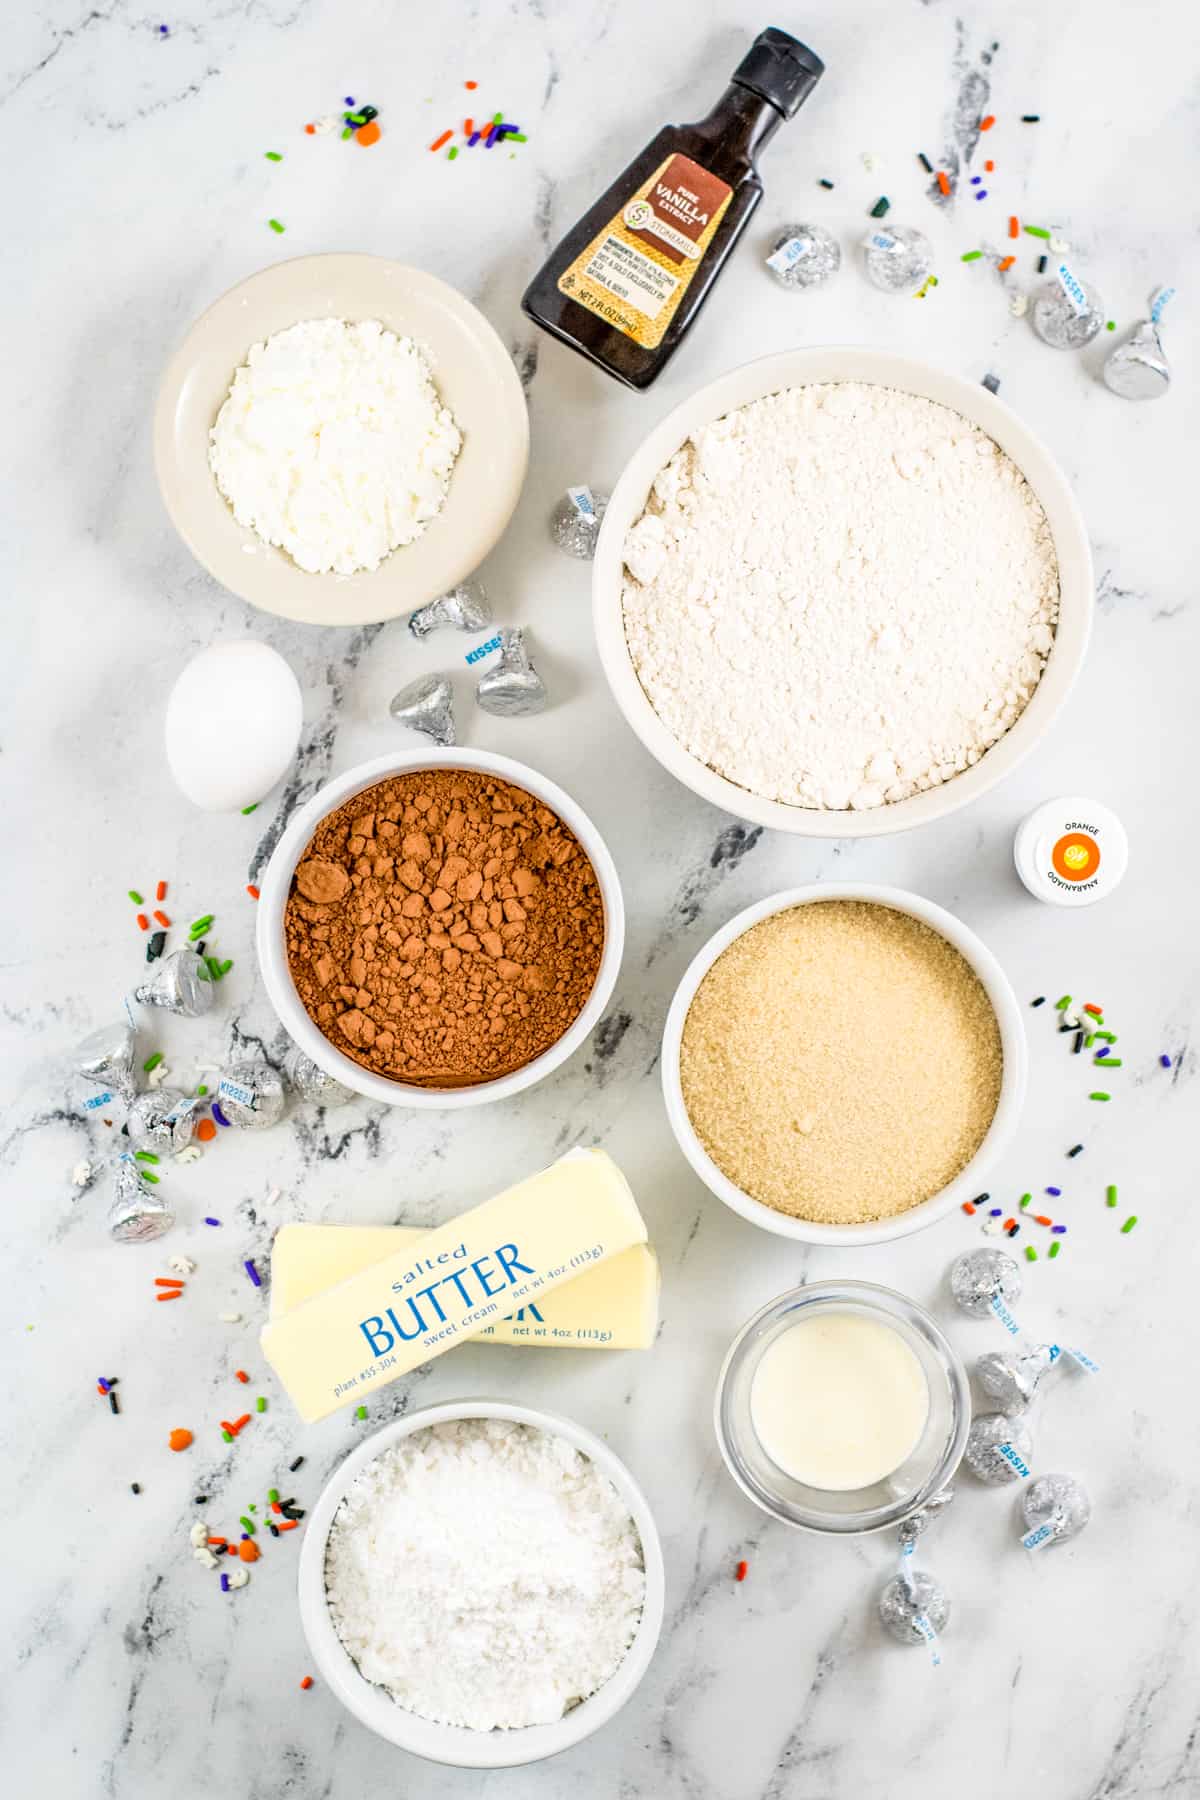
For the chocolate cookies, you will need:
- 2 cups all-purpose flour
- 2 Tablespoons corn starch
- ½ tsp salt
- ¾ cup cocoa powder
- 1 cup granulated sugar
- 1 cup butter, room temperature
- 1 egg
- 2 teaspoons pure vanilla extract
For the frosting, you will need
- ½ cup butter, room temperature
- 2 cups powdered sugar
- 1 ½ Tablespoon heavy cream
- ½ teaspoon pure vanilla extract
- orange gel food coloring
To decorate:
- 60 Hershey’s Kisses
- Halloween sprinkles
First, make the chocolate cookies.
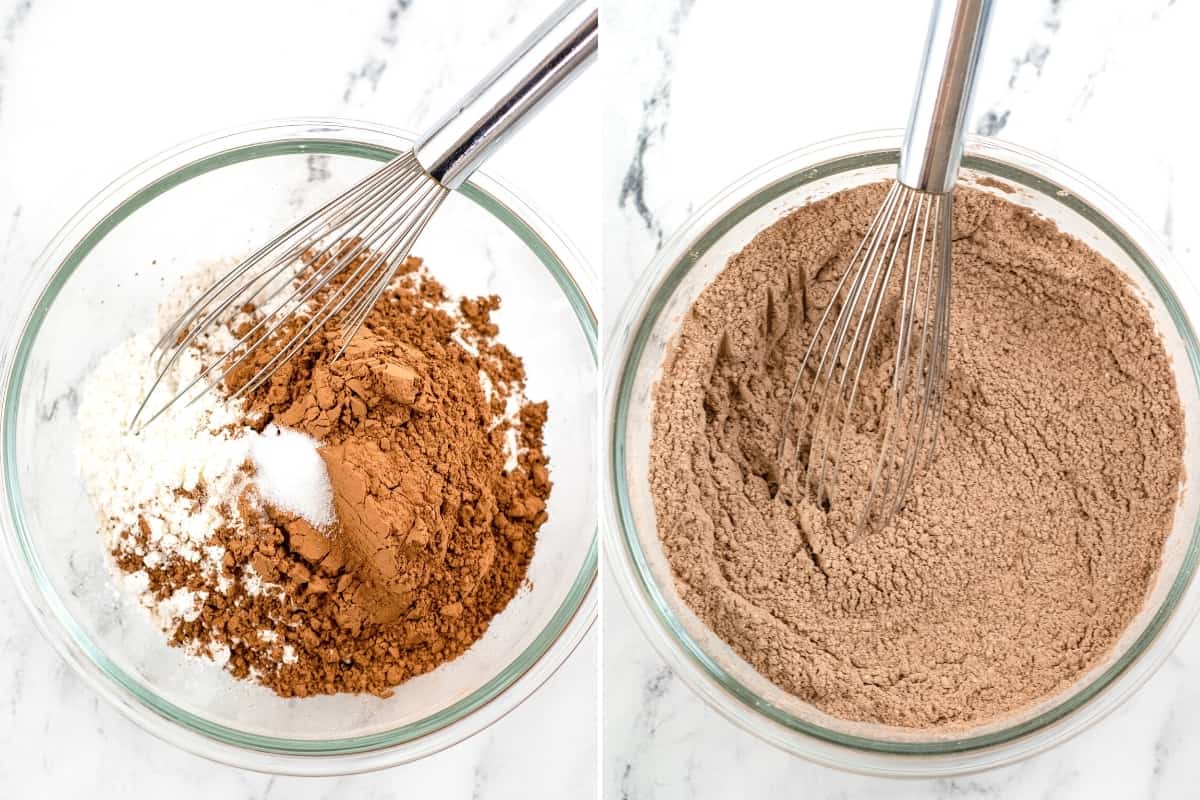
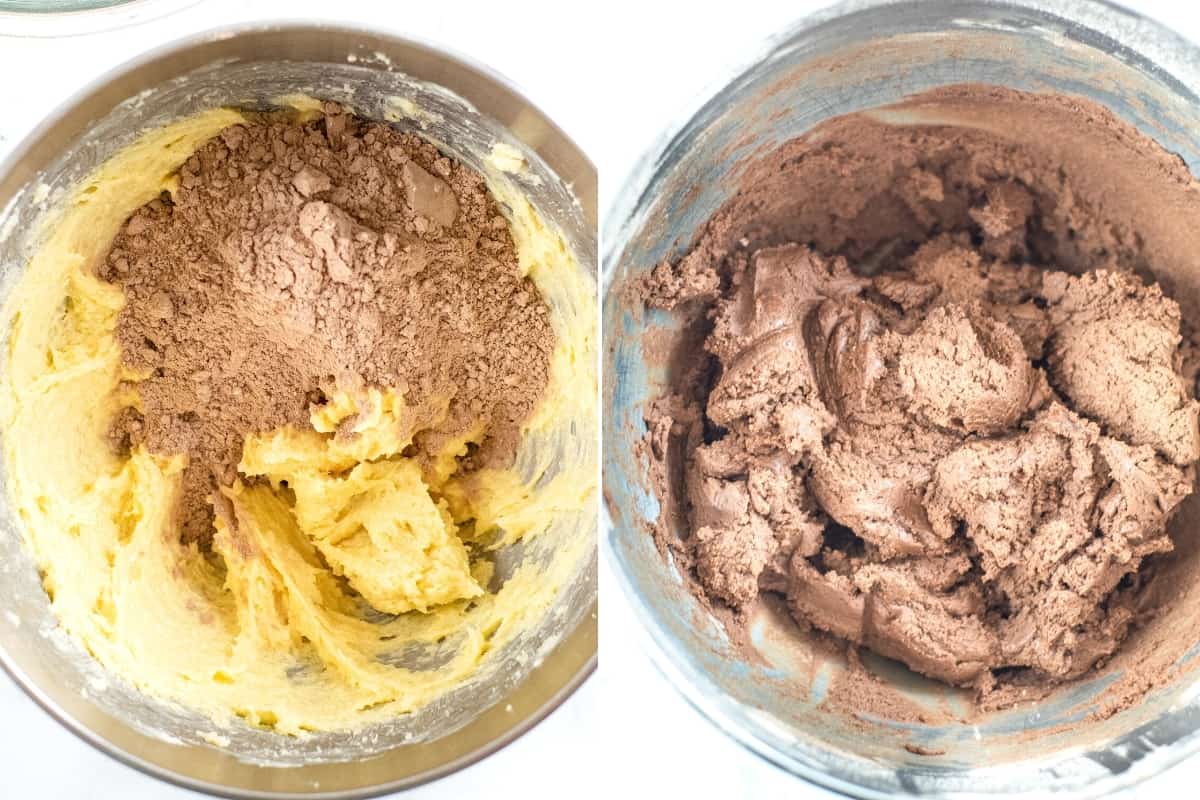
Step one. In a medium bowl, whisk to combine flour, corn starch, cocoa powder, and salt. Set aside.
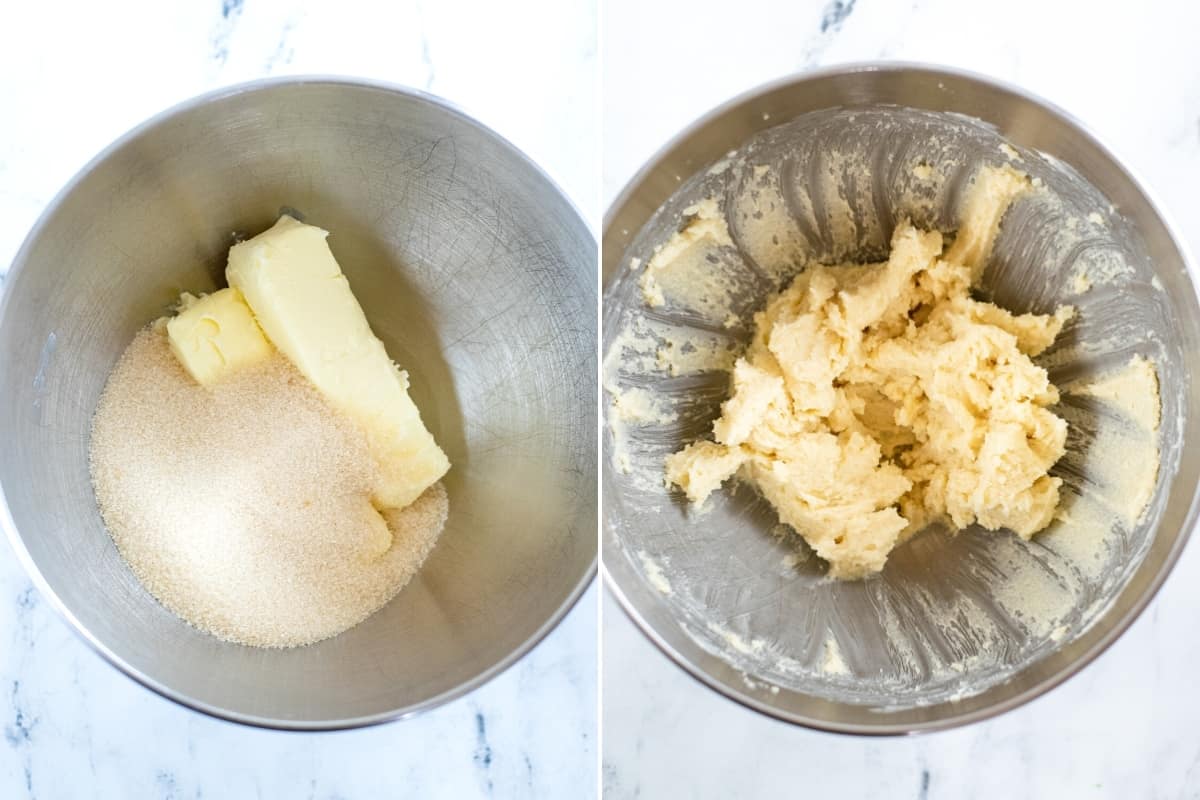
Step two. Using a stand mixer or handheld mixer, beat butter and sugar together until light and fluffy. Add in egg and vanilla and continue to mix until well blended.
Step three. Gradually add in the flour mixture, mixing after each addition.
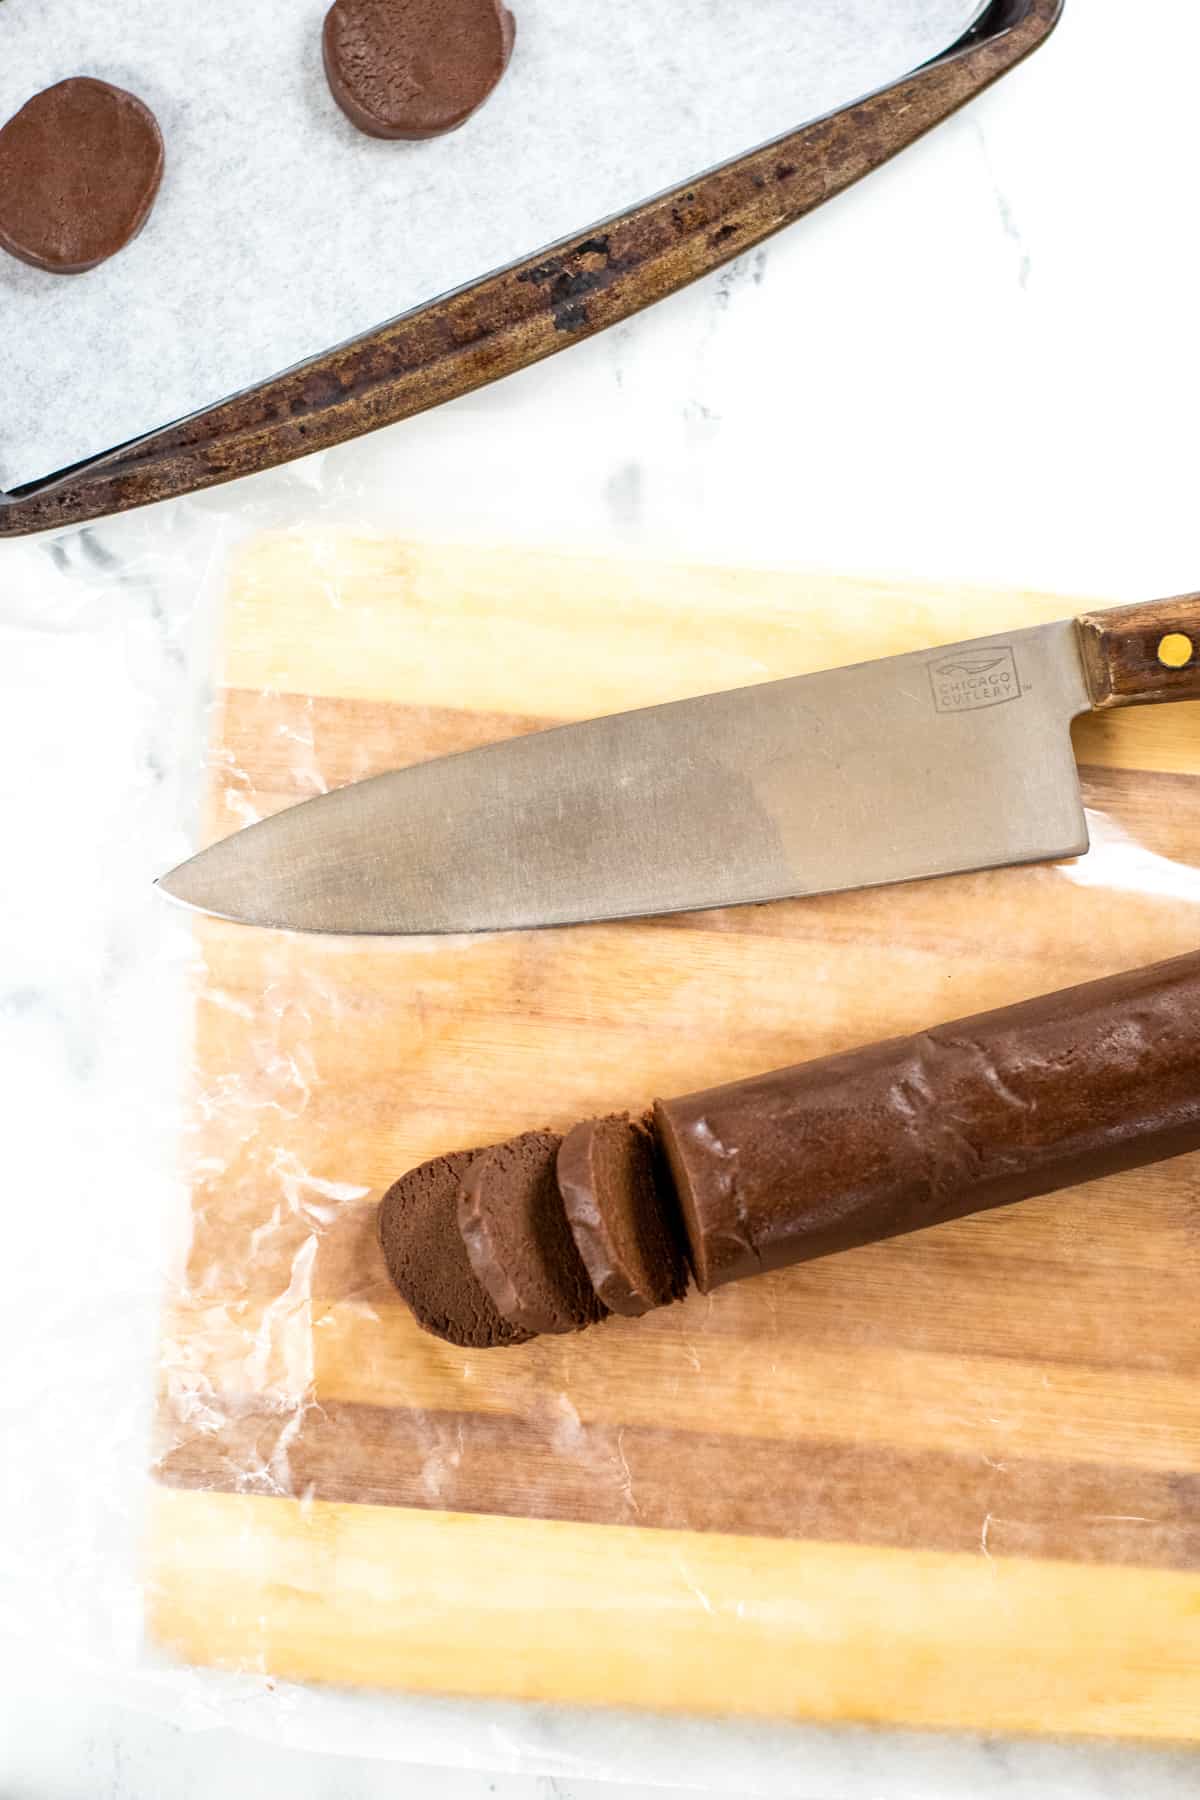
Step four. Roll the dough into a log with a diameter of about 1 ½ inches. Wrap with parchment or wax paper and place in the refrigerator to chill for 1 hour.

Step five. When ready to bake, preheat the oven to 350 °F and line baking sheets with parchment paper or silicone liners.
Step six. Carefully slice the dough into ¼- ½ inch slices and place them on the baking sheet.
Step seven. Bake for 8-12 minutes, or until set. Remove from the oven and allow to cool on the baking sheet for 2-3 minutes, then place cookies on a wire rack to cool completely.
Time to make the frosting and decorate the cookies.
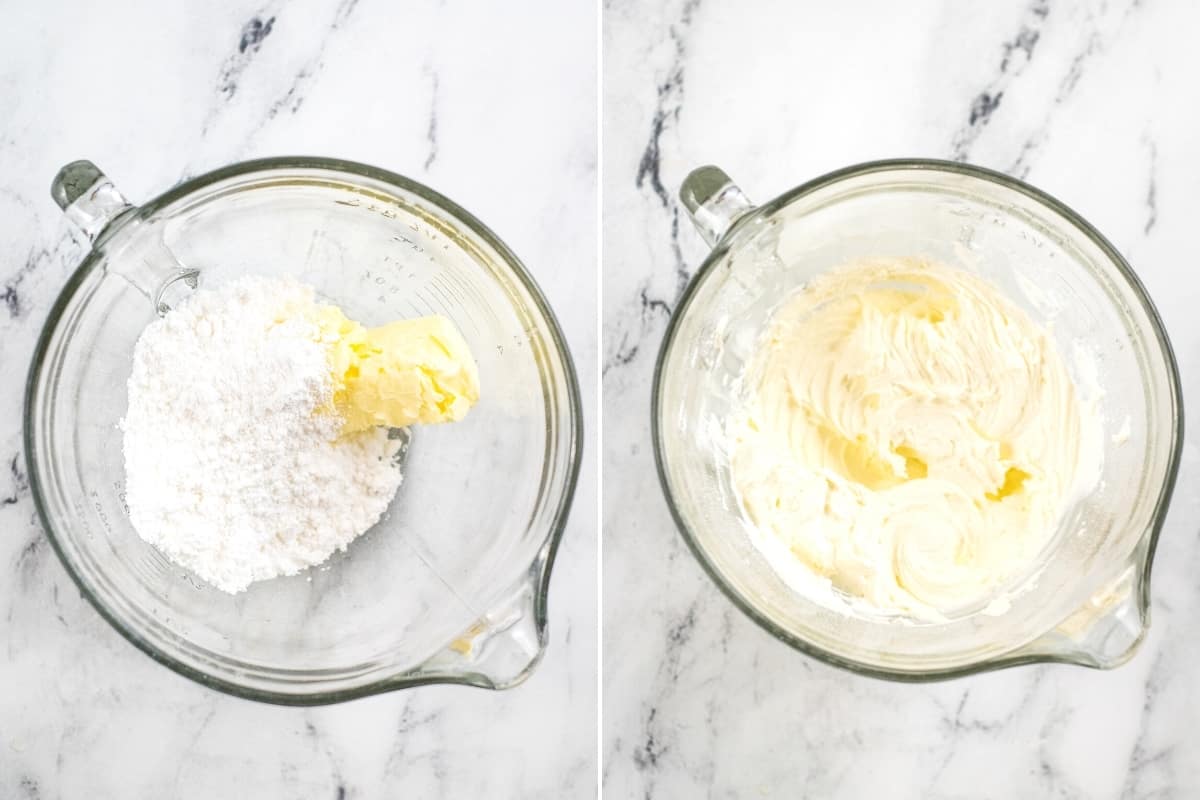
Step one. In a large bowl, beat butter until light and fluffy. Slowly mix in the powdered sugar, about ½ cup at a time. Add cream, vanilla, and a little bit of orange food coloring and mix until well combined. Add more food coloring as needed to achieve the desired color.
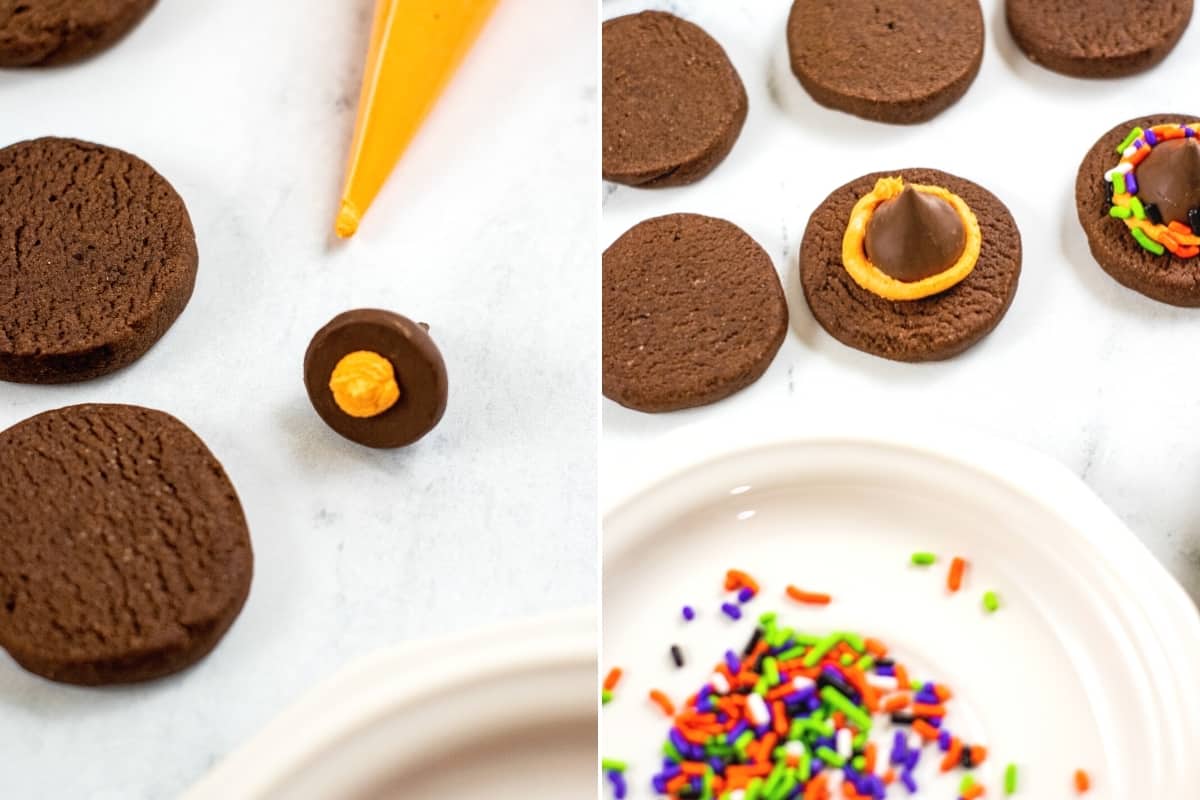
Step two. Using a piping bag, pipe a small dot of frosting on the bottom of an unwrapped Hershey’s Kiss. Place it in the center of the cookie.
Tip: If you don’t have a piping bag you can use a zip-top plastic baggie. Simply spoon your frosting into the bag and cut the corner of the bag off.
Step three. Pipe frosting around the edge of the Hershey’s Kiss and add sprinkles. Repeat with the rest of the cookies.
Storage
Let the frosting stiffen up a bit before transferring the adorable cookies to an airtight container for storage.
If serving the same day you can leave the container on the countertop at room temperature.
For longer storage, place the cookies in the refrigerator for up to 4 days. Allow the cookies to return to room temperature before serving.
No-Bake Witch Hat Cookies
If you are in a hurry you can save time by using store-bought cookies such as OREO Cookies or Fudge Stripe Cookies (upside-down). You can use store-bought frosting too for truly quick and easy witch hat cookies!
This way there is no baking required and all that you have to do is assemble and decorate the festive treats.
More Sweet Halloween Treat Ideas
- Ghost Doughnuts
- Candy Corn Fudge
- Halloween Spider Treats – easy no-bake recipe!
- Monster Sherbert
- Ghosts in the Graveyard Dessert
- Monster Eyeball Cookies
- Spiderweb Cupcakes
Witch Hat Cookies
Ingredients
For the Cookies :
- 2 cups all-purpose flour
- 2 Tablespoons corn starch
- ½ teaspoon salt
- ¾ cup unsweetened cocoa powder
- 1 cup granulated sugar
- 1 cup butter room temperature
- 1 large egg
- 2 teaspoons pure vanilla extract
For the Frosting:
- ½ cup butter room temperature
- 2 cups confectioners’ sugar
- 1 ½ Tablespoon heavy cream
- ½ teaspoon pure vanilla extract
- orange gel food coloring
To Decorate:
- 60 Hershey’s Kisses
- Halloween sprinkles
Instructions
Make the cookies:
- In a medium bowl, whisk to combine flour, corn starch, cocoa powder, and salt. Set aside.
- Using a stand mixer or handheld mixer, beat butter and sugar together until light and fluffy. Add in egg and vanilla and continue to mix until well blended.
- Gradually add in the flour mixture, mixing after each addition.
- Roll the dough into a log with a diameter of about 1 ½ inches. Wrap with parchment or wax paper and place in the refrigerator to chill for 1 hour.
- When ready to bake, preheat the oven to 350 °F and line baking sheets with parchment paper or silicone liners.
- Carefully slice the dough into ¼- ½ inch slices and place them on the baking sheet.
- Bake for 8-12 minutes, or until set. Remove from the oven and allow to cool on the baking sheet for 2-3 minutes, then transfer to a cooling rack to cool completely.
Prepare the frosting and decorate:
- In a large bowl, beat butter until light and fluffy. Slowly mix in the powdered sugar, about ½ cup at a time. Add cream, vanilla, and a few drops of orange gel food coloring and mix until well combined. Add more food coloring as needed to achieve the desired color.
- Using a piping bag, pipe a small dot of frosting on the bottom of an unwrapped Hershey’s Kiss. Place it in the center of a cookie.
- Pipe frosting around the edge of the Hershey’s Kiss and add sprinkles. Repeat until all cookies are decorated.
Notes
Nutrition

Did You Make This Recipe?
Share it with me on Instagram @crayonsandcravings and follow on Pinterest @crayonsandcravings for even more!


I’ve had witch cookies before but these ones with the homemade cookie were so much better! Great idea!