

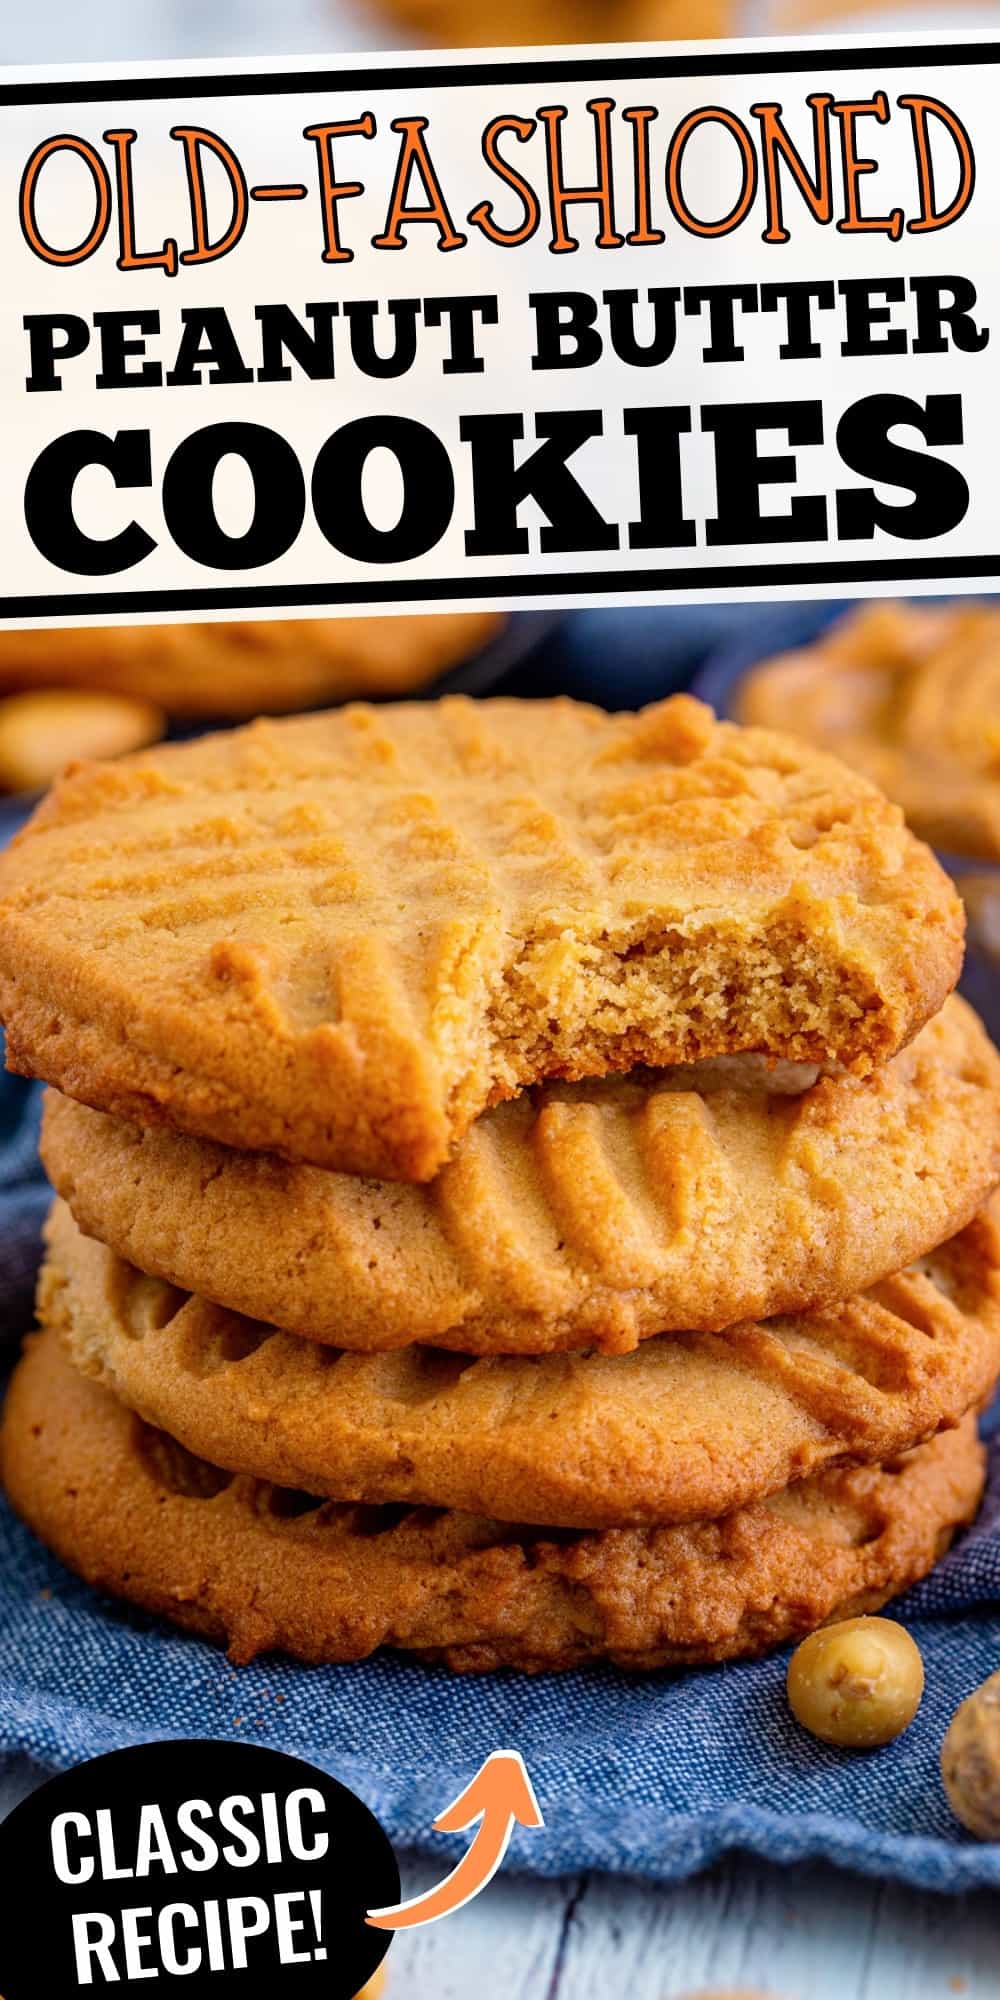
Old-Fashioned Peanut Butter Cookies
Posts may contain affiliate links, meaning that I may earn a commission if you use a link provided.
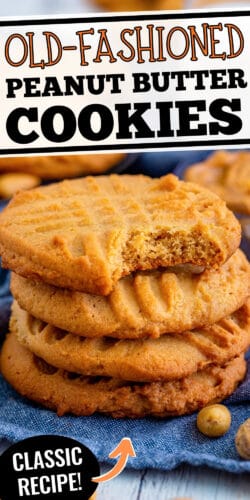
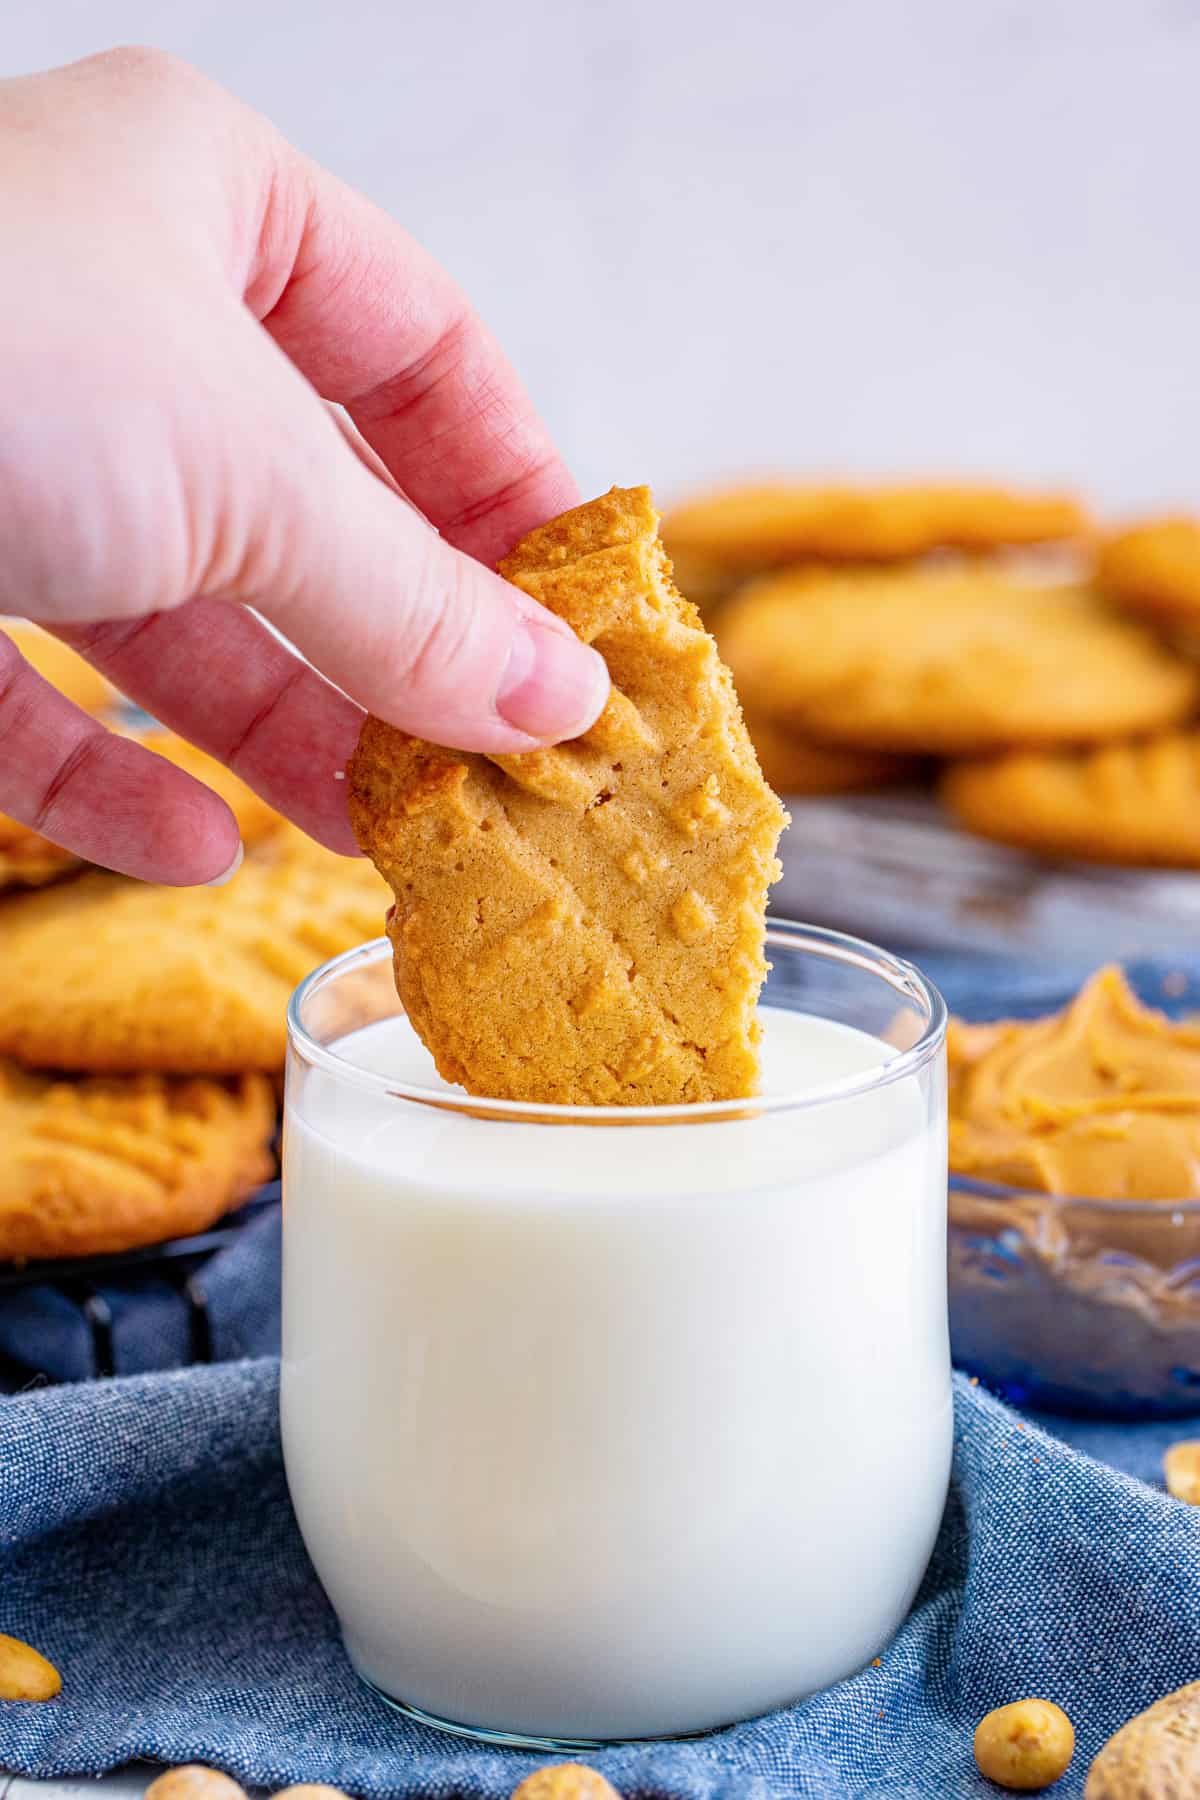
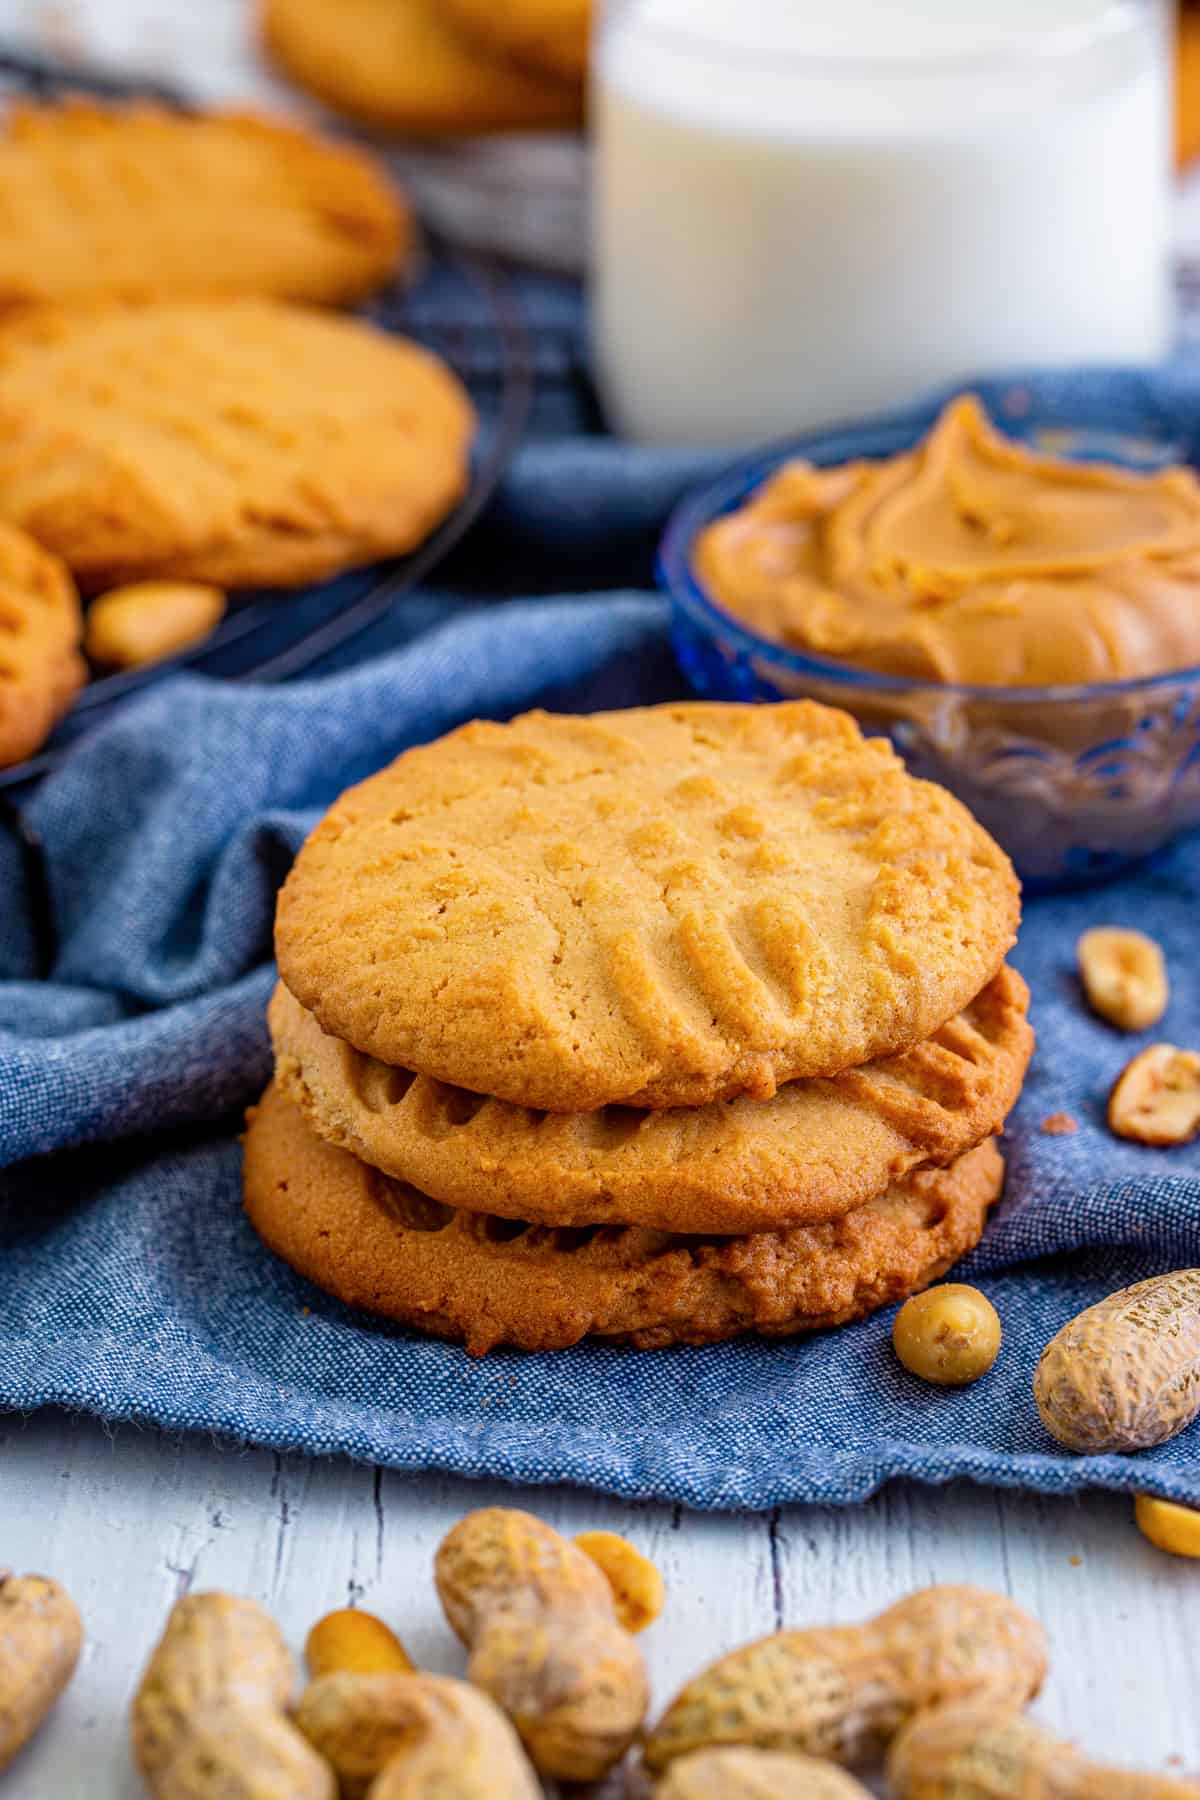
Old-Fashioned Peanut Butter Cookies have a cripsy, golden brown outside and a soft middle that tastes just like the ones that your grandma used to make. Try this easy recipe and in less than half an hour, you’ll have a batch of delicious peanut butter cookies!
What Readers Are Saying
“Such an easy recipe to follow. I absolutely love the flavor and the texture of soft crispy edges and soft center.” – Karrie
Are you team crunchy or team creamy and smooth peanut butter? I’m team creamy all the way!
I have created a lot of tasty creamy peanut butter cookie recipes over the years. These 15-minute chocolate peanut butter no bake cookies are a classic that you can’t go wrong with. My peanut butter cup cookies, 3 ingredient peanut butter cookies, and chocolate chip peanut butter cookie bars are always a favorite and, of course, my classic peanut butter blossom cookies are perfect for the holidays and cookie exchanges.
And today I want to share with you the perfect classic peanut butter cookie recipe.
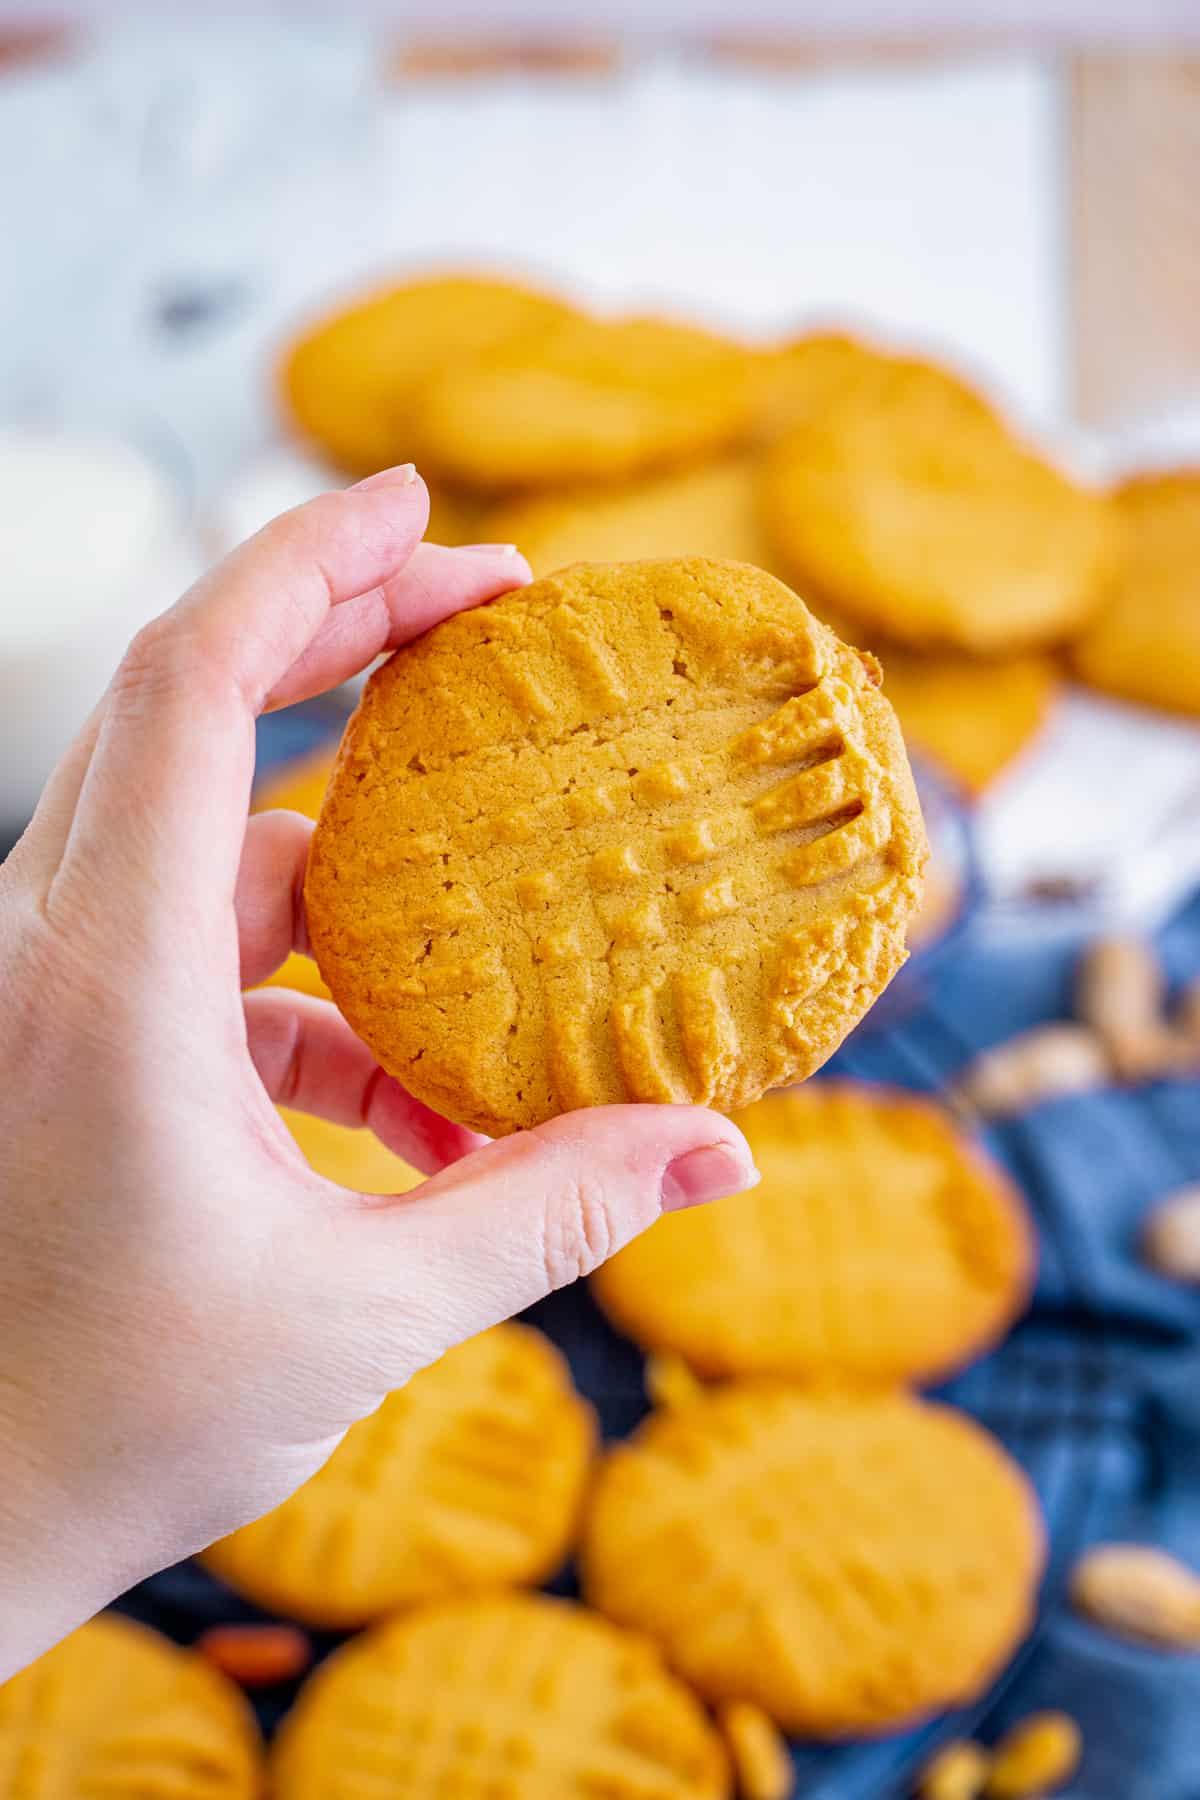
Peanut butter sure is the star ingredient of these bad boys. The flavor comes through in every bite.
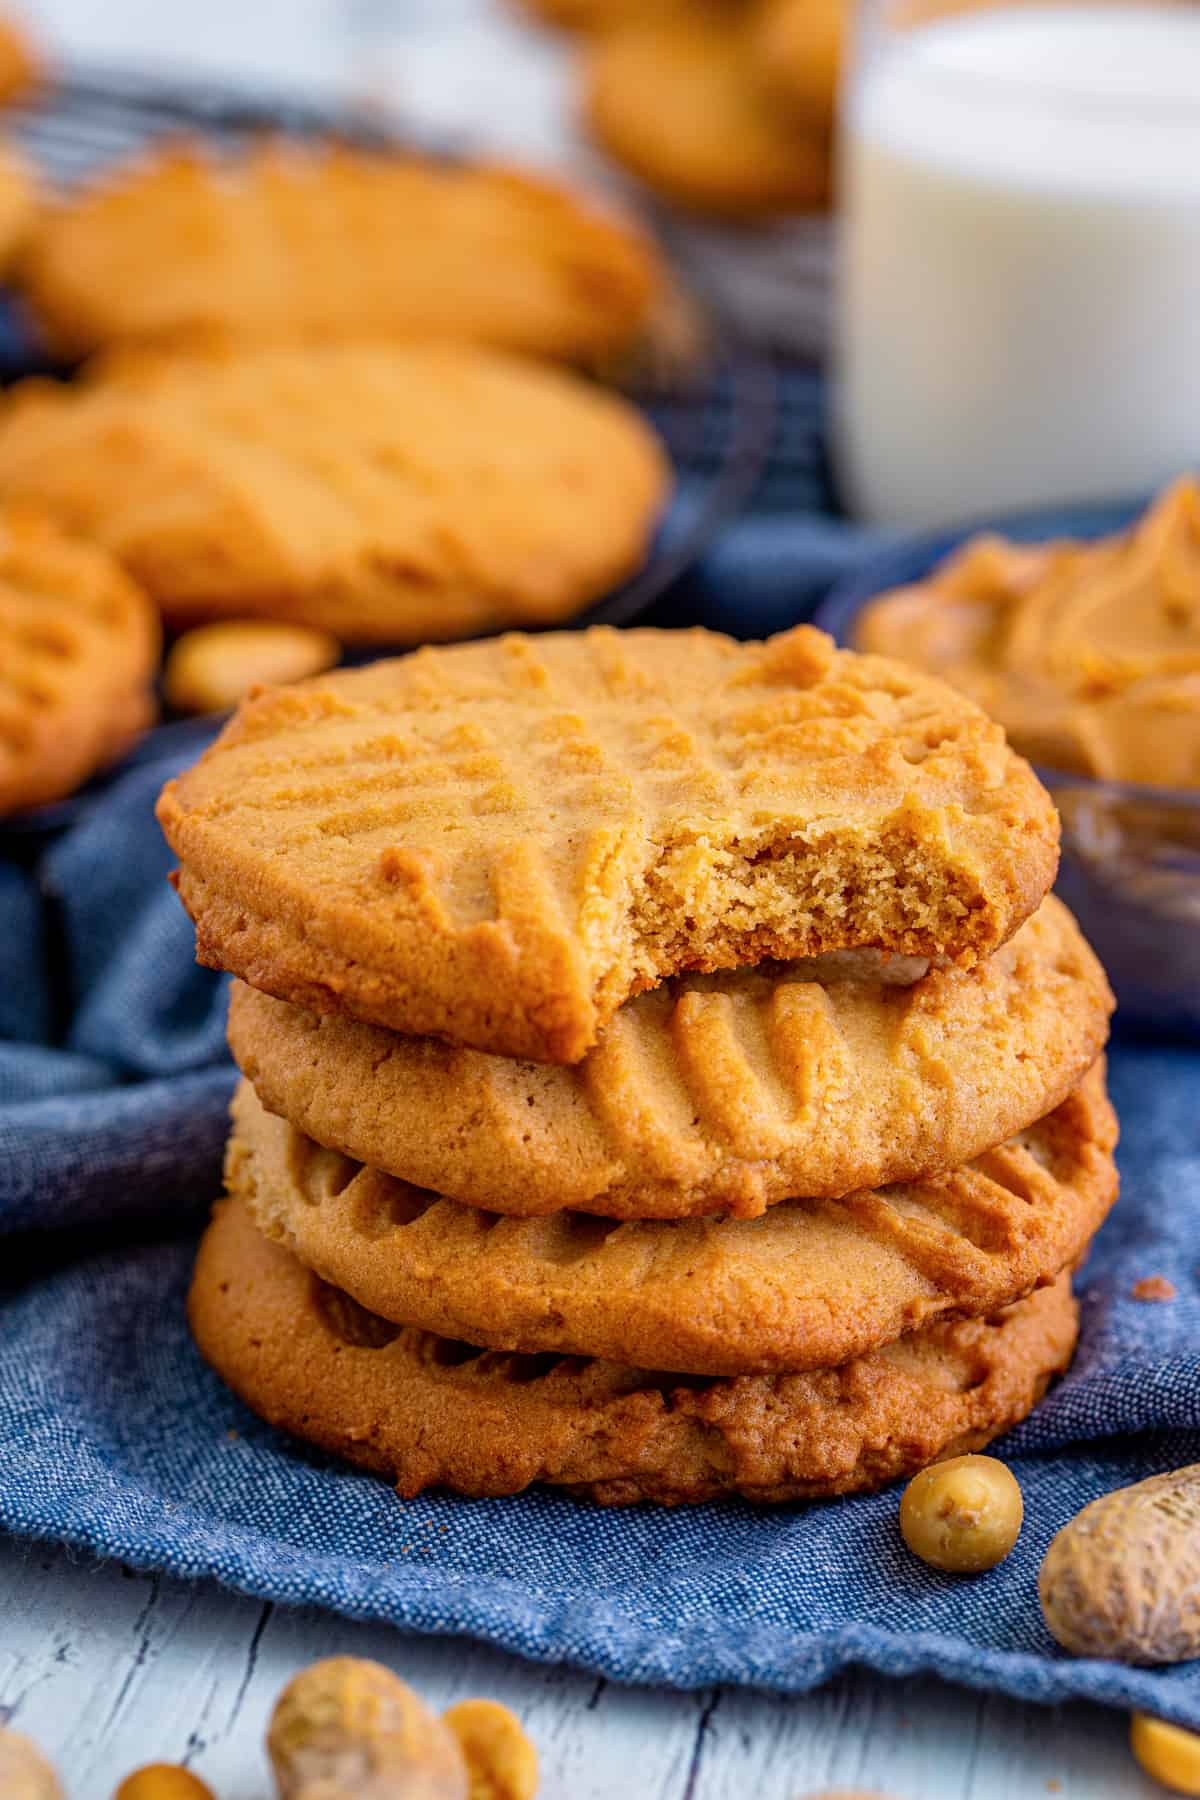
Also called “Lunch Lady Peanut Butter Cookies,” these crisp peanut butter cookies have a crumbly texture and soft center, just like the large peanut butter cookies we used to buy in the school cafeteria.
You will notice that crisp these peanut butter cookies have the fork prong lattice strokes across the top too, just like grandma’s cookies always had.
Since you only need a half-hour to whip these together, they’re great for a quick weeknight dessert, special occasion, after-school treat, or as a “just because” cookie recipe.
Ingredients
This section includes ingredient notes and substitution options. Get all measurements, ingredients, and instructions in the printable recipe card at the end of this post.
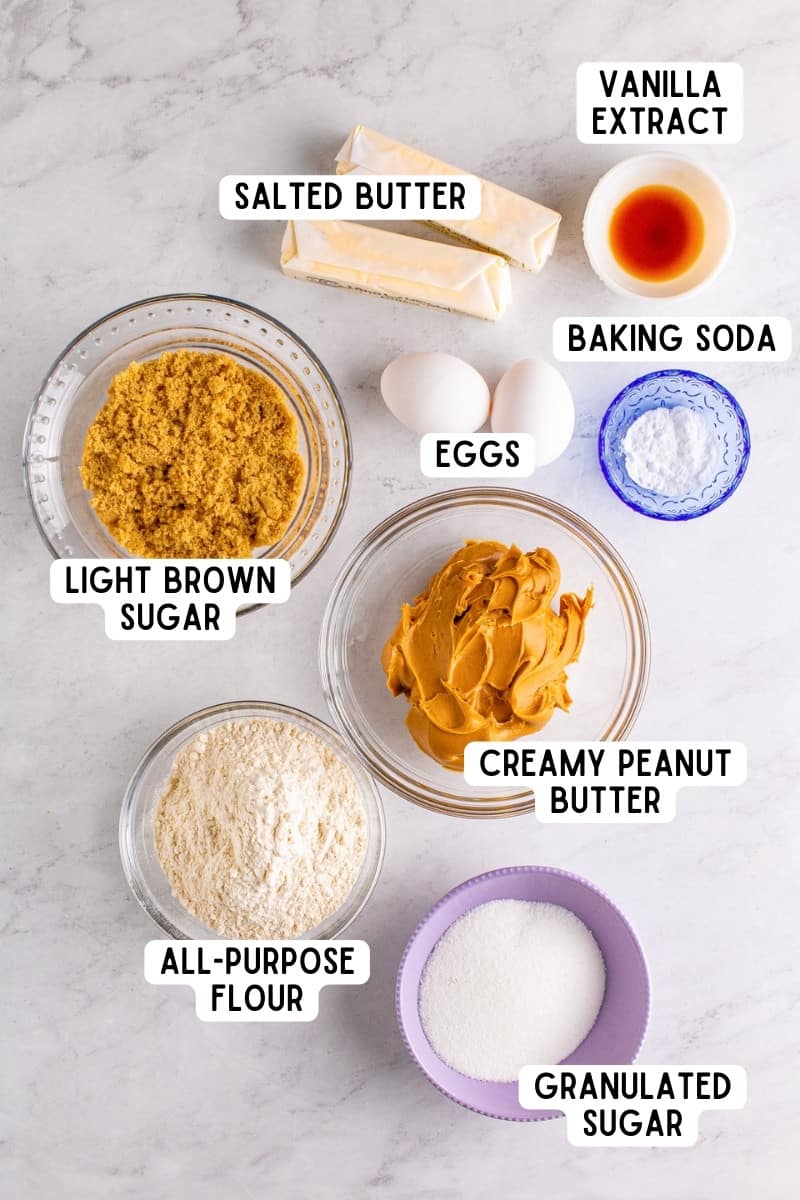
- Creamy Peanut Butter— the star of this cookie! You may also use crunchy peanut butter for more peanut flavor and crunch.
- Salted Butter— If you’re looking to control the amount of salt in your cookies, you may opt for unsalted butter and include a small pinch of salt
- Sugars— I use both granulated sugar and brown sugar to bring the rest of the cookie flavor together with the peanut butter.
- Eggs— two large eggs are the binding agents in helping hold these cookies together.
- Vanilla Extract— vanilla brings just the right amount of sweetness. For a real treat, use Mexican vanilla extract or your own homemade vanilla.
- All-Purpose Flour— You can also choose to use a gluten-free flour blend if needed.
- Baking Soda— is our leavening agent that helps give these cookies a little soft center and not end up like hockey pucks.
Baking Supplies
Nothing too crazy is needed for this old-fashioned peanut butter cookies recipe. Only your standard baking supplies you likely already have if you’re an avid cookie baker.
- Large baking sheets (my favorite set)
- Parchment paper
- Measuring cups and spoons
- Mixing bowls
- Hand mixer or a stand mixer
- 2 Tablespoon-size cookie scoop
- Fork
- Cooling rack
How to Make the Best Old-Fashioned Peanut Butter Cookies
This section shows you how to make the recipe with step-by-step photos and instructions. For the full printable recipe, see the recipe card below.
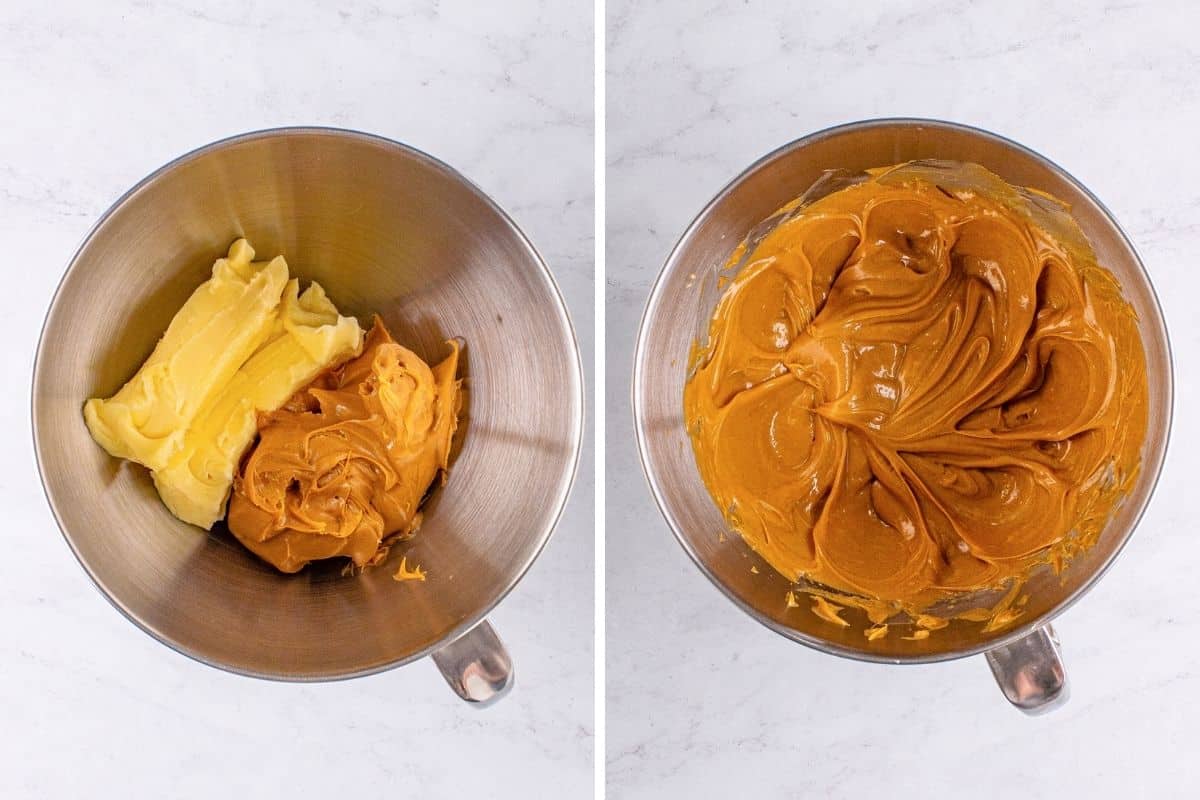
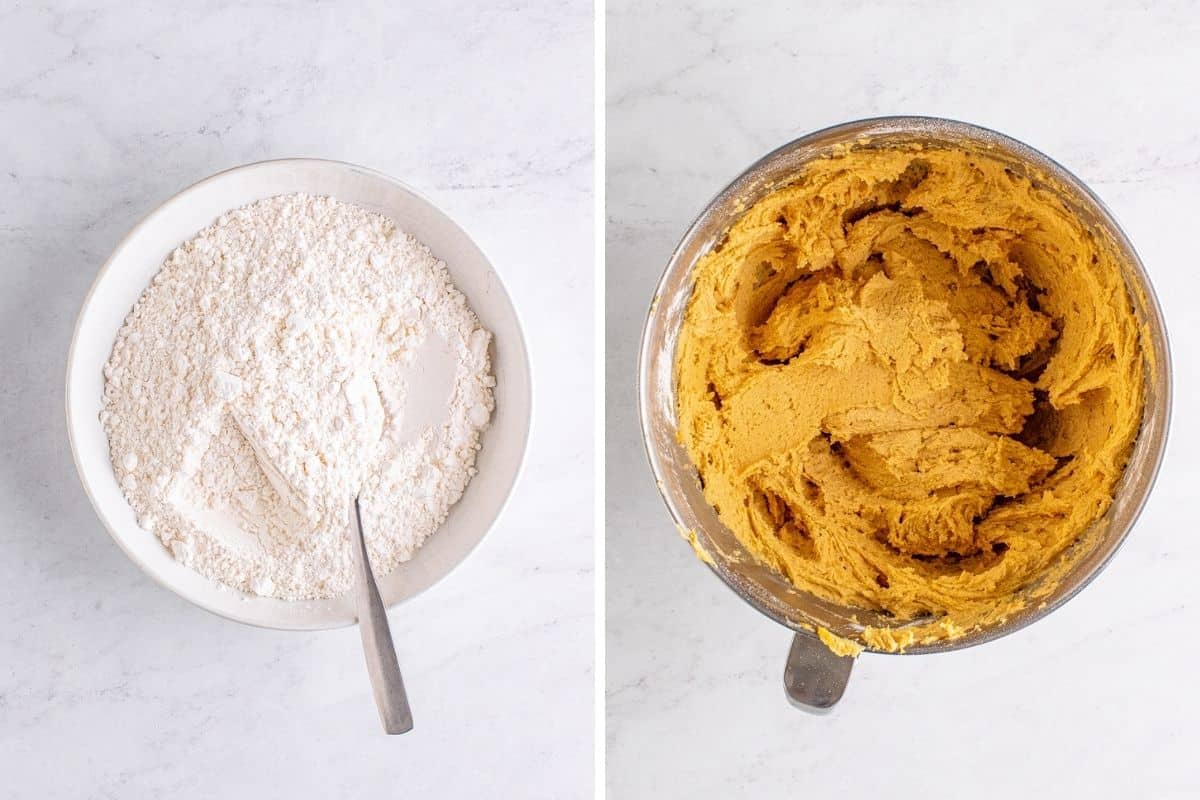
Step 1: In a large bowl, use an electric hand mixer or stand mixer to mix the peanut butter with the butter until smooth.
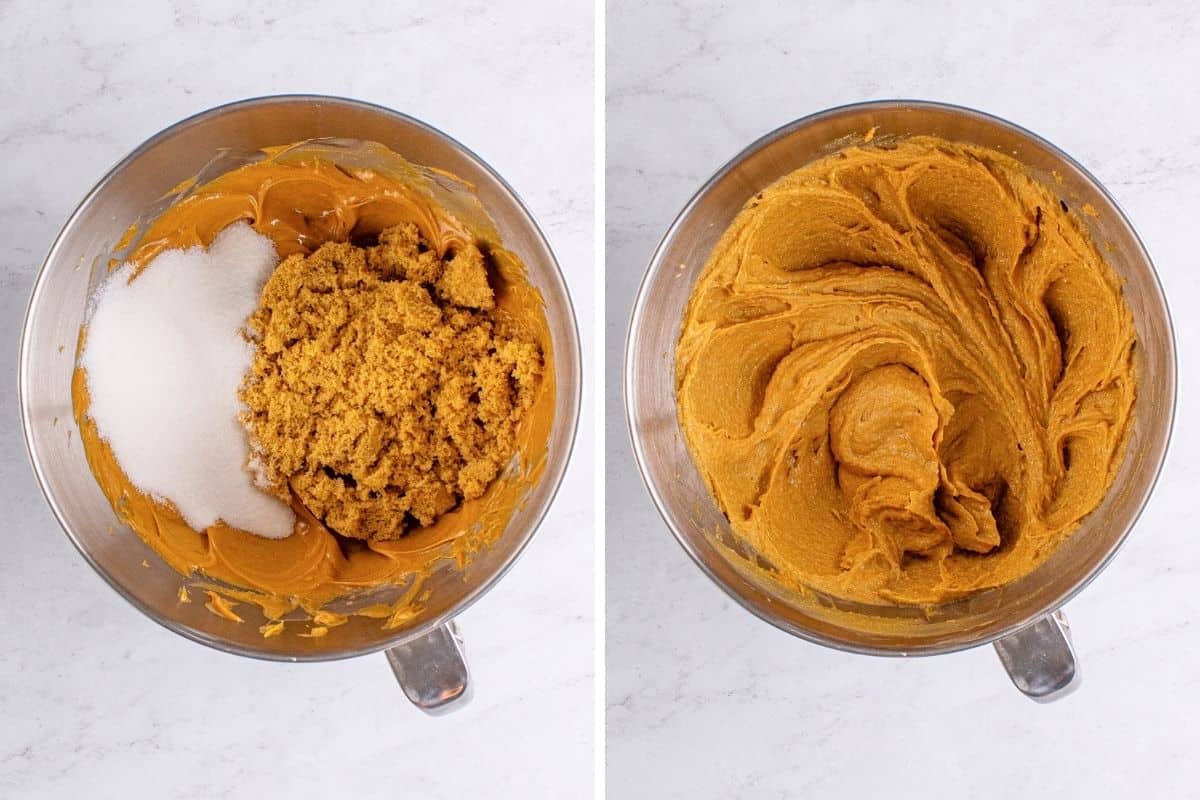
Step 2: Add the brown sugar and granulated sugar and mix until combined.
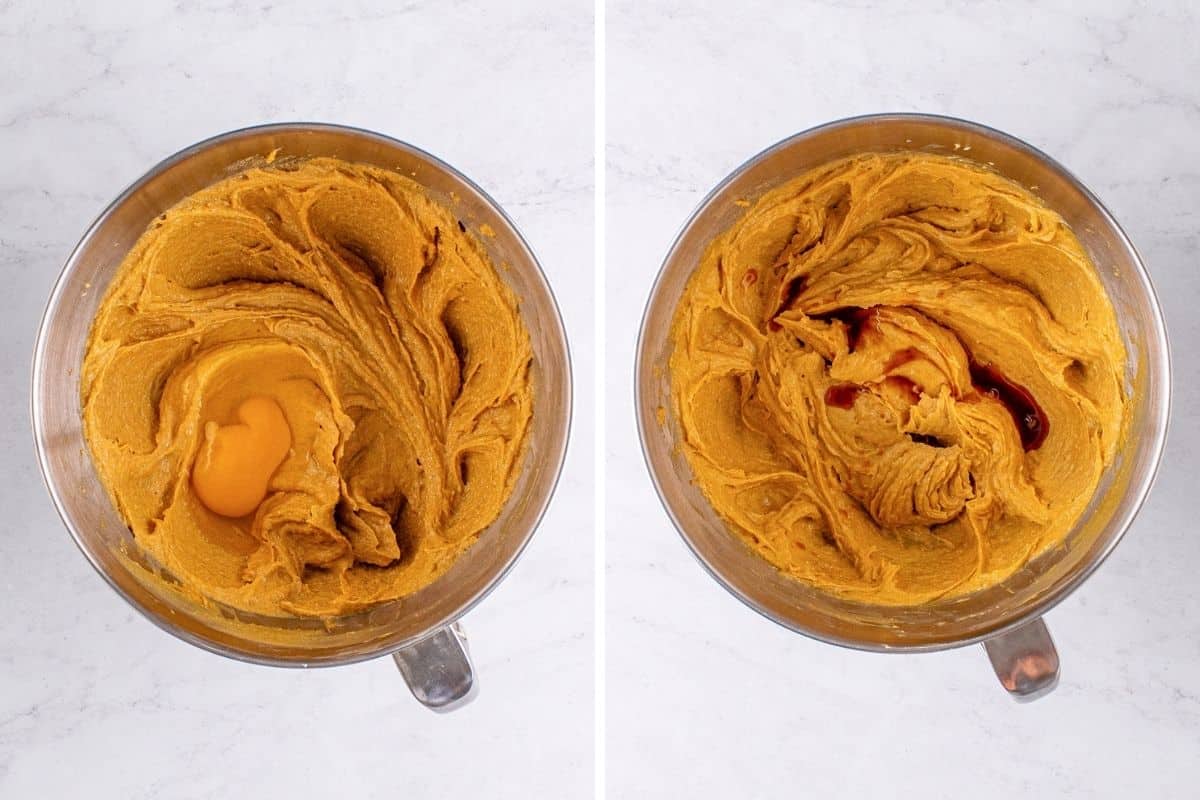
Step 3: Add the eggs one at a time, making sure each egg is fully mixed in before adding in the next. Stir in the vanilla extract.
Step 4: In a medium-sized bowl, whisk to combine the flour and baking soda. Add the dry ingredients to the wet ingredients. Stir together until just combined, scraping down the sides of the bowl as needed.
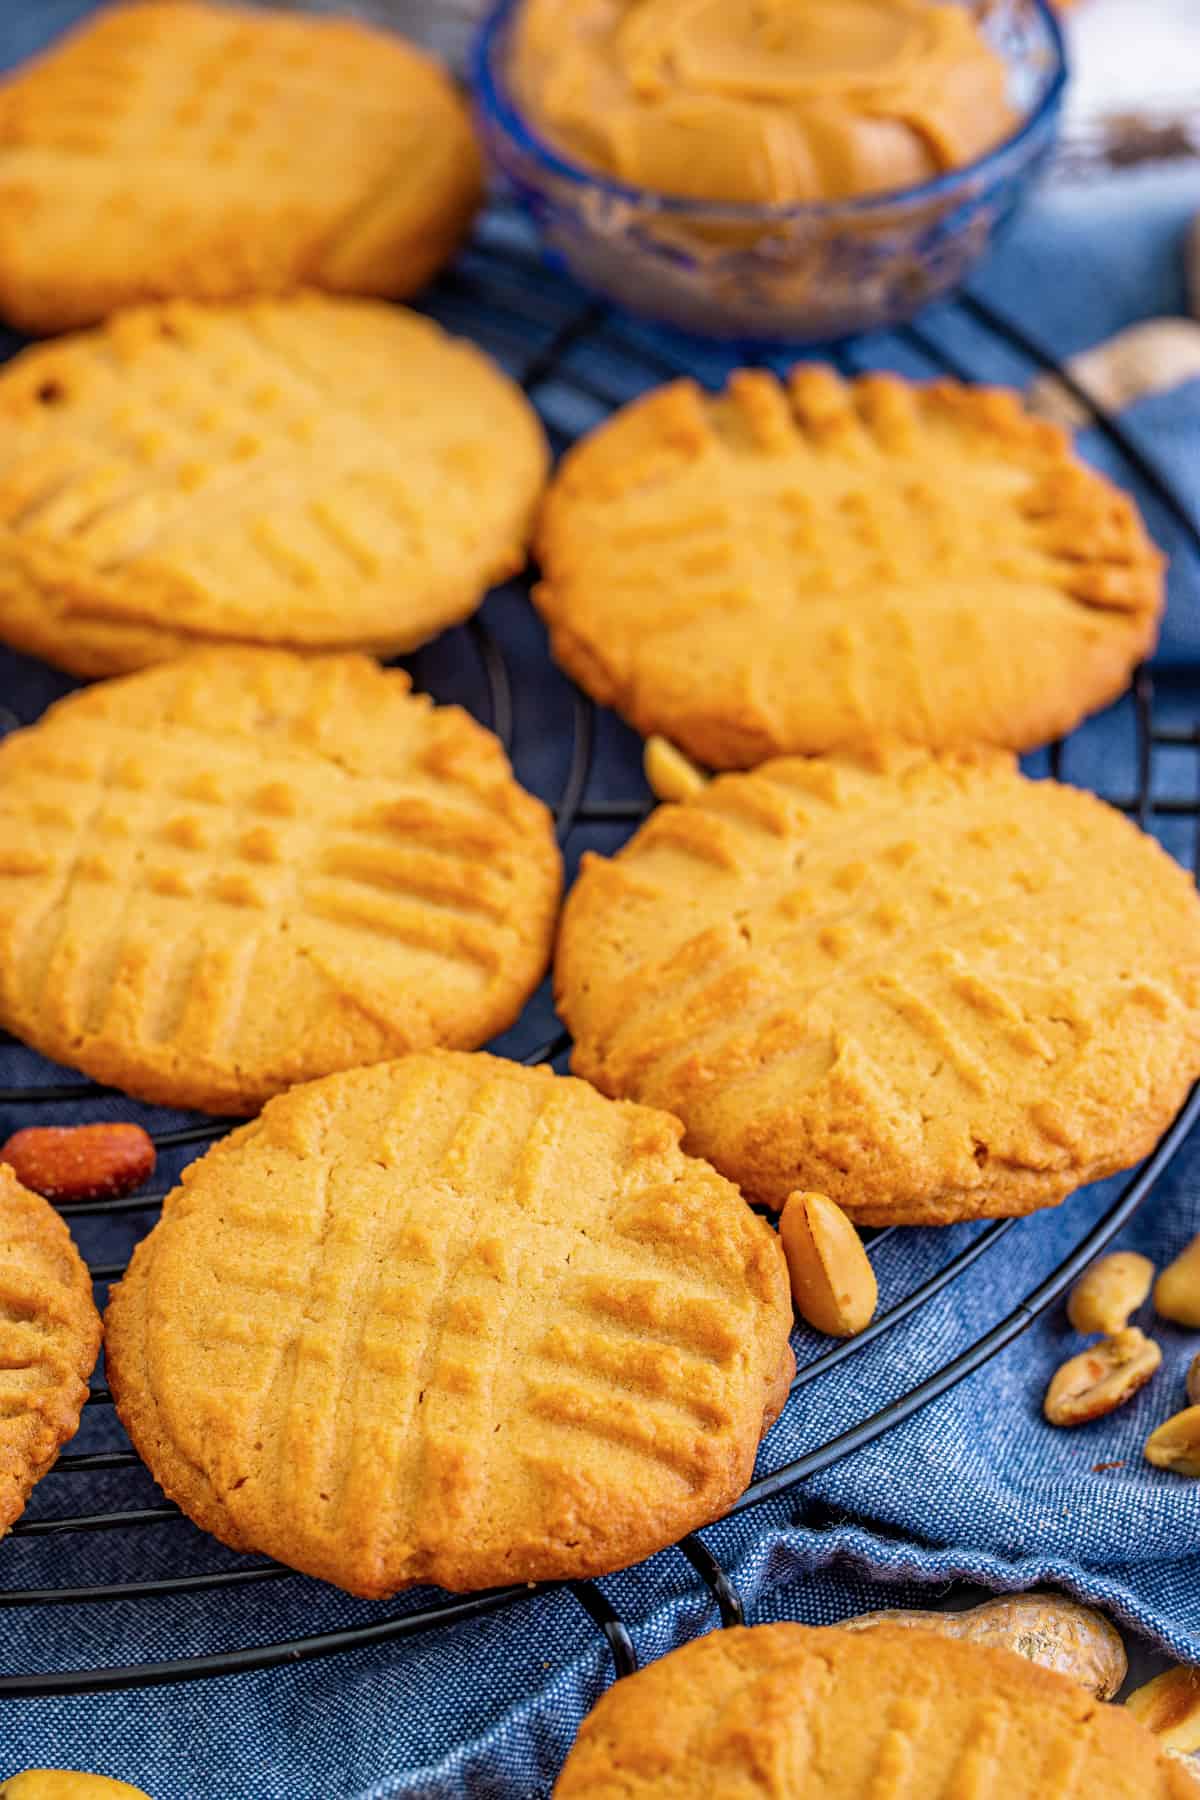
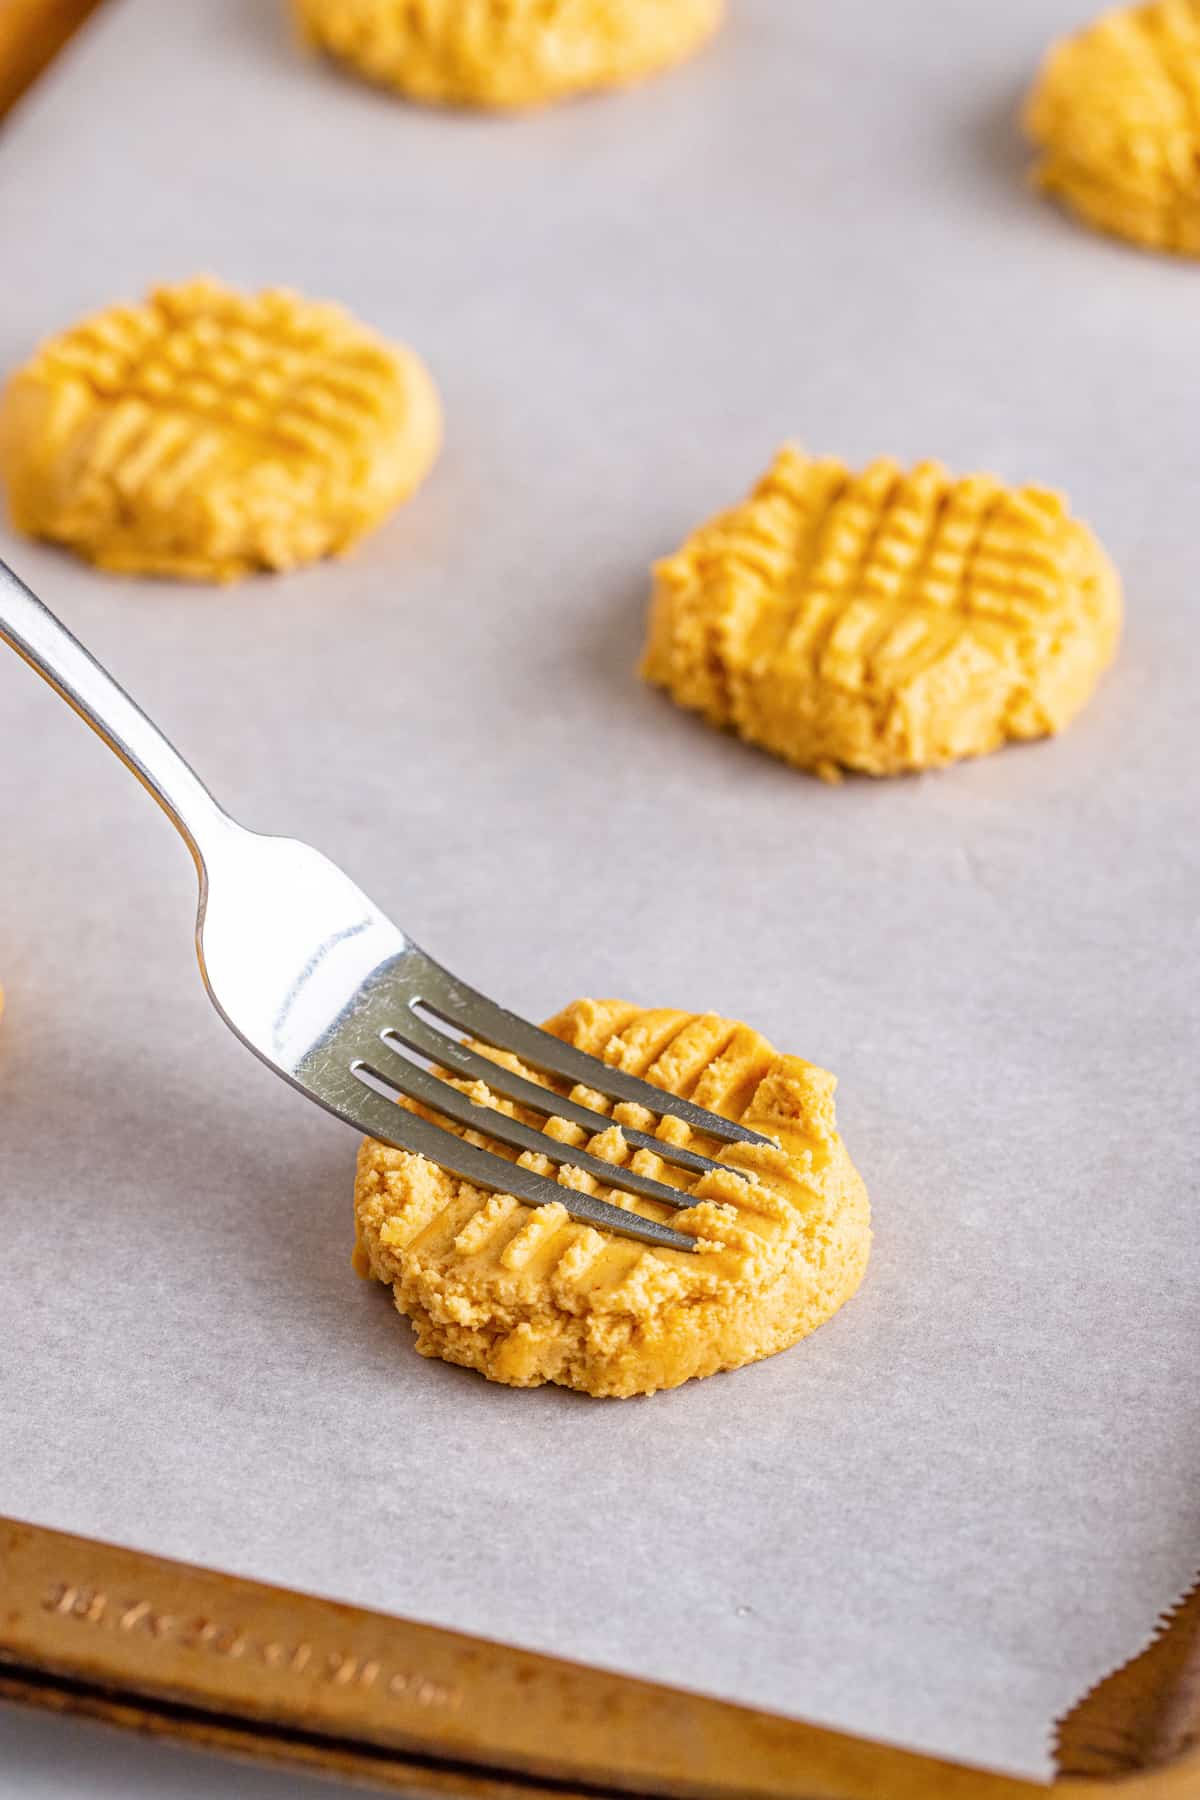
Step 5: Place 2 Tablespoons of dough about 3-inches apart on lined baking sheets. Using a fork, gently press down on the dough to make a cross-hatch pattern on the top of the cookie dough. (We use this same method in our cake mix peanut butter cookies too.)
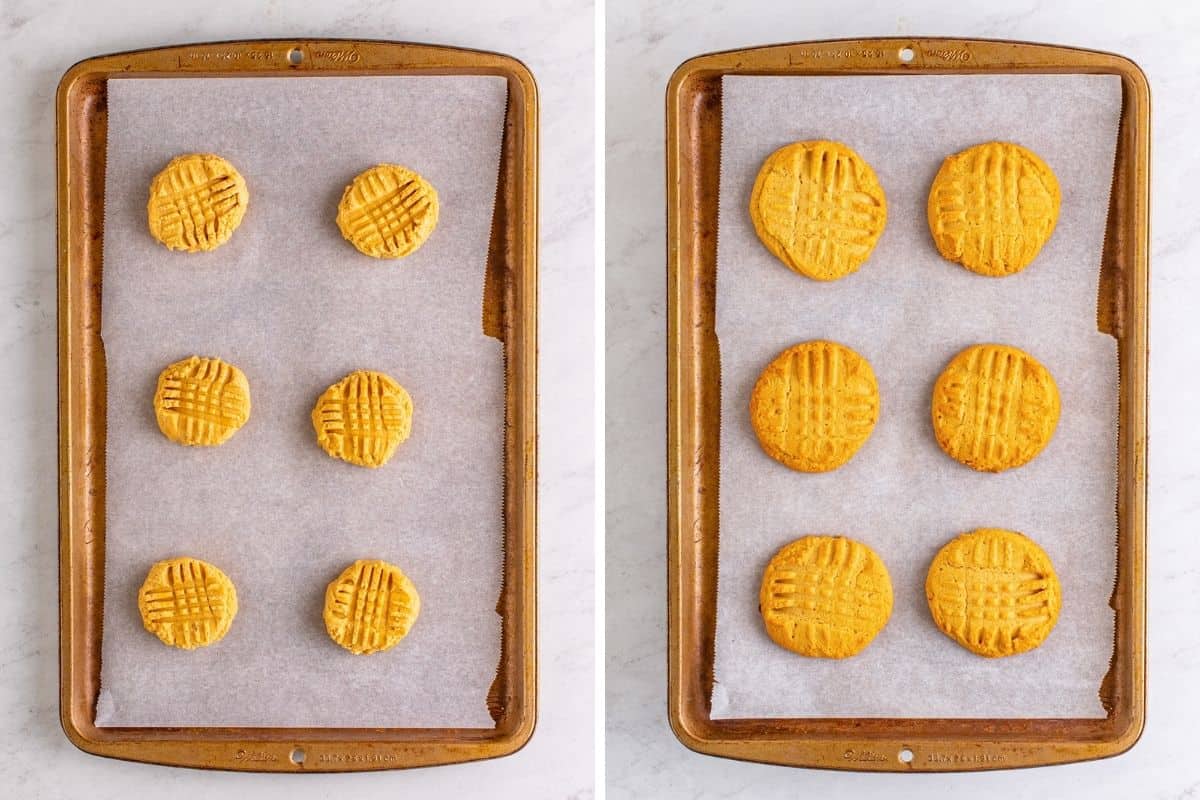
Step 6: Bake as directed in the recipe card below, until the cookies are golden brown and no longer glossy on top. Allow the cookies to cool for about 5 minutes on the cookie sheet before transfering to a wire rack to cool fully.
Storage
Countertop: Store your cookies in an airtight container at room temperature for up to 4-5 days.
Freezer: You can freeze your cookies or peanut butter cookie dough for up to 3 months. To freeze, place the cookies or dough in a freezer-safe container or bag and freeze them while lying flat. You may want to place a piece of parchment paper between the layers of cookies to prevent sticking.
Expert tips and tricks
- Make sure you’re using room temperature, softened butter. This will help make it easier to incorporate all the ingredients together.
- The cookies don’t have to look fully cooked when you pull them out of the oven. They’ll continue to cook a little more on the baking sheet when you let them cool for 5 minutes before letting them finish cooling on the cooling racks.
- When you use your fork to gently push down the cookies and make the cross-hatched marks, this will help flatten your cookies a bit as they don’t usually flatten or change shape much while baking.
- For all those peanut butter lovers, you can add in some peanut butter chips for extra deliciousness.
- You may also add in other mix-in’s, like chocolate chips, Reese’s pieces, chopped peanuts, or whatever you prefer to bring more flavor and texture to these homemade peanut butter cookies.
Frequently Asked Questions
Yes, you can prep the dough ahead of time and store it in the refrigerator for up to 24 hours in advance before you bake the cookies. Or, you can also choose to bake these cookies ahead and store them according to the directions above until serving. In fact, these are the kind of cookies that taste even better the next day once the flavors have really had time to meld together.
If you ended up with hard peanut butter cookies that usually means you baked them for too long. That’s why I suggest pulling them out just before they look finished as they’ll cook a little more while cooling on the baking sheet.
I do not recommend using natural peanut butter in this peanut butter cookie recipe as it can cause the cookies to over-spread while baking. If you do decide to use natural peanut butter make sure you stir it up very well before using.
Sure, you can roll the dough into 1-Tablespoon size balls and reduce the baking time to about 10 minutes.
More old-fashioned cookie recipes
- Soft apple cookies
- Peabut butter cornflake cookies
- Original Quaker oatmeal cookie recipe – from the 1950s!
- Cheese cookies
- Old fashioned tea cakes
- Shortbread cookies
Or check out all 90+ of my fun cookie recipes!
Old-Fashioned Peanut Butter Cookies
Ingredients
- 1 ¼ cups creamy peanut butter
- 1 cup salted butter, room temperature
- 1 ¼ cups light brown sugar, packed
- ¾ cup granulated sugar
- 2 large eggs, room temperature
- 1 ½ teaspoon vanilla extract
- 2 cups all-purpose flour
- 1 teaspoon baking soda
Instructions
- Preheat the oven to 350°F. Line baking sheets with parchment paper or silicone liners and set aside.
- Using a stand mixer or hand mixer and a large bowl, beat the peanut butter with the butter until smooth.
- Add the brown sugar and granulated sugar, beating until fluffy.
- Mix in the eggs one at a time, followed by the vanilla.
- In a medium-sized bowl, whisk to combine the flour and baking soda. Add the dry ingredients to the wet ingredients. Stir together until just combined, scraping down the sides of the bowl as needed.
- Scoop dough into 2 Tablespoons size balls and place about 3-inches apart on the baking sheets. Using a fork, gently press down to make a cross-hatch pattern on the top of the cookie dough.
- Bake for 12-13 minutes or until golden brown and no longer glossy on top. Allow the cookies to cool on the sheet for about 5 minutes, then transfer to a wire rack to cool fully.
Notes
Nutrition

Did You Make This Recipe?
Share it with me on Instagram @crayonsandcravings and follow on Pinterest @crayonsandcravings for even more!


I make these cookies every year for Christmas. ❤️
Very yummy
These cookies are delicious! So quick and easy to make.
These are always my go to recipe when I want cookies. My family absolutely loves these! They don’t last long.
these were perfect
Yay! So glad they were a hit!
Best ever
Delicious!! These cookies were so easy and so yummy. My family loved them. Thank you for sharing this recipe ❤️
This is first time and last time, I will made these cookies. I Follow the directions and something is wrong with your recipe. cookies mixture was too wet and would not BROWN!
NO THANKS YOU!
Hi there, sorry the cookies didn’t work out for you. An overly wet dough and pale cookies usually come down to one of a few things: natural peanut butter instead of regular creamy peabnut butter like Jif or Skippy, ingredient measurements being slightly off, or an oven running cooler than the dial says (an oven thermometer is a quick way to check).
These PB cookies are a reader favorite, so I’d love to help you troubleshoot if you ever want to give it another try.
Best peanut butter cookies I’ve ever made!