Oreo Peanut Butter Pie
Posts may contain affiliate links, meaning that I may earn a commission if you use a link provided.
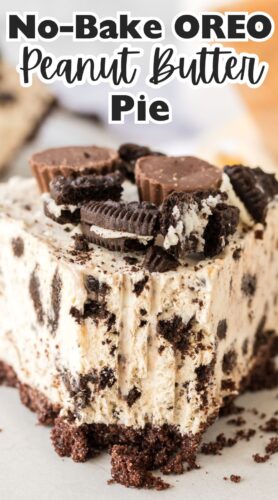
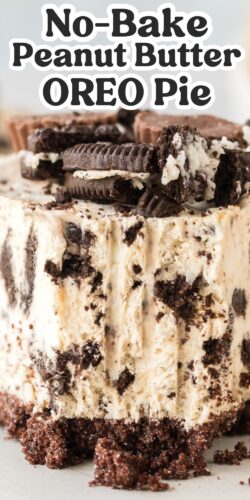
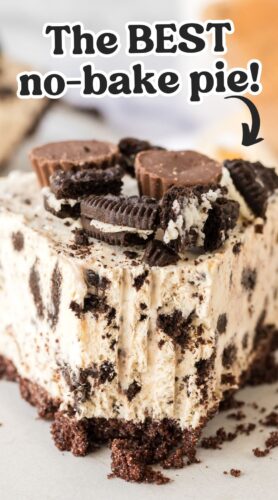
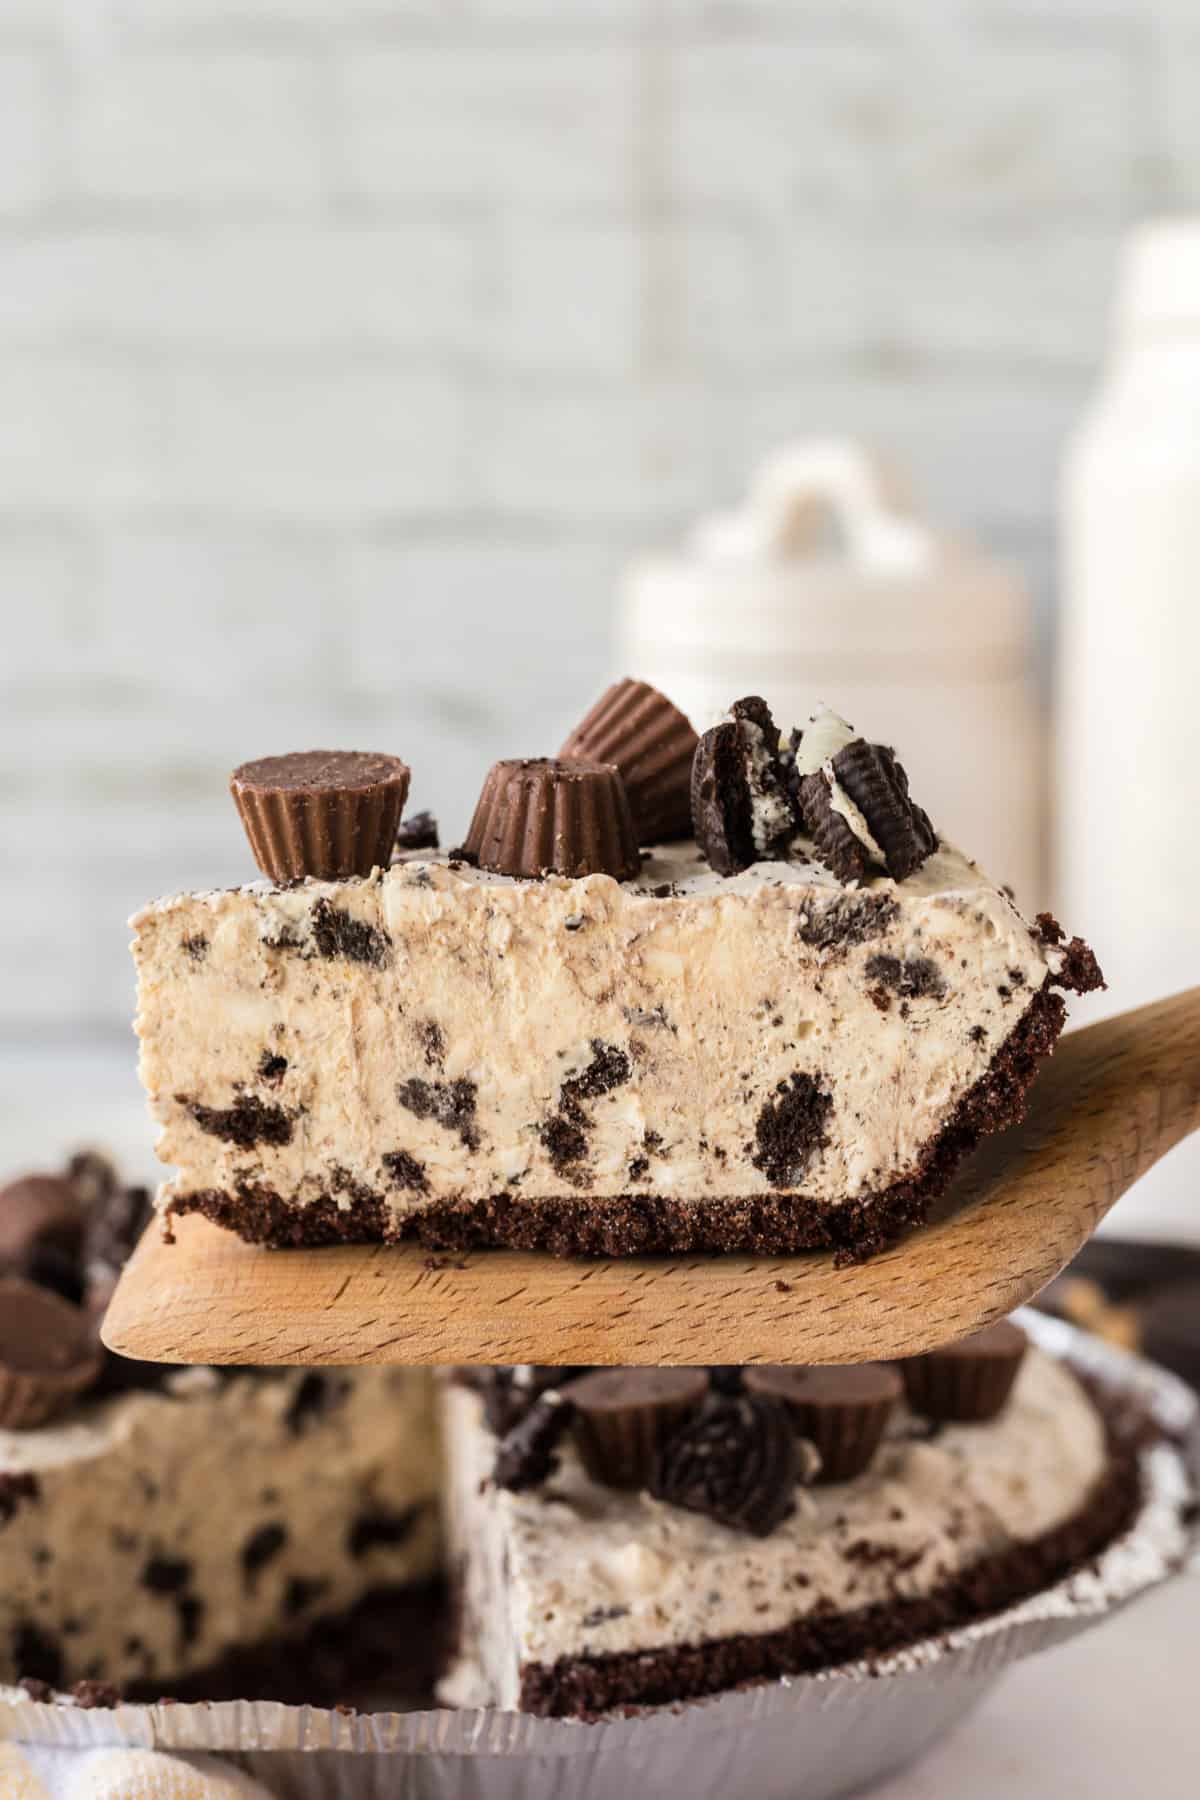
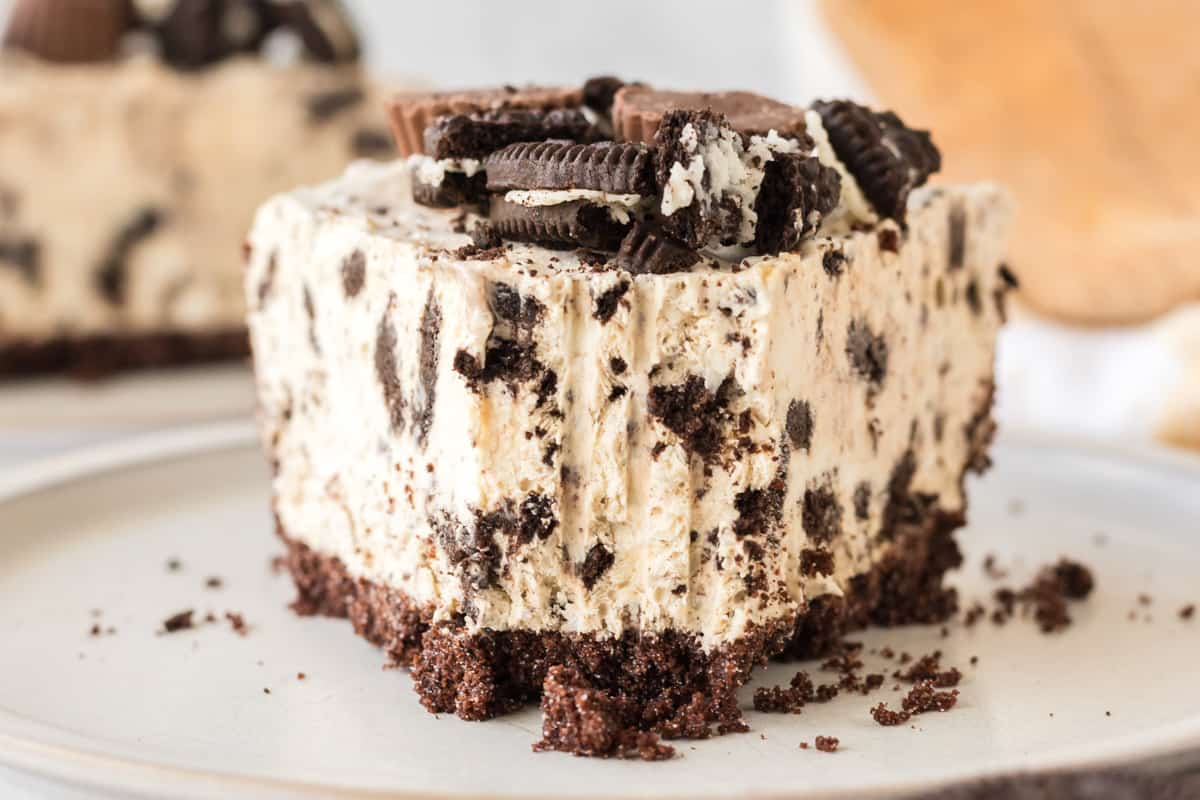
This no bake Oreo peanut butter pie with a chocolatey Oreo crust and a luscious peanut butter filling will become one of your family’s favorite desserts! Plus, you will love how easy the no-bake dessert is to prepare in just a few minutes using a store-bought pie crust.
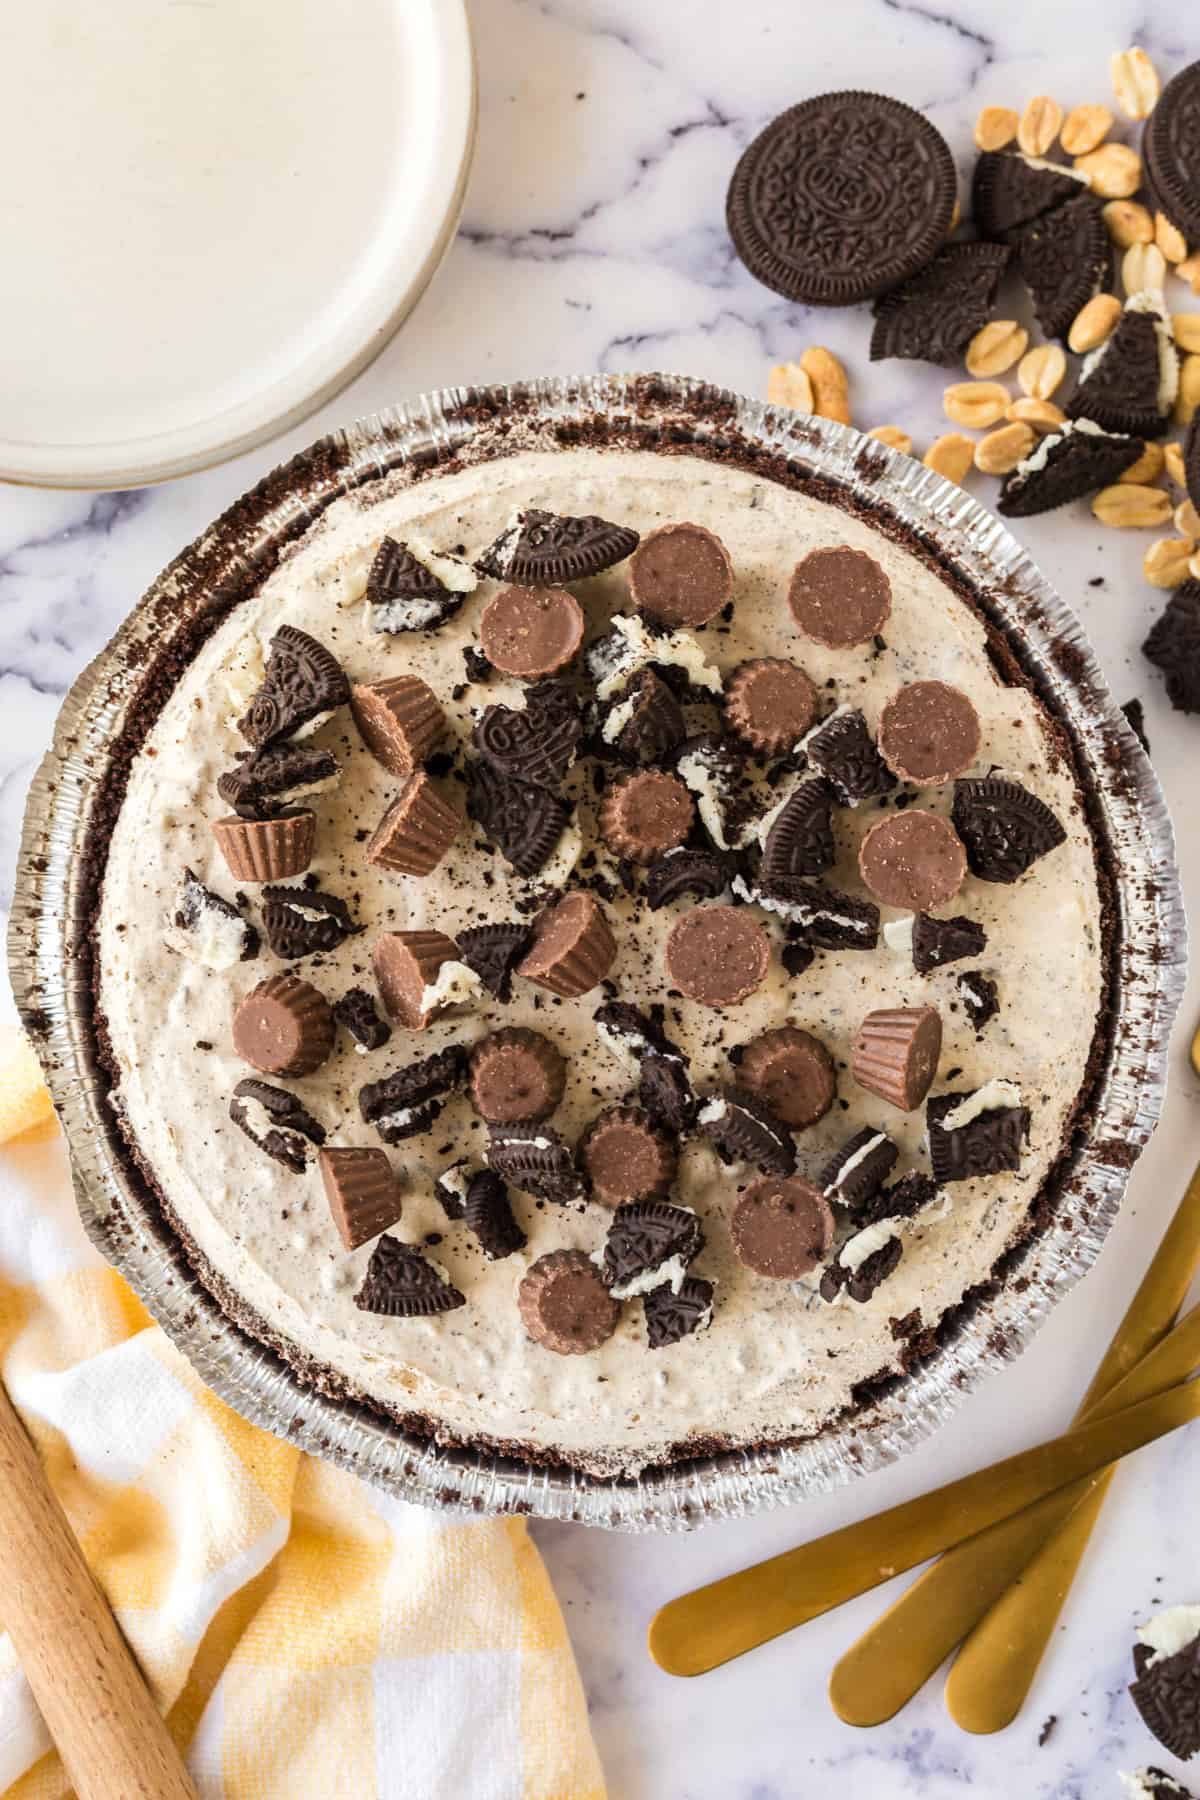
The rich and creamy whipped peanut butter pie with an Oreo cookie crust is a chocolatey variation of my no bake peanut butter pie with a graham cracker crust and is the stuff dreams are made of. Just one slice and you’ll see why.
As far as no-bake desserts go it’s as easy to make as Oreo fluff salad or Reese’s dip. The filling comes together in one bowl, and then you pour it into the chocoalte cookie crust, chill, and slice.
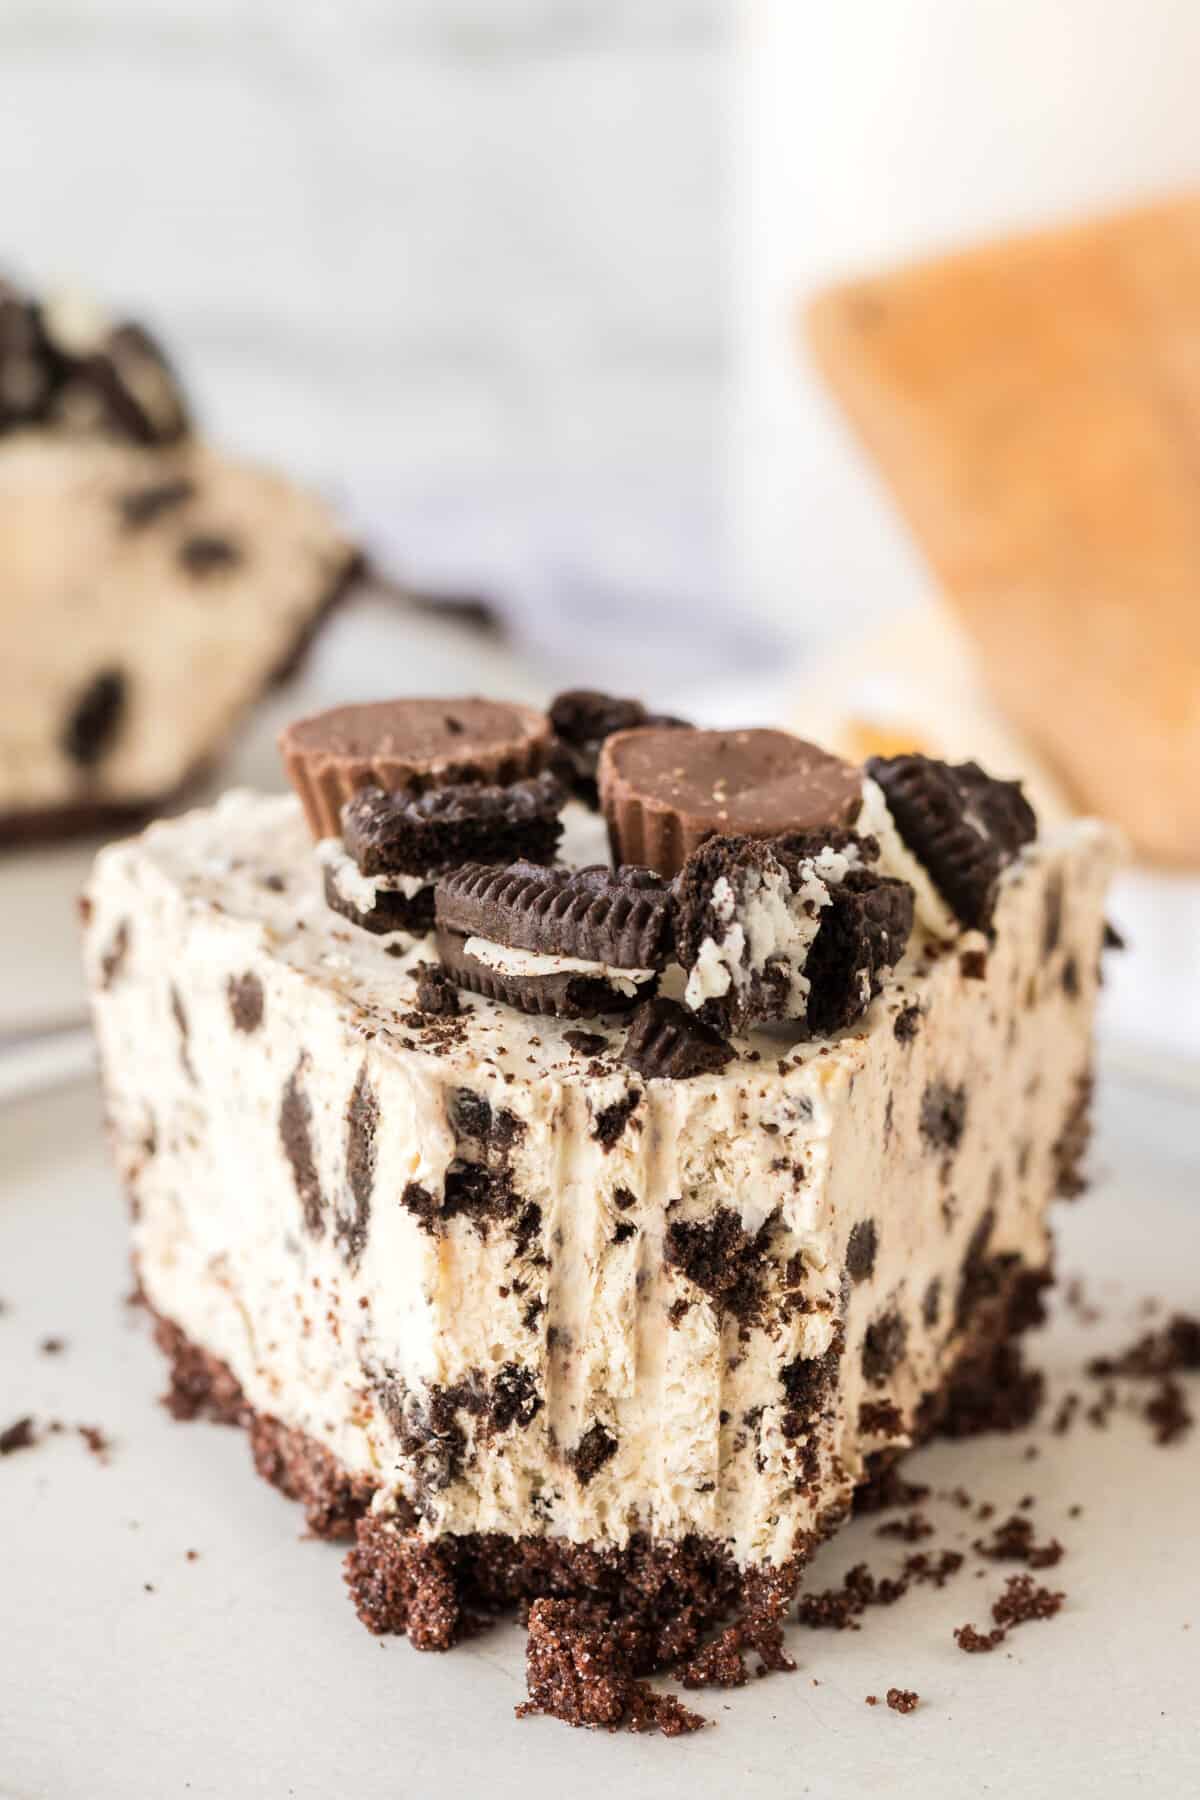
Waiting for it to set is the hardest part, but believe me, it’s well worth the wait. This will soon become one of your favorite treats for special occasions!
Why you’ll love this Peanut Butter Oreo Pie
- Short prep time and simple ingredients mean you can whip this up in no time.
- The flavor combination of crunchy oreo crust pairs perfectly with the creamy peanut butter filling.
- It’s a chilled dessert so it’s naturally make-ahead and freezer-friendly. It can be frozen for months!
Ingredients for Oreo Chocolate Peanut Butter Pie
This section includes ingredient notes and substitution options. Get all measurements, ingredients, and instructions in the printable recipe card at the end of this post.
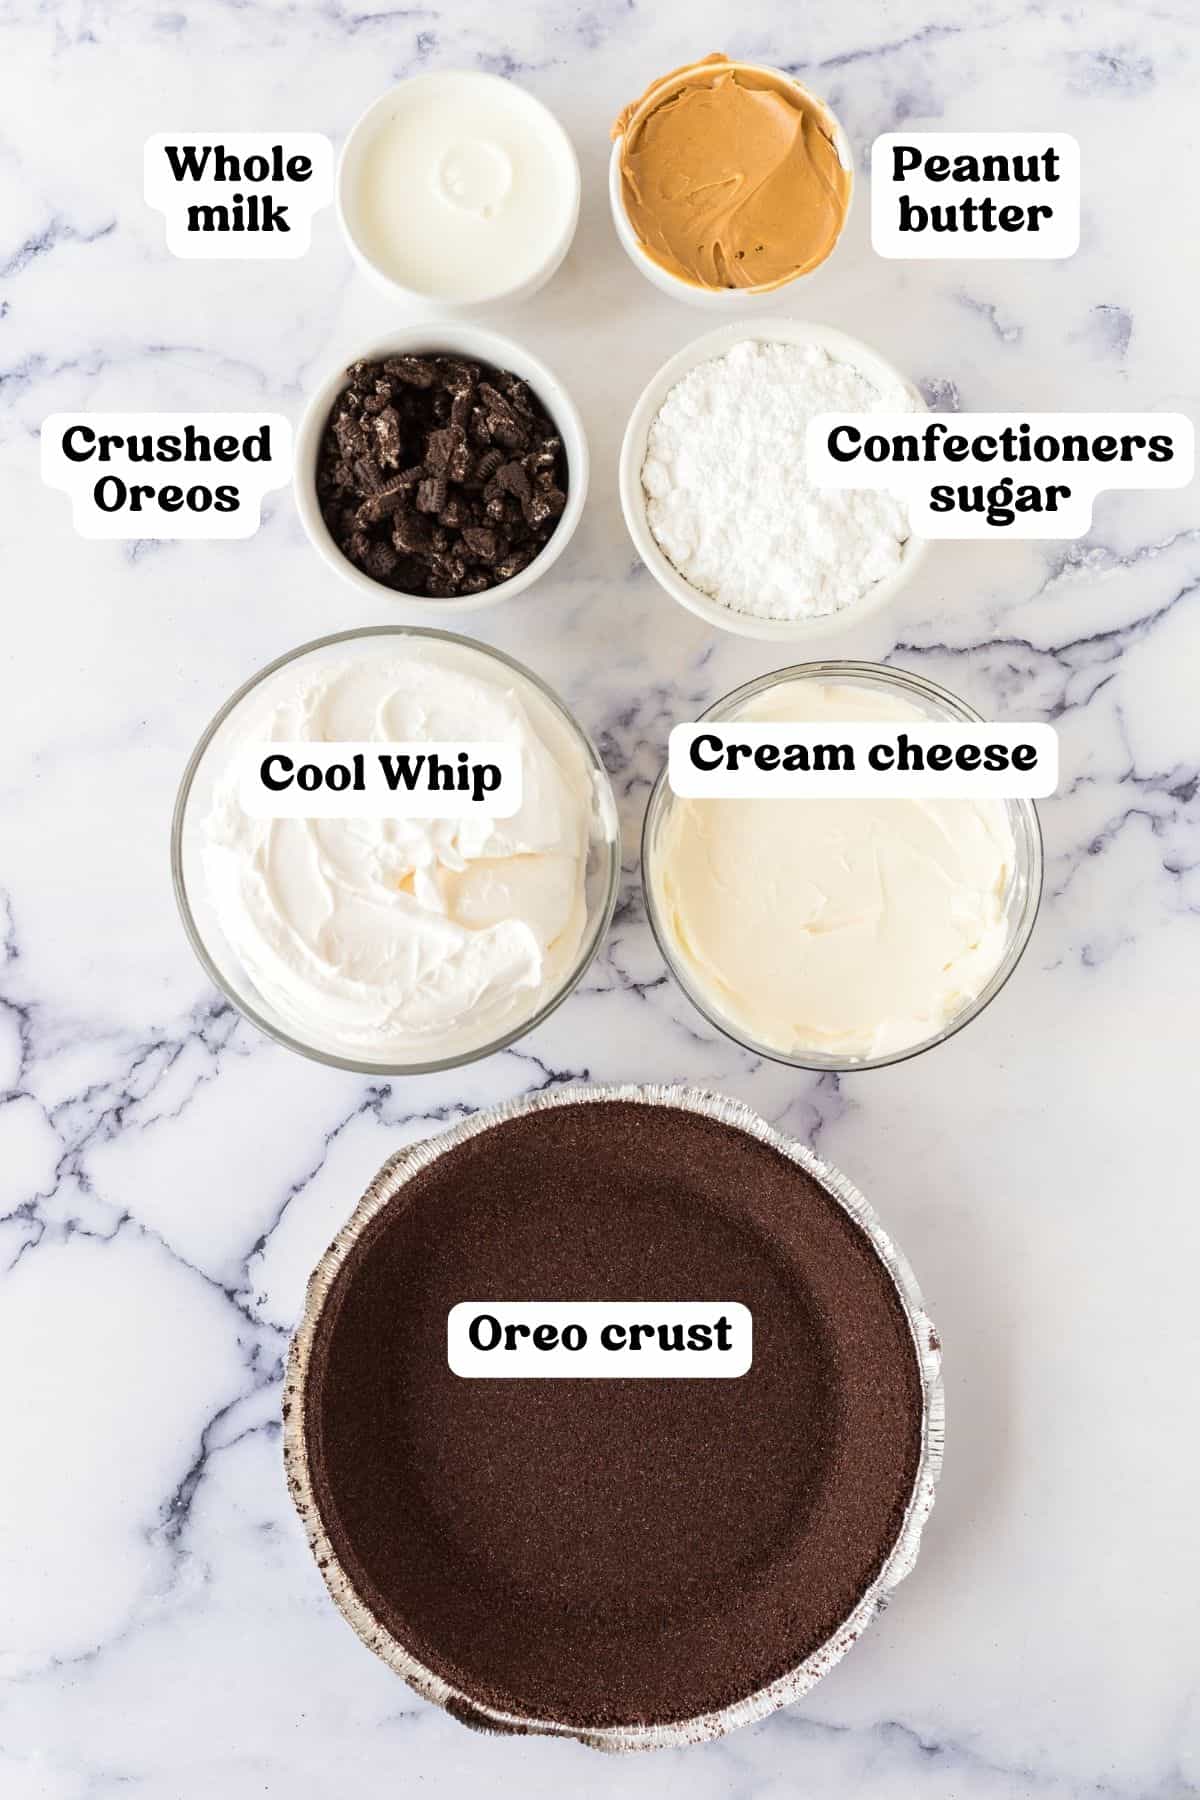
- Oreo pie crust – Save time by using a store-bought chocolate oreo crust. it comes ready-made in an aluminum foil dish with its own lid. You can also prepare your own with crushed Oreos and melted butter and chill it before adding the filling.
- Cream cheese – Bring it out to room temperature about an hour before you begin. This way it’ll cream easily without leaving clumps of cream cheese in your peanut butter mixture.
- Whipped Topping – Such as Cool Whip. Make sure to thaw in the refrigerator before beginning. I have a great recipe for homemade Cool Whip that you can use in this Oreo peanut butter pie recipe instead of the tubs if you prefer.
- Whole milk – Helps to thin out the filling, as both cream cheese and peanut butter are quite dense. You can sub with the milk of your choice.
- Peanut butter – I use smooth peanut butter, usually Jif or Skippy, but you can use crunchy if you prefer a bit more texture. I don’t recommend using natural peanut butter, it won’t set as nicely.
- Confectioners sugar – Provides sweetness as well as structure.
- Oreo cookies – Crushed and used in the Oreo peanut butter pie filling
- Optional toppings – chopped Oreos and mini Reese’s peanut butter cups.
How to Make Peanut Butter Oreo Crust Pie
This section shows you how to make the recipe with step-by-step photos and instructions. For the full printable recipe, see the recipe card below.
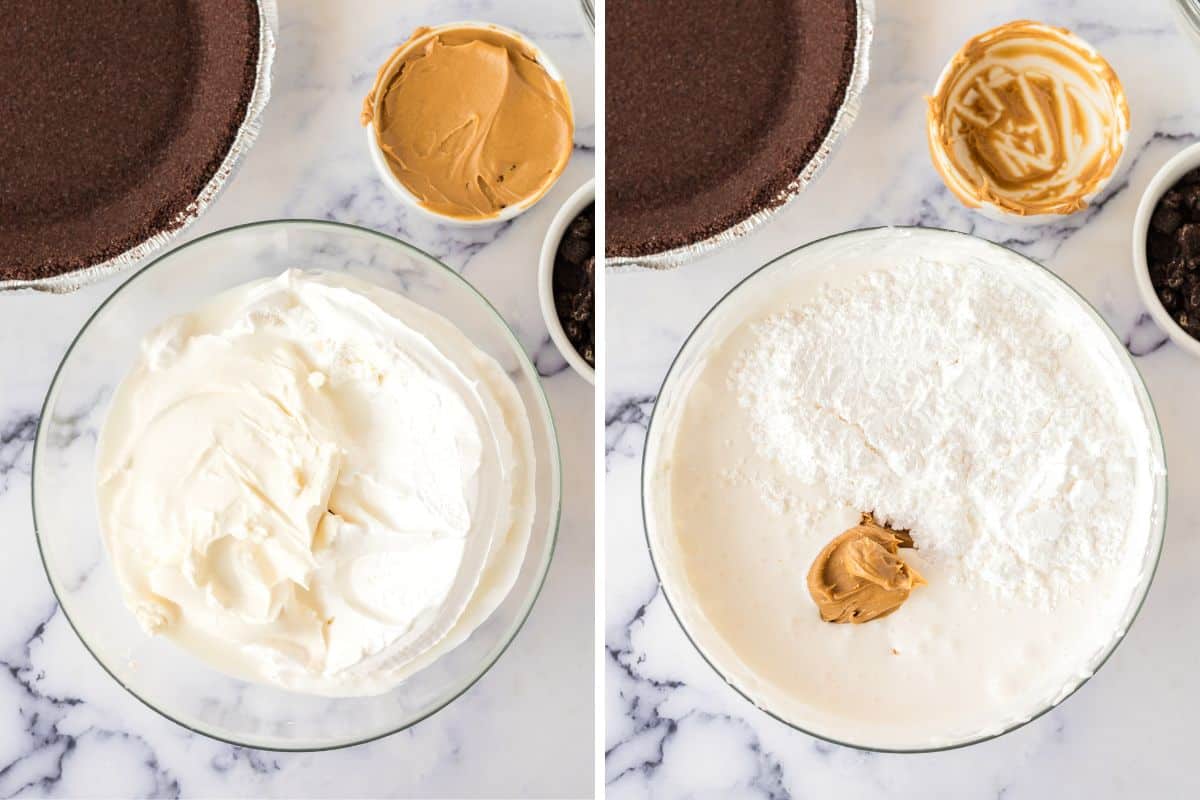
Step 1: Prepare the creamy filling. In the bowl of a stand mixer or large mixing bowl, whip together the Cool Whip, cream cheese, and milk until smooth and lump-free. Mix in the peanut butter and powdered sugar until smooth and creamy.
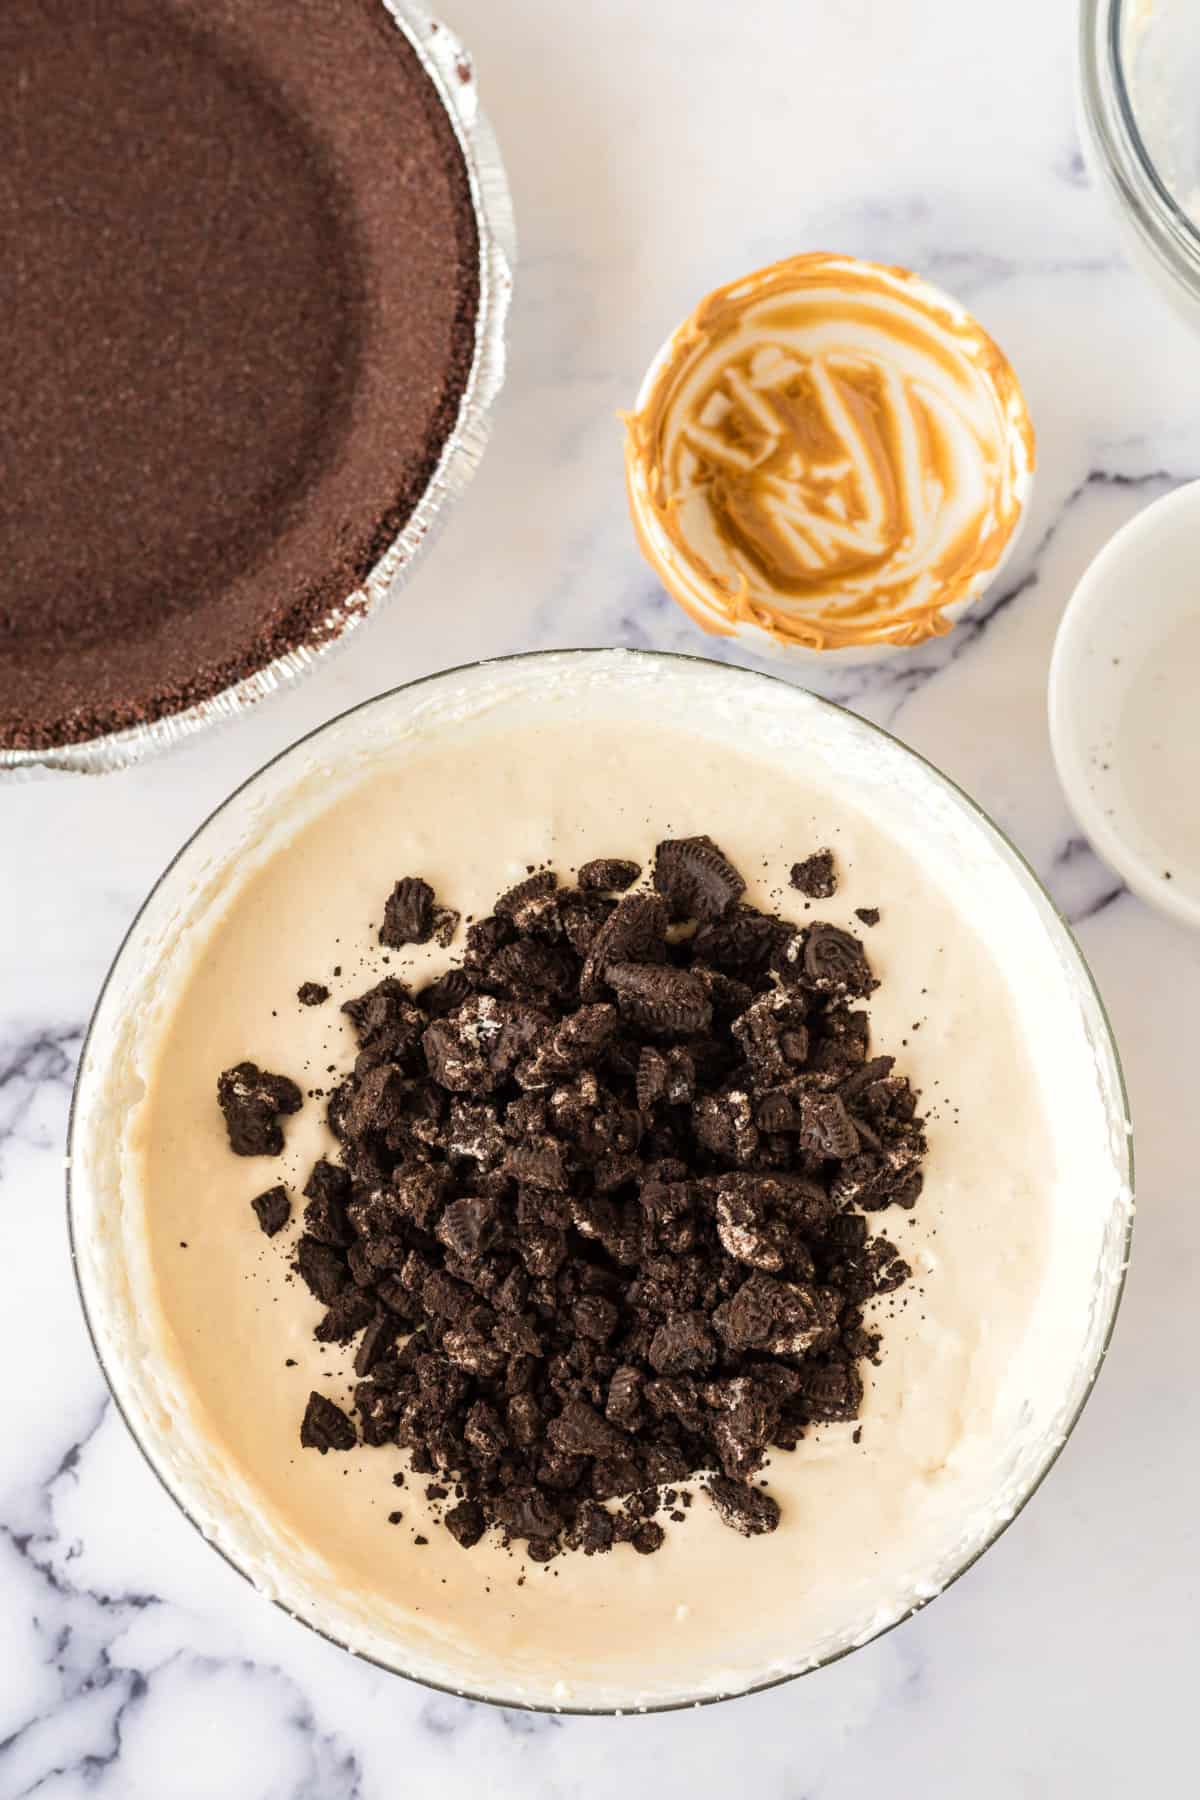
Step 2: Fold in the cookies. Use a spatula to fold in the crushed Oreo pieces. Make sure they are evenly dispersed throughout the peanut butter filling so each slice has some.
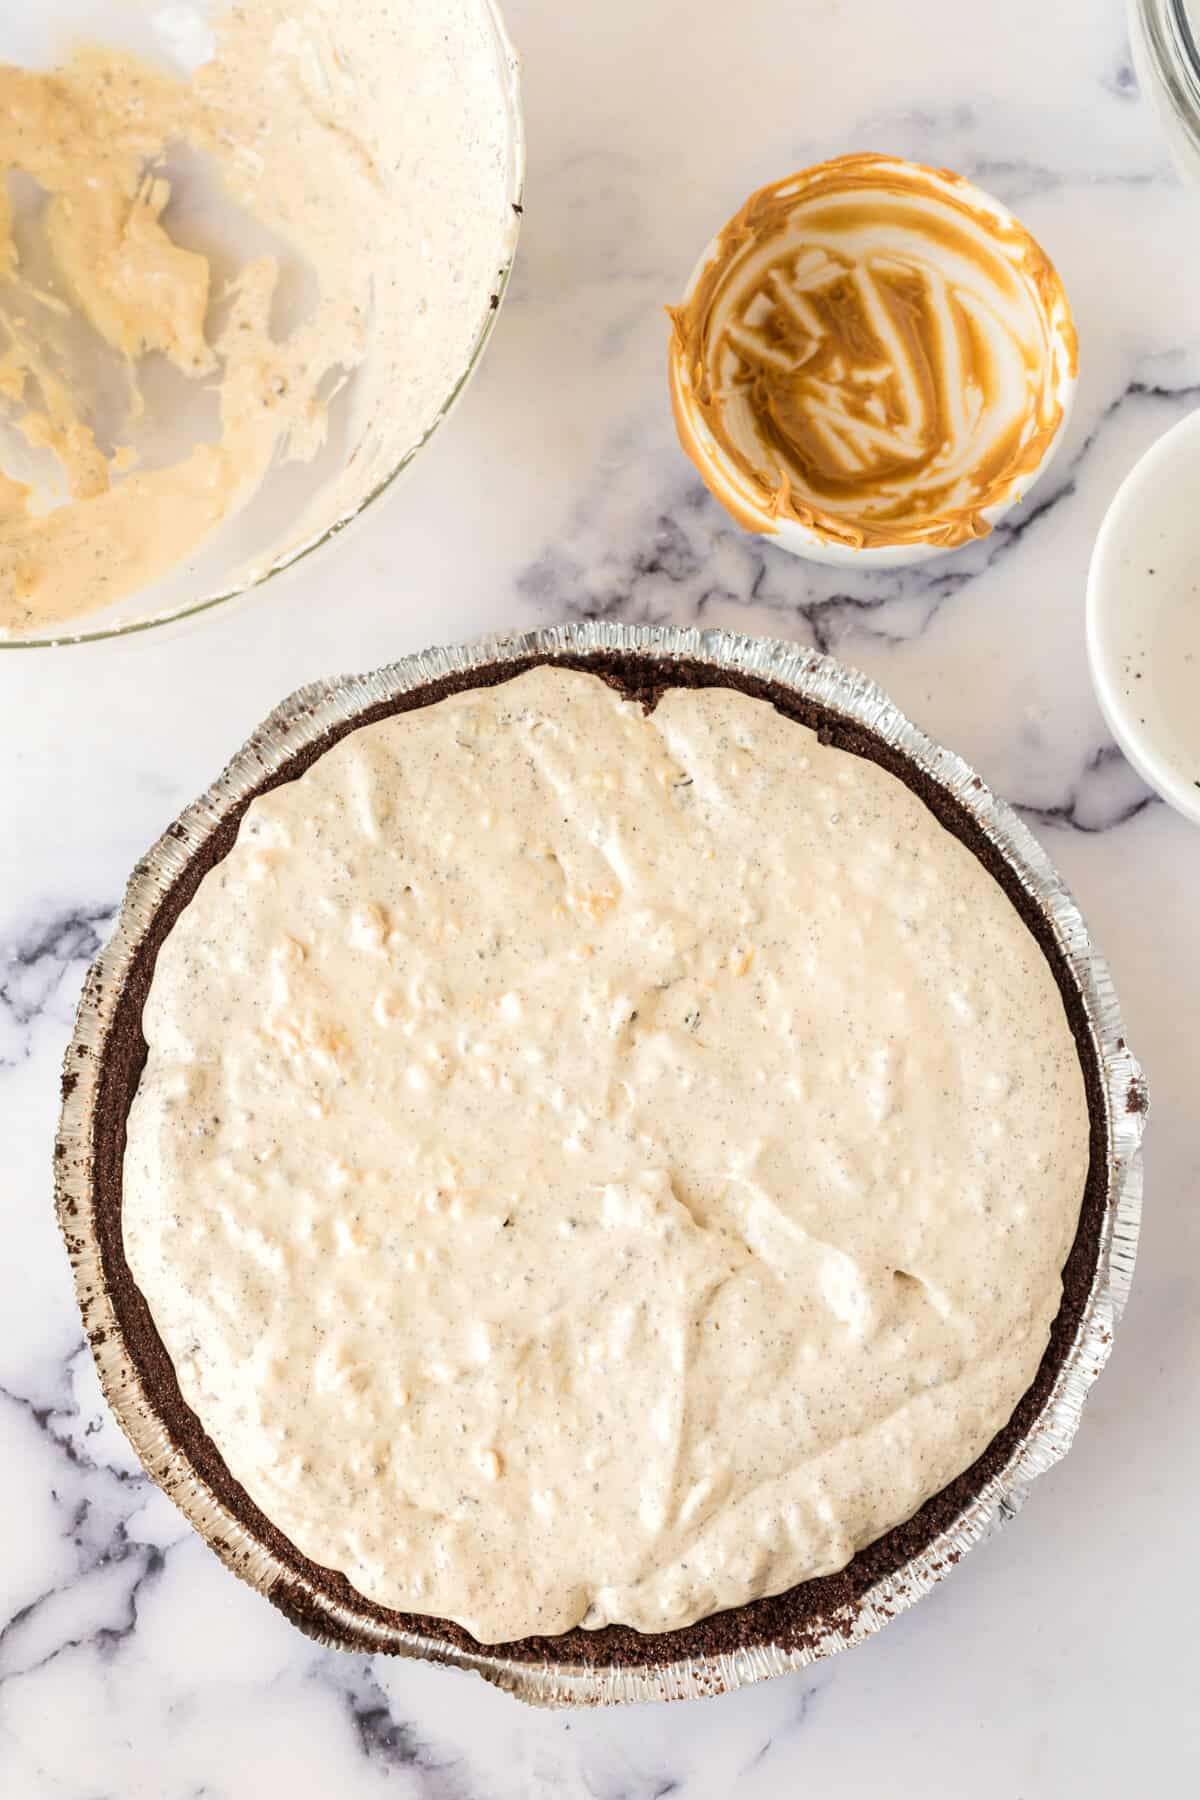
Step 3: Assemble the pie. Pour the creamy peanut butter pie filling into the chocolate crust, then cover it with the lid. If you don’t have a lid, plastic wrap works too.
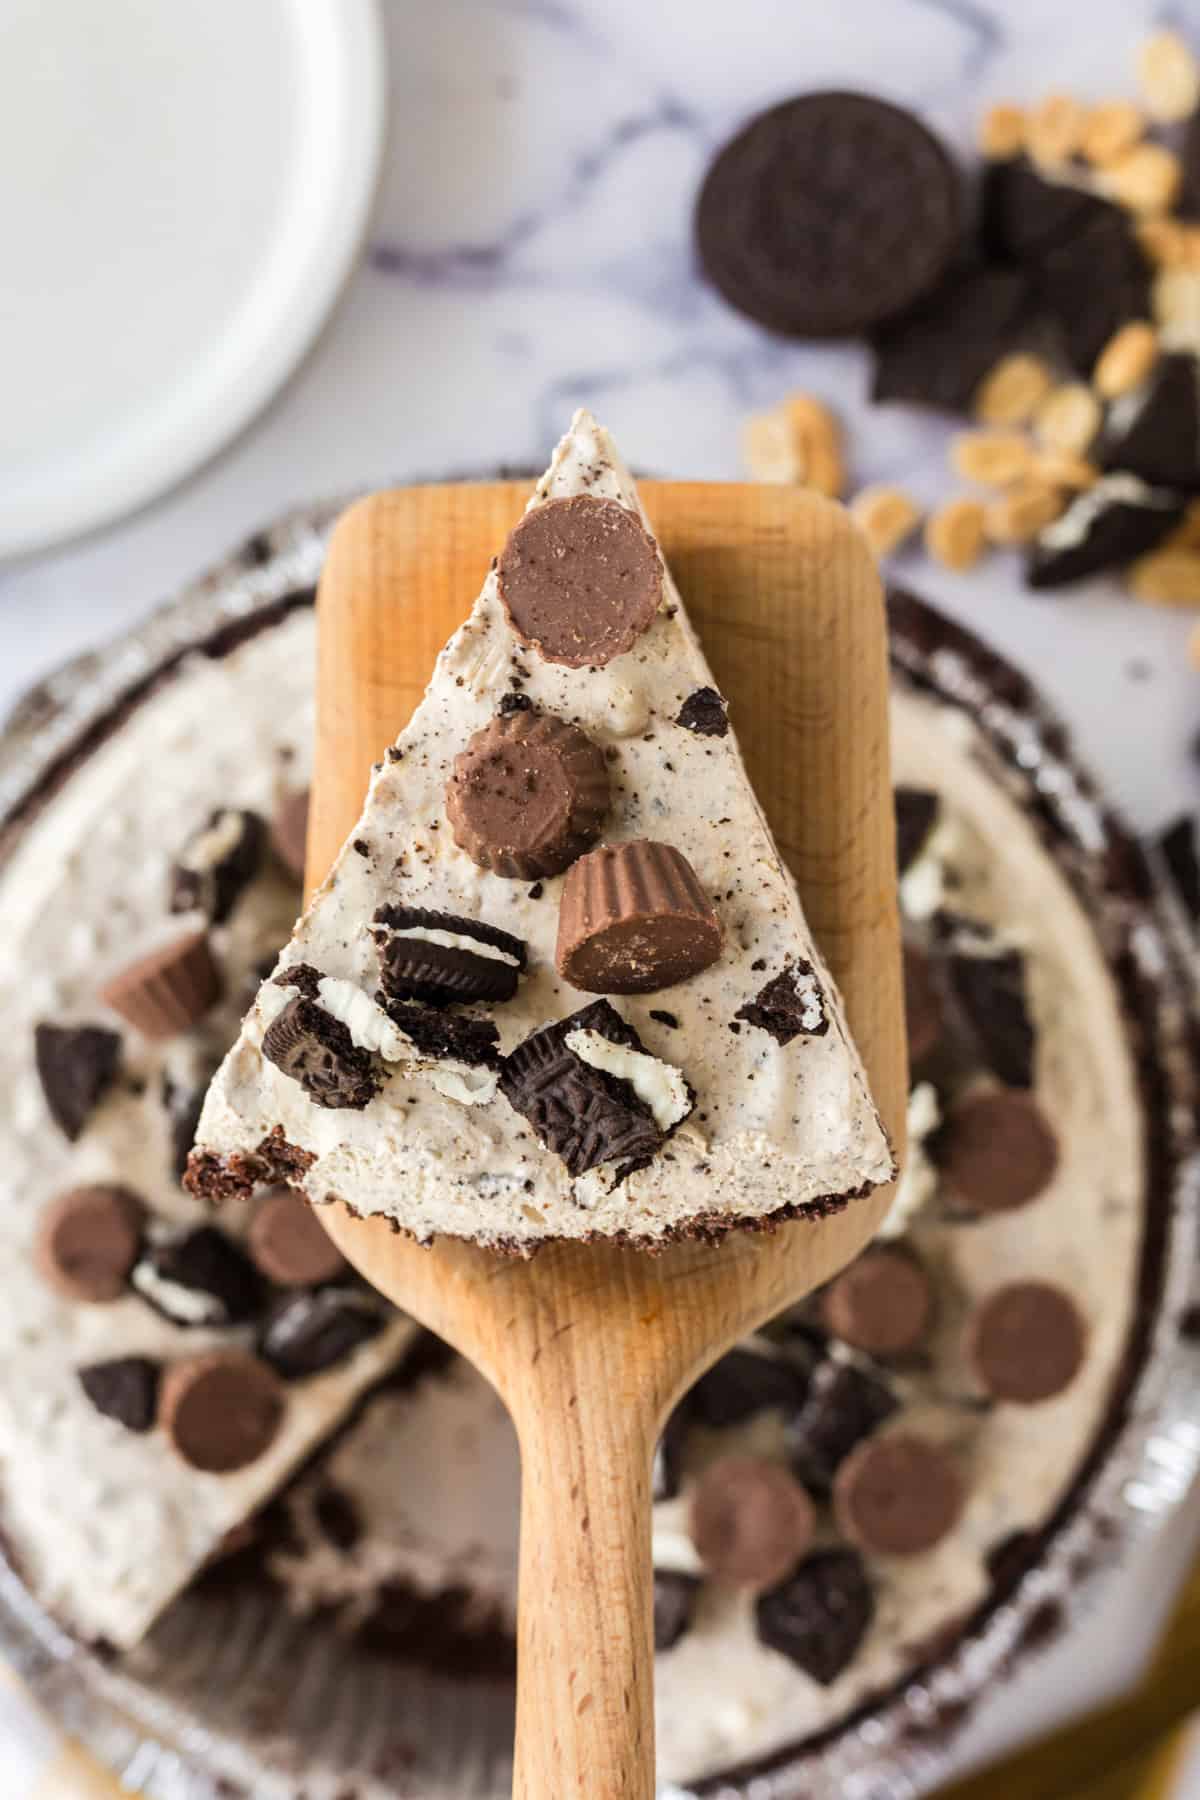
Step 4: Freeze, slice, and serve. Freeze the pie for about 5 hours, or until the center is completely set. Serve as-is or topped with chopped Oreo and/or peanut butter cups. The pie is also delicious topped with a dollop of whipped cream or whipped topping.
Pro Tip:
To make this chilled pie easier to slice let it sit at room temperature for about 10 minutes before slicing. Or, run your knife under hot water before slicing and wipe the blade clean with a damp paper towel in between each cut.
Storage
Freeze in an airtight container for up to 3 months.
If you will be enjoying it within a few days you can leave the pie in the aluminum pie dish and plastic cover that it came with.
If storing for over a week I recommend placing the entire pie in a freezer baggie or other freezer-safe container to avoid freezer burn.
Tips for the Best Oreo Peanut Butter Pie
- Soften cream cheese. Be sure to let your cream cheese sit on the countertop for at least an hour before beginning so that it blends easily and doesn’t leave lumps in the filling.
- Chill overnight. If you’ve got the extra time, I recommend chilling the pie overnight to be sure it sets up fully.
- Add extra toppings for presentation, flavor, and crunch. We love adding mini Reese’s peanut butter cups (or large chunks of regular Reese’s pieces) and chopped Oreos on top. Sometimes we’ll even sprinkle some chocoalte chips or drizzle some chocolate sauce and caramel sauce if we’re feeling extra indulgent.
- To make a homemade Oreo pie crust: crush about 25 Oreos in a food processor until they’re a fine crumb and combine that with 5 Tablespoons of melted butter. Press it down into the bottom of a pie plate and place it in the fridge to chill.
More Easy No-Bake Pie Recipes

No Bake Oreo Peanut Butter Pie
Ingredients
- 1 Oreo pie crust
- 8 ounce cream cheese softened
- 8 ounce Cool Whip thawed
- ½ cup whole milk
- ½ cup creamy peanut butter
- 1 cup confectioners sugar
- 18 Oreo cookies crushed
- chopped Oreos & mini Reese's optional topping
Instructions
- Using a stand mixer or a hand mixer and a large bowl, whip the Cool Whip, cream cheese, and milk together until smooth and no lumps of cream cheese remain. Mix in the peanut butter and powdered sugar.
- Using a spatula, fold the crushed Oreos into the pie filling, ensuring they are evenly distributed.
- Pour the pie filling into the chocolate crust and cover with the included lid. Place the pie in the freezer and allow it to chill for at least 5 hours, or until the middle of the pie is firmly set.
- Top with Reese's Peanut Butter Cups and/or Oreos before serving, if desired.
Notes
- I recommend letting the pie freeze overnight to make sure that it has time to fully set before serving.
- The pie can be frozen for up to 3 months.
- I like to let the pie sit on the counter for about 10 minutes before slicing and serving. This makes it easier to slice.
Nutrition

Did You Make This Recipe?
Share it with me on Instagram @crayonsandcravings and follow on Pinterest @crayonsandcravings for even more!

