

Homemade Marshmallows
Posts may contain affiliate links, meaning that I may earn a commission if you use a link provided.
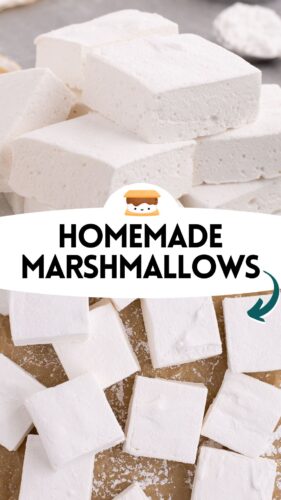
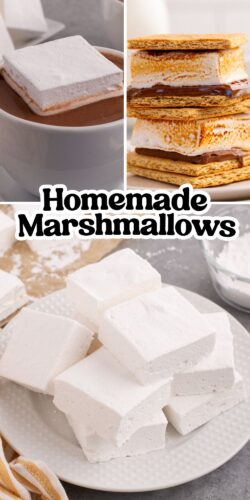

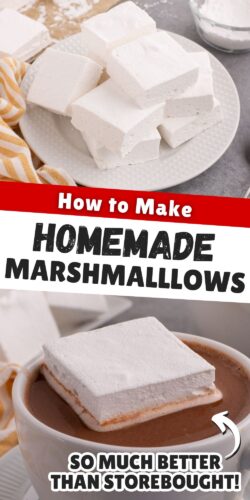
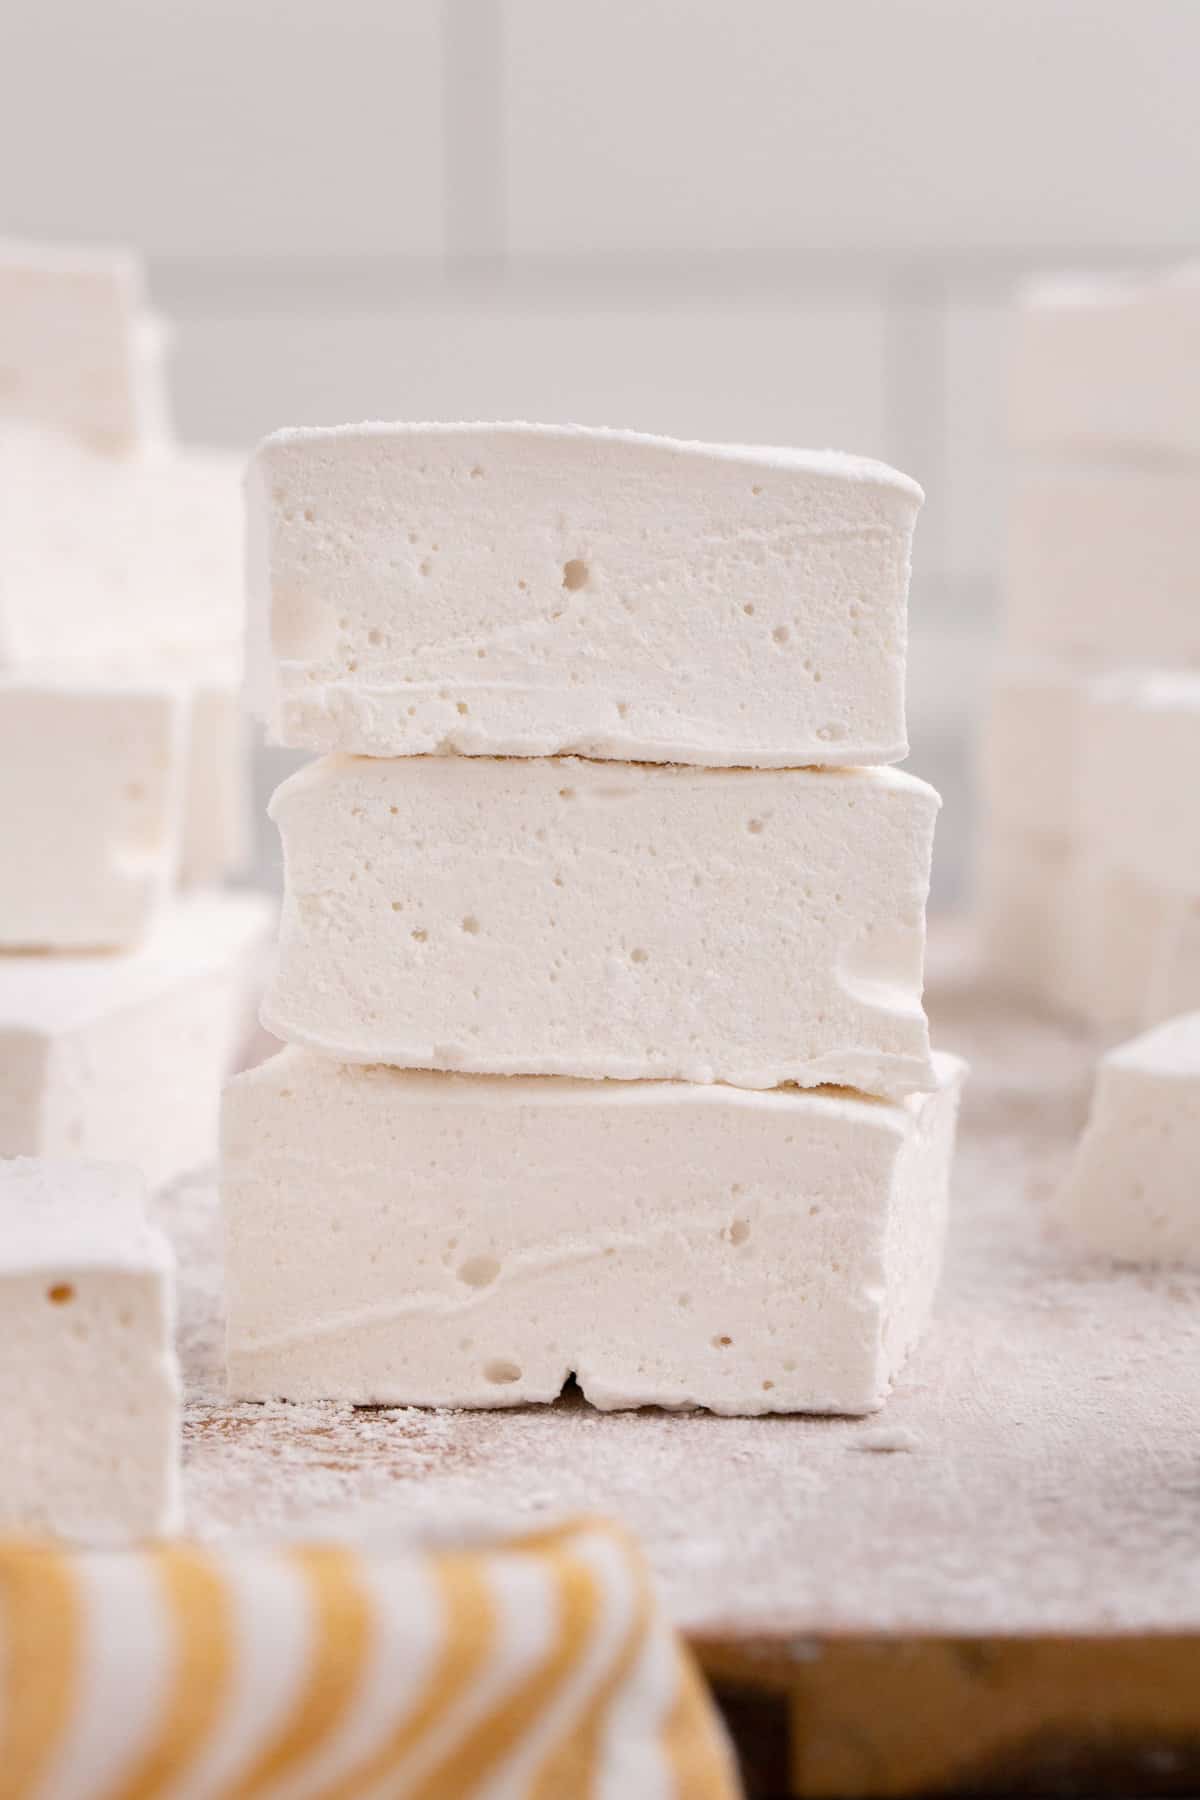
Homemade marshmallows are soft, fluffy, and packed with flavor; better than anything you’ll find in a store. They’re perfect for hot chocolate, s’mores, or as a sweet treat on their own.
Homemade Gelatin Marshmallows
We’ll show you how to make your own marshmallows from scratch with step-by-step photos and all the tips and tricks you need for guaranteed success. Plus, we will share tips for customizing the recipe with different flavors or colors.
Whether you enjoy these pillowy treats on their own or in a cup of cocoa, give this simple recipe a try. We’re confident you’ll fall in love with homemade marshmallows as much as we have!
Why you’ll love this recipe
- Soft & Pillowy: Better than any marshmallows you can buy at the store.
- Customizable: Easily adapt with different flavors, colors, or shapes for any occasion.
- Fun to Make: Easy-to-follow steps with only 20 minutes of prep.
- Versatile: Perfect for hot cocoa, s’mores, or as a sweet snack.
Ingredients
This section includes ingredient notes and substitution options. Get all measurements, ingredients, and instructions in the printable recipe card at the end of this post.
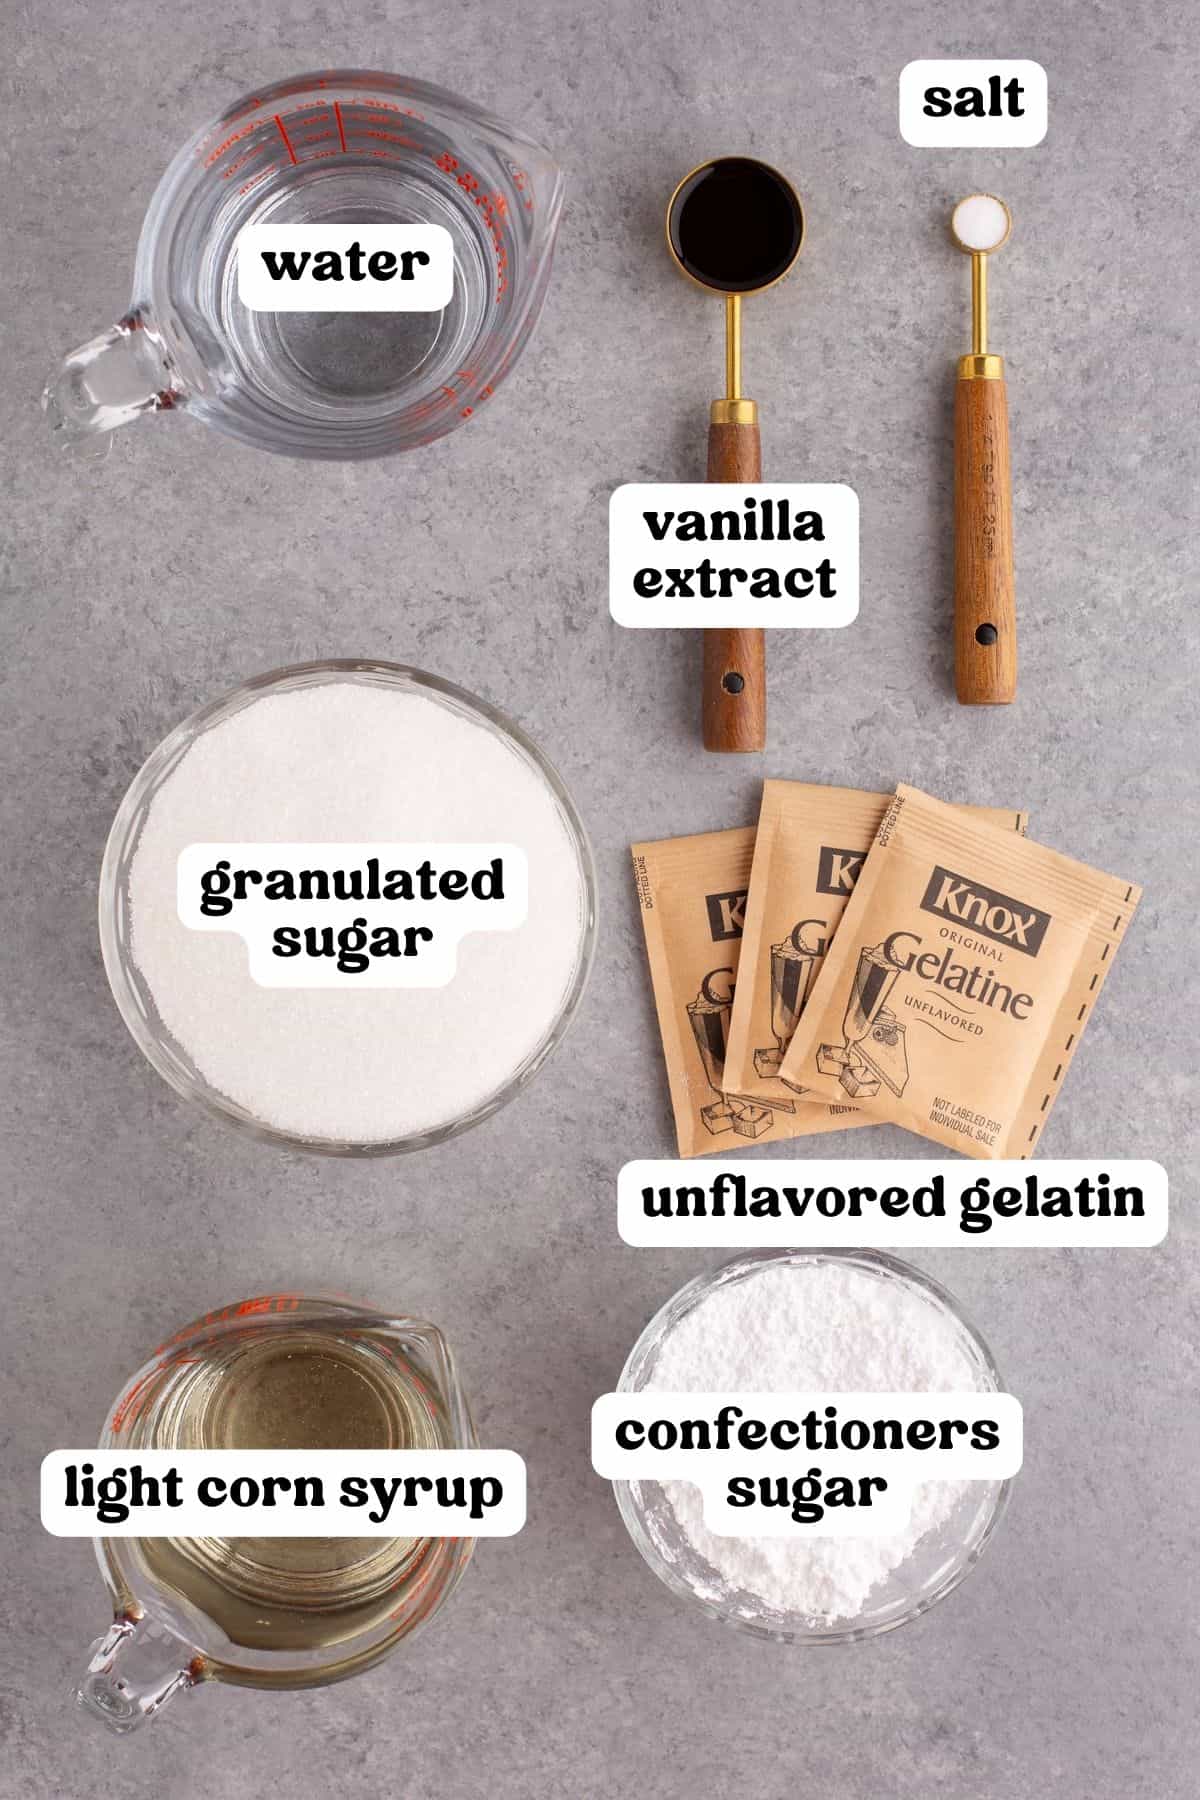
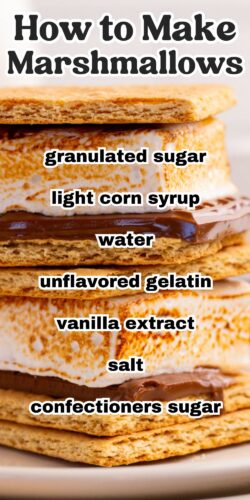
- Gelatin – Use unflavored gelatin, such as Knox gelatin for this recipe. You will need 3 packets (.75 ounces or 7 teaspoons).
- Granulated sugar – Regular white sugar.
- Light corn syrup – Light corn syrup is perfect for bright white marshmallows.
- Water
- Vanilla extract – Vanilla bean paste would be delicious as well. Or experiment with other extracts (more on this in the variations section below).
- Salt
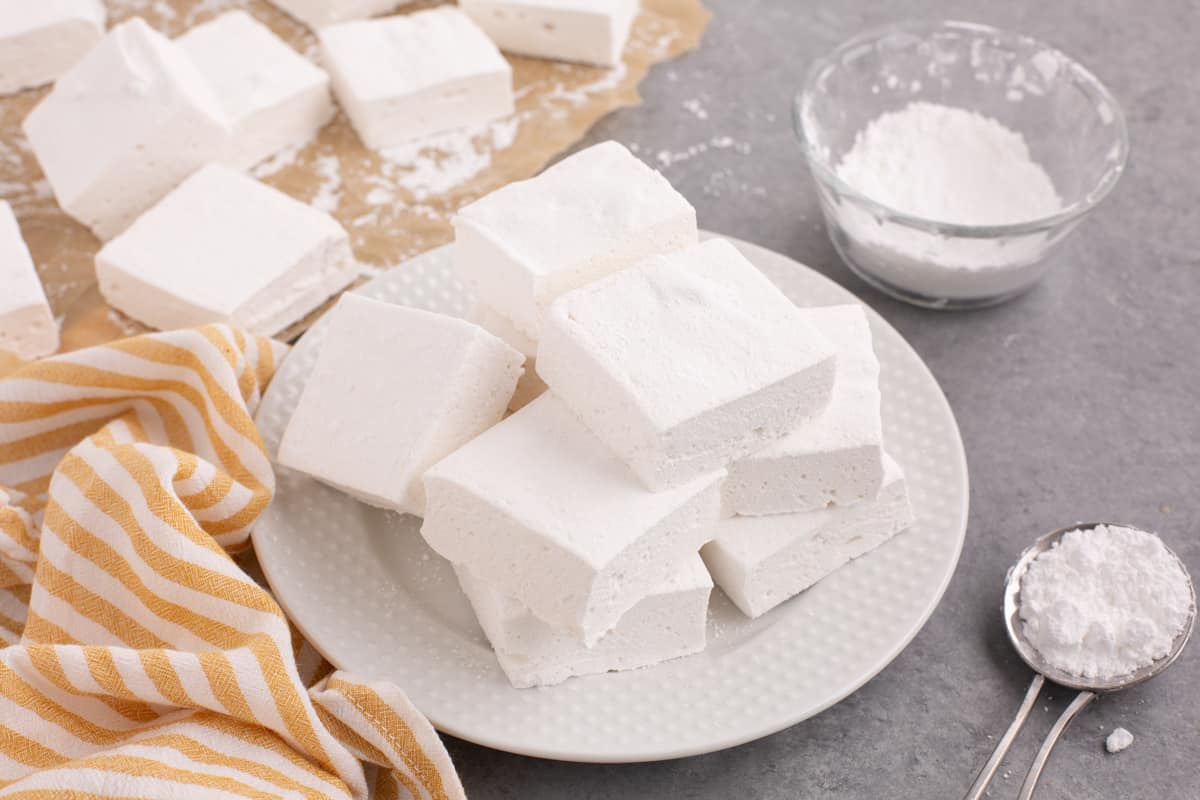
- Confectioners sugar – to coat the marshmallows, making them easier to slice and handle without sticking together.
Equipment
- Stand mixer with whisk attachment
- Measuring cups/spoons
- Saucepan
- Candy thermometer (this is the one I use)
- 9×13 pan – a 9-inch pan can be used for thicker marshmallows
- Sifter or mesh strainer
- Rubber spatula
- Cutting board
- Knife
How to Make Marshmallows From Scratch
This section shows you how to make the recipe with step-by-step photos and instructions. For the full printable recipe, see the recipe card below.
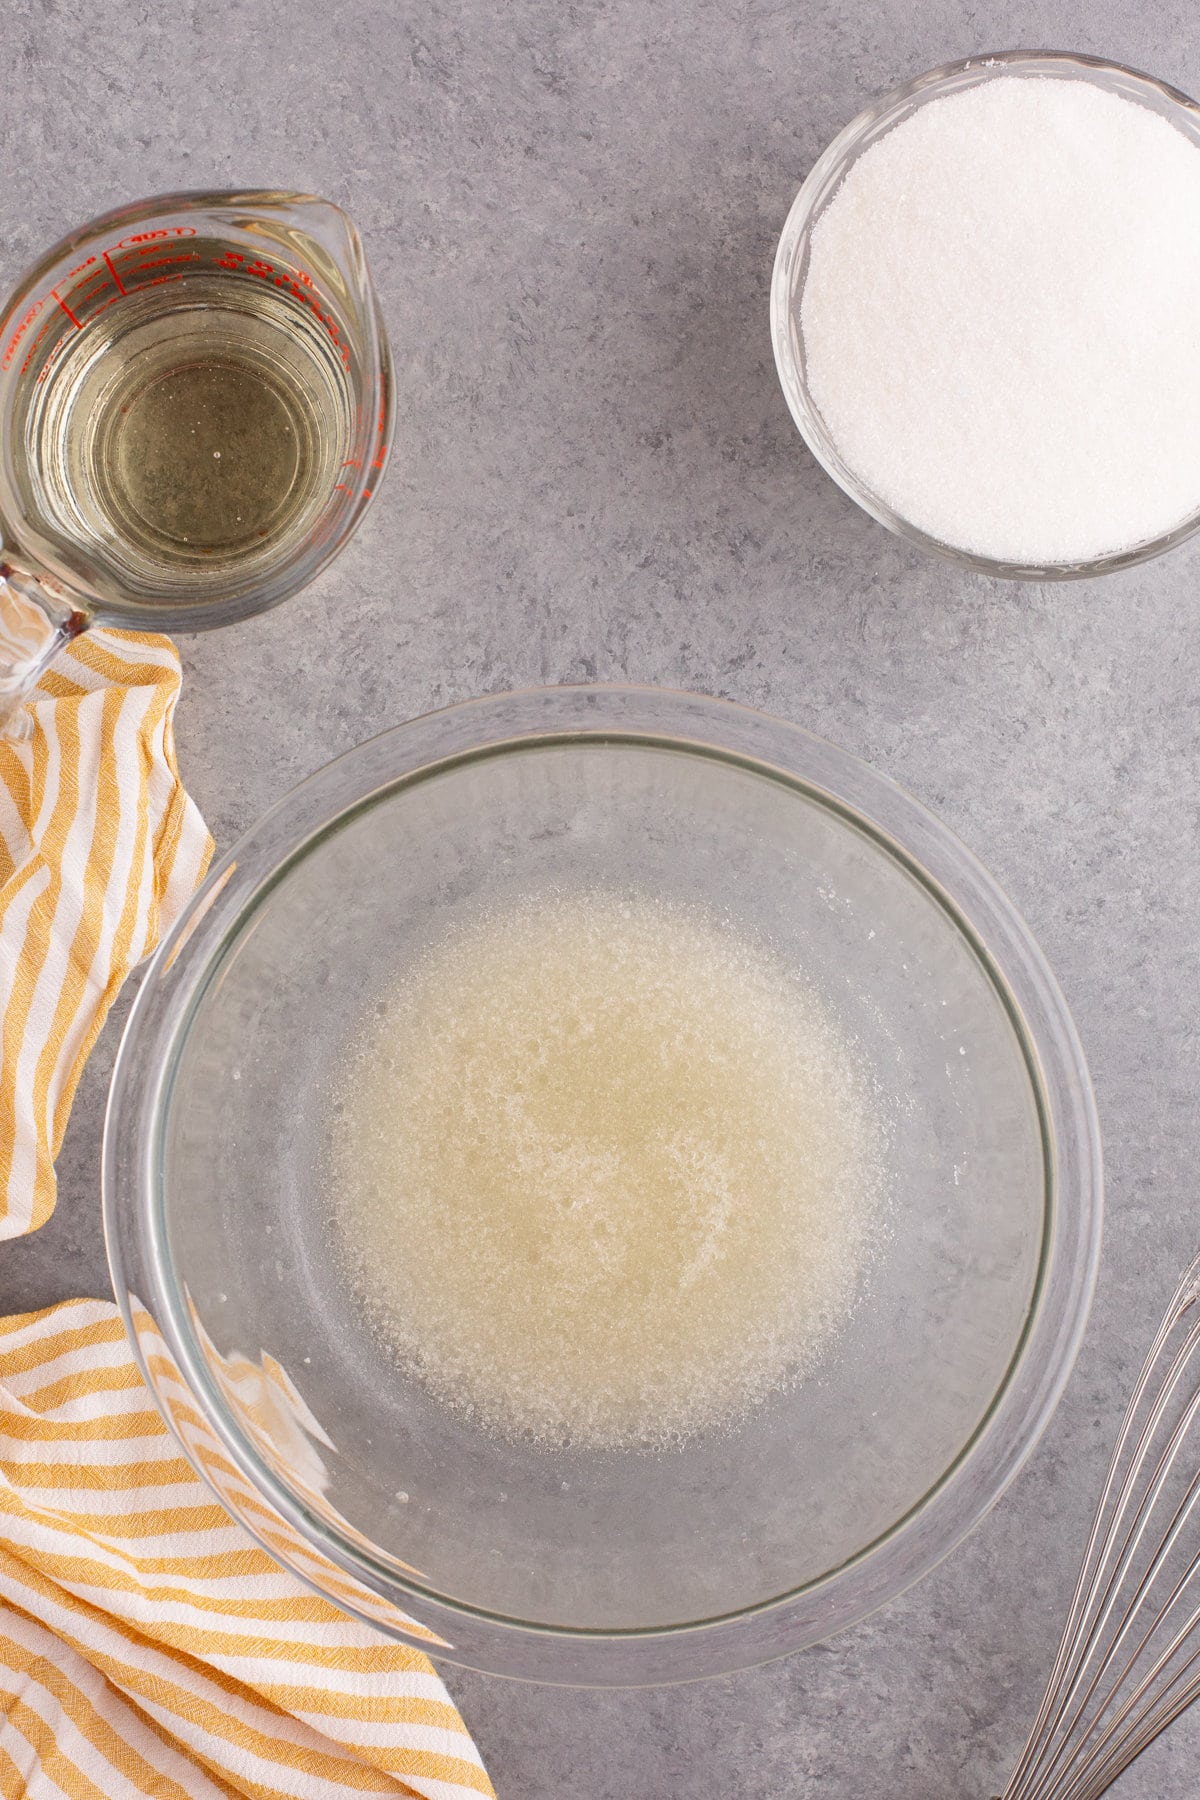
Step 1: Bloom the Gelatin. In a small bowl or in the bowl of an electric mixer, combine gelatin powder with 1/2 cup cool water and set aside. This step is crucial for the gelatin to absorb water and “bloom,” which ensures it will evenly disperse and dissolve when mixed with the hot sugar syrup.
Step 2: Prepare the Sugar Syrup. Combine sugar, corn syrup, water, and salt in a saucepan and bring to a boil. Monitoring the temperature with a candy thermometer is vital here; reaching 240°F (115°C) ensures the syrup will achieve the right concentration for the marshmallows to set properly.
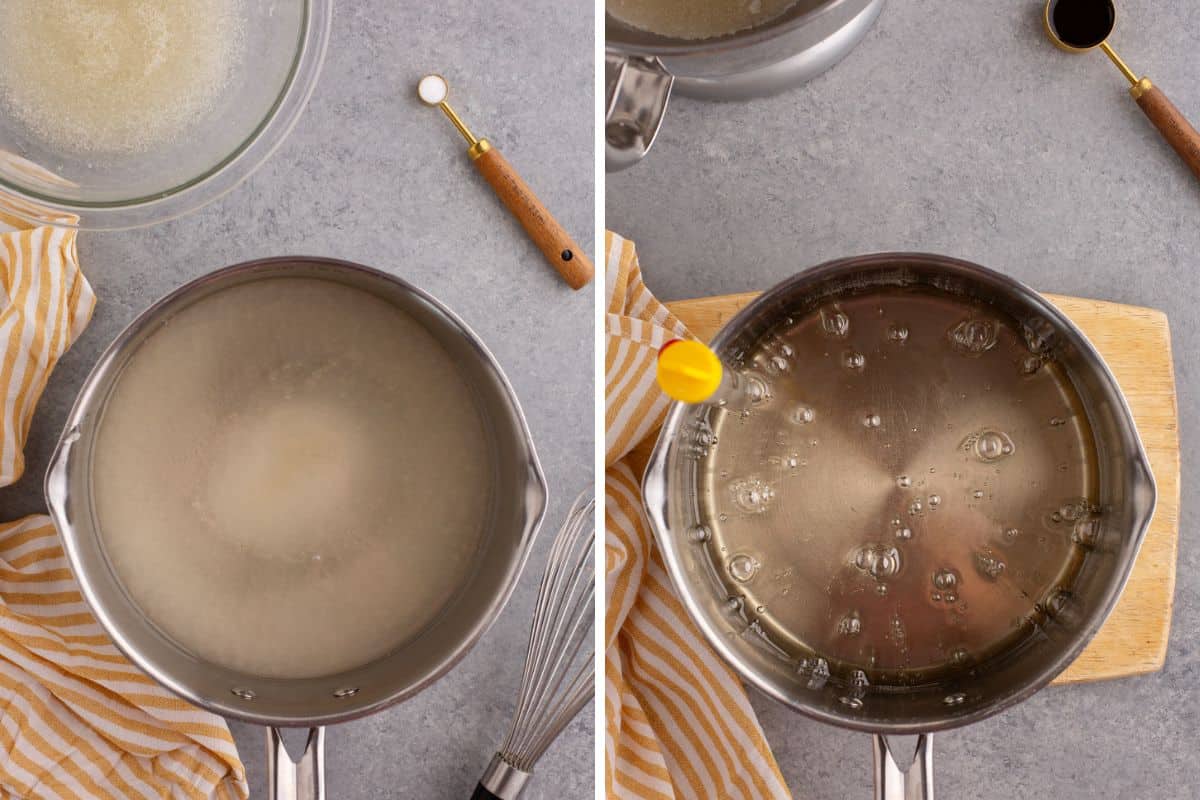
Candy Thermometer Tip
When placing the thermometer onto the pot ensure the tip is suspended in the syrup mixture and not directly touching the bottom of the pan, as this can give an inaccurate reading. It is also important that the thermometer is a candy thermometer and not a meat thermometer, meat thermometers are not meant for the higher temperatures used when making candy.
Step 3: Mix. While mixing at low speed, gradually add the hot sugar syrup to the bloomed gelatin. Initially, mix on low to prevent splashing and ensure the gelatin dissolves properly. Then, increase gradually to high speed and whip the mixture into a glossy, thick marshmallow fluff. This incorporates air, which is responsible for the marshmallows’ light, fluffy texture.
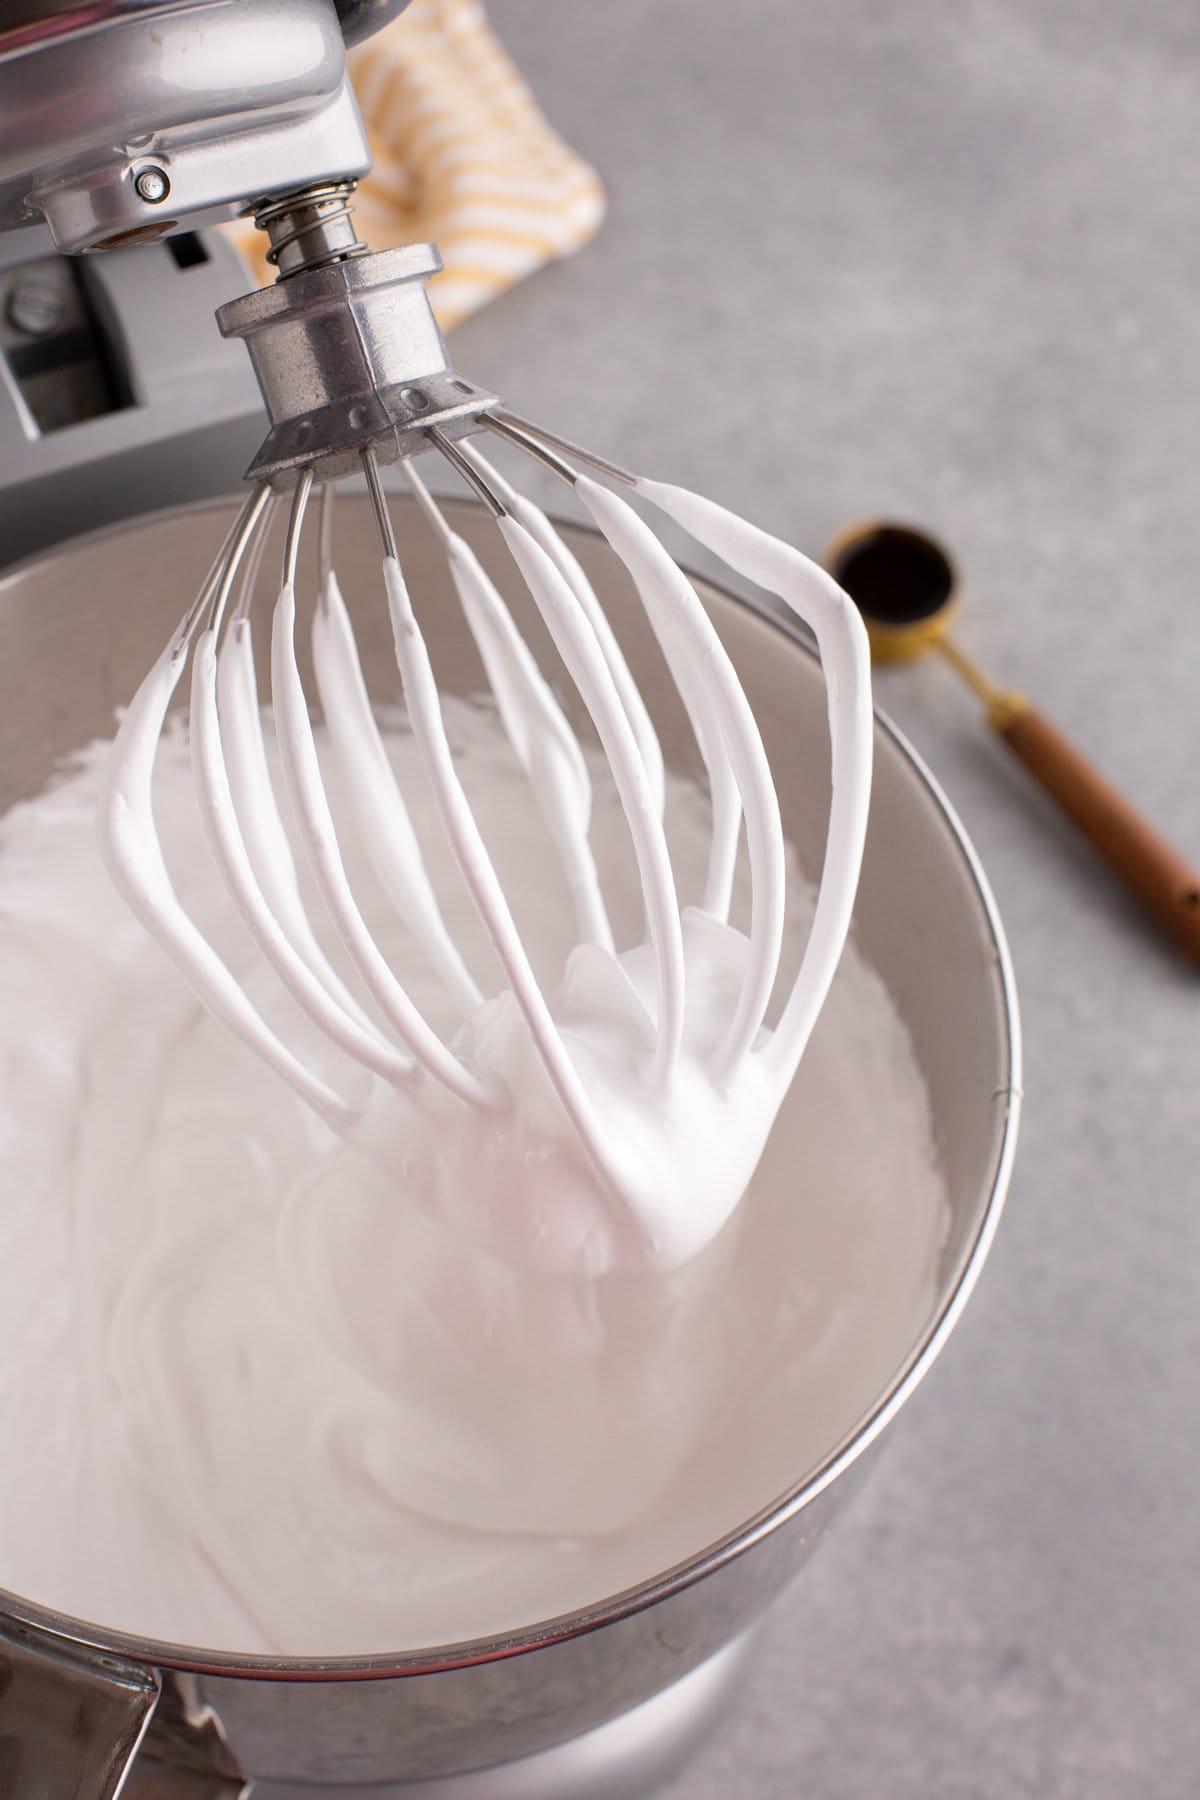
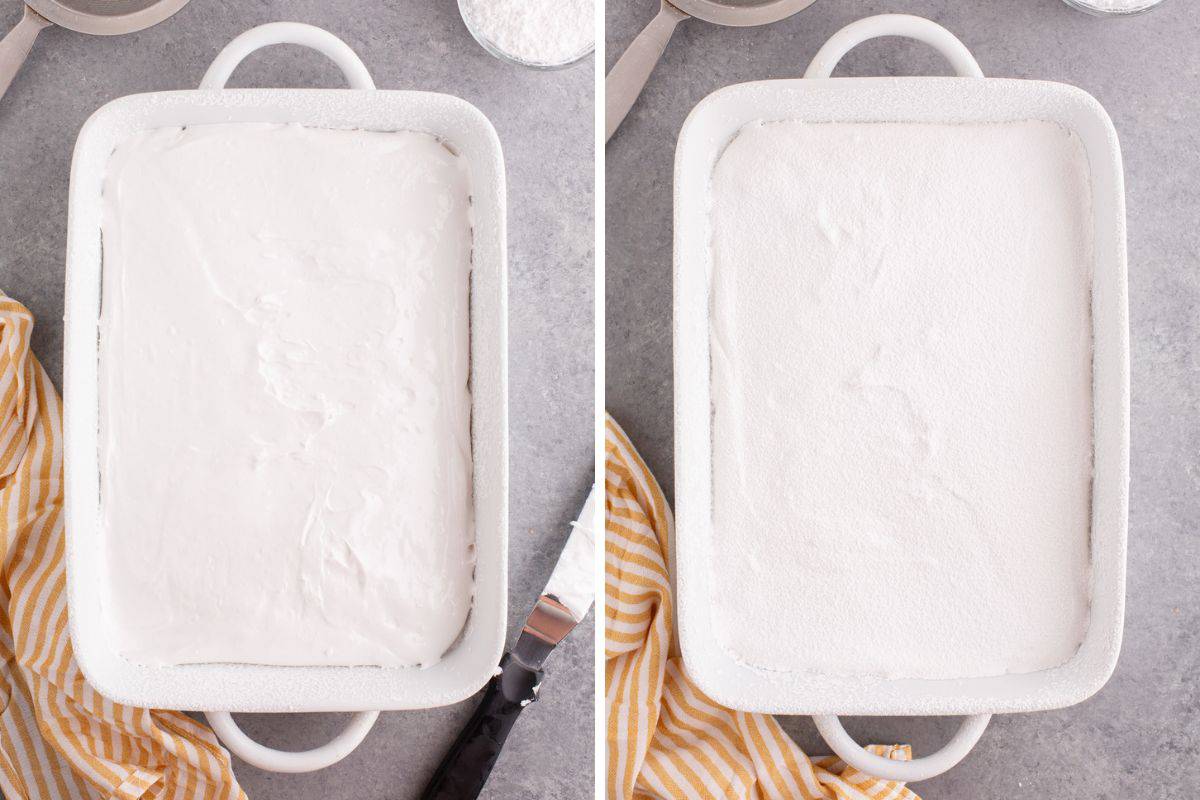
Step 4: Flavoring and Setting. Once cooled, light, fluffy, and glossy (as shown above) mix in the vanilla extract. Spread it into a prepared pan dusted with powdered sugar to prevent sticking. Generously add more powdered sugar to the top of the marshmallow mixture. Let it set overnight (or at least 8 hours) to solidify.
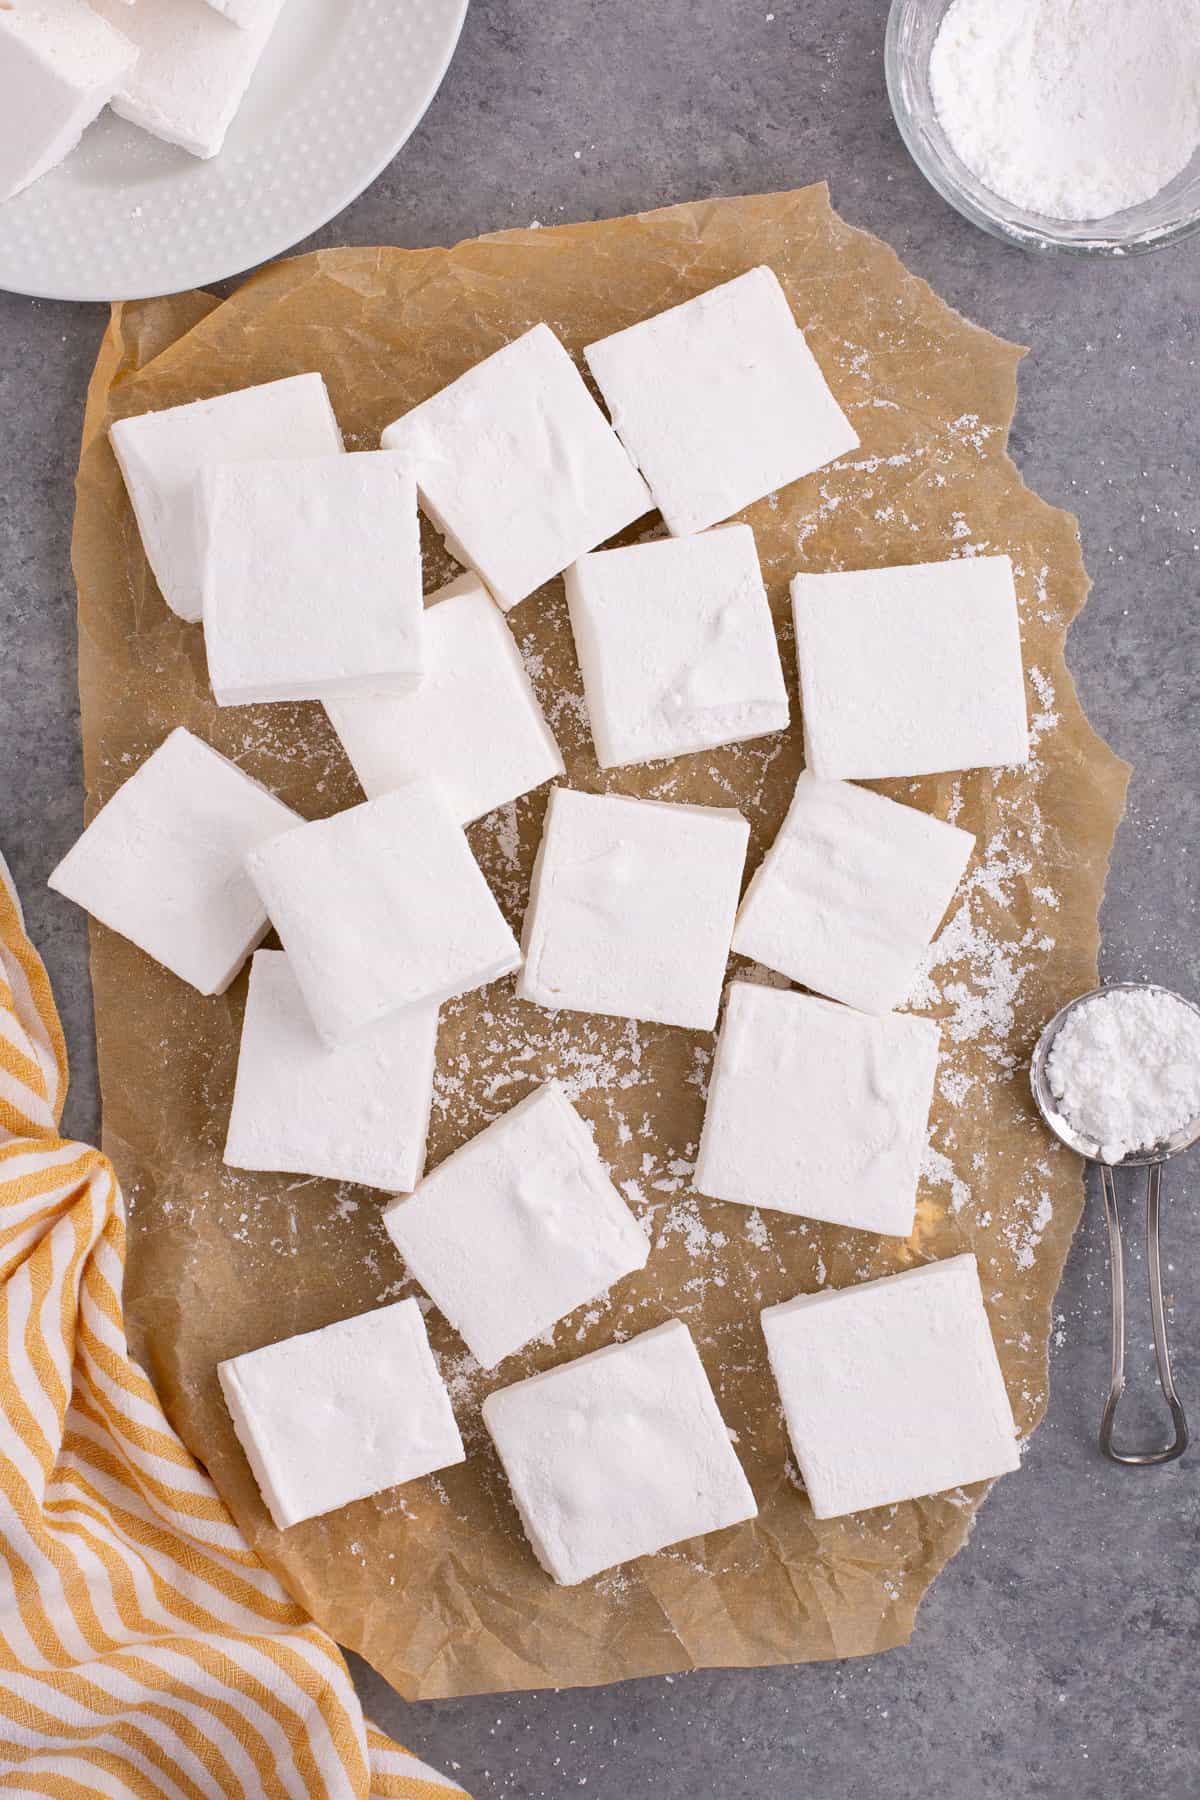
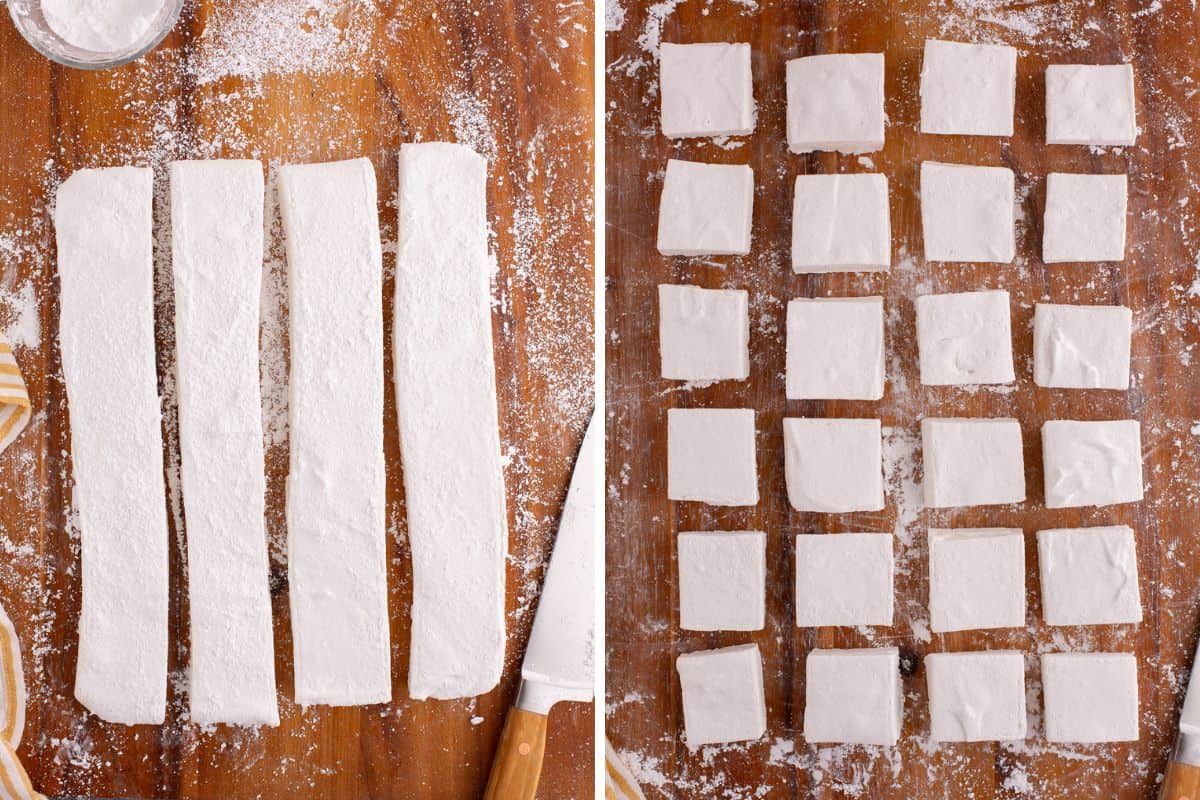
Step 5: Cut Marshmallows: Once set, loosen the marshmallow slab from the pan with a butter knife and turn out onto a powdered surface. Dust with confectioners sugar and slice into squares, dusting the knife and marshmallows with additional sugar as needed to prevent stickiness.
Storage
Store at room temperature in an air-tight container for up to 2 weeks.
I do not recommend freezing or storing in the refrigerator.
Tips for Success
- Bloom Gelatin Properly: Ensure gelatin is fully hydrated in cool water before use to guarantee a smooth, even texture in your marshmallows.
- Monitor Sugar Syrup Closely: Use a candy thermometer to heat the syrup to 240℉ (soft ball stage) then promptly remove it from heat.
- Whip to the Right Consistency: Whip the mixture until it’s thick, glossy, and has cooled down to create fluffy marshmallows with the ideal texture
- Dust Generously with Powdered Sugar: Prevent sticking and ensure easy slicing by liberally dusting all surfaces, including the pan, marshmallows, and cutting utensils.
Additions and variations
- Colored Marshmallows: After whipping, mix in your choice of food coloring for 30-60 seconds.
- Swirled Marshmallows: After whipping, spread half the mixture into the prepared pan. Mix food coloring in to the remaining half. Dollop the colored portion on the white base and swirl with a knife to create a pretty swirl effect.
- Flavored Marshmallows: Reduce vanilla extract to 1 teaspoon and add ¼ teaspoon of your preferred extract (e.g., peppermint, spearmint, orange, raspberry, strawberry, lemon, or almond extract). Adjust the amount to taste, adding more in ¼ teaspoon increments, whipping well after each addition.
- Shaped Marshmallows: Once set, use cookie cutters dusted with powdered sugar to cut the marshmallows into various shapes, perfect for themed parties or holidays.
- Add-ins: Stir in crushed candies or mini chocolate chips right before spreading the marshmallow mixture into the pan for an extra burst of flavor and texture.
How to use Homemade Marshmallows
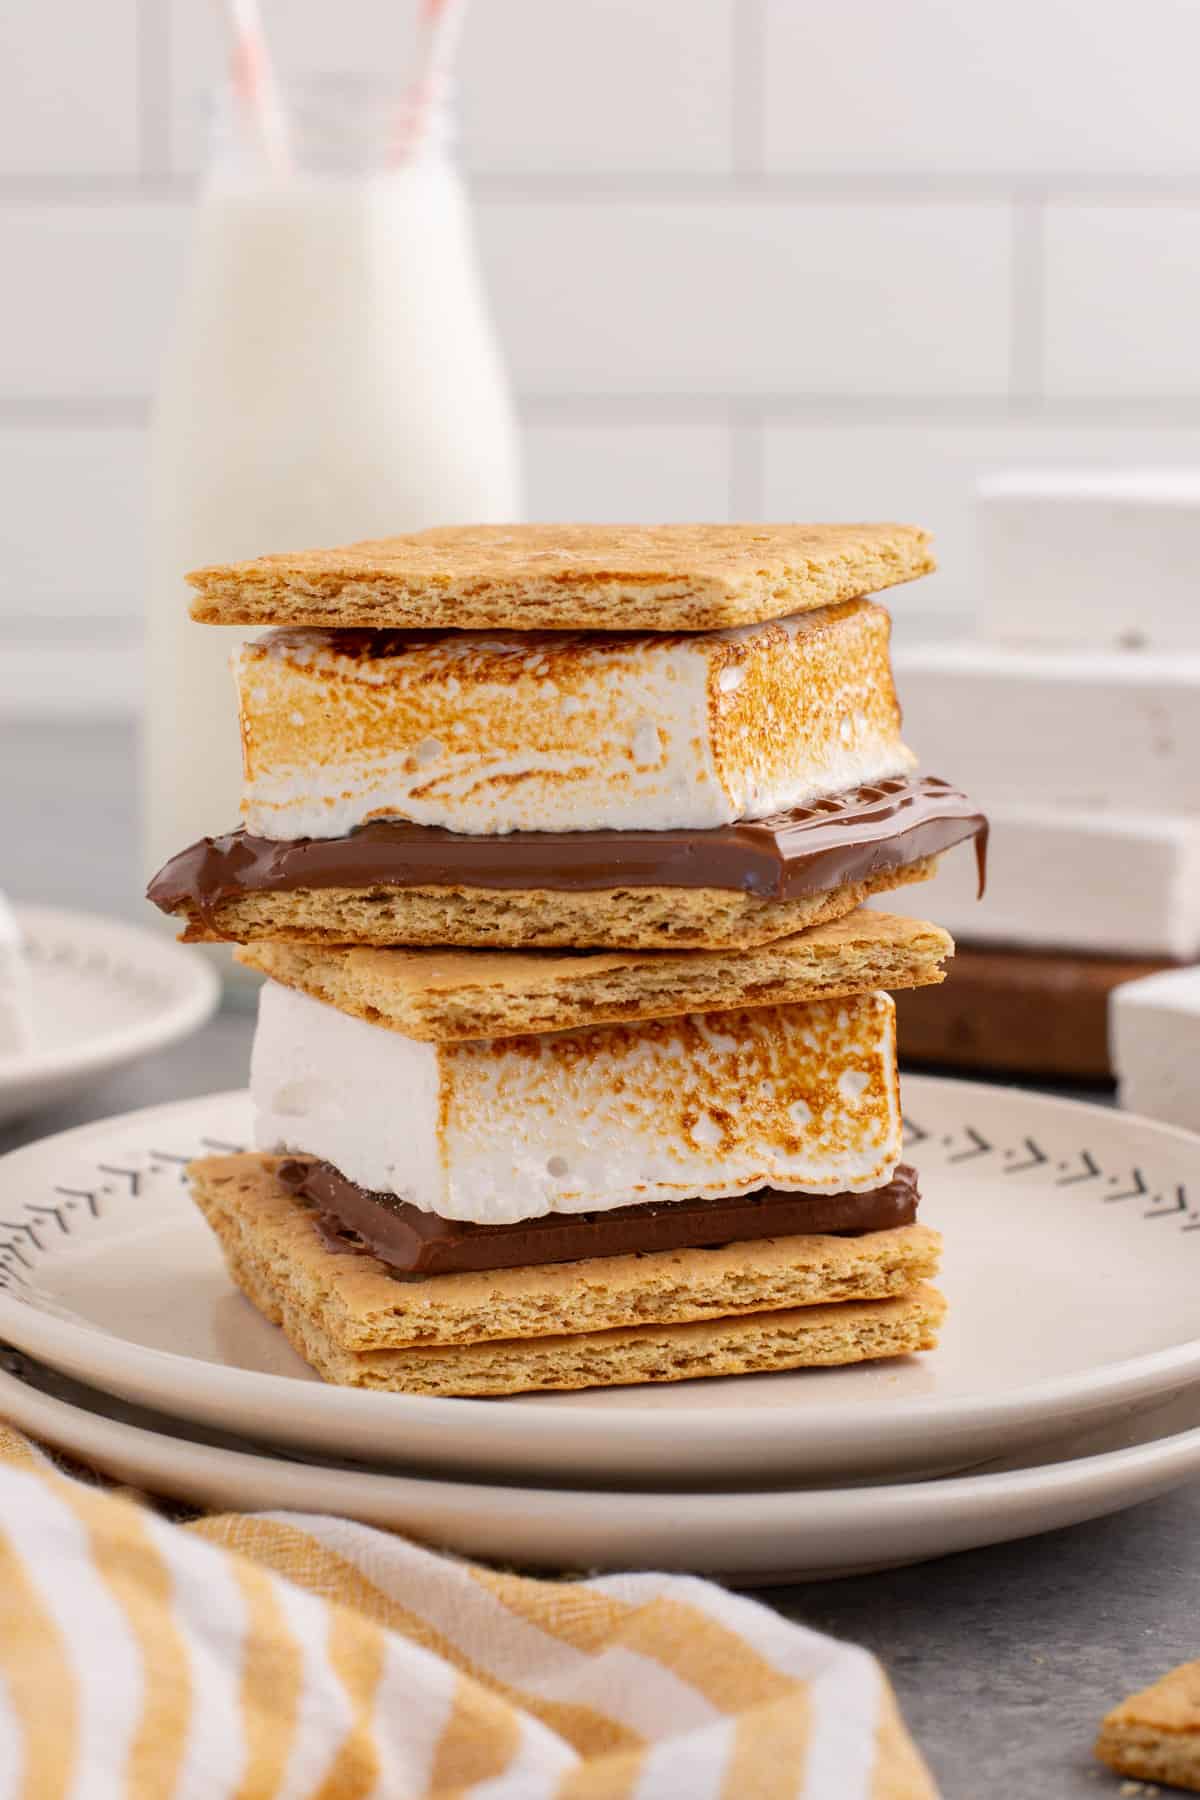
- S’mores: Replace store-bought marshmallows with your homemade ones for a gourmet twist on this classic campfire treat. Or try this tasty twist on s’mores (no campfire needed).
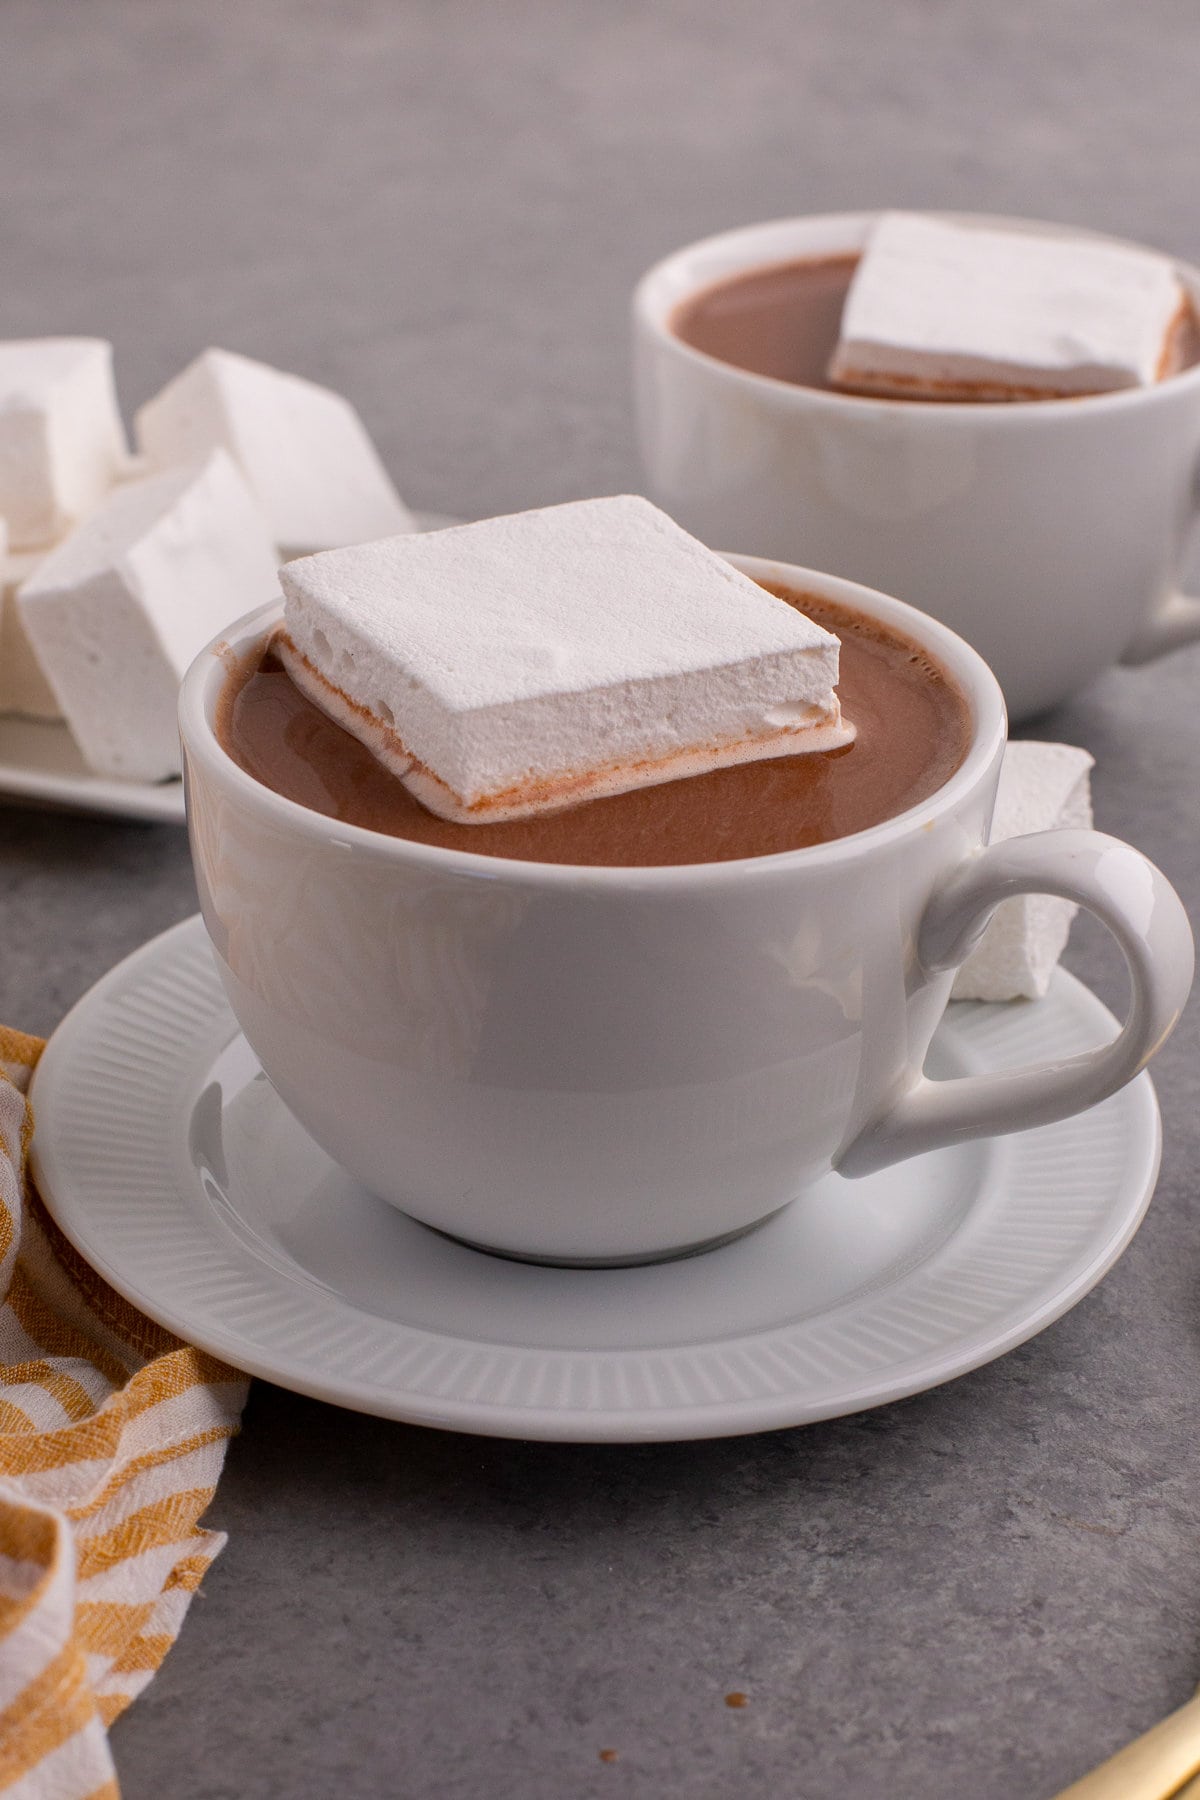
- Hot Chocolate: Drop a homemade marshmallow into a mug of hot chocolate for an extra special, melt-in-your-mouth experience. Or try them in this incredible salted caramel hot chocolate.
- Rice Krispies Treats: Use them in Rice Krispies treats for a richer, creamier texture.
- Dessert Salads: Chop them up and add to marshmallow fruit salad or other dessert salad recipes.
- Homemade Candy: Combine your marshmallows with chocolate and nuts to make homemade rocky road candy.
- Cookies: Make a batch of s’mores cookies, s’mores blossom cookies, or marshmallow-topped hot chocolate cookies.
FAQ
Yes, you can. Use the cold water test: drop a small amount of the boiling syrup into cold water. If it forms a soft ball that flattens when removed, it’s ready.
This could be due to not boiling the sugar mixture to the correct temperature, not whipping the mixture long enough, or improperly hydrated gelatin.
Stored in an airtight container at room temperature, homemade marshmallows can last up to 2 weeks. Ensure they’re well-dusted with powdered sugar to prevent sticking and keep the marshmallows from absorbing moisture from the air.
Dust the knife with powdered sugar before cutting, and re-dust as necessary. This helps to create a non-stick barrier between the knife and the marshmallow.
Yes, while the corn syrup is helpful to prevent the sugar from crystalizing and give you that perfectly soft and fluffy texture, you can make marshmallows without it. Agave syrup, maple syrup, honey, or golden syrup are good alternatives.
Homemade Marshmallow Recipe
Ingredients
- 1 cup water, divided
- 3 packets unflavored gelatin, .75 ounces
- 1 ½ cups granulated sugar
- 1 cup light corn syrup
- ¼ teaspoon salt
- 1 Tablespoon vanilla extract
- confectioners sugar, for dusting
Instructions
- In the bowl of a stand mixer fitted with the whisk attachment, whisk ½ cup of cool water with gelatin powder and set aside while you prepare the sugar syrup.
- In a medium saucepan, combine granulated sugar, corn syrup, remaining ½ cup of water, and salt. Bring to a boil over medium-high heat, stirring occasionally to ensure sugar does not burn on the bottom. Using a candy thermometer, heat mixture to 240℉ then remove from heat.
- With the mixer on low speed, slowly pour the hot sugar mixture into the gelatin mixture. Continue to mix on low until the gelatin dissolves, about 1 minute. Gradually increase the speed to high, whipping until cool, thick, and glossy (about 10-12 minutes).
- Add vanilla extract (or your preferred flavoring), mixing until incorporated, about 1 minute).
- Generously dust a 9×13 inch baking dish with confectioners sugar. Spread marshmallow mixture evenly into the pan. Dust top with confectioners sugars. Cover tightly with plastic wrap, being careful not to let it touch the surface of the marshmallows. Allow to set at room temperature for 8 hours or overnight.
- When ready to cut marshmallows, generously dust work surface with confectioners sugar. Run a knife along the edge of the pan to loosen marshmallow slab and invert to release. Using a knife dusted with confectiners sugar, cut marshmallows into desired sizes. Continue to dust the knife, work surface, and marshmallows as necessary to prevent sticking.
Notes
- When placing the thermometer onto the pot ensure the tip is suspended in the syrup mixture and not directly touching the bottom of the pan, as this can give an inaccurate reading.
- Store in an air-tight container at room temperature for up to 2 weeks.
- For 1 ½ inch marshmallows, cut 4 strips lengthwise. Then cut each strip into 6 pieces.
- The recipe yields 24 large 1½-inch-marshmallows, the perfect size for s’mores. If you slice your marshmallows smaller the yield will be higher.
Nutrition

Did You Make This Recipe?
Share it with me on Instagram @crayonsandcravings and follow on Pinterest @crayonsandcravings for even more!


Hi,
Can another syrup be used besides corn syrup?
I have only tested the recipe using corn syrup but I have heard others have success using maple syrup, golden syrup, or agave syrup in its place. If you give it a try please let us know it comes out!