Easy 7 Up Biscuits
Posts may contain affiliate links, meaning that I may earn a commission if you use a link provided.
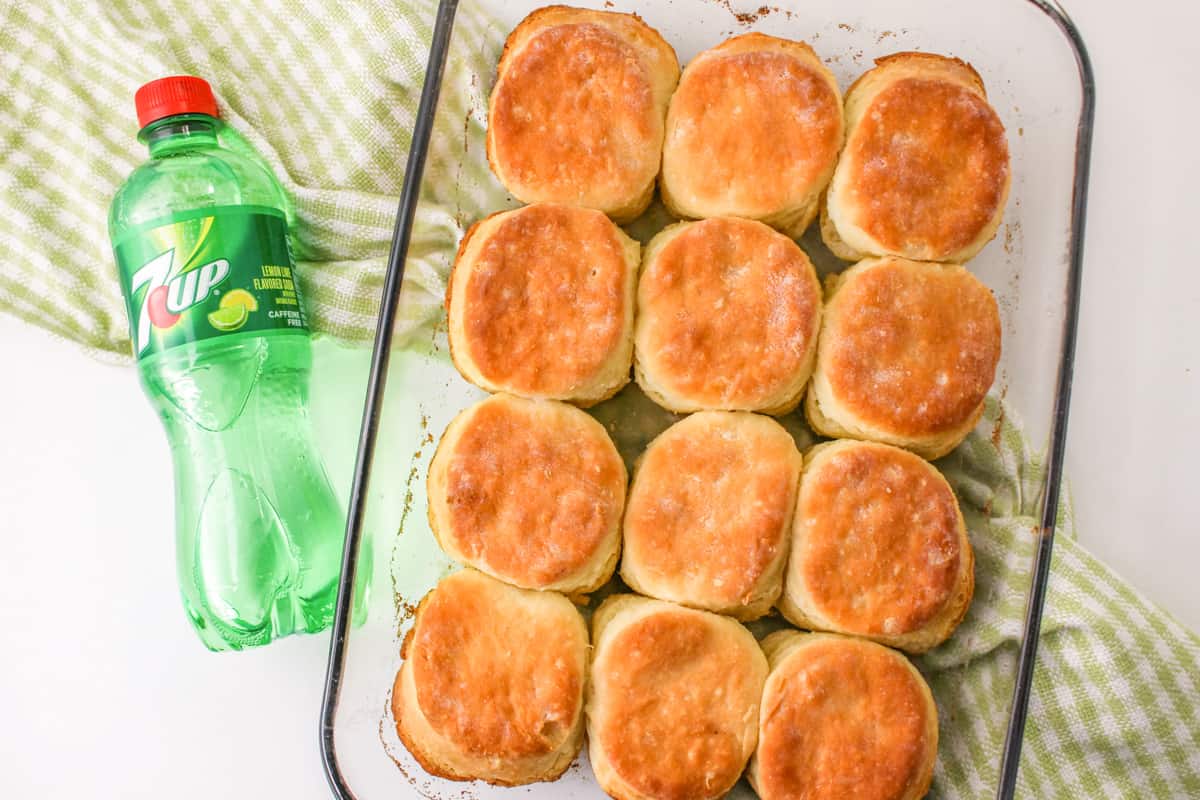
Craving irresistibly fluffy, buttery biscuits? These 7 Up Biscuits with Bisquick have a secret ingredient — lemon-lime soda — that takes homemade biscuits to a whole new level of biscuit perfection. Ideal for breakfast, brunch, or as a side for your favorite comfort foods, these biscuits will become a family favorite. You won’t believe how simple and delicious they are!

Don’t you love simple recipes that don’t have long lists of expensive ingredients? There’s something truly satisfying about creating delicious food with just a handful of pantry staples.
These 7 Up biscuits are the perfect example of this — combining biscuit mix, lemon lime soda, sour cream, and butter to create a flaky, tender homemade biscuit. Whether you’re a seasoned cook or just starting out, these are the easiest biscuits ever and are sure to become a family favorite.

If you want to make biscuits completely from scratch, try my Homemade Buttermilk Biscuits. They rise perfectly every time and are full of flaky layers. But when you’re in a crunch for time, you’ll love this easy biscuits recipe; they taste like KFC biscuits!
For now, gather the four ingredients below to make the BEST biscuits you’ve ever had.
Ingredients
This section includes ingredient notes and substitution options. Get all measurements, ingredients, and instructions in the printable recipe card at the end of this post.
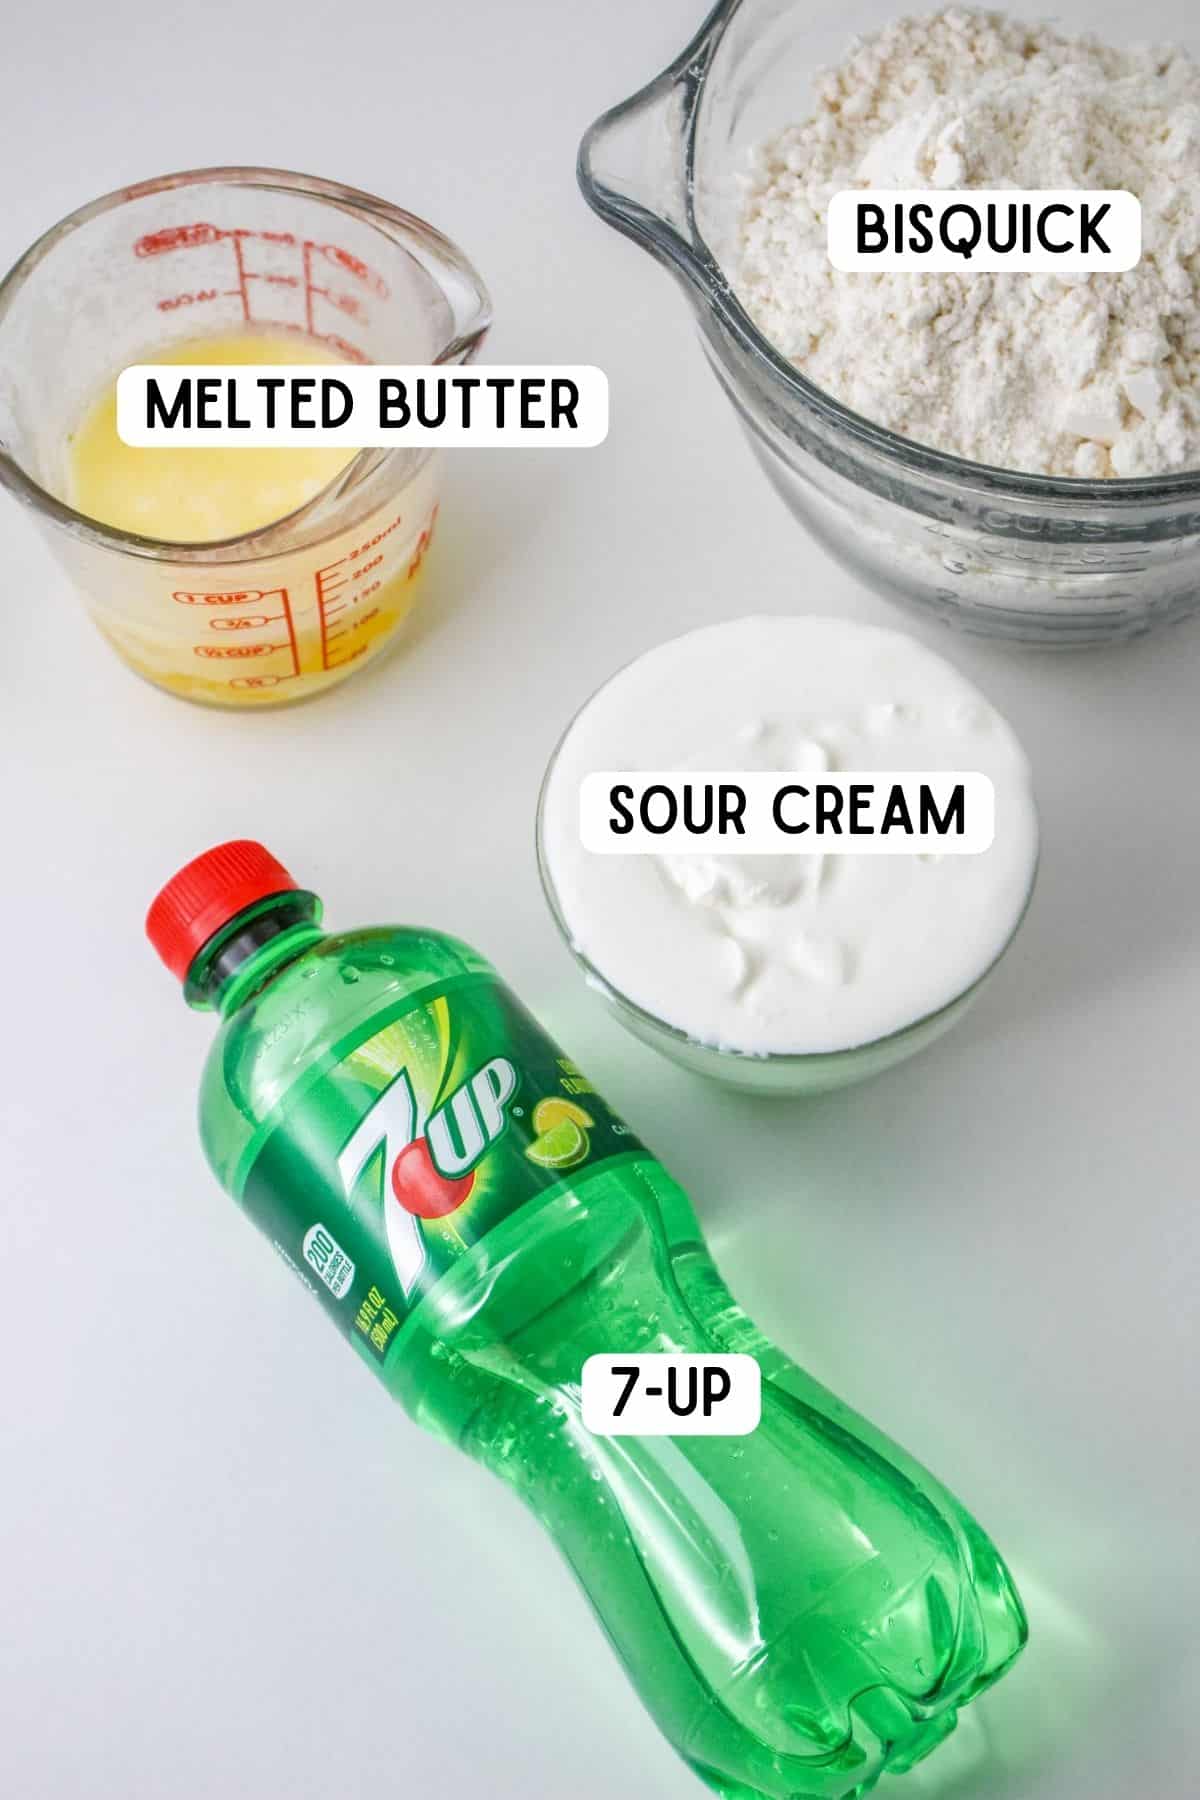
- Butter — You can’t go wrong with adding rich, buttery flavor to homemade biscuits!
- Bisquick — Use any brand of biscuit mix you like; I prefer Bisquick. It contains almost everything you need for biscuits including the flour, baking soda, corn starch, salt, sugar, and vegetable oil (per Southern Living). You’ll need additional Bisquick to sprinkle on your work surface as well.
- 7-Up Soda — 7 up is the classic choice (and my choice too) but any lemon-lime soda or ginger ale should work just fine. The carbonation and acid in the soda act as a leavening agent and make the biscuits light and fluffy. Don’t worry — you don’t taste the lemon-lime flavor in the biscuits.
- Sour Cream — Add sour cream to make biscuits tender and fluffy. It also contributes a subtle tangy flavor.
Kitchen Supplies
To make 7 up biscuits with Bisquick, grab the following kitchen tools:
How to Make 7-Up Biscuits With Bisquick
This section shows you how to make the recipe with step-by-step photos and instructions. For the full printable recipe, see the recipe card below.
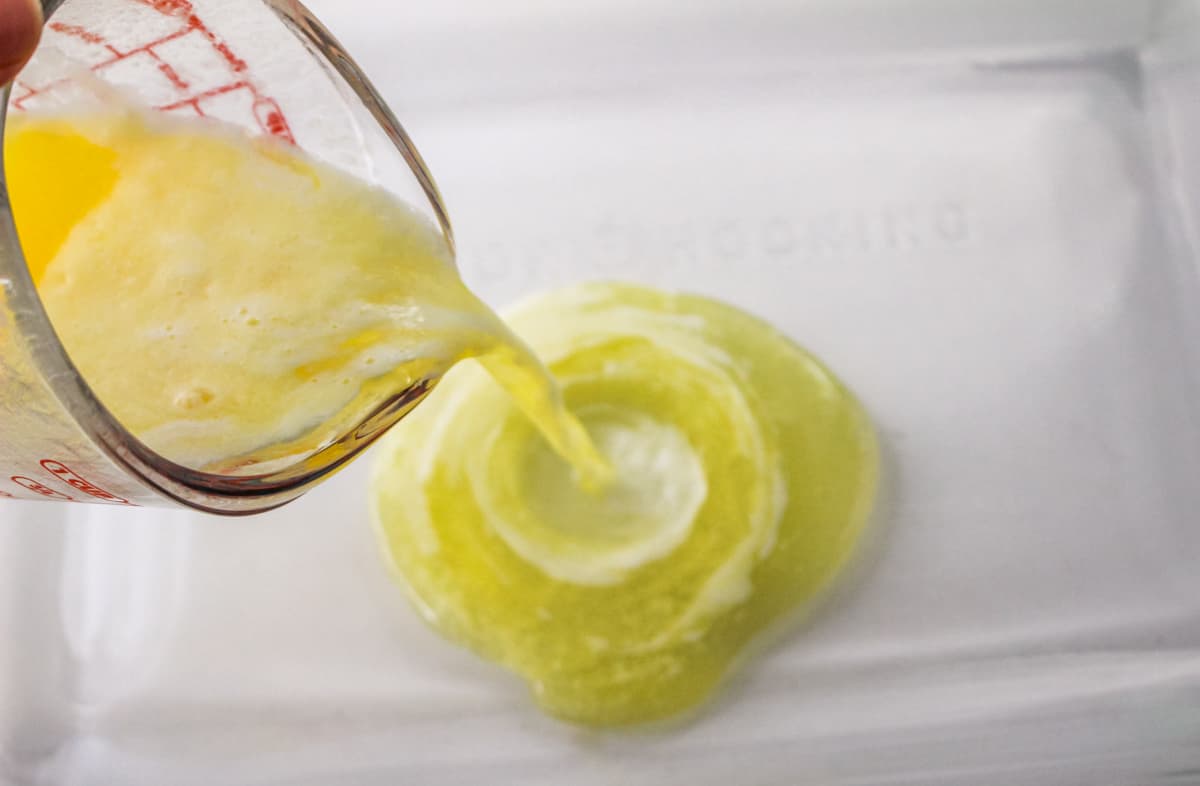
Step 1: Preheat your oven to 425°F. Pour the melted butter in the bottom of the baking dish, and swish it around to make sure the entire bottom of the dish gets coated. Alternatively, you can save yourself from using an extra dish and just melt the stick of butter in the pan while the oven is preheating.
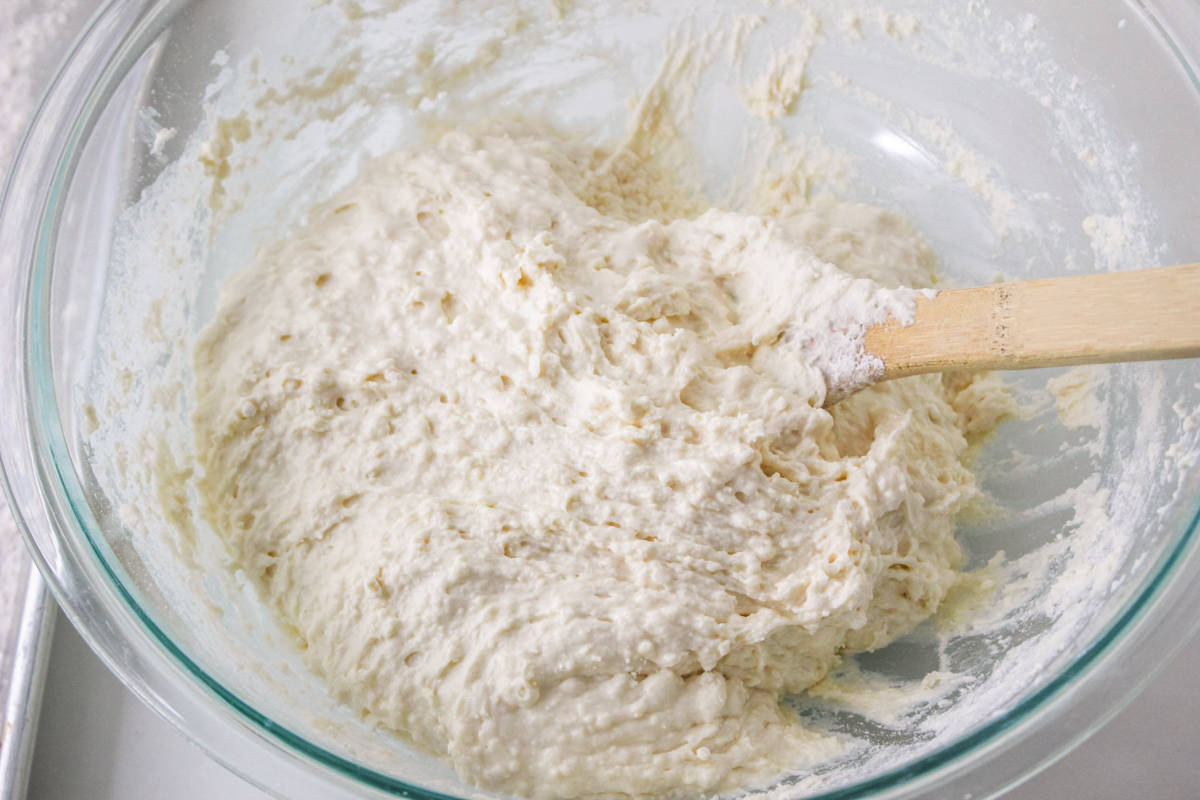
Step 2: Add the Bisquick, 7-Up, and sour cream to a large bowl. Mix the ingredients together until a soft, sticky dough forms.
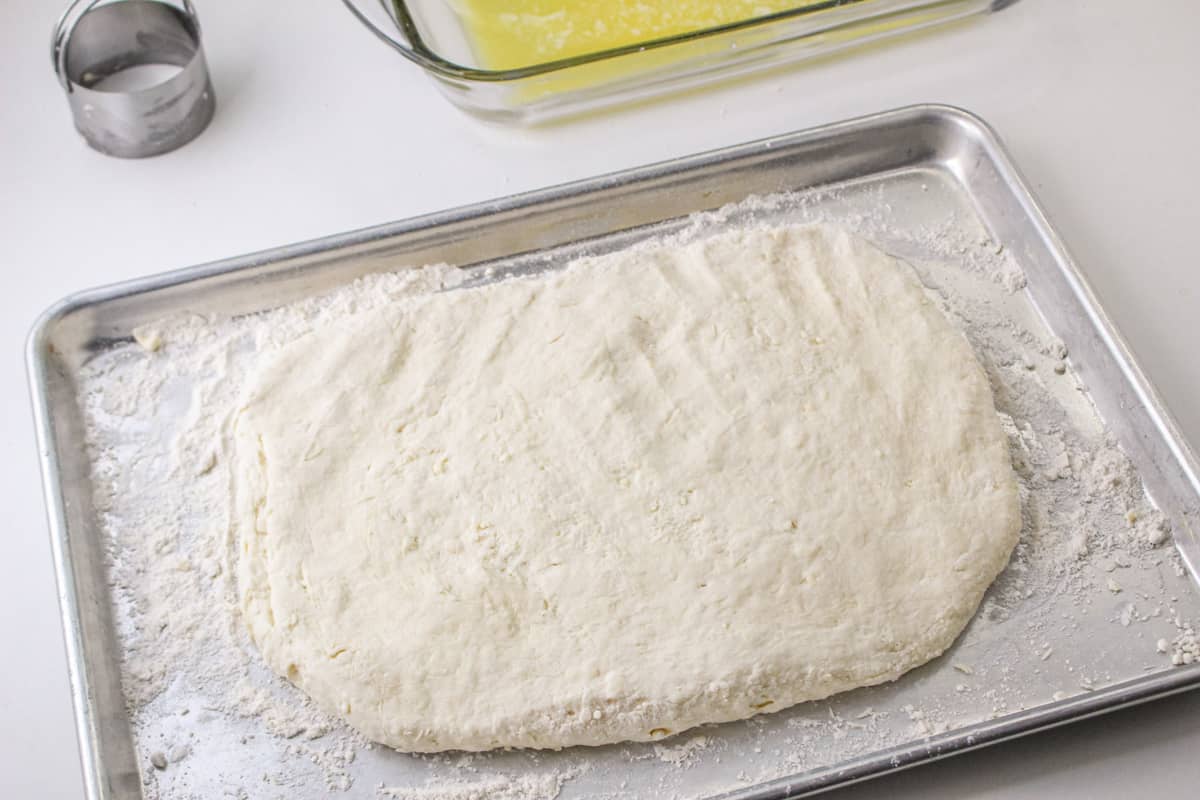
Step 3: Sprinkle some extra baking mix over your work surface to keep the biscuit dough from sticking. Place the dough on the floured surface, gently folding and kneading it until it’s easier to handle. Then, use your hands or a rolling pin to flatten the dough out into a circle about 1-inch thick.
Step 4: Dip a biscuit cutter, a large round cookie cutter, or the rim of a drinking glass in dry biscuit mix and cut out your biscuits.
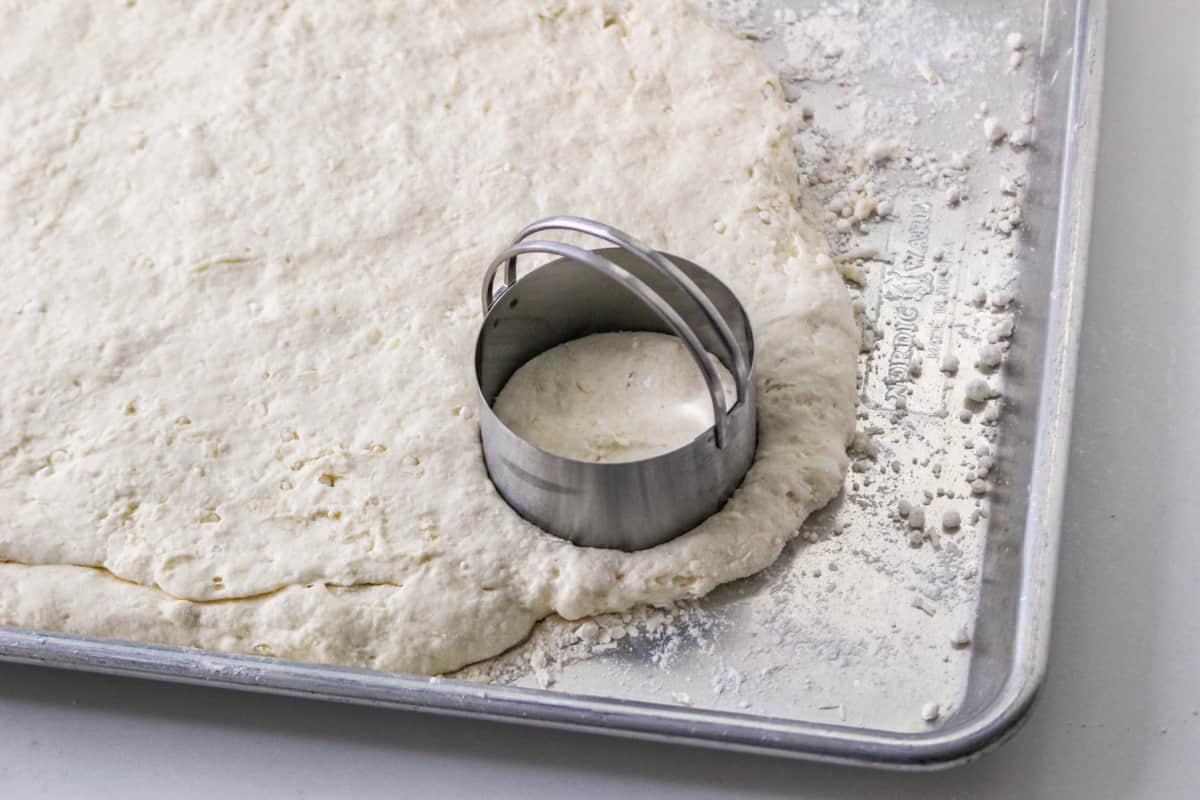
Step 4.5: Transfer the biscuits to the buttered baking dish.
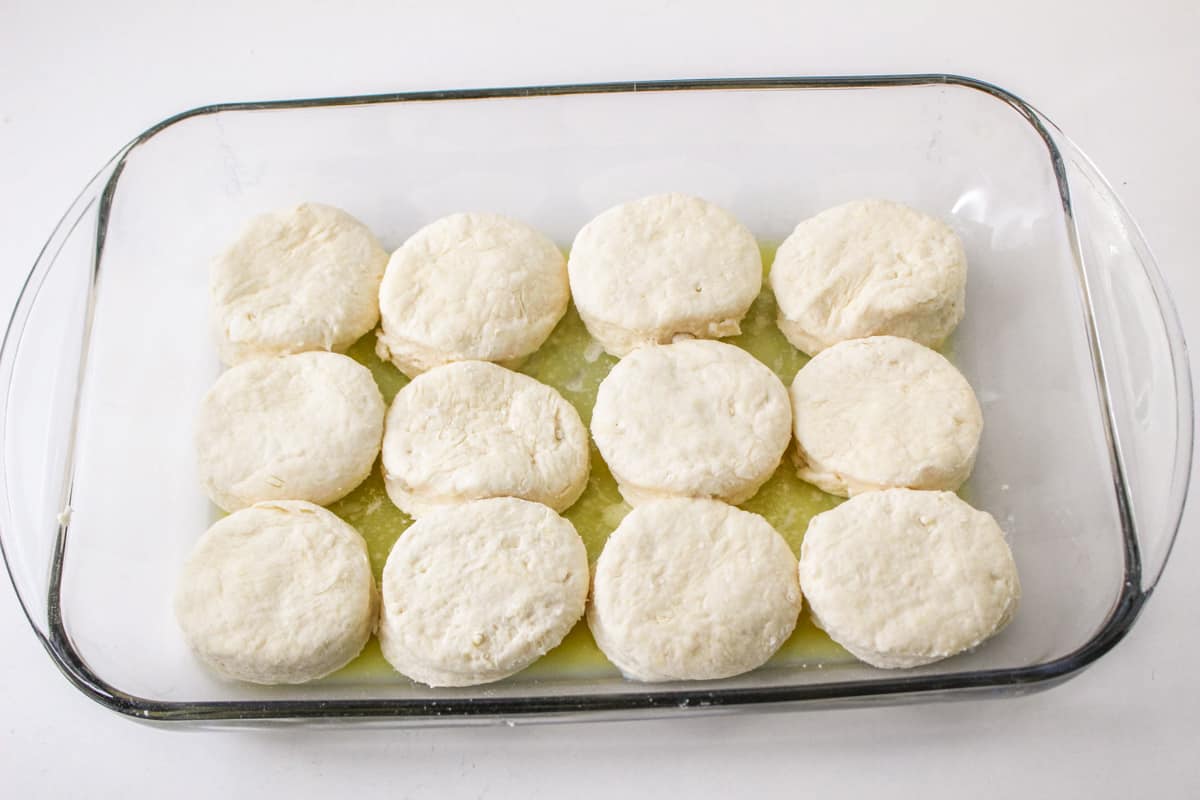
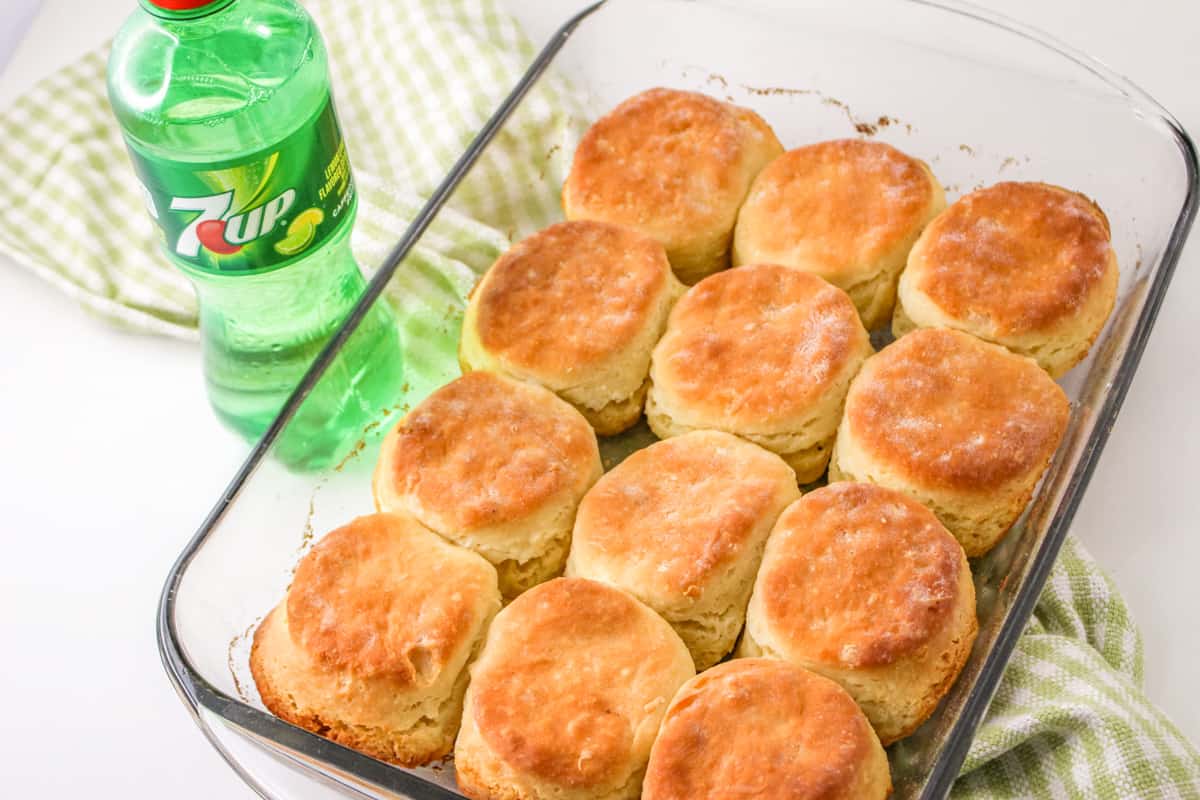
Step 5: Pop the biscuits into the preheated oven and bake them for 12-14 minutes or until they’re a light golden brown. Brush melted butter over the tops of the baked biscuits if you like yours extra buttery.
Serving Suggestions
Make these tender biscuits instead of using canned biscuits for my filling Biscuits and Gravy Casserole. A big casserole packed with sausage gravy and fluffy Bisquick biscuits is the PERFECT recipe to feed a crowd. You can also pair them with scrambled eggs, bacon, or sausage for a filling and satisfying morning meal.
Enjoy these flaky biscuits alongside a bowl of hot soup or chili for a comforting dinner on a cold day. They’ll pair beautifully with loaded baked potato soup or my Instant Pot vegetable soup.
Storage and Freezing
Room Temperature: These easy 7-up biscuits can be stored at room temperature in an airtight container or resealable plastic bag for up to 3 days.
Refrigerator: For longer storage, store the biscuits in the refrigerator for up to a week.
Freezer: If you’d like to freeze the biscuits for even longer storage, wrap each biscuit individually in plastic wrap or aluminum foil, then place them in a resealable freezer bag. Press out any excess air before sealing the bag. Properly stored, frozen biscuits can last up to 3 months.
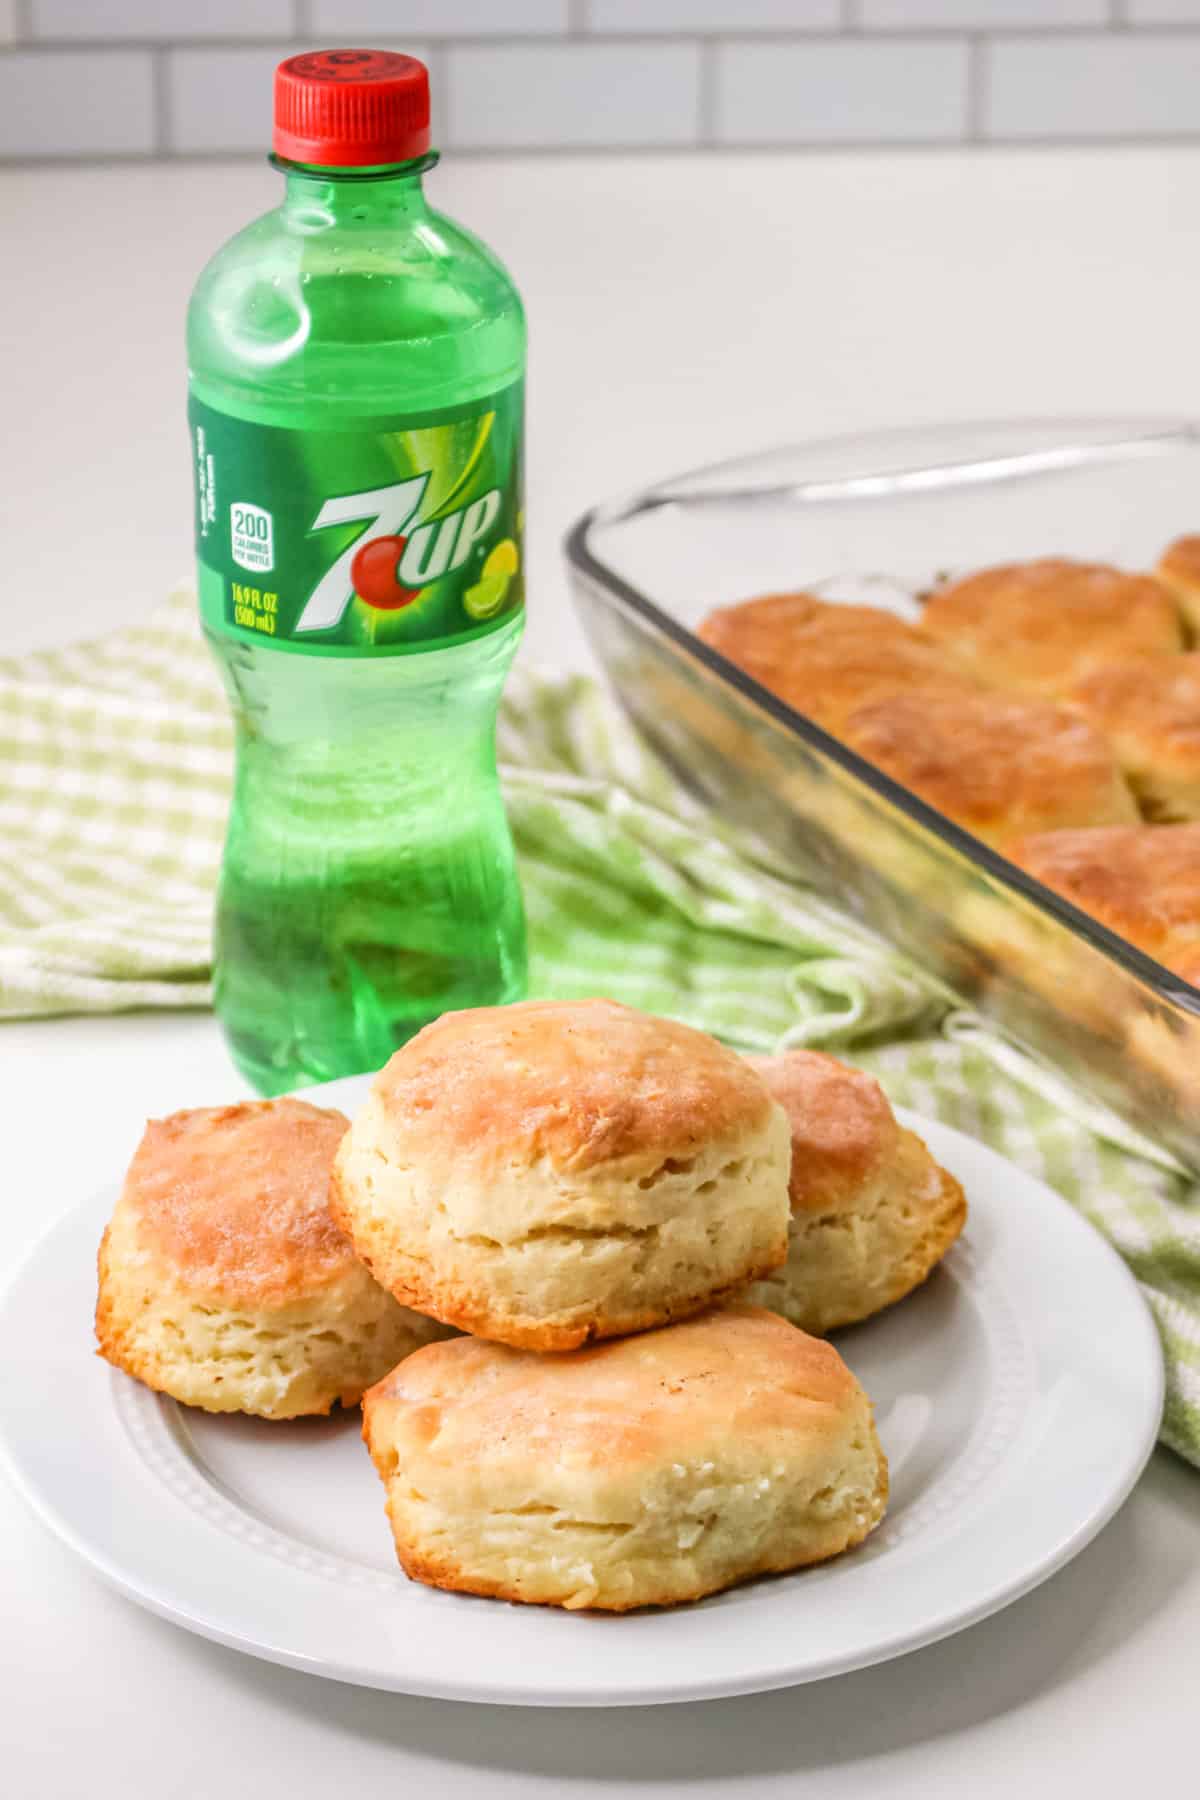
Tips and Tricks for Biscuits With 7 Up
- Make sure the sour cream is cold. This will keep the fat in the sour cream from melting too quickly, which contributes to a flakier biscuit texture.
- Use a sharp biscuit cutter. A sharp-edged biscuit cutter will cleanly cut through the dough without compressing the edges, allowing the biscuits to rise higher and maintain their flakiness.
- Don’t twist the cutter. When cutting out the biscuits, press the cutter straight down without twisting it. Twisting can seal the edges of the dough and prevent the biscuits from rising properly.
- Place biscuits close together. Arrange the biscuits close together in the baking dish, with their sides touching. This helps the biscuits rise higher and stay moist during baking.
- Do it the easy way. For an easier option, you can make drop biscuits by dropping heaping spoonfuls of dough into the pan.
Additions and Variations
Cheese Biscuits: Add 1 cup of shredded cheddar, Colby-jack, or your favorite cheese to the dough, and mix until evenly distributed. You can also sprinkle some extra cheese on top of the biscuits before baking.
Garlic Herb Biscuits: Stir in 1-2 minced garlic cloves and 1-2 Tablespoons of freshly chopped herbs (such as parsley, rosemary, or chives) into the dough for a savory twist. If you don’t have fresh ingredients, garlic powder and dried herbs can be used in a pinch.
Sweet Biscuits: Mix in 2-3 Tablespoons of sugar and 1 teaspoon of vanilla extract to the dough for a sweeter biscuit, perfect for pairing with strawberry jam or other fruit preserves.

7-Up Biscuits Recipe FAQ
Yes, you can substitute Sprite, Ginger Ale, or any other lemon-lime soda you have on hand.
Don’t overwork the dough. When you mix or work the dough too much, you’ll end up with chewy biscuits. This happens because as they’re mixed, the gluten strands become stronger, resulting in a chewier texture. As Food 52 explains, over-mixing results in breads that are tough and gummy.
You can substitute plain or Greek yogurt for sour cream in this recipe. The yogurt will provide a similar tanginess and moisture to the biscuits, but the texture and flavor may be slightly different.
After cutting out the biscuits, place them on a baking sheet lined with parchment paper and freeze until firm (about 2-3 hours). Then, transfer the frozen biscuits to a resealable freezer bag and store for up to 3 months. To bake, place the frozen biscuits in the prepared baking dish and add a few extra minutes to the baking time.
If you don’t have a biscuit cutter, you can use the rim of a drinking glass or a similarly sized round object to cut out the biscuits. Alternatively, you can cut the dough into squares with a knife, or simply drop spoonfuls of dough into the baking dish for a more rustic appearance.
More Comfort Food Recipes
Try these easy biscuits with your favorite comfort foods. Here are some of our favorites:
- Crockpot Steak Bites
- Slow Cooker Ranch Pork Chops
- Instant Pot Chicken and Dumplings
- Slow Cooker Salisbury Steaks

7 Up Biscuits with Bisquick
Ingredients
- ½ cup butter melted
- 4 ¼ cups Bisquick plus additional for dusting work surface
- 1 cup 7-Up
- 1 cup sour cream
Instructions
- Preheat the oven to 425°F. Pour the melted butter into the bottom of a 9×13 baking dish.
- In a large bowl, mix the Bisquick, 7-Up, and sour cream together until a dough is formed. The dough will be very soft and sticky.
- Sprinkle additional biscuit mix over your work area. Turn the dough out, and fold and work the dough just a little bit until it becomes easier to work with. Then, pat the dough out into a 1-inch thick circle. (You can roll the dough out with a rolling pin, but I use my hands.)
- Dip a biscuit cutter (or the rim of a drinking glass) in biscuit mix, then use it to cut out the biscuits. Place the biscuits in the baking dish on top of the melted butter.
- Bake the biscuits for 12-15 minutes or until light golden brown. Brush the tops with additional melted butter, if desired.
Notes
- You can halve the recipe in a 9-inch pan and bake for about 10 minutes.
- The dough is soft and sticky. Dusting your hands, work surface, and biscuit cutter with Bisquick helps.
- Do not overmix or overwork the dough. Doing so may cause the biscuits to not be as light and fluffy as they should be. Only mix and work the dough as much as needed.
- Instead of melting the butter in the microwave, you can place it in the baking dish and let it melt in the oven while it preheats.
- If you aren’t worried about perfectly round biscuits, feel free to skip the biscuit cutter and just drop the dough into the baking pan by the spoonful.
- For square biscuits use a knife to cut the dough into 26 squares.
- Leftover biscuits can be stored at room temperature for up to 3 days or in the fridge for up to 1 week. They freeze well, too!
Nutrition

Did You Make This Recipe?
Share it with me on Instagram @crayonsandcravings and follow on Pinterest @crayonsandcravings for even more!







These came out good.