

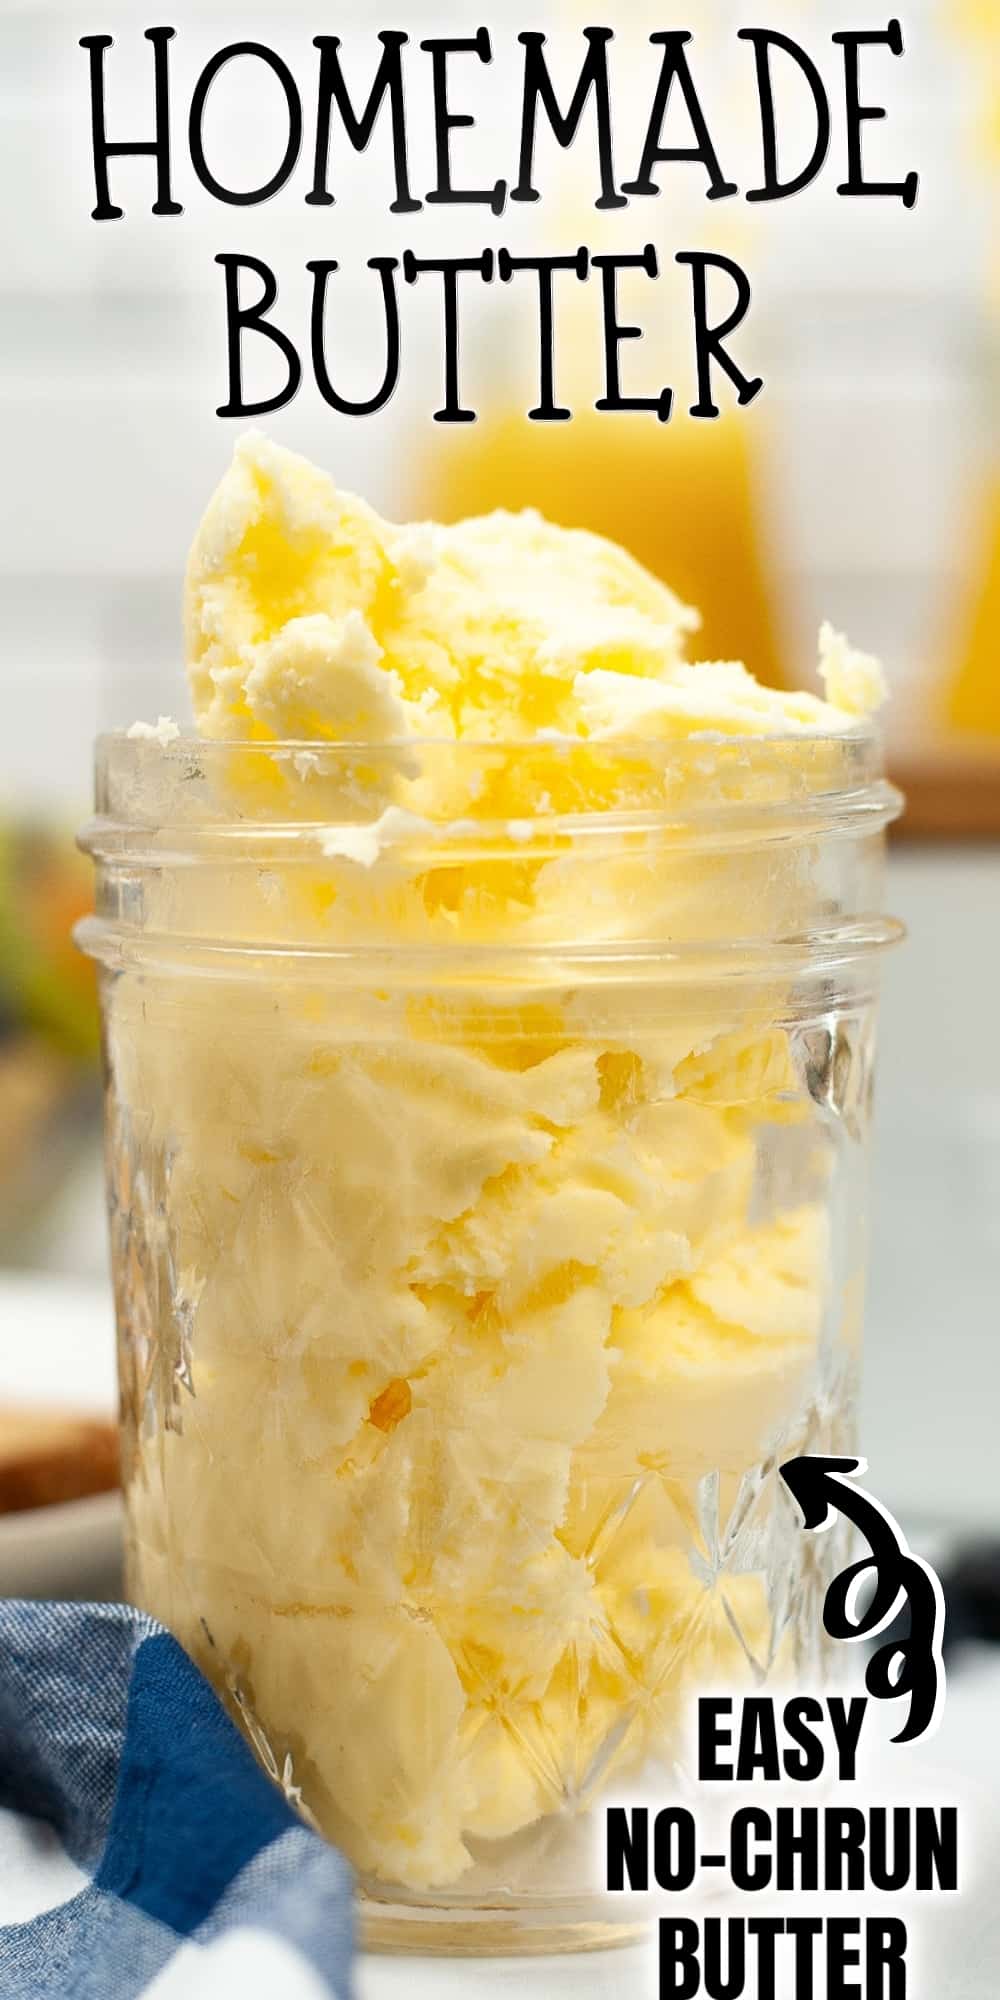
Homemade Butter
Posts may contain affiliate links, meaning that I may earn a commission if you use a link provided.
Learn how to make homemade butter from cream easily using a stand mixer, hand mixer, or mason jar.
You may think that making butter is a difficult process requiring a butter churn and an arm work out.
But it is actually super easy to make homemade butter from cream. (Unless you choose the jar method, more on that below.)
Once you try this easy homemade butter recipe you may never want to go back to store-bought!
How to make homemade butter
There are 2 different methods that you can use to make butter at home:
- stand mixer method: Add the cream to a bowl of a stand mixer and let the stand mixer do all the work. You can also use a hand mixer and a mixing bowl.
- mason jar method: Shake cream in a jar until it separates into buttermilk and butter. This method requires about 15 minutes of vigorous shaking so be prepared for a serious arm workout.
Ingredients
Which ever method you choose, the ingredients are the same:
- 2 cups heavy cream
- ¼ – 1 tsp salt (optional, for salted butter)
Step-by-step instructions
Although I recommend using a mixer to make butter, I will include the instructions for making mason jar butter below as well, since it is a fun and educational activity to do with children.

To make butter using a mixer
Churn butter: Pour cream in the bowl of a stand mixer with the whisk attachment or into a mixing bowl if using a hand mixer. Turn mixer on low speed. Gradually increase the speed as the cream thickens.
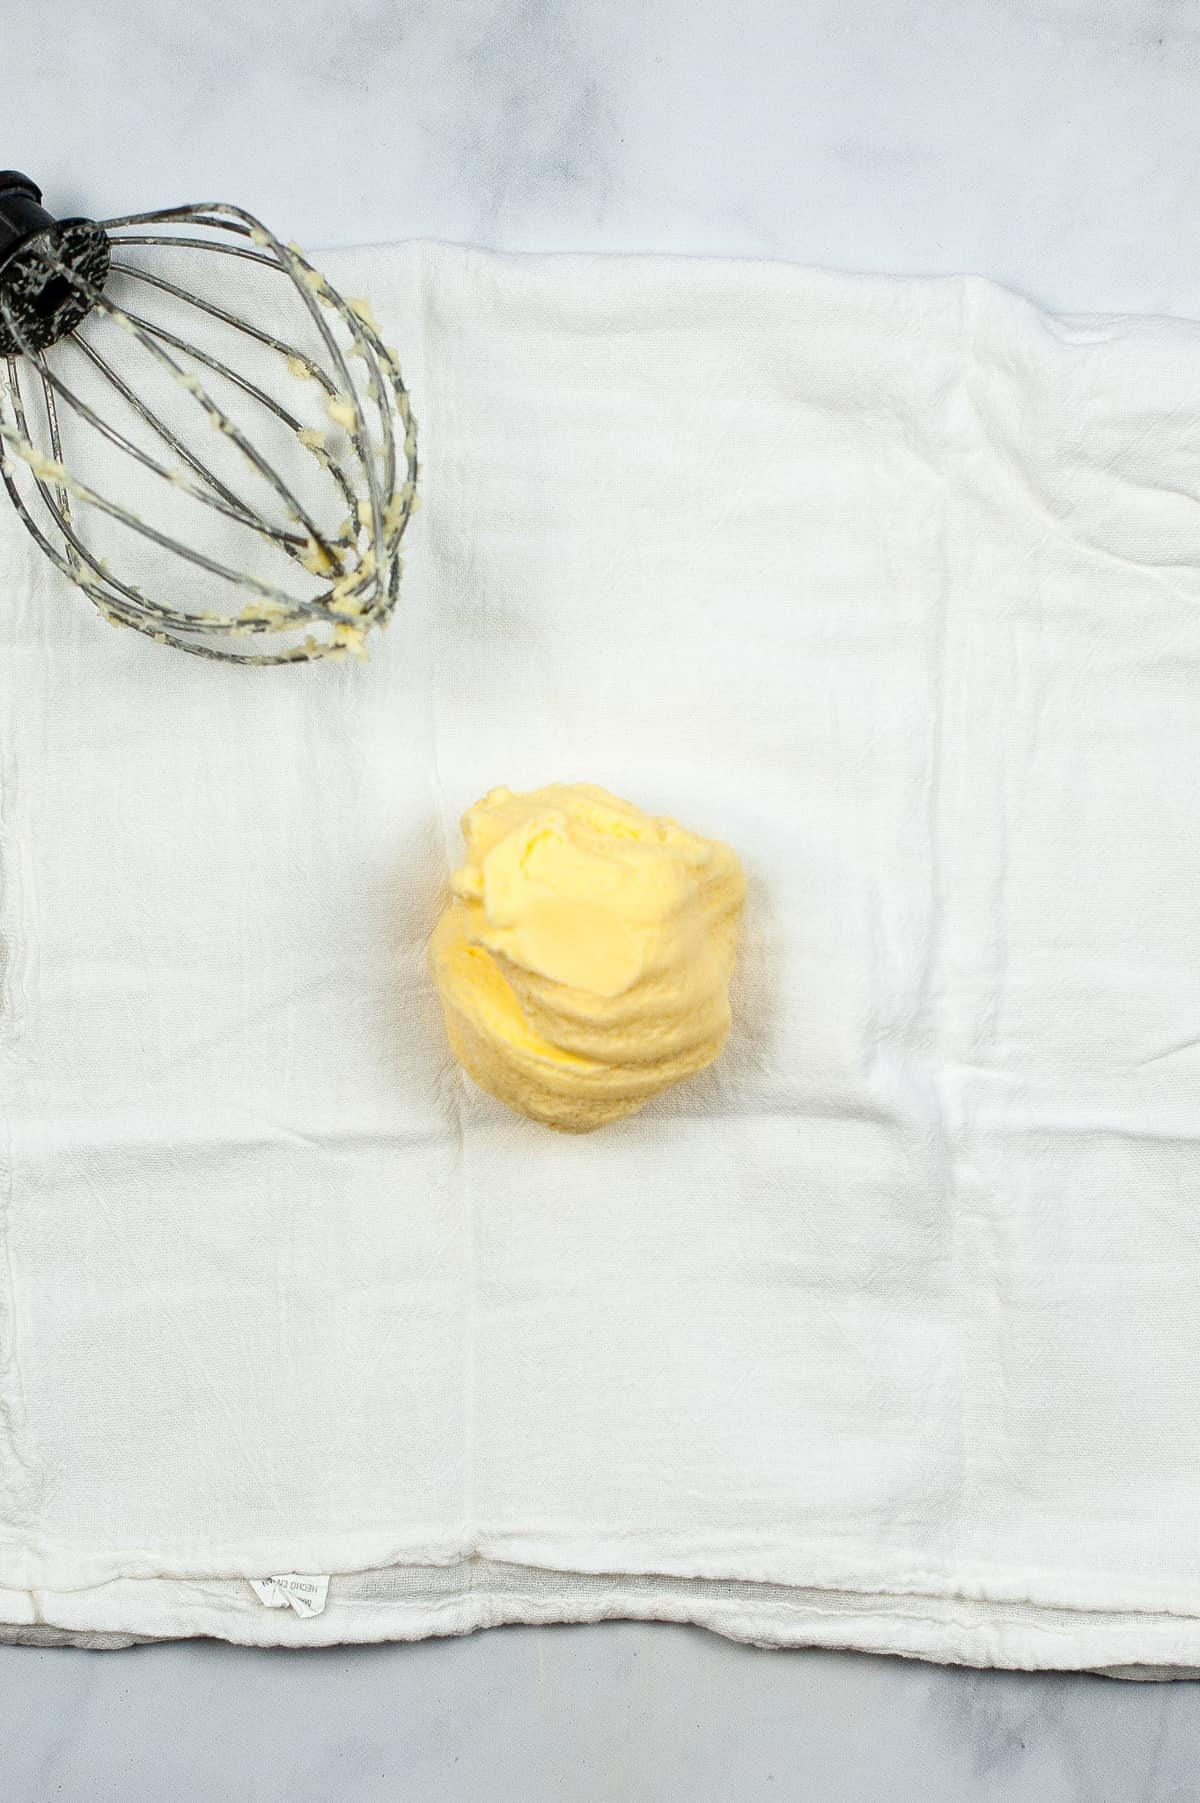
Before turning it on to medium-high speed, I highly recommend placing a kitchen towel (or a splash guard if you have one) over the mixer to prevent splatter because things are about to get messy as the milk fat separates from the buttermilk.
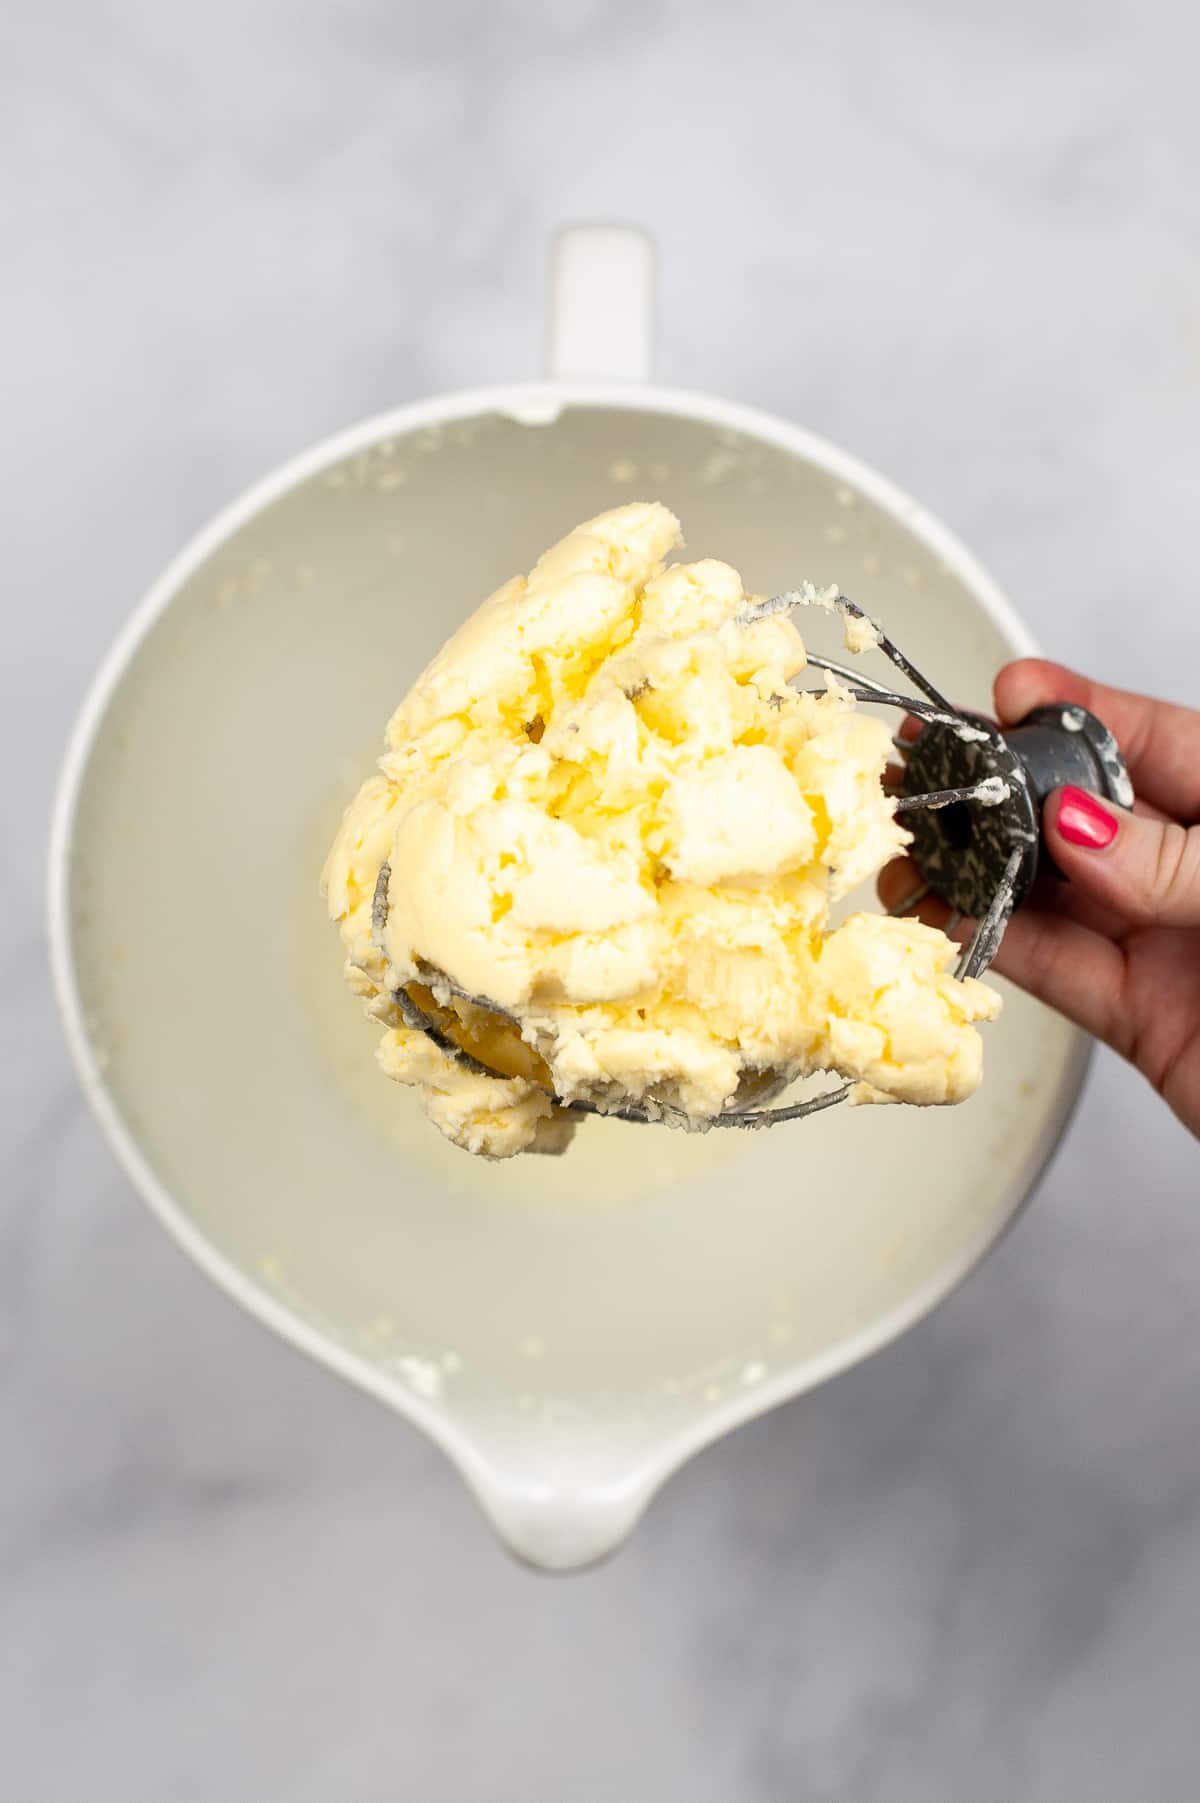
Continue to mix at medium-high speed until the butter has separated from the buttermilk.
After a few minutes, whipped cream will form. Then after about 5 minutes, the butterfat will separate from the buttermilk. The butter will begin to stick to the whisk of your stand mixer and the buttermilk will
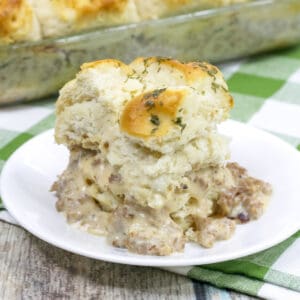
Strain: Use a fine mesh sieve or cheesecloth to strain the buttermilk off the butter. Reserve the buttermilk to use in other recipes (such as homemade buttermilk biscuits), if desired.
Wash butter: Transfer the butter to a bowl and add about ½ a cup of ice-cold water. Using a spatula or your (clean) hands, press/squeeze the butter to remove any remaining buttermilk. Drain the water. Refill and repeat until the water remains clear. This should take between 3-5 changes of water.
Squeeze the butter in a cheesecloth or clean kitchen towel to remove any remaining moisture.
Add salt (optional): If you would like to make salted butter, add ¼ tsp salt and knead it into the butter. Taste and then add more butter if desired.
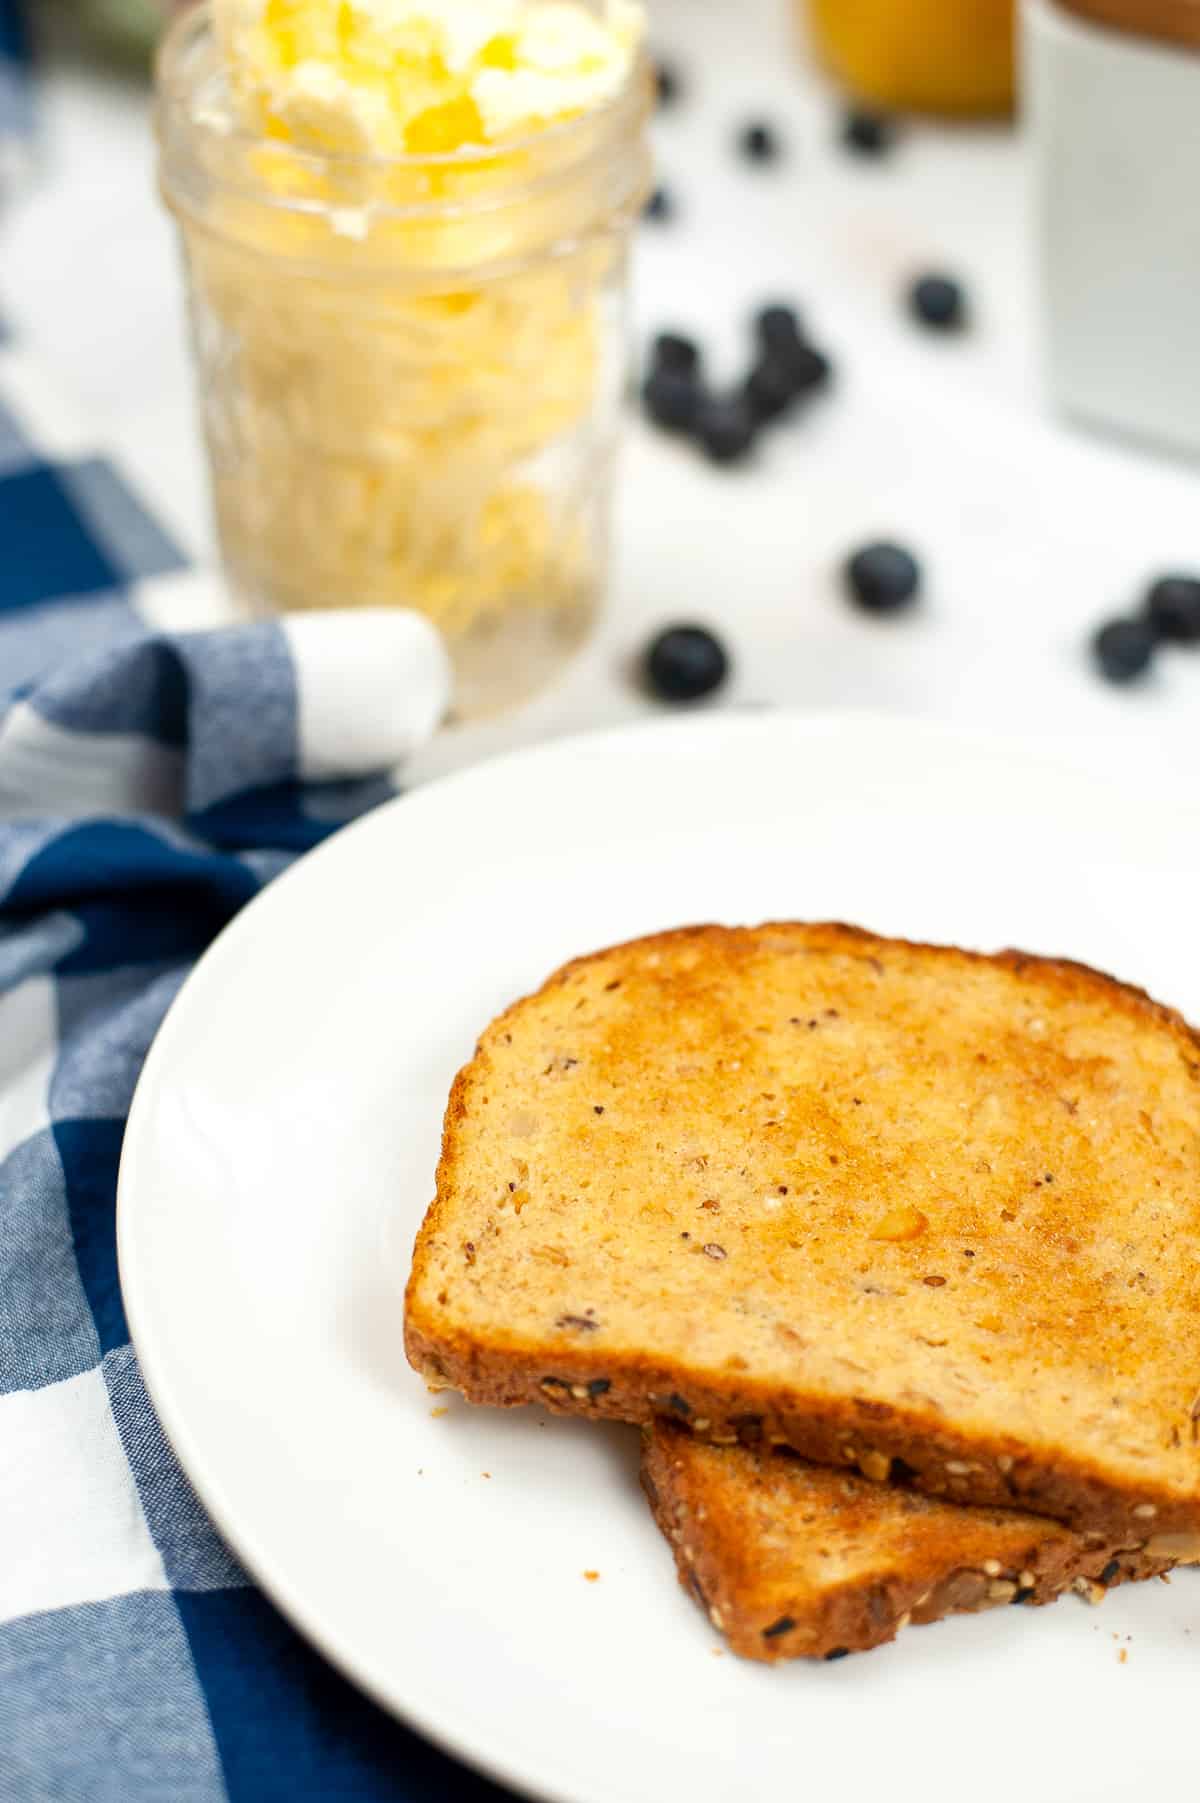
Enjoy your butter on soft and fluffy 7-up biscuits, fresh strawberry scones, or simply on your morning toast. So delicious!
How to make butter in a mason jar
- Fill a mason jar halfway with heavy cream, close the lid tightly, and shake shake shake until the butter separates from the buttermilk and forms a solid mass. This can take 10-20 mins.
- Follow the instructions above to wash and salt the butter.
Although I haven’t tried it myself, this handy device claims to make butter in just a few minutes with the jar method.
Storage
Store your homemade butter in the refrigerator in an airtight container or wrapped in parchment or wax paper. You can even shape it into sticks using a silicone butter mold.
You can also save your buttermilk in an airtight container in the refrigerator to use in recipes such as buttermilk pancakes, coffee cake muffins, or maple walnut coffee cake.
Recipe FAQ
Homemade butter will last at least a week when stored in an airtight container in the refrigerator. The exact amount of time it will last depends on the age of the cream and how well the butter has been drained of buttermilk.
Yes! Homemade butter can be frozen for up to 6 months. To freeze your butter wrap it in wax paper and place in a freezer bag. Thaw in the refrigerator overnight and enjoy.
This homemade butter recipe will yield between ½ cup (1 stick) and 1 cup (2 sticks) of butter. You will also get about 1 cup of buttermilk.

Homemade Butter
Ingredients
- 2 cups heavy cream
- ¼ teaspoon salt or to taste, optional
- 2-3 cups ice-cold water for rinsing
Instructions
Using a mixer
- Pour cream in the bowl of a stand mixer with the whisk attachment or into a mixing bowl if using a hand mixer. Turn mixer on low speed. Gradually increase the speed to medium-high as the cream thickens. I highly recommend placing a kitchen towel (or a splash guard if you have one) over the mixer to prevent splatter. Continue to mix until the butter has separated from the buttermilk.
- Using a fine mesh strainer or cheesecloth, strain the buttermilk into a bowl and reserve for later, if desired. Transfer butter into a bowl and add about ½ a cup of ice-cold water. Using a spatula or your (clean) hands, press/squeeze the butter to remove buttermilk. Drain the water. Refill and repeat until the water remains clear. This should take between 3-5 changes of water. Squeeze the butter in a cheesecloth or kitchen towel again to remove any remaining moisture.
- If you want to make salted butter, add salt to taste and knead into the butter.
- Store your homemade butter in the refrigerator in an airtight container or wrapped in parchment or wax paper. You can also save your buttermilk in an airtight container in the refrigerator to use in recipes.
Using a mason jar
- Churn butter – Fill a mason jar halfway with heavy cream and close the lid tightly. Shake shake shake until the butter separates from the buttermilk and forms a solid mass. This can take 10-20 mins.
- Follow the instructions above to strain, wash, salt, and store the butter.
Notes
Nutrition

Did You Make This Recipe?
Share it with me on Instagram @crayonsandcravings and follow on Pinterest @crayonsandcravings for even more!


I mean heavy whipping cream.
Yes, you can use heavy whipping cream. Enjoy!
Yay!!!!
How much fat is in heavy cream. I live in Spain and it’s hard to tell which would be classed as heavy cream.
At least 36% milk fat, but the higher the percentage of fat content the better.
You don’t get buttermilk from making butter with ordinary cream. Buttermilk by definition is highly acidic, which accounts for the sour flavor, and it’s made only from cultured cream (acted upon by lactobacillus to acidify it) or acidified (with added vinegar, lemon juice, or citric acid) cream. The stuff you drain off your normal butter is just “waste”, not known to have any name of its own. It contains very little other than calcium. Don’t try to make pancakes with it.
Actually, although due to pasteurization, modern store bought buttermilk is made from cultured milk, traditionally buttermilk was what was left after making butter, hence the name “buttermilk”. Please do not waste and throw away the buttermilk after making butter. My grandfather grew up on a dairy farm, and he talked about the buttermilk they would have left after making butter. He would drink it and his mother would bake with it.
What happens if it just turns to whipped cream and how can I prevent this?
The heavy cream will turn to whipped cream during the process, but you just keep on mixing and mixing past that stage.
I love canning. I’ve wanted to try butter but was wondering would it be cheaper, to make or buy with the price of groceries today?
You can use a grocery-store app to check the ingredient prices at your local store and compare.
You might try to find a local farm that sells raw milk so you can glean the cream off of it to make your own butter. I love canning, too! Last summer I found a YouTube video that explains how you can can butter. I have canned butter and it worked wonderfully!
Can you use the heavy cream cold or do you let. It warm to room temperature
The heavy cream should be cold, right from the fridge.
How long will it last in freezer? And what’s the best container in freezer?
It can last up to 6 months in the freezer. To freeze, wrap your homemade butter in wax paper, parchment paper, or plastic wrap and then place in a freezer baggie. (Freezing homemade butter is also discussed in the FAQ section of the post above.)
I have recently purchased 12 doe goats and am planning on trying to make butter, soap, lotion and cheese to start with so this was helpful
I have four do in April 4 in June and four Nigerian dwarfs, just put the buck…
does the cream need to be room temperature?
Use cold heavy whipping cream, right from the fridge. Enjoy!
My Granddaughter had to do this for School and She had to make it in a jar. She used Whipping cream and I can say this it took a lot longer to make than 10-15 minutes. She new I had to make butter as a kid and
It was skimmed from fresh cows milk. She asked me how long it took and I told her to just keep shaking the jar and she would know when it was ready. It was delicious!