Butterfinger Lush
Posts may contain affiliate links, meaning that I may earn a commission if you use a link provided.
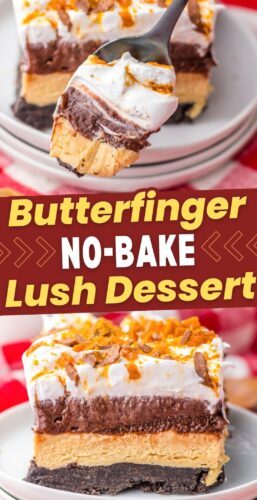
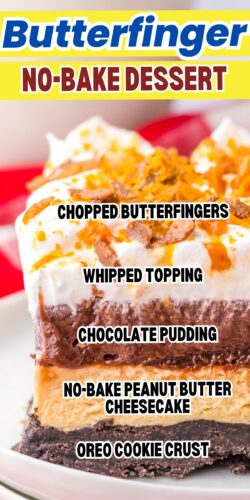
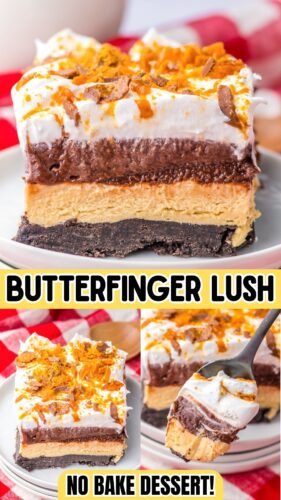
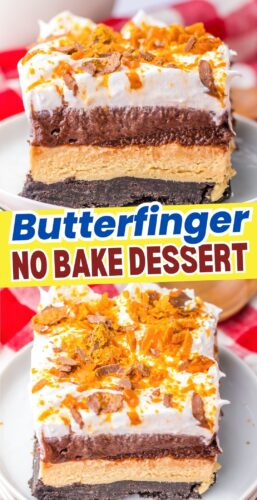
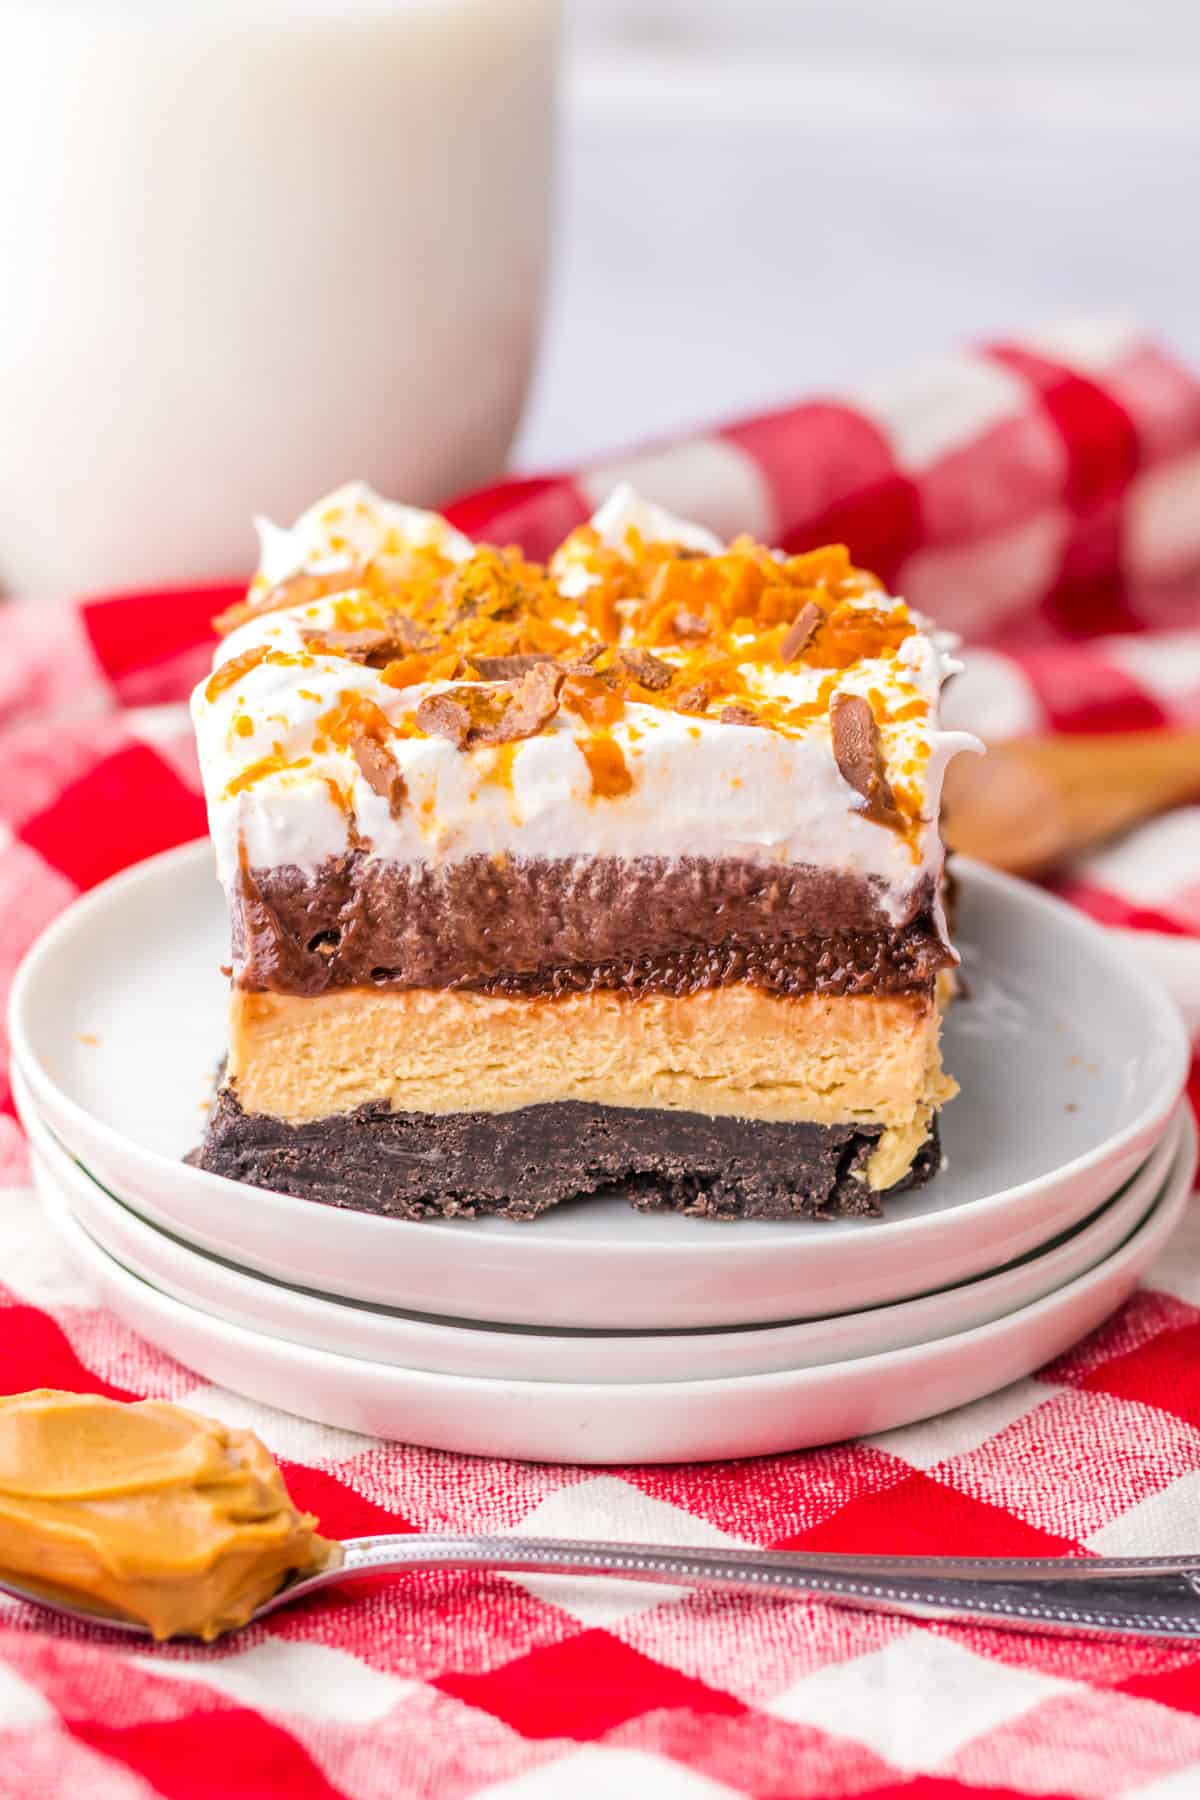
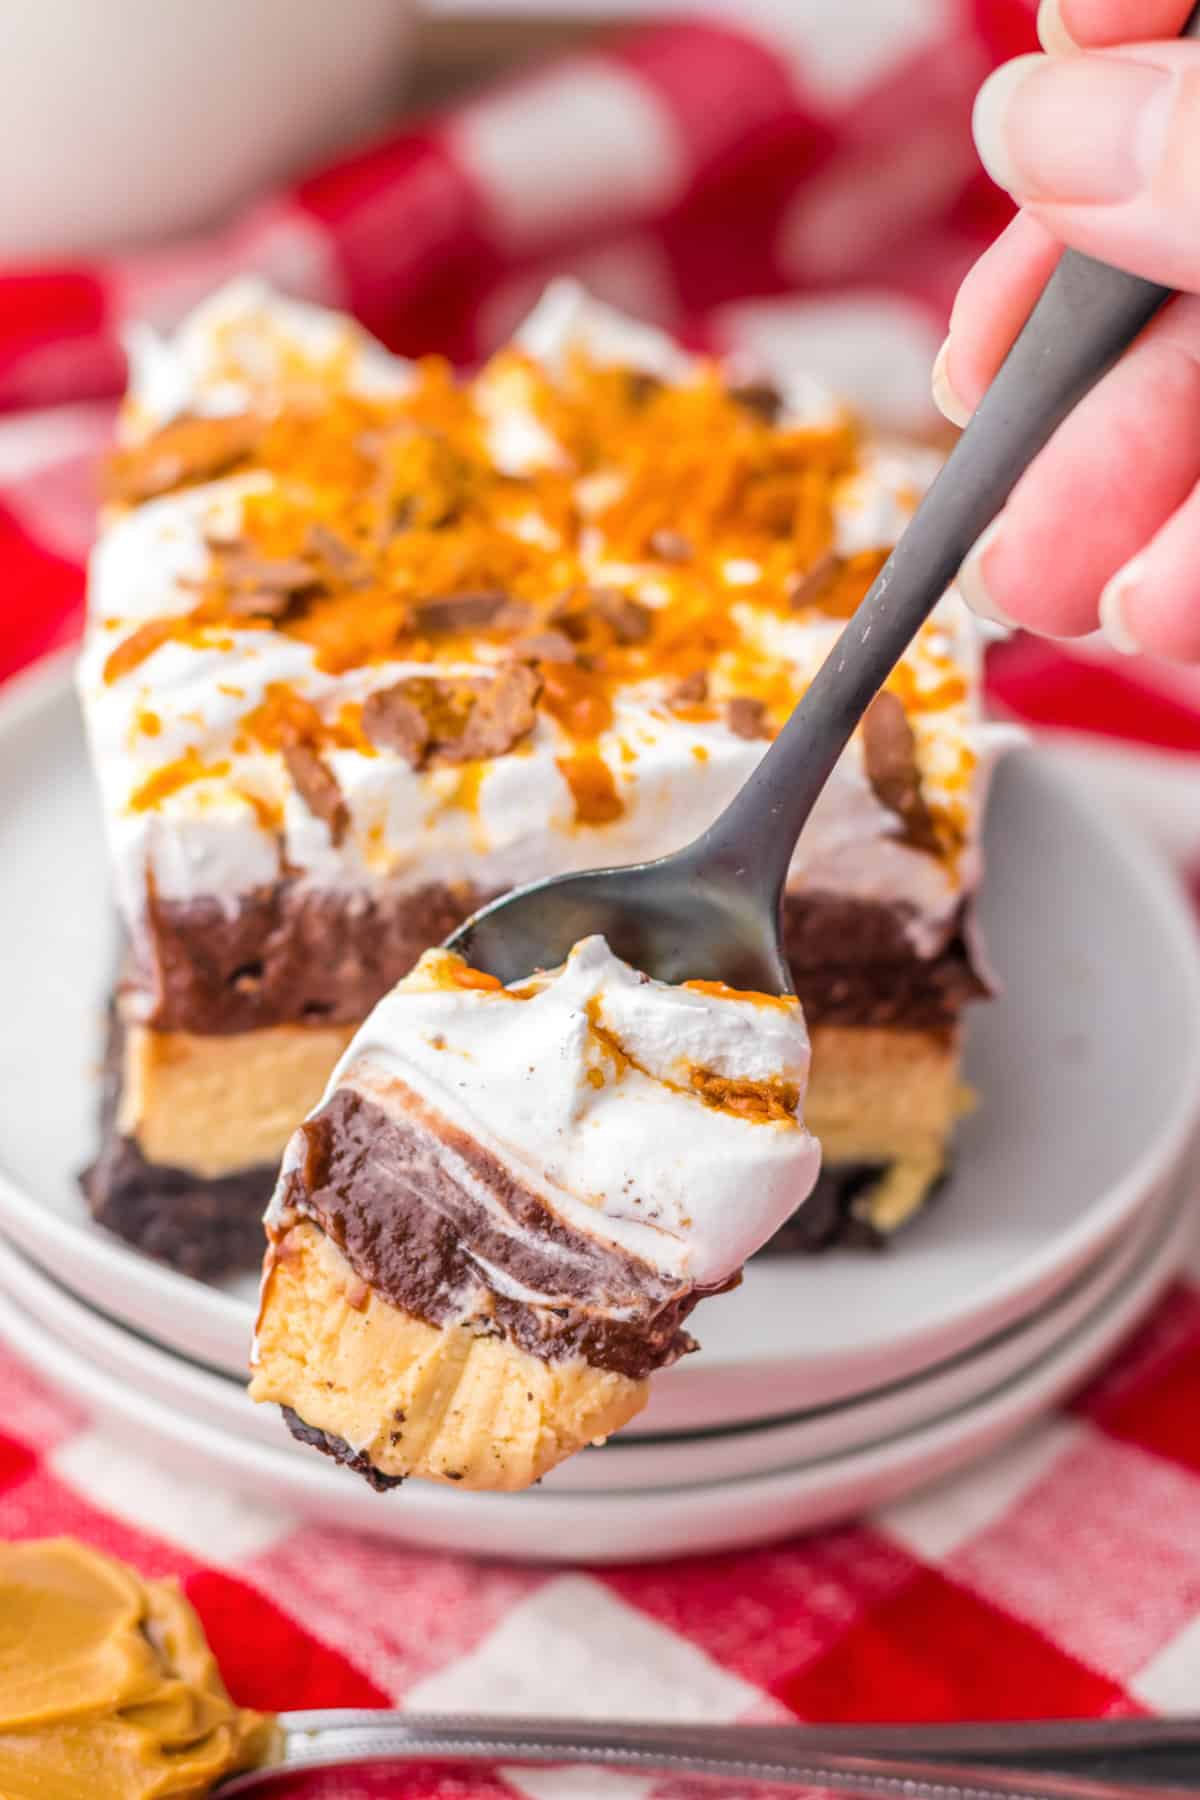
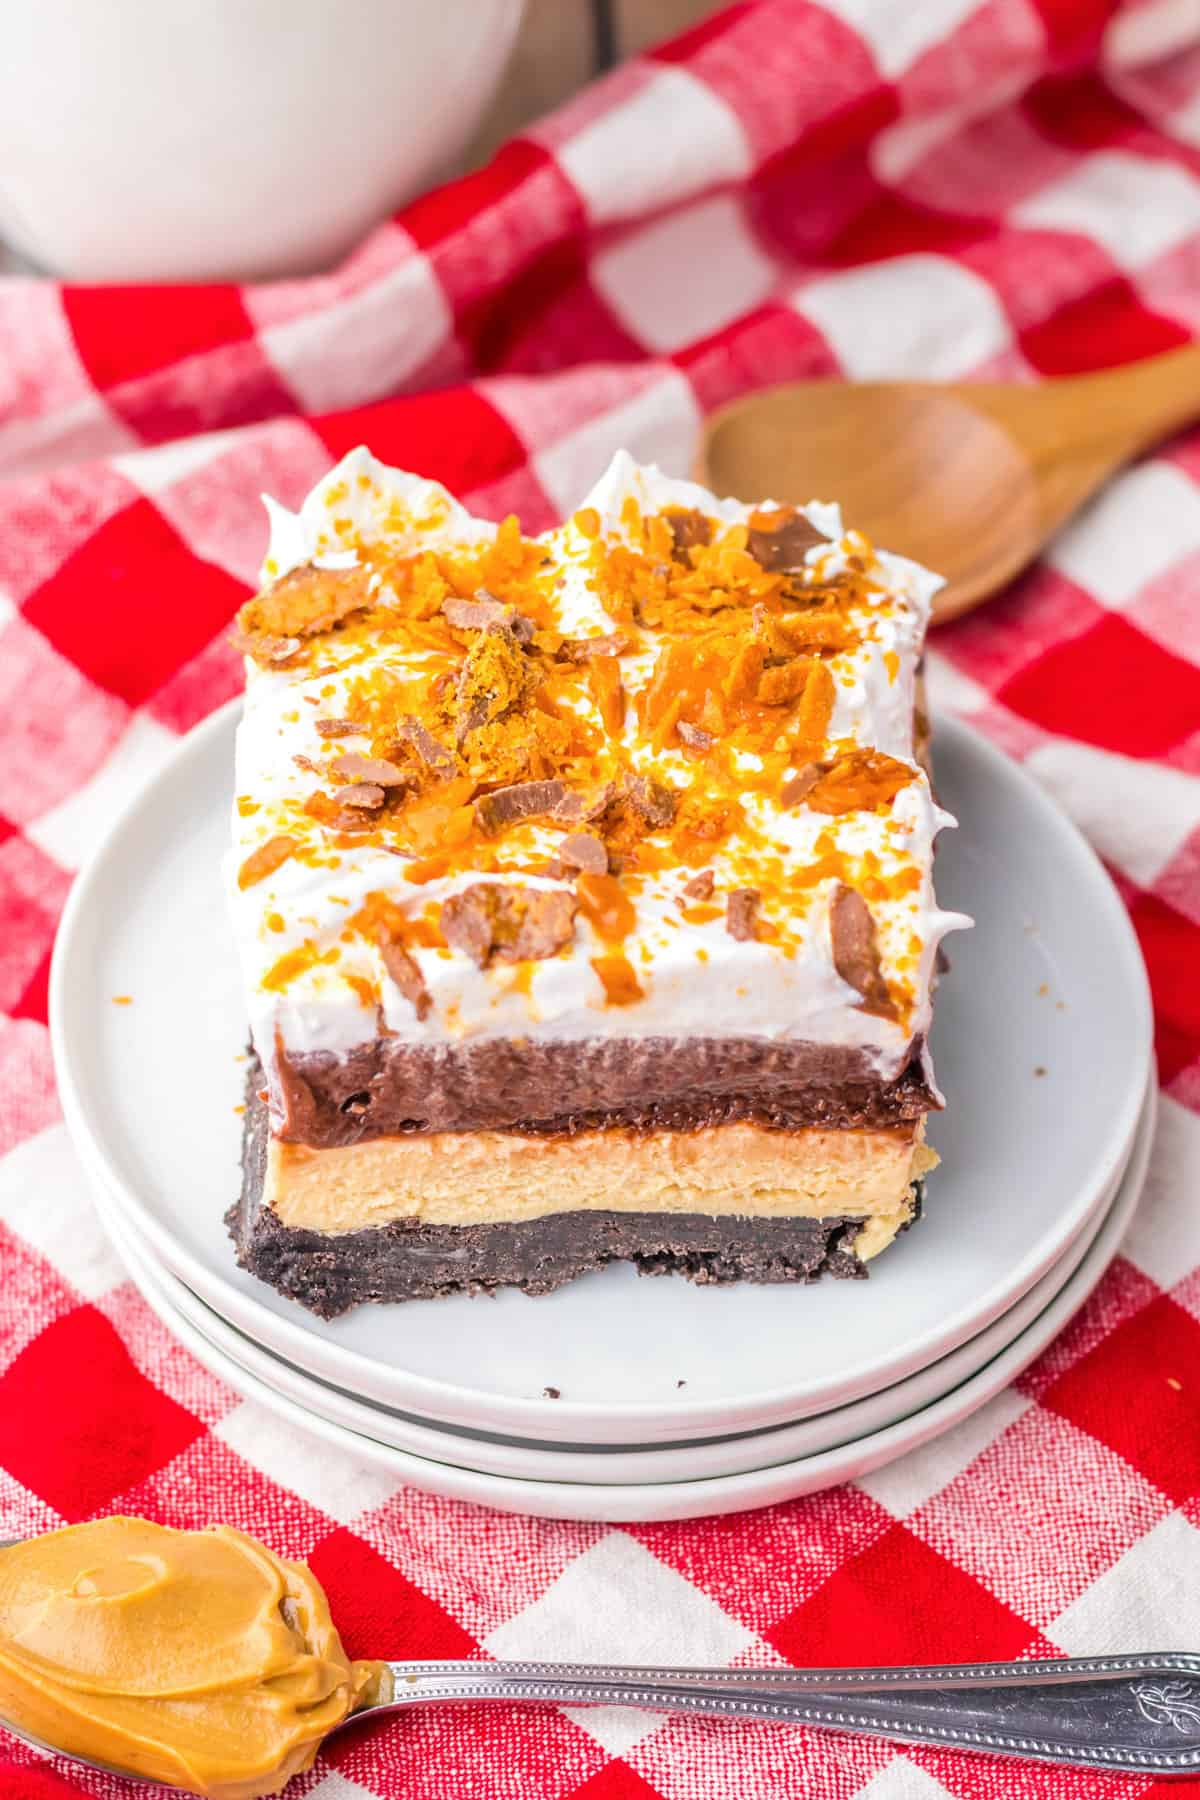
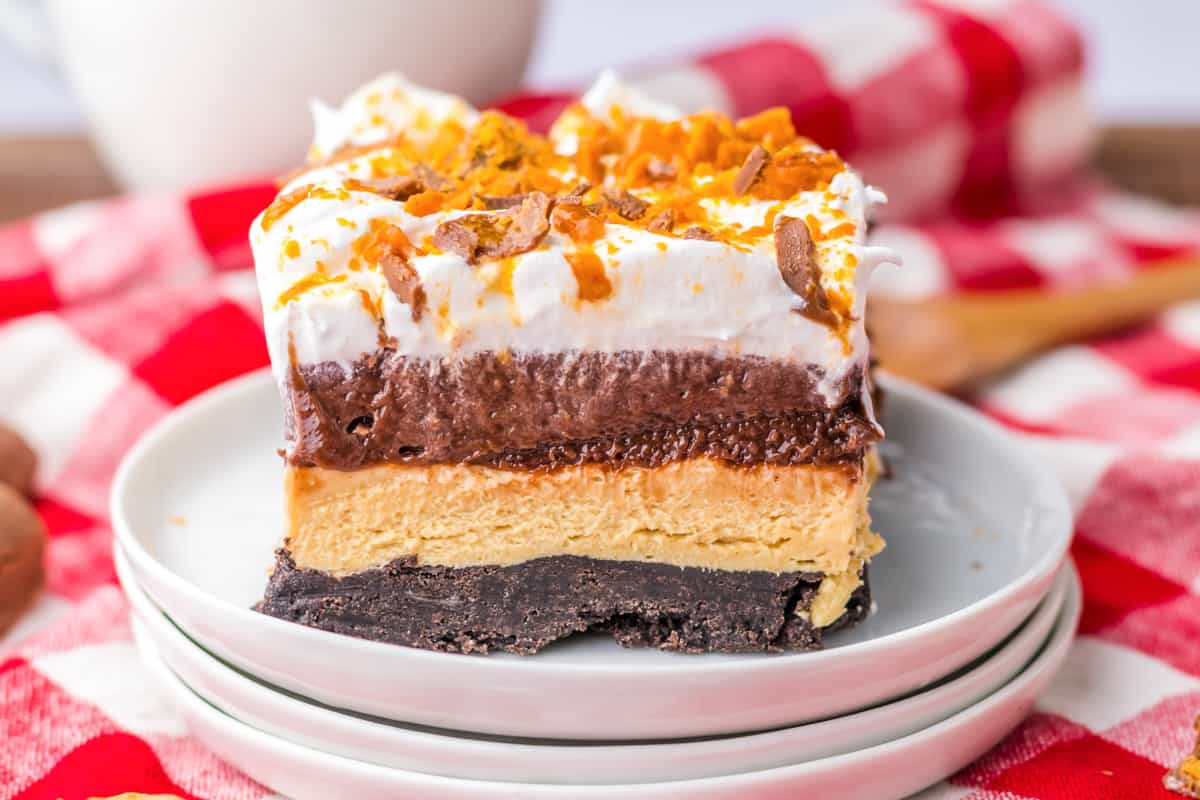
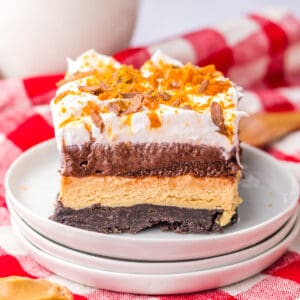
No bake butterfinger lush is a rich, chocolatey, peanut buttery dessert you can make without heating up the kitchen. Layers of creamy peanut butter no bake cheesecake, chocolate pudding, and Cool Whip on top of an Oreo cookie crust make this dessert a crowd favorite. Top it with crunchy, peanut-buttery Butterfingers, and you have yourself a winner!
Butterfinger fans will also love my recipe for Butterfinger Fluff, which is an easy and delicious butterfinger dessert recipe made with just 4 ingredients and great for dipping cookies or pretzels in. And for a similar flavor profile this this No Bake Peanut Butter Pie is always a hit at potlucks!
Whether you’re trying to avoid turning on the oven or you just need something quick, easy, and delicious to take to a cookout or family gathering, this recipe for butterfinger delight is just the ticket.
It’s got that classic flavor pairing of peanut butter and chocolate in every cool and creamy bite. Plus, it’s a fun way to use up any extra Butterfinger bars you may have around after Halloween!
For more delicious lush recipes try my lemon lush, pina colada lush, and pumpkin lush.
Ingredients for Butterfinger Delight with Cream Cheese
This section includes ingredient notes and substitution options. Get all measurements, ingredients, and instructions in the printable recipe card at the end of this post.
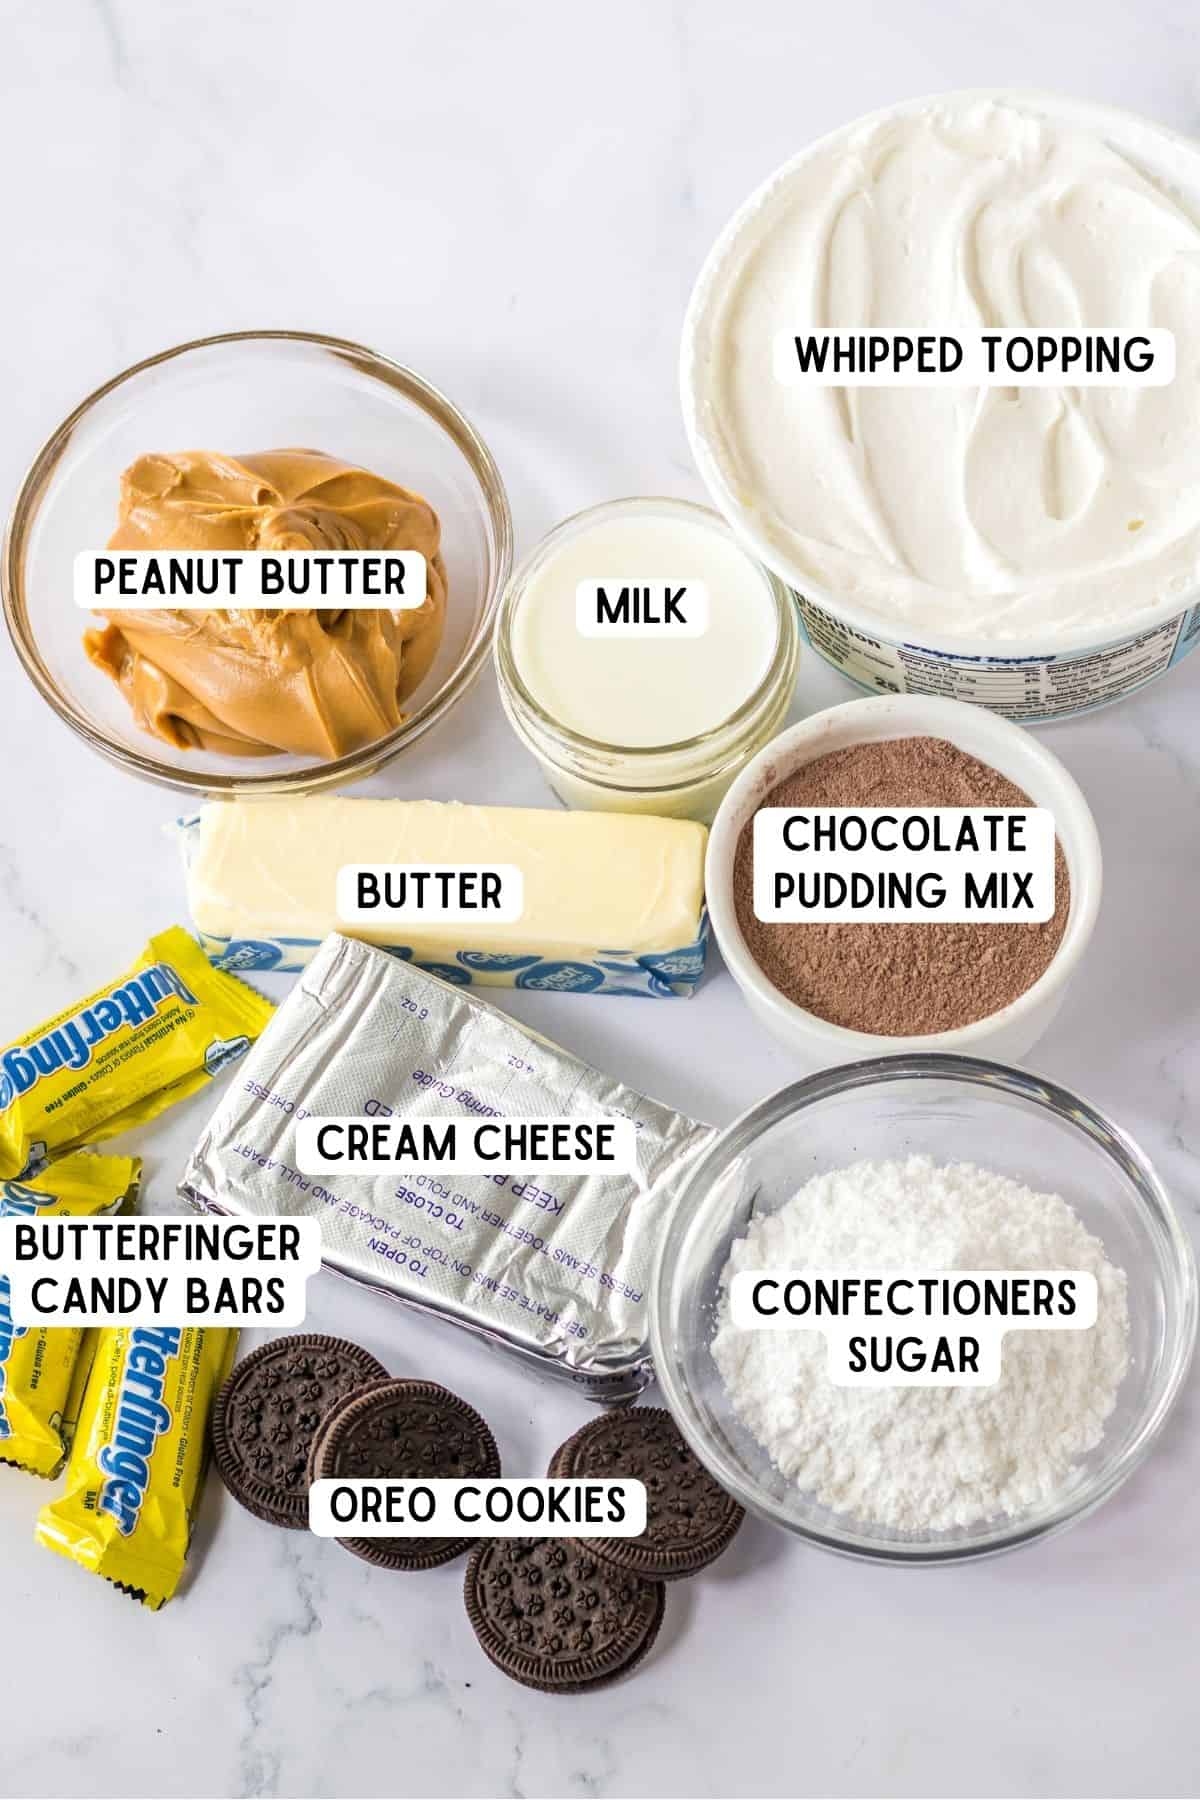
- Oreo Cookies — To make the crust for this easy no bake dessert recipe. The chocolate cookies pair perfectly with the peanut butter layer!
- Butter — You’ll combine the melted butter with the Oreo cookies to make a delicious cookie crust. Salted or unsalted butter can be used.
- Cream Cheese — Adds creaminess and richness to the dessert. Let it come to room temperature so it mixes more easily with the other ingredients.
- Peanut Butter — Creamy peanut butter works best for this recipe. I don’t recommend using natural peanut butter since it’s sometimes harder to stir and spread than regular peanut butter.
- Confectioners’ Sugar — Also known as powdered sugar, you’ll use this to sweeten things up.
- Whipped Topping — I use Cool Whip, but store brand or homemade is great, too. You’ll need 1 cup of whipped topping for the peanut butter layer and two cups of whipped topping to spread on top of the layers.
- Instant Chocolate Pudding Mix — For even more chocolate flavor! Make sure you get instant pudding mix and not the kind you cook or else your Butterfinger dessert won’t set up properly.
- Milk — Used to prepare the pudding. I usually use whole milk or 2% milk.
- Butterfingers — Chop the candy bars into pieces to sprinkle over the top. You can use mini Butterfingers or full-size bars.
Equipment Needed
Ready to get started on the best dessert for summer? Here are the tools you’ll need:
- 9×9 square baking dish
- measuring cups
- mixing bowls
- whisk
- electric mixer or stand mixer
- food processor or blender
How to Make Butterfinger Lush
This section shows you how to make the recipe with step-by-step photos and instructions. For the full printable recipe, see the recipe card below.
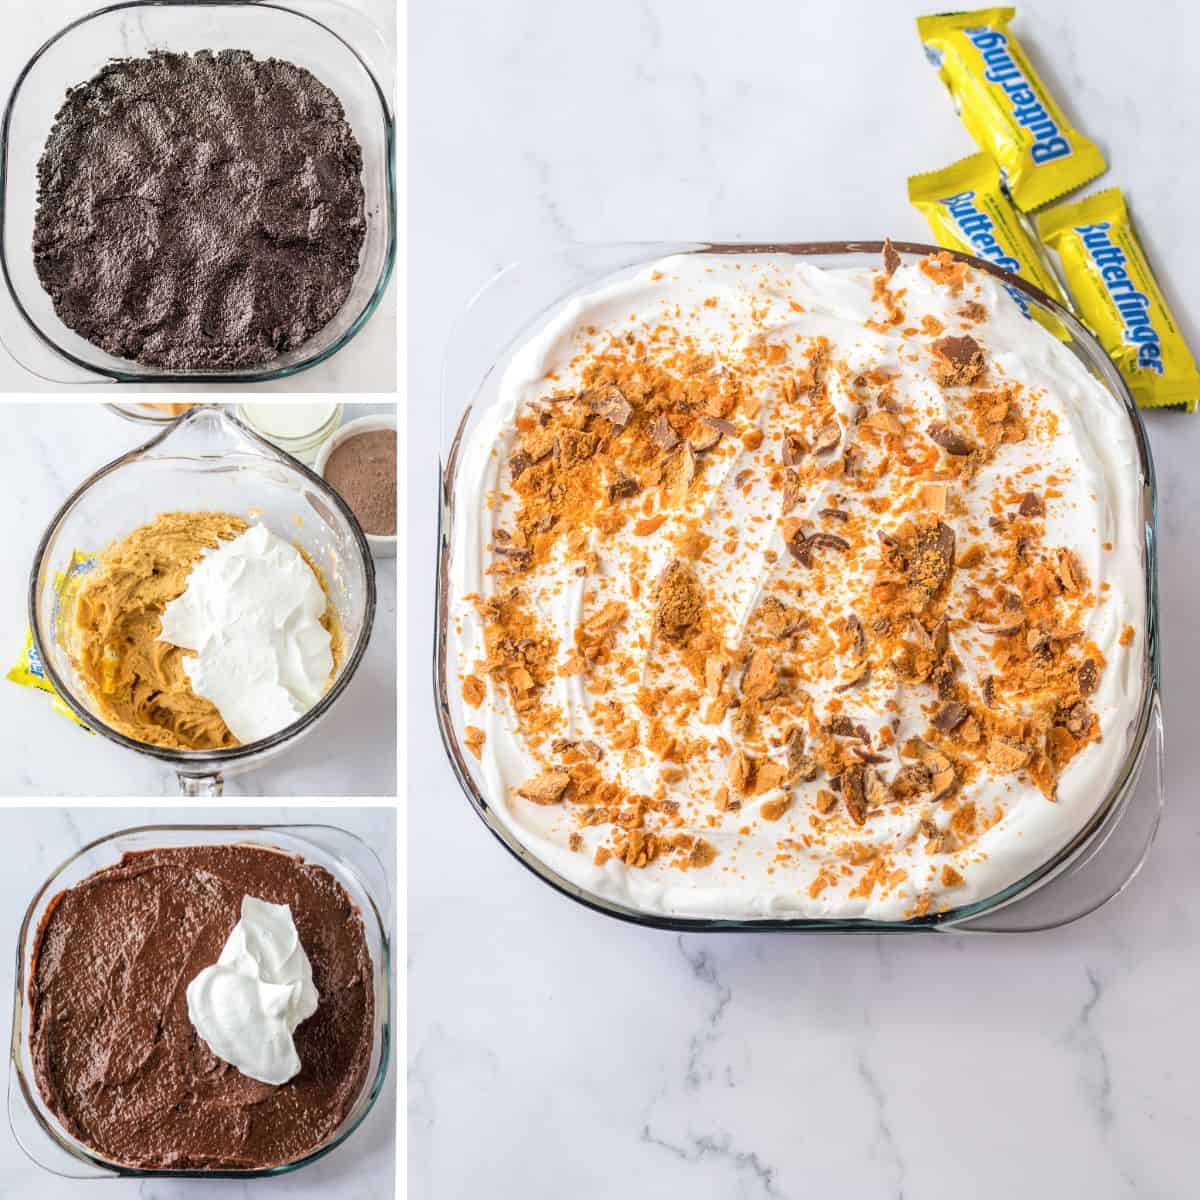
Step 1 — Crush the Oreos: Add the Oreo cookies to a food processor or blender and pulse until they are crumbs. Work in batches to avoid big clumps.
Step 2 — Make the cookie crust: Combine the Oreo crumbs with the melted butter in a medium bowl. Press cookie crumb mixture into the bottom of a 9×9 baking pan.
Step 3 — Whip up the peanut butter layer: Using a stand mixer or a hand mixer and a large bowl, beat the cream cheese, peanut butter, and powdered sugar together until the mixture is smooth and well-combined. Add 1 cup of Cool Whip, and fold it in gently. Spread this sweetened peanut butter mixture evenly over the Oreo crust.
Step 4 — Prep the pudding layer: Whisk the dry instant chocolate pudding mix with the cold milk in a medium bowl for 2 minutes. Spread the pudding mixture over the peanut butter layer.
Step 5 — Top it all off: Add the remaining 2 cups of the whipped topping to the top of the dessert, spreading evenly, and then sprinkle with chopped Butterfinger candy bars.
Step 6 – Chill: Let the Butterfinger dessert chill in the refrigerator for 2-4 hours or overnight before serving. Cut into slices, serve, and enjoy! It’s the perfect cool dessert for warm weather.
Serving Suggestions
Serve Butterfinger Lush chilled straight out of the fridge. If you freeze the dessert, let it sit out for about 30 minutes before cutting it into slices. Feel free to add a drizzle of chocolate or caramel sauce over the top to make it extra-decadent.
Storage and Freezing
Refrigerator: Put leftover Butterfinger Lush in the fridge for up to 4 days in an airtight container or wrapped tightly in plastic wrap.
Freezer: You can freeze this peanut butter dessert for up to 1 month in a freezer-safe container or tightly wrapped in plastic wrap and placed in a freezer bag. Thaw in the refrigerator overnight or on the countertop for 30-60 minutes before serving to let it soften a bit.
Butterfinger Lush Recipe Tips and Tricks
- Fold in the Cool Whip gently and avoid overmixing it, which will cause it to “deflate.” The air is important to make that layer more light and airy instead of dense.
- Let the pudding mixture sit for a few minutes before spreading it over the peanut butter mixture. This will give it time to thicken up and will prevent the layers from mixing together.
- If serving partially frozen, run your knife under hot water to cut through the dessert.
- You can buy Butterfinger Bits in the baking aisle now. You don’t even have to crush them yourself!
- Do not remove the cream from the Oreos. Add them whole to the food processor, and they’ll crumb up beautifully after a few pulses.
Additions and Variations
Try different cookies for the crust. Instead of Oreo cookies, try peanut butter cookies (like Nutter Butters) or a chocolate-peanut butter sandwich cookie.
Top with a different candy bar. Not a fan of Butterfingers? Make it with chopped Reese cups, Snickers, or Kit Kats instead.
Change the pudding flavor. Vanilla or butterscotch pudding would taste amazing with the rest of the ingredients.
Add an extra Butterfinger layer. Want more crunch from the Butterfingers? Add a layer of the crushed candy bars between the peanut butter and pudding layers.
Make it gluten-free. For a gluten-free version, use gluten-free cookies and pudding mixes to make this dessert.
Lower the sugar. For a lower-sugar option, use Zero Sugar Cool Whip and sugar-free instant pudding mix. Sugar-free peanut butter cups can be chopped for the topping. You’ll still have sugar from the cookies and powdered sugar, but these substitutions can reduce the amount.
Butterfinger Whipped Cream Dessert FAQ
Yes, it needs to chill for at least 2-4 hours, but overnight is even better. It’s the perfect make ahead dessert.
Make sure you’re using instant pudding. If you used pudding that needs to be cooked, it won’t set properly. It also helps to let the pudding thicken up a little before spreading it over the peanut butter mixture so that each layer remains distinct.
Yes, you can use homemade whipped cream. Keep in mind that it will not be as stable or hold up as well over time compared to a store-bought whipped topping which is stablized.
If you don’t have a food processor, you can pulse them a handful at a time in a good blender or place the cookies in a zip-top bag and crush them using a rolling pin or a mallet. This will give you a similar crumb texture.
No Bake Peanut Butter Recipes
Peanut butter lovers, you have to try some of our other easy no-bake desserts.
- Peanut Butter Cup Dip — Serve with Nutter Butters for dipping or try it with apple slices!
- Chocolate Peanut Butter No Bake Cookies — Perfect for the holiday season when you’re making your cookie trays.
- Peanut Butter Balls — Peanut butter flavored Rice Krispies surrounded by a delicious chocolate coating.
- Cornflake Cookies — Sweet, crunchy, and seriously addictive.
No Bake Butterfinger Lush
Equipment
Ingredients
- 30 Oreo cookies
- ½ cup butter, melted
- 8 ounces cream cheese, softened
- ½ cup creamy peanut butter
- 1 cup confectioners sugar
- 8 ounces whipped topping, divided
- 5.1 ounces instant chocolate pudding mix
- 2 cups milk
- Butterfinger bars, chopped, for topping
Instructions
- In a food processor, pulse the Oreo cookies until they are crumbs. You may need to do this in batches.
- In a medium bowl, mix to combine the cookie crumbs with the melted butter and press evenly into the bottom of a 9 inch square baking dish.
- In a large bowl with a stand mixer or hand mixer, beat together the cream cheese, peanut butter, and confectioners sugar until smooth and well combined. Gently fold in 1 cup of the whipped topping. Spread the peanut butter mixture evenly over the cookie crust.
- In a medium bowl, whisk together the dry pudding mix and milk for 2 minutes. Spread the pudding mixture carefully over the peanut butter mixture.
- Top with the remaining whipped topping and a sprinkle of chopped butterfingers.
- Refrigerate for 2-4 hours, or overnight before serving. Slice and serve, enjoy!
Notes
Nutrition

Did You Make This Recipe?
Share it with me on Instagram @crayonsandcravings and follow on Pinterest @crayonsandcravings for even more!