Rainbow Popsicles
Posts may contain affiliate links, meaning that I may earn a commission if you use a link provided.
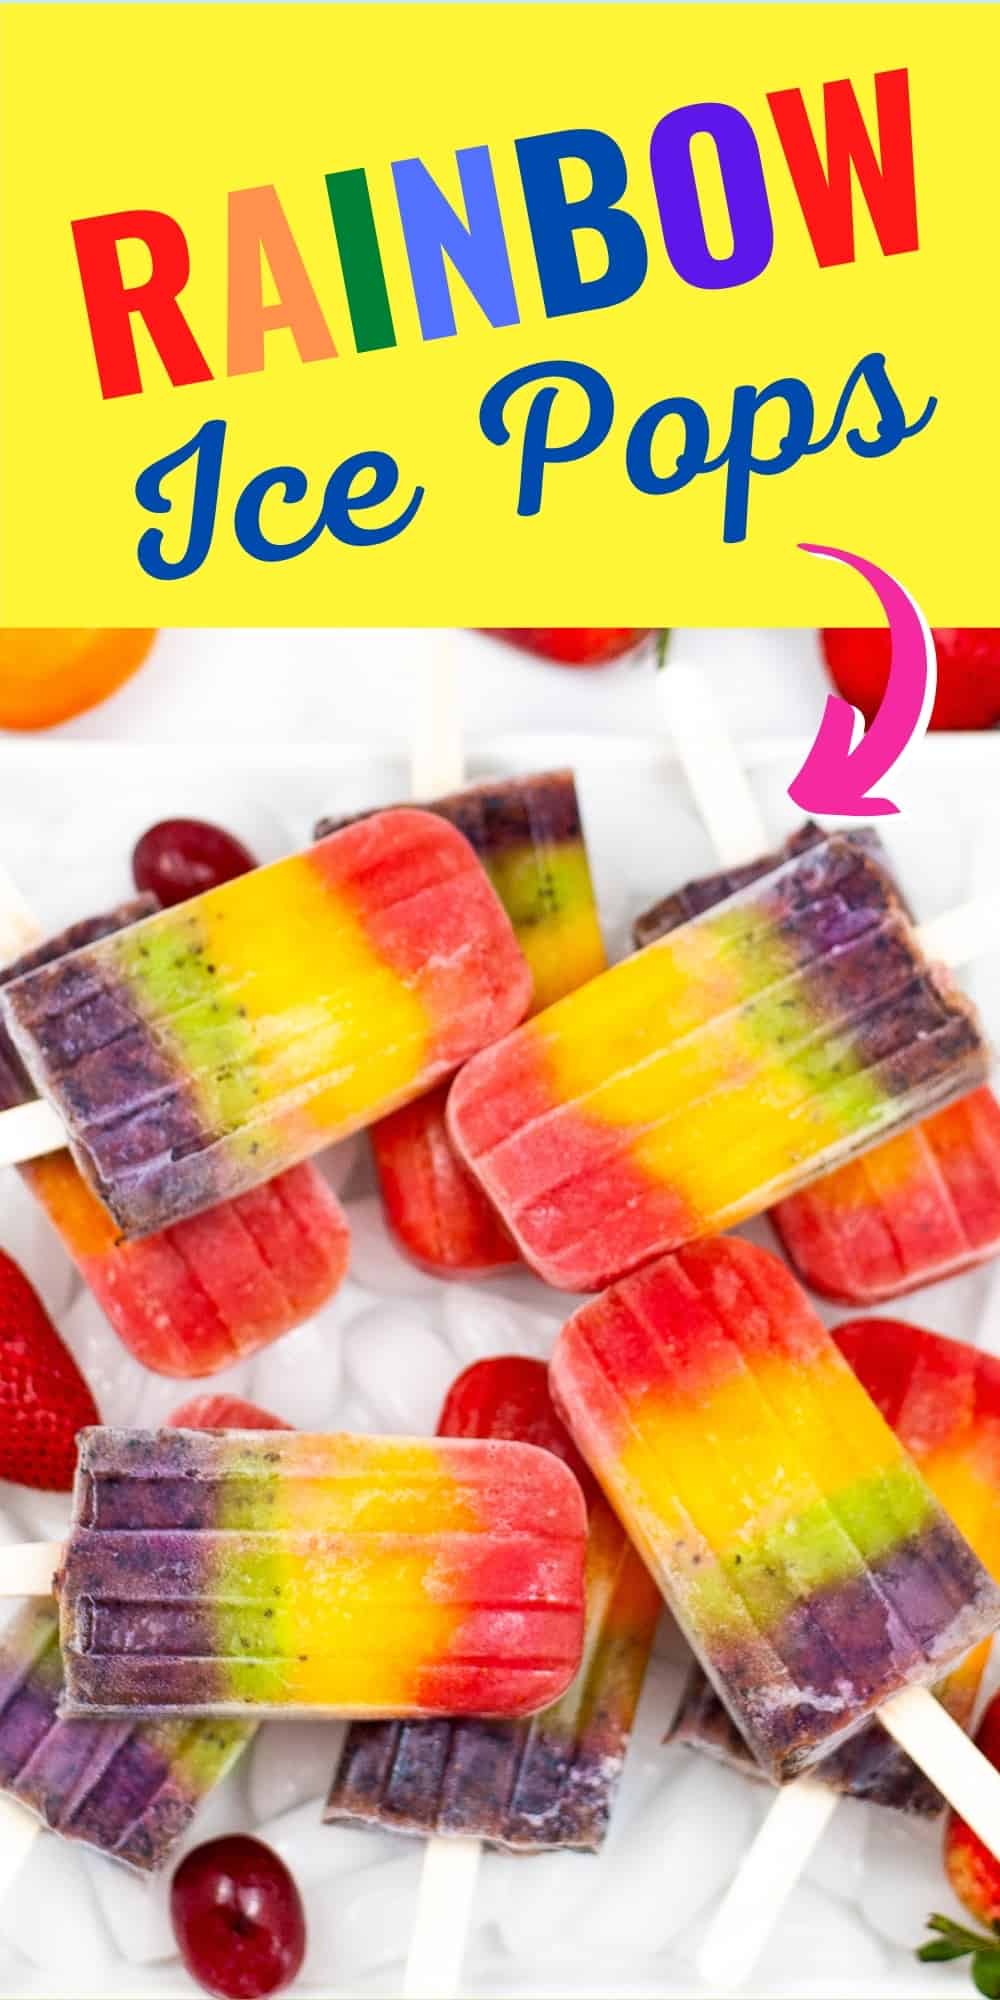
An easy rainbow popsicle recipe made with fruit and honey! These colorful homemade fruit ice pops are all-natural and a tasty frozen treat for summer.
Made with only fruit and honey, they make for a healthy kids’ snack idea too.
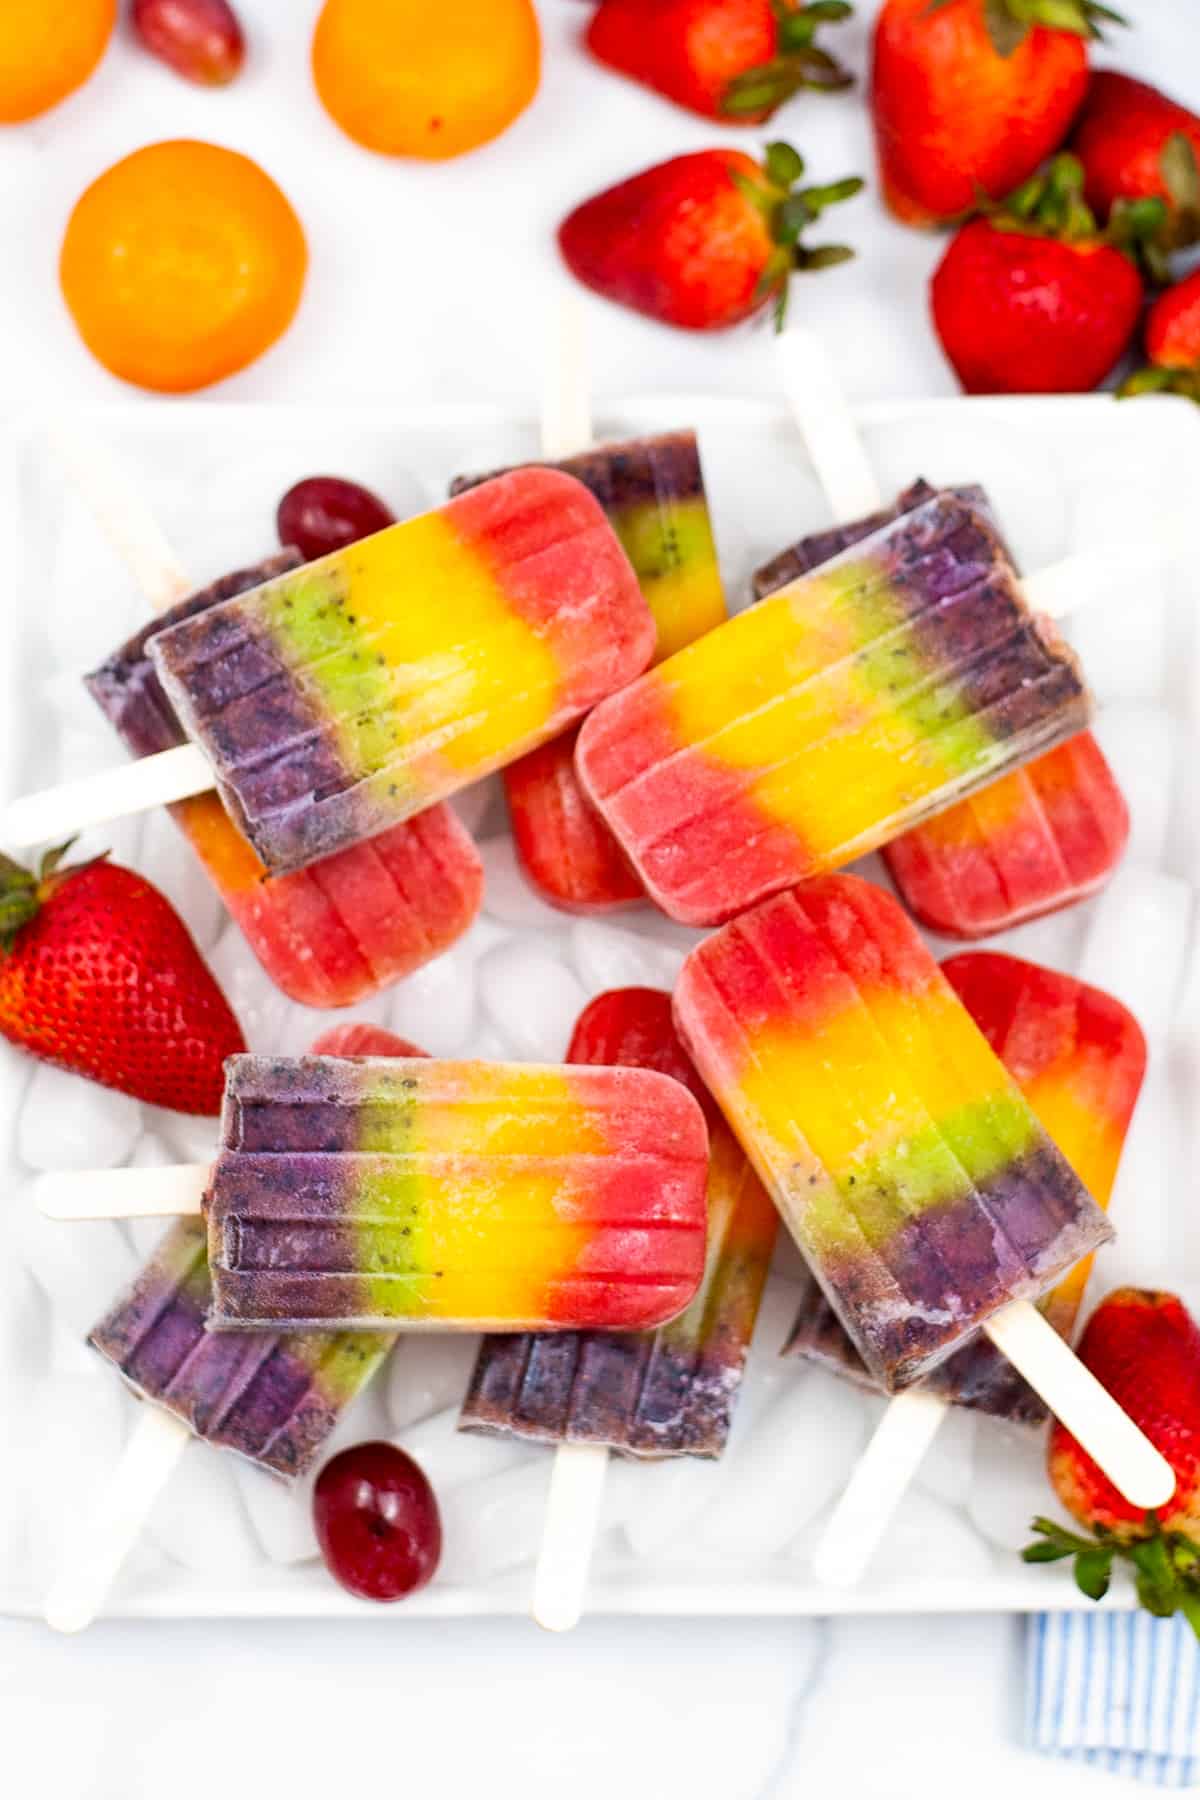
Young Cocomelon fans will especially love these “cocomelon rainbow popsicles”.
The preschool kids’ show has a rainbow popsicle song that helps teach children their colors.
The song goes, “It‘s time for rainbow popsicles, Yummy yummy colorful popsicles, It‘s time for rainbow popsicles, What color do we need?”
The song then goes through the colors of the rainbow and finds fruit for each. It is super cute and the kind of song that will be stuck in your head all day long after just hearing it once.
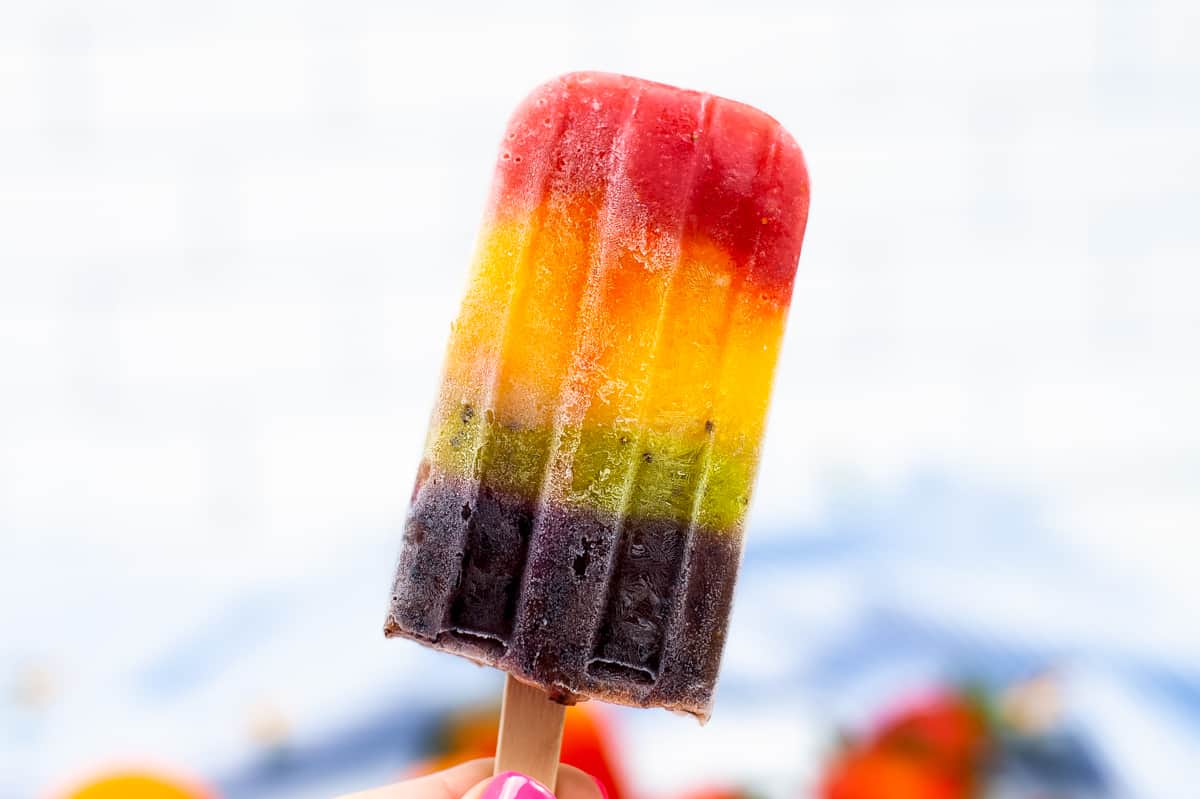
Of course, adults will love these rainbow fruit popsicles as well. They are packed with sweet, fruity flavors and great for cooling down on hot summer days.
They make a fun rainbow pride recipe too!
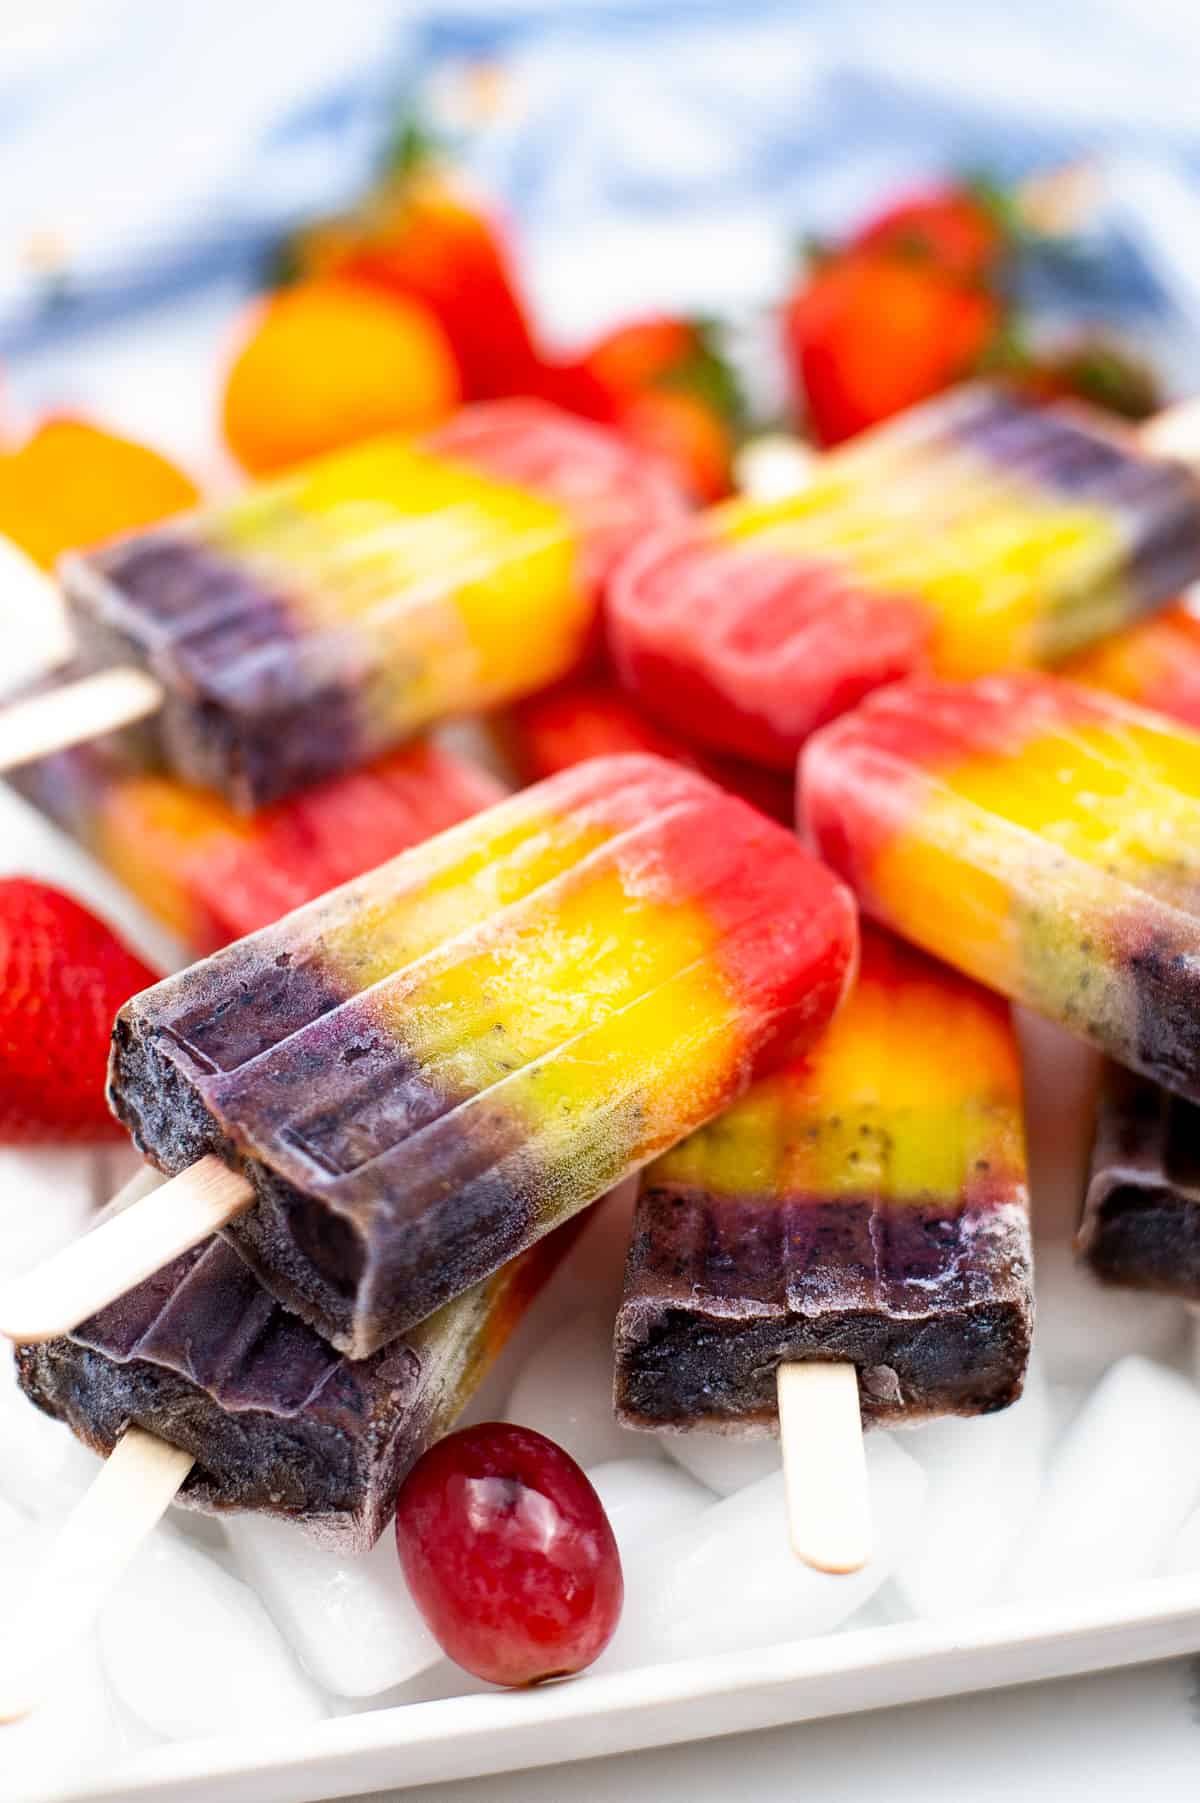
Ingredients
For this recipe you will need:
- sliced strawberries
- mandarin oranges
- pineapple chunks
- sliced kiwi
- blueberries
- seedless grapes
- honey
You will also need a blender, popsicle mold, and popsicle sticks.
You can use frozen, canned, or fresh fruit. However, I would recommend freezing your canned or fresh fruit before making the popsicles to help thicken the layers and prevent them from mixing.
Additions and Substitutions
- Feel free to switch up the fruit in the recipe to account for allergies, preferences, or what you have on hand. Mango, raspberries, bananas, watermelon, and peaches would all be great options.
- Turn these into fruit and vegetable popsicles by pairing the fruit with a vegetable of a similar color. Kale or spinach with kiwi, beets with strawberries, carrots with mandarin oranges, etc…
Instructions
In a blender, blend each frozen fruit with 2 teaspoons of honey. Repeat with each fruit, cleaning out the blender in between to help prevent colors from mixing.
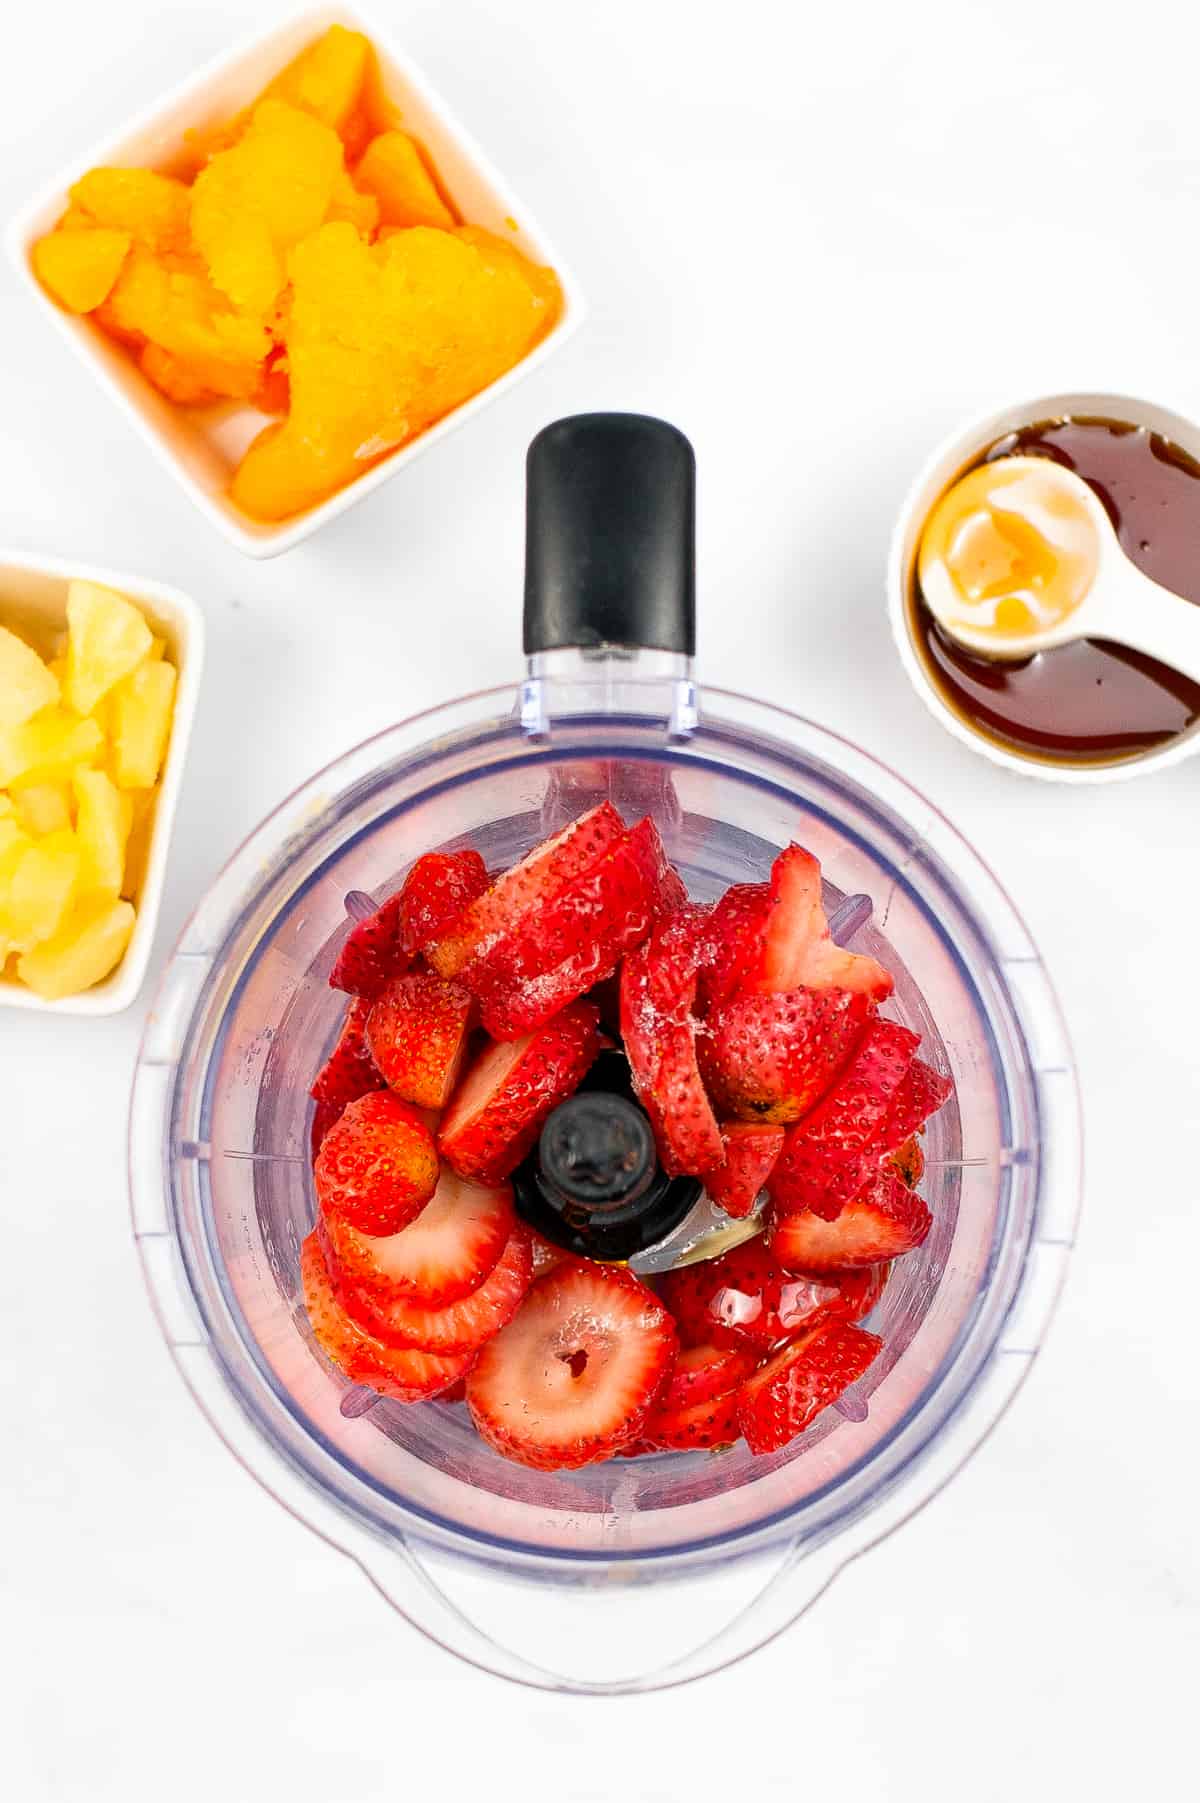
Using a spoon, add a layer of each fruit to the popsicle molds in order of the colors of the rainbow:
- strawberries for red
- mandarin oranges for orange
- pineapple for yellow
- kiwi for green
- blueberries for blue
- grapes for purple
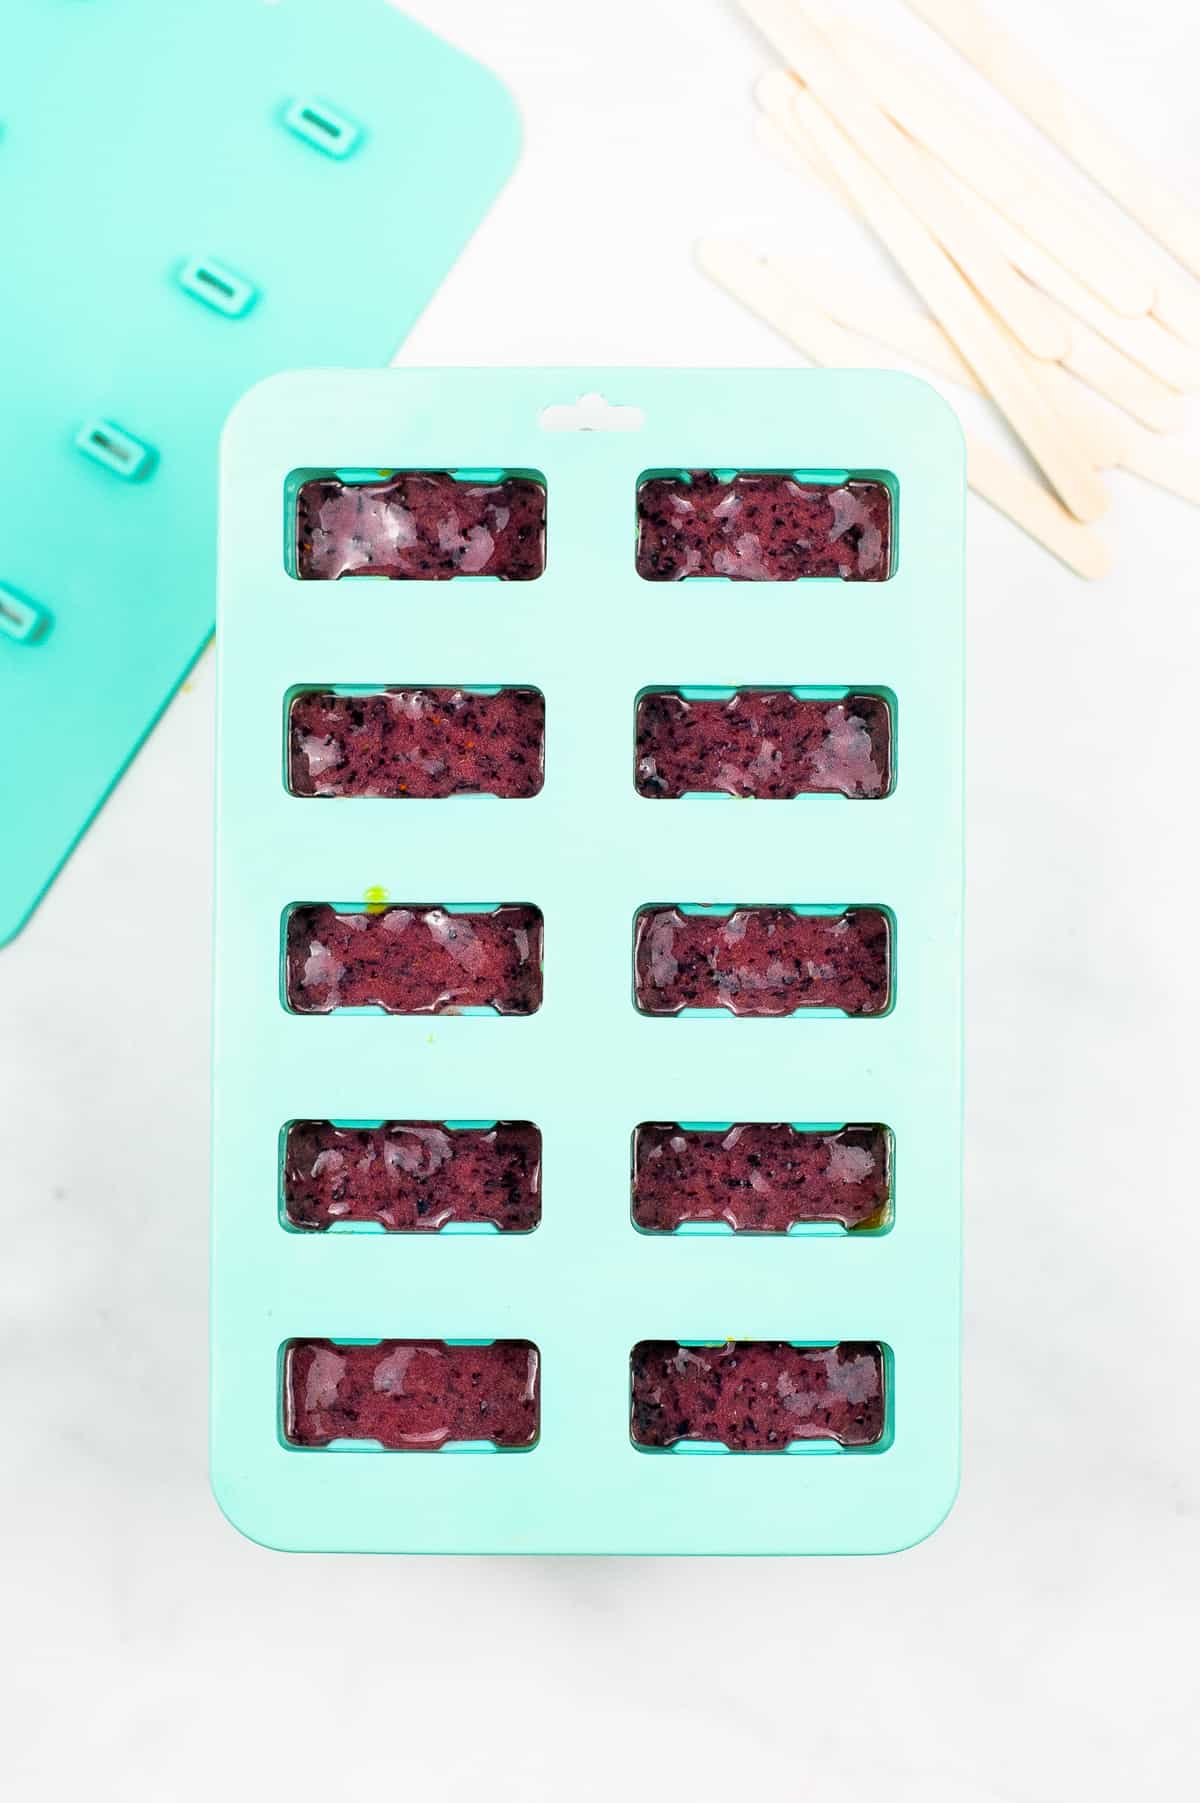
Insert popsicle sticks and freeze until solid, about 6-8 hours.
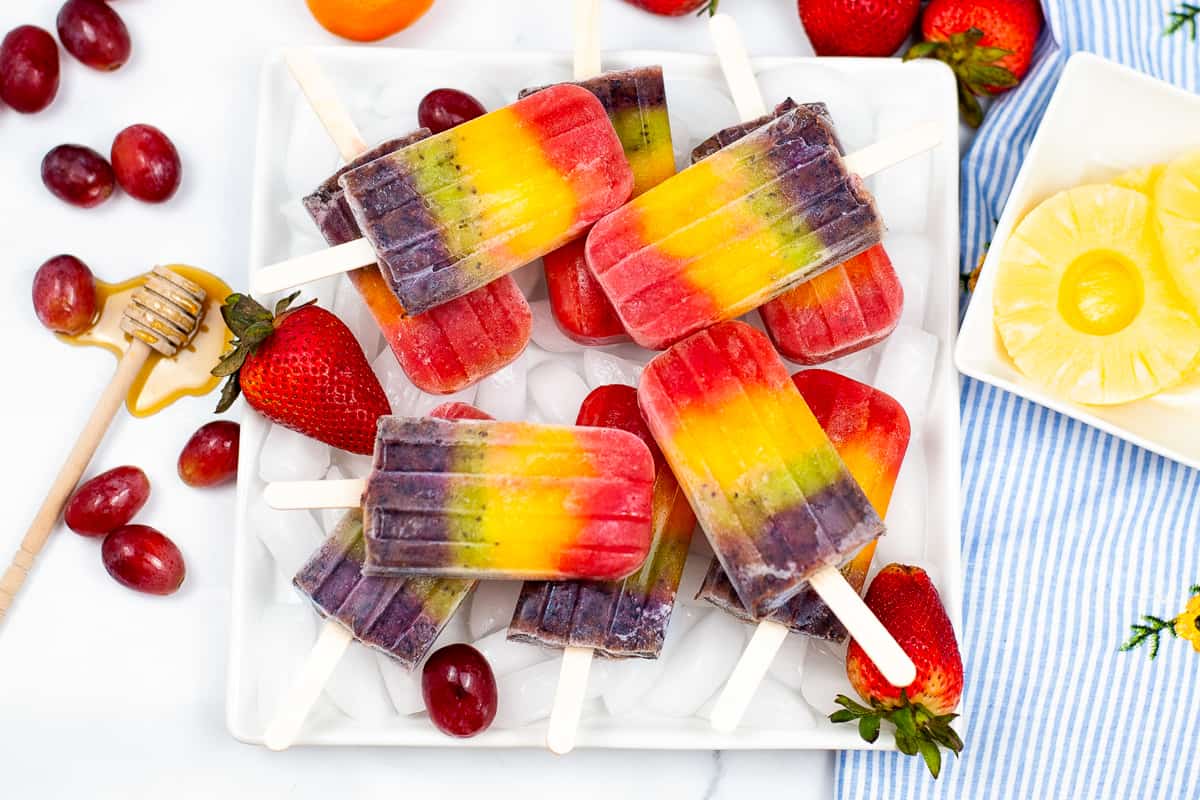
Enjoy!
Tips for Making The Best Rainbow Popsicles
- If you find that any of the fruit layers are too thick and not blending well, add a small amount of water to the blender to thin them out a bit. Not too much–you want the layers to be thick.
- Some colors may blend together a bit, which I don’t find to be a big deal. If you want to make the color layers extra perfect you could freeze the popsicles for 1 hour between adding each layer.
- Rainbow fruit popsicles won’t come out of the mold? Run the mold under warm water for 20 seconds or so to help the popsicles unstick from the sides of the mold.
More must-try popsicle recipes
- Banana Pudding Popsicles – only 3 ingredients!
- Berry & Yogurt Popsicles
- Sparkling Water Fruit Ice Pops
Rainbow Popsicles
Ingredients
- 1 cup sliced strawberries frozen
- 1/2 cup mandarin oranges frozen
- 1/2 cup pineapple chunks frozen
- 1/2 cup sliced kiwi peeled and frozen
- 1 cup blueberries frozen
- 1 cup seedless grapes frozen
- 1/4 cup honey divided
Instructions
- In a blender, blend frozen fruit with 2 teaspoons of honey. Repeat with each fruit, cleaning out the blender between to prevent colors mixing.
- Using a spoon, add a layer of each fruit to the popsicle molds in the order of the colors of the rainbow: strawberries for red, mandarin oranges for orange, pineapple for yellow, kiwi for green, blueberries for blue, and grapes for purple.
- Insert popsicle sticks and freeze until solid, about 6-8 hours.
Notes
- You can use frozen, canned, or fresh fruit. However, I would recommend freezing your canned or fresh fruit before making the popsicles to help thicken the layers and prevent them from mixing.
- If you find that any of the fruit layers are too thick and not blending well, add a small amount of water to the blender to thin them out a bit. Not too much–you want the layers to be thick.
- Some colors may blend together a bit, which I don’t find to be a big deal. If you want to make the color layers extra perfect you could freeze the popsicles for 1 hour between adding each layer.
- Trouble getting your ice pops out of the mold? Run the mold under warm water for 20 seconds or so to help the popsicles unstick from the sides of the mold.
Nutrition
Did You Make This Recipe?
Share it with me on Instagram @crayonsandcravings and follow on Pinterest @crayonsandcravings for even more!


Delicious pops. My son loved them! I will make this recipe again, for sure.
Excellent idea for camping or just plain summertime fun for the kids and adults.
hi ,
thanks for receipe. my toddler is big fan of this song so i would love to make with him. i have 2 questions though
1) are we putting popsicle stick with each layer or insert the stick at very last
2) are we removing skin of grapes ?
thanks
sam
Hi Sam! Place the popsicle stick in at the end after adding all the layers to the mold. Also, you don’t have to remove the skin from the grapes. I hope you and your little guy enjoy these fun rainbow popsicles!