

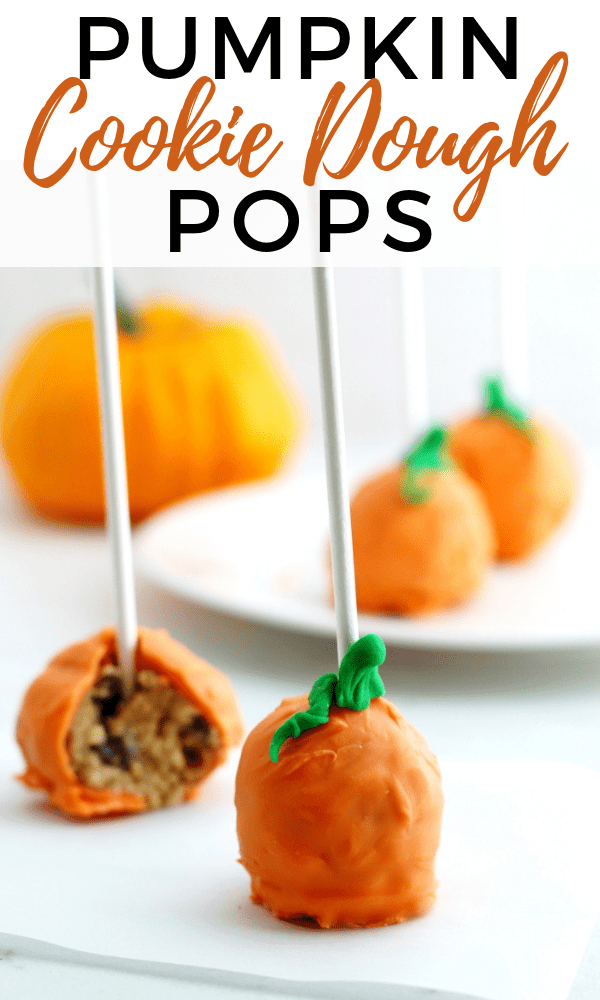
No-Bake Pumpkin Cookie Dough Pops
Posts may contain affiliate links, meaning that I may earn a commission if you use a link provided.

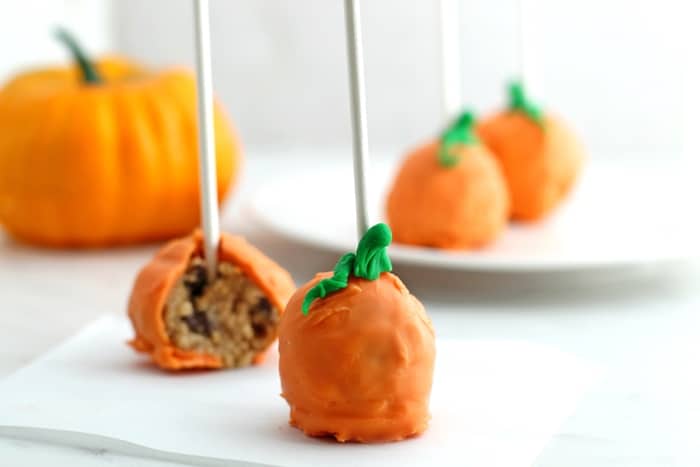
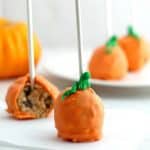
Pumpkin pops are a perfect treat for a Halloween party. These pumpkin cookie dough pops are easy to make, no oven necessary!
Not gunna lie, whenever I bake cookies I can’t help but sneak a taste of the dough. There is just something about cookie dough that is so darn delicious. Gah – now I want some just typing this!
Of course, I know that eating raw cookie dough isn’t smart health-wise. Raw eggs could be contaminated with Salmonella, and ingesting them can lead to a nasty case of food poisoning. No, thank you!
These pumpkin cookie dough pops are make without eggs, so you can enjoy them confidently, like my Edible Sugar Cookie Dough and Chocolate Chip Cookie Dough Dip.

These cute little pumpkin pops are easy to make, no baking required. They would be perfect as a Halloween treat for the class or for serving at your Halloween party.
Cookie dough is the kind of dessert that both children and adults can get behind. So. Good.
I love that these pumpkin cookie dough treats are miniature, so that they can be enjoyed along with other tasty Halloween desserts and no bake Halloween treats.
You could set up an amazing Halloween party spread with these pumpkin pops alongside witch cupcakes, ghost donuts, and mummy rice krispie treats.
Pumpkin Cookie Dough Pop Ingredients & Supplies
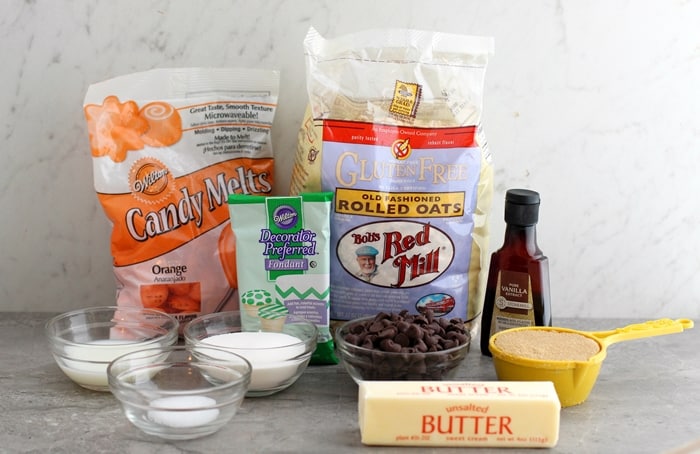
Start by gathering your ingredients and supplies. You will need the following:
For cookie dough balls:
- 1 stick unsalted butter, room temperature
- 1/3 cup sugar
- ½ cup brown sugar, packed
- 1 teaspoon vanilla extract
- 2 tablespoons milk (any kind)
- 2 cups Gluten Free old fashioned oats
- ½ teaspoon salt
- 2/3 cups chocolate chips
Additional supplies:
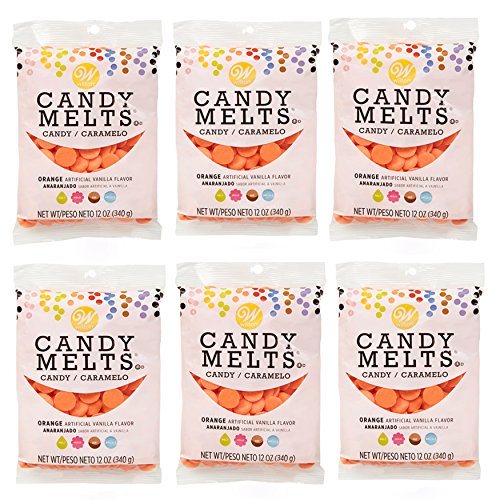
- Orange Candy Melts
- Green fondant
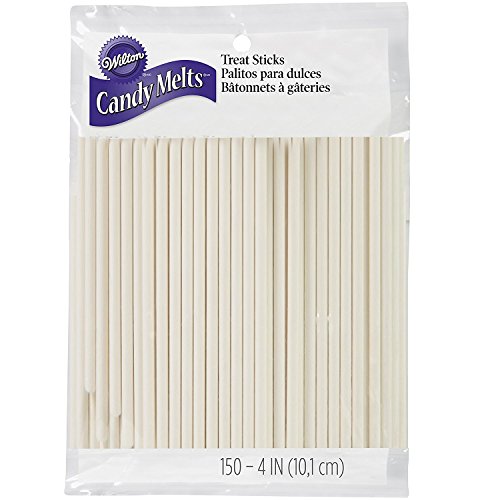
- Popsicle Sticks
We made our pumpkin pops to be gluten-free. If gluten isn’t an issue for you feel free to use regular old fashioned oats instead of GF oats.
How to Make Pumpkin Pops
As you will see, it is surprisingly easy to make cookie dough balls.
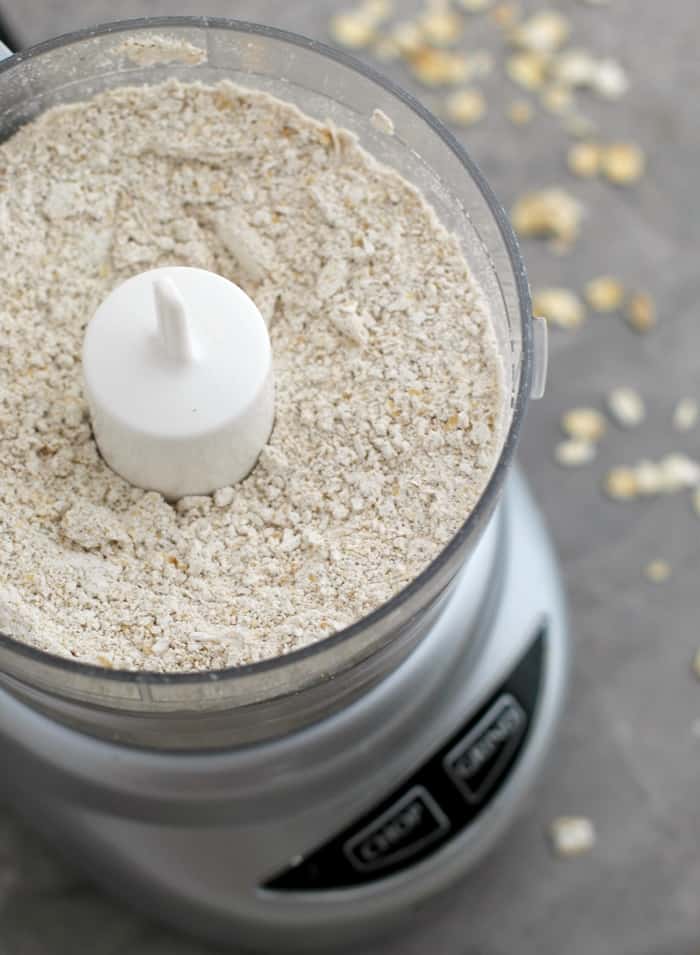
First, you will pulse the oats into an oat flour using a food processor.
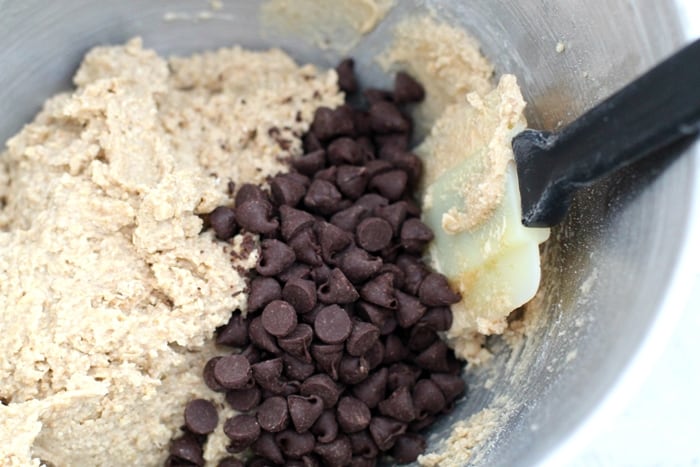
Next, combine cookie dough ingredients using an electric mixer and stir in the chocolate chips.
Then, form the balls by rolling the dough in your (clean) hands.

Freeze the cookie dough balls for 2 hours to allow them to harden, then dip them in melted Orange Candy Melts.
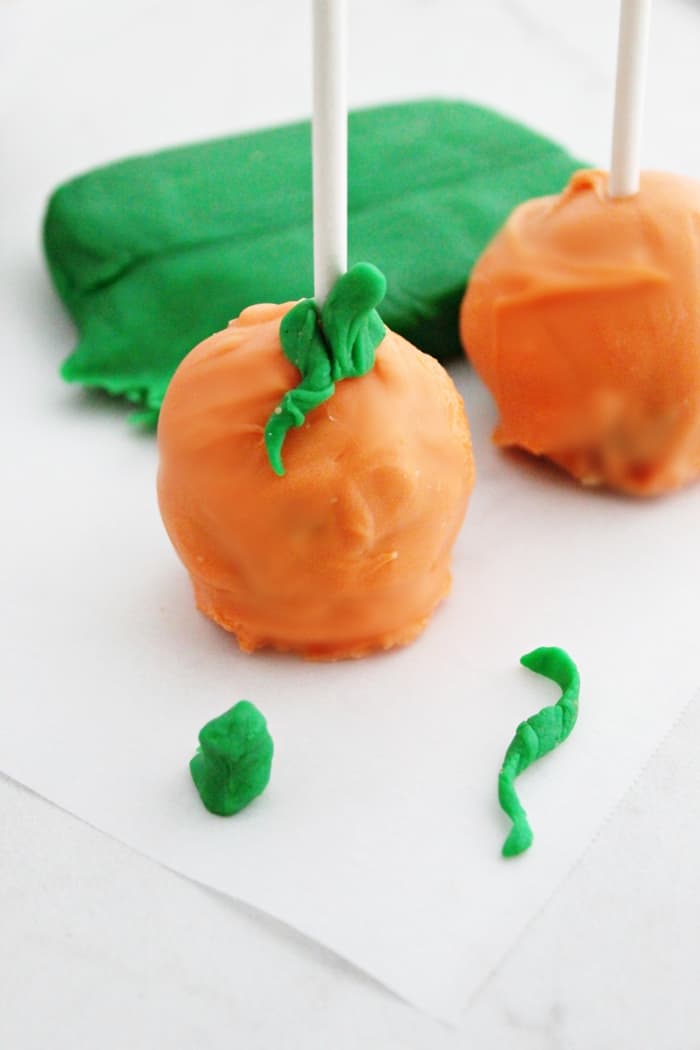
Cut off a small bit of green fondant and roll it in your hands to create a stem and a vine for each pumpkin pop.
Finally, add vines, leaves, and popsicle sticks to the pops to finish them off.
Note: The cookie dough softens quickly so it’s best to keep the pops refrigerated so they remain firm until ready to serve.
Shop Pumpkin Cookie Dough Pop Supplies:
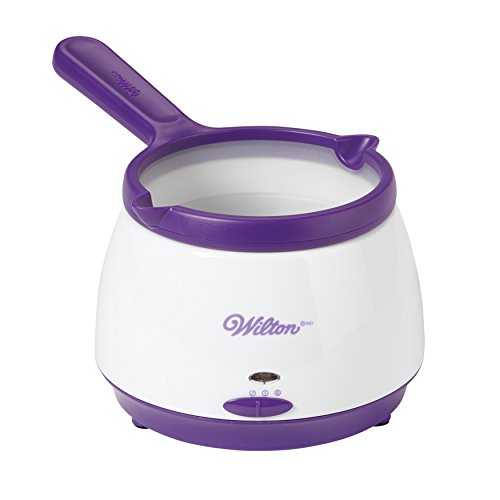
Candy Melts Melting Pot 4-Inch Lollipop SticksOrange Candy Melts

Pumpkin Cookie Dough Pops
Ingredients
- 1 stick unsalted butter, room temperature
- ⅓ cup granulated sugar
- ½ cup light brown sugar, packed
- 1 teaspoon vanilla extract
- 2 tablespoons milk, any kind
- 2 cups Gluten Free old fashioned oats, may substitute for non-GF oats
- ½ teaspoon salt
- ⅔ cups chocolate chips
- Orange Candy Melts
- Green fondant
Instructions
- Line a baking sheet with parchment paper and set aside.
- Using a stand mixer, mix softened butter, sugar, brown sugar, vanilla and milk on medium speed until smooth and combined.
- Add oats and salt; mix until incorporated.
- Stir in chocolate chips.
- Scoop out heaping tablespoonfuls of dough and use hands to roll into balls. Place balls on parchment lined baking sheet.
- Place baking sheet in freezer for 2 (or more) hours.
- Before removing balls from freezer, melt Orange Candy Melts according to package instructions.
- Immediately remove cookie dough balls from freezer and dip them, using a spoon to help pour the melted candy over them so make sure they are completely coated. Place coated balls back on parchment paper and poke a treat stick through the top of the each.
- Place pumpkin pops in the fridge while completing the next step.
- Using a knife, cut off a small bit of green fondant and roll it in your hands to create a stem and a vine for each pumpkin pop.
- Remove pumpkin pops from the fridge and gently place the green stems and vines on each pumpkin pop.
- Refrigerate pumpkin pops until ready to serve (to keep the dough firm).
Did You Make This Recipe?
Share it with me on Instagram @crayonsandcravings and follow on Pinterest @crayonsandcravings for even more!
Pin for Later:
This recipe was shared on Meal Plan Monday.


oh my my…wiping the drool from my face
Oh, how cute. Thank you!
Such a great idea, they look amazing!
What a great looking, easy recipe for Halloween! Perfect for a party! Thanks!
Yum! I would have a hard time resisting these. Looks like a great treat for Fall parties.
Wow, so great DIY project. I can’t wait to have a try.
These Pumpkin Pops look amazing and super cute! I have to try them!
I am loving this fun recipe beyond belief! It’s so darn easy to make, and super cute. I’m making up a delicious batch of Pumpkin Pops this Halloween!
I was just telling my son I would learn how to do cake pops for him!
Thanks so much.
These treats look so yummy! I love pumpkin flavored treats for Fall. I definitely got inspired to make this. Its perfect for a get together for Halloween