Cookie Monster Cookies
Posts may contain affiliate links, meaning that I may earn a commission if you use a link provided.
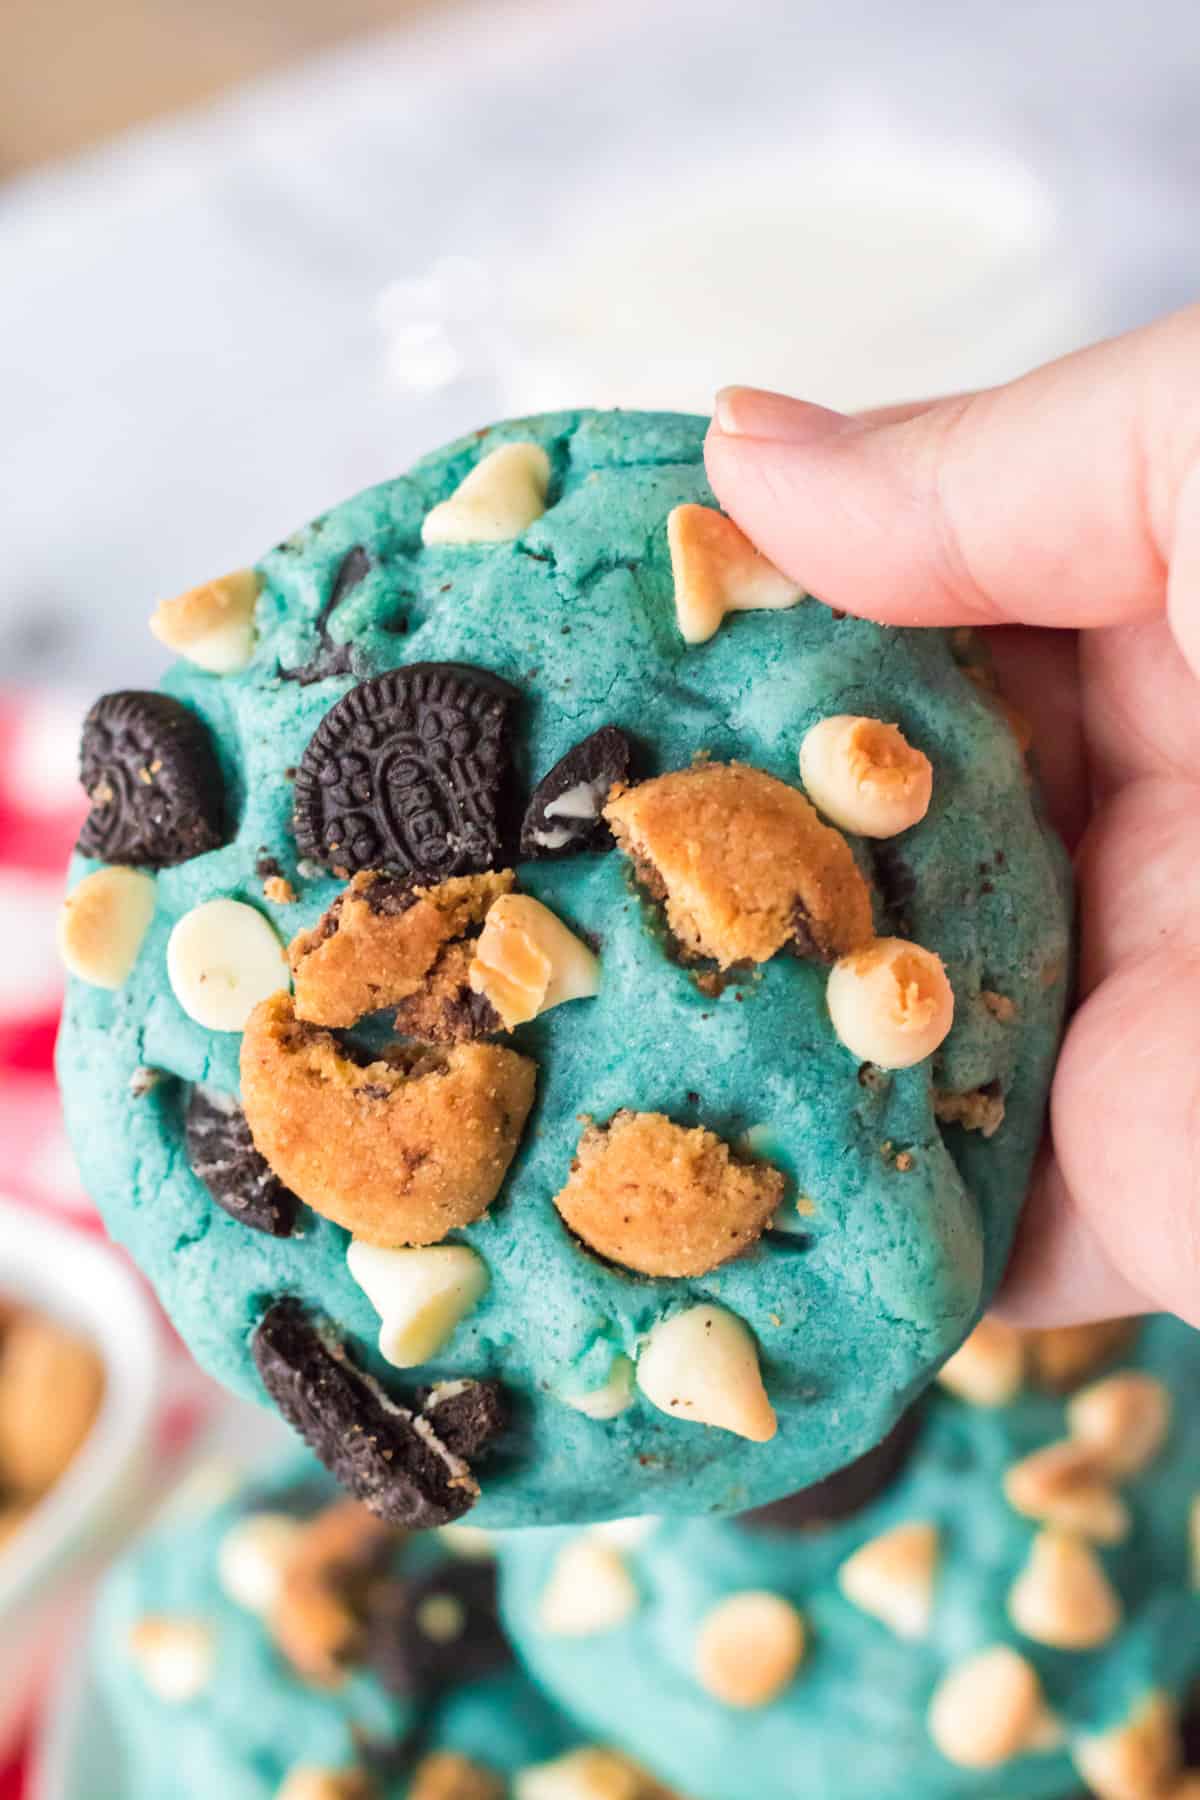
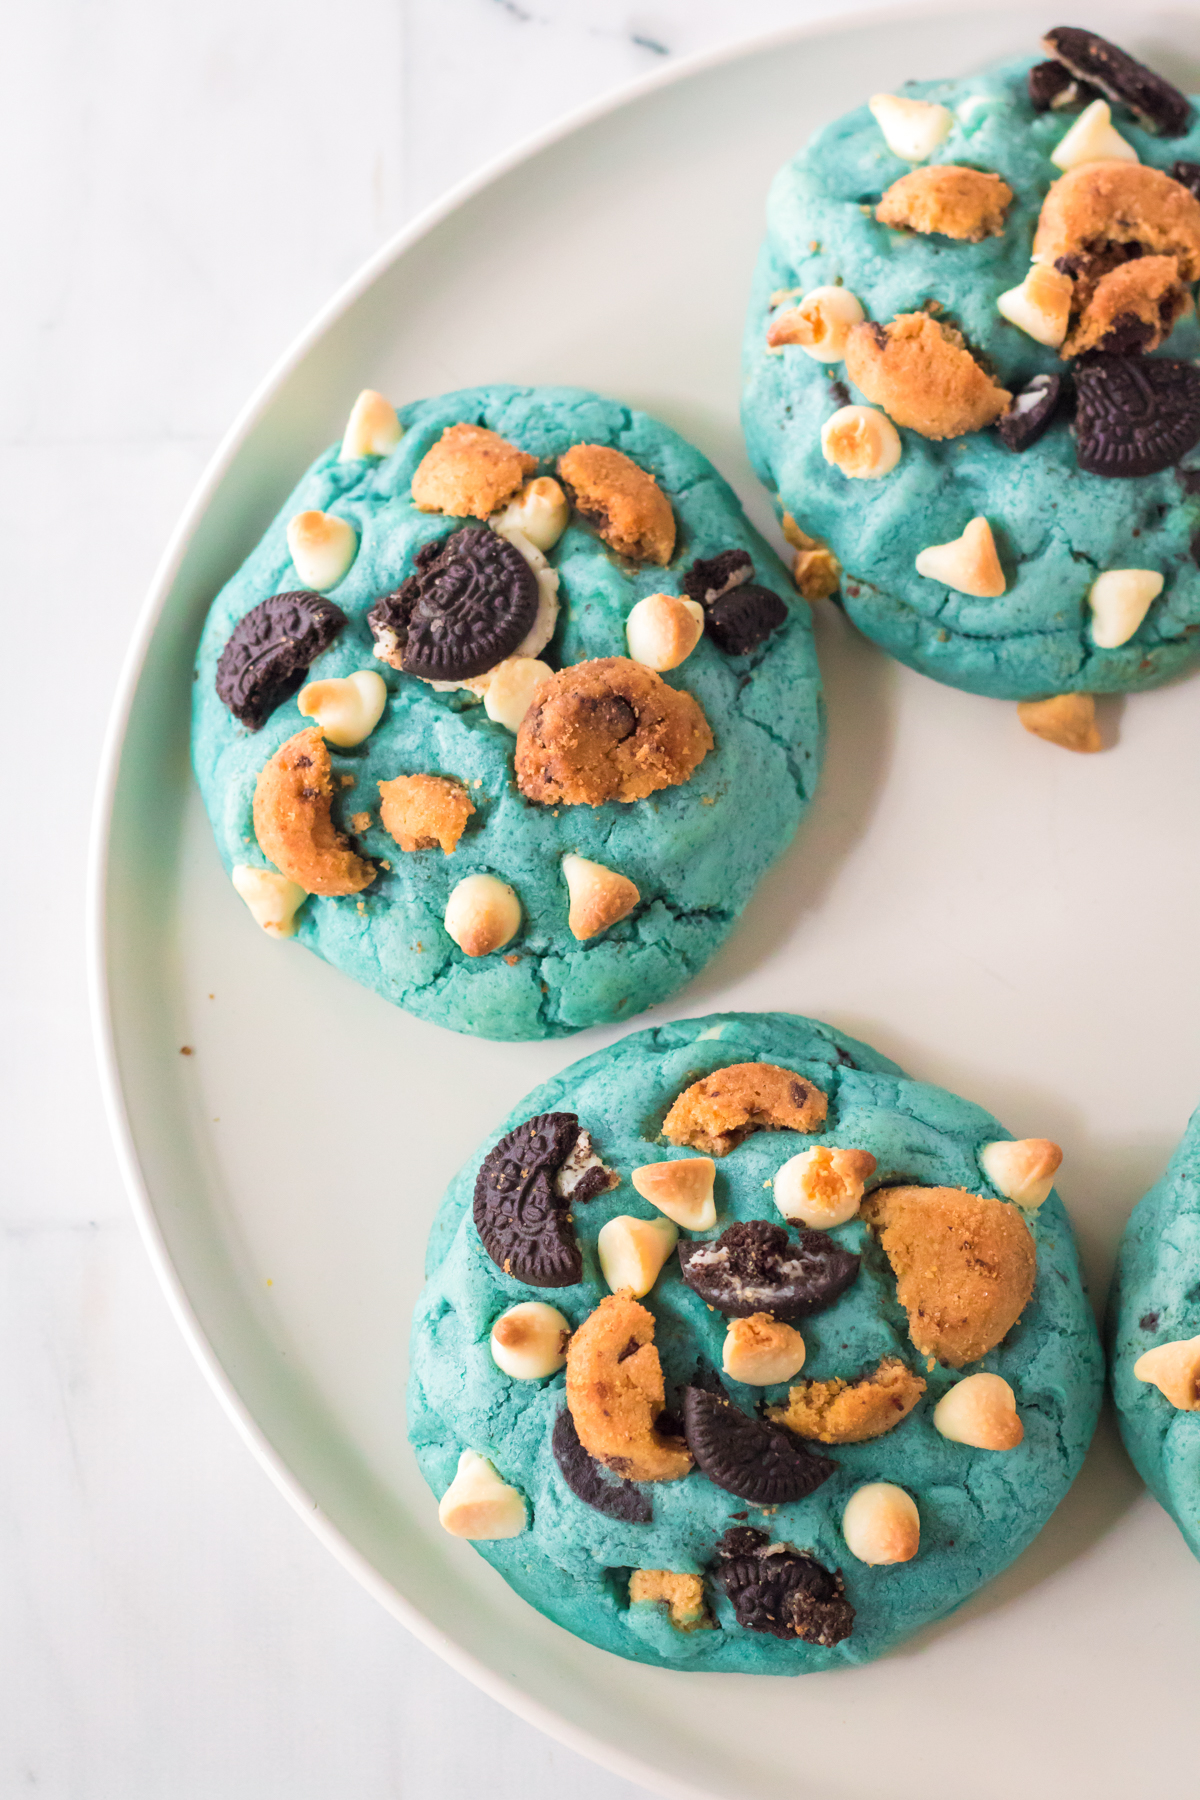
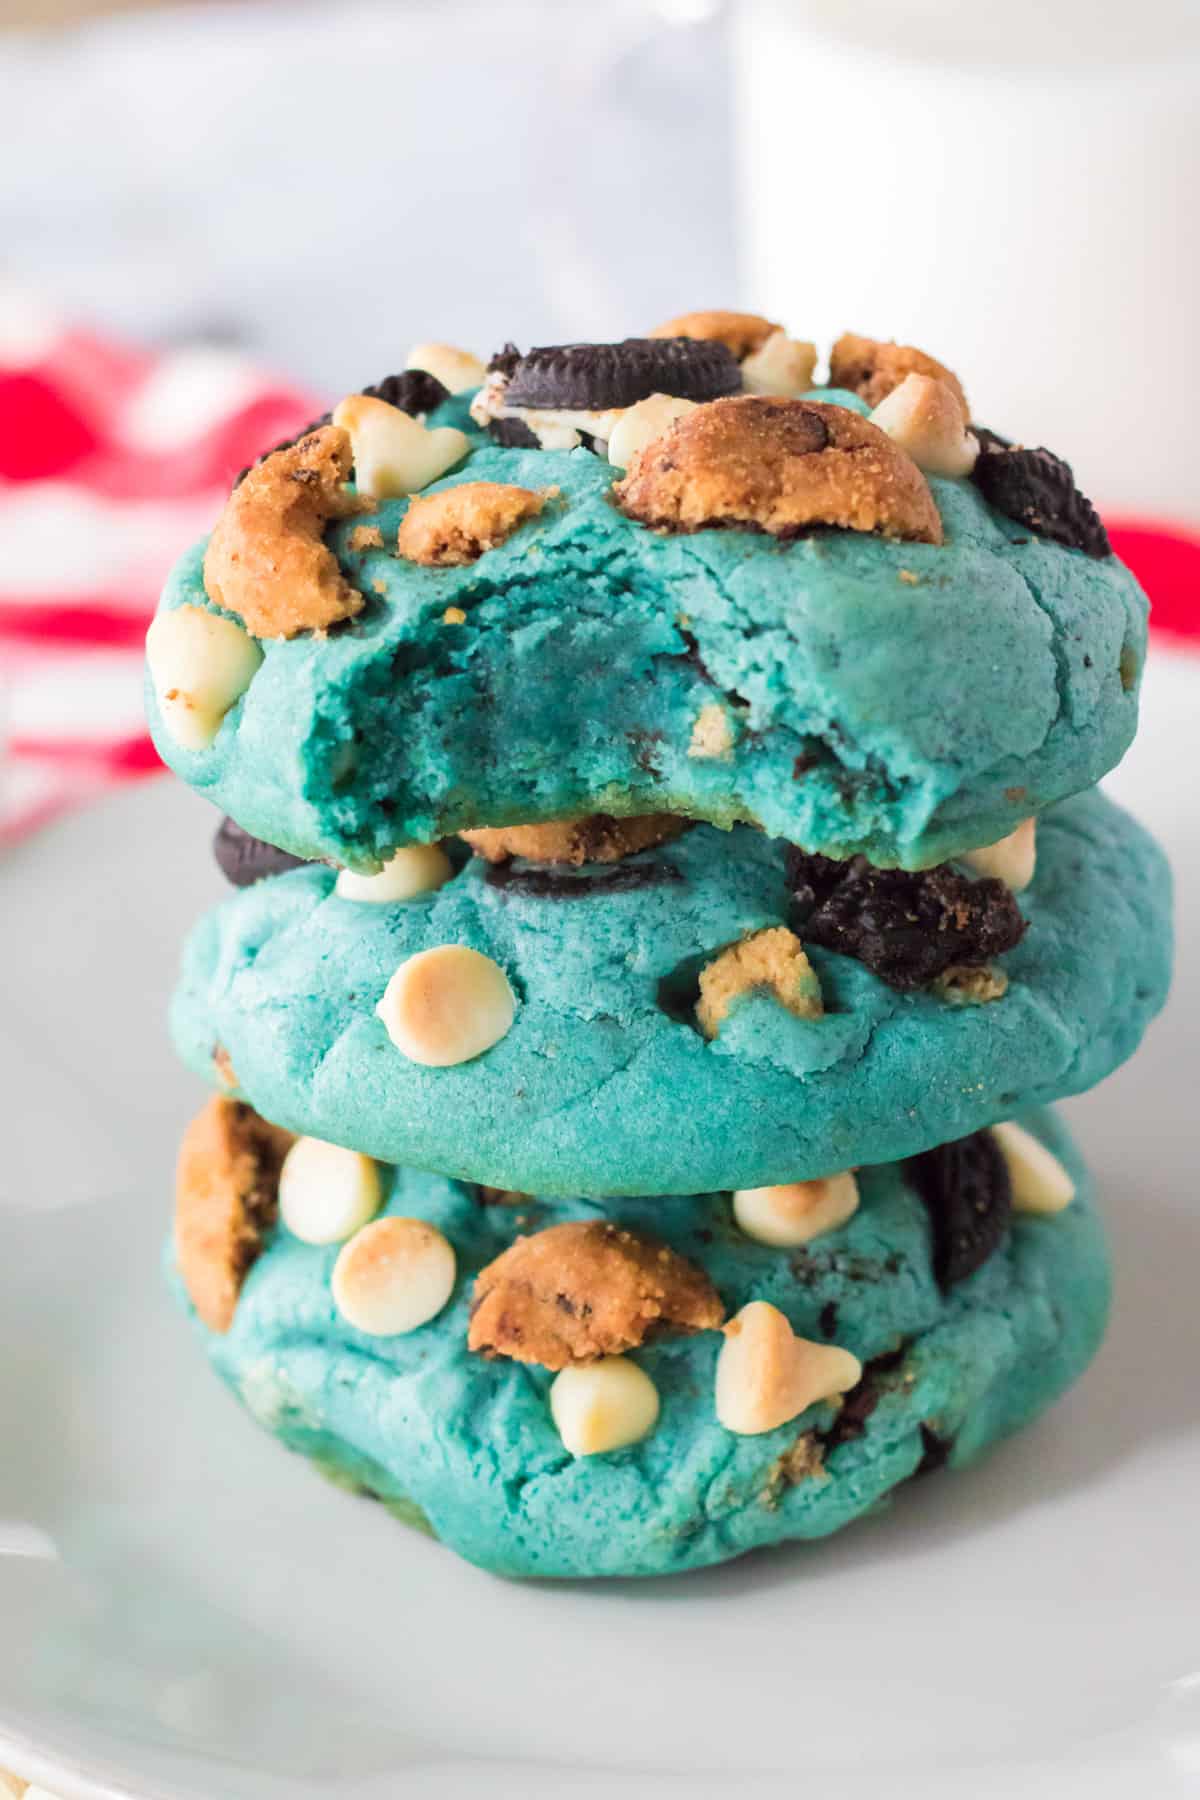
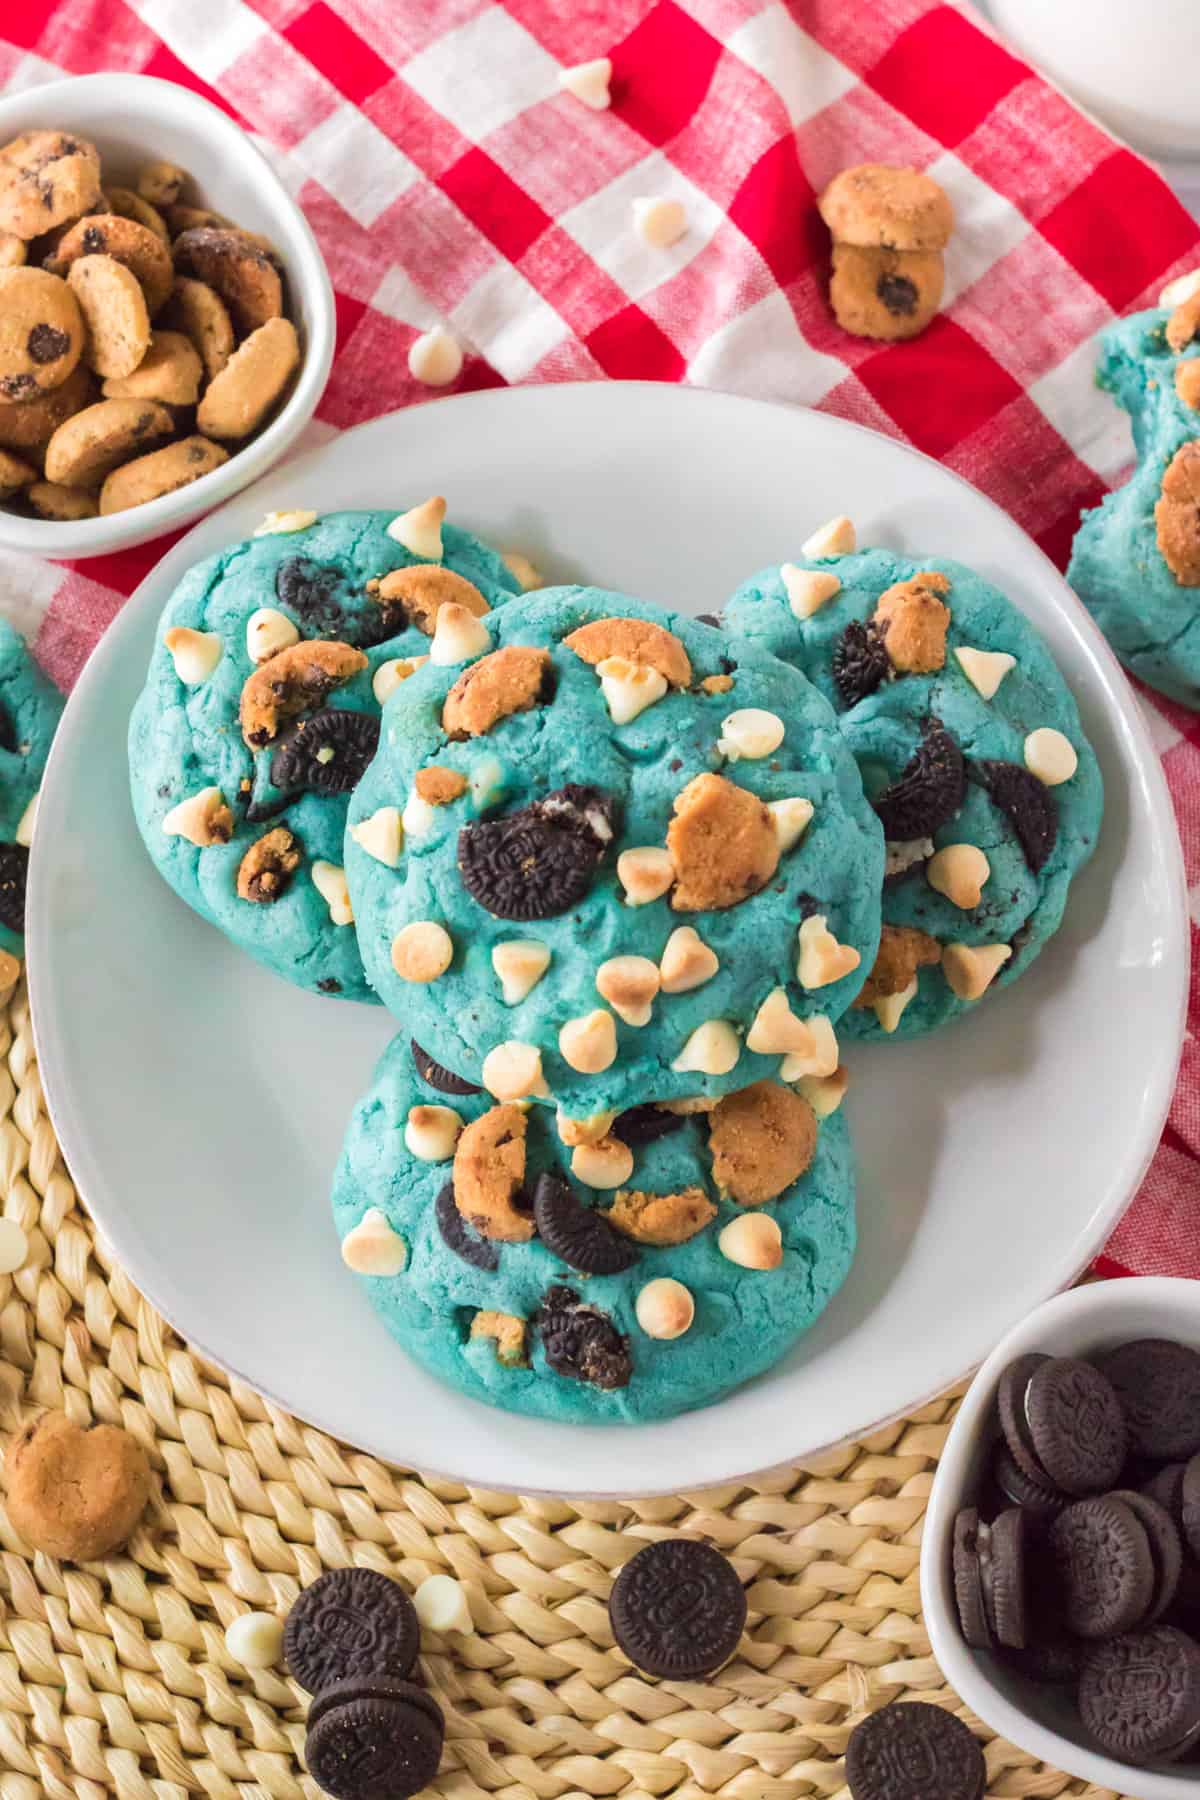
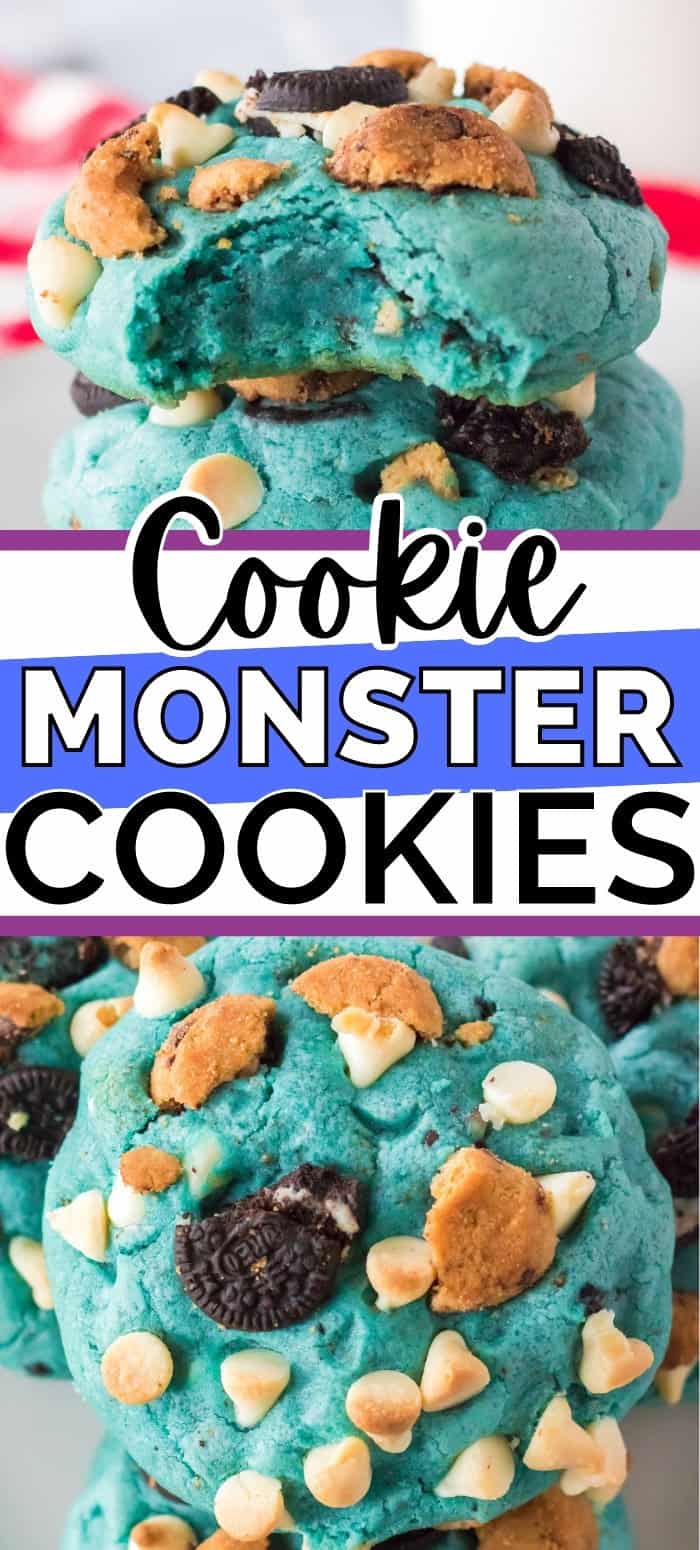
These jumbo Cookie Monster Cookies are so much fun! Big, thick cookies are studded with white chocolate chips, mini Oreos, and mini chocolate chip cookies. The dough is bright Cookie Monster blue, which makes these cookies a total hit with kids.
Whether you’re a fan of Sesame Street or you just love funky, chunky cookies, you and your kids will go crazy for these big, blue Cookie Monster cookies!
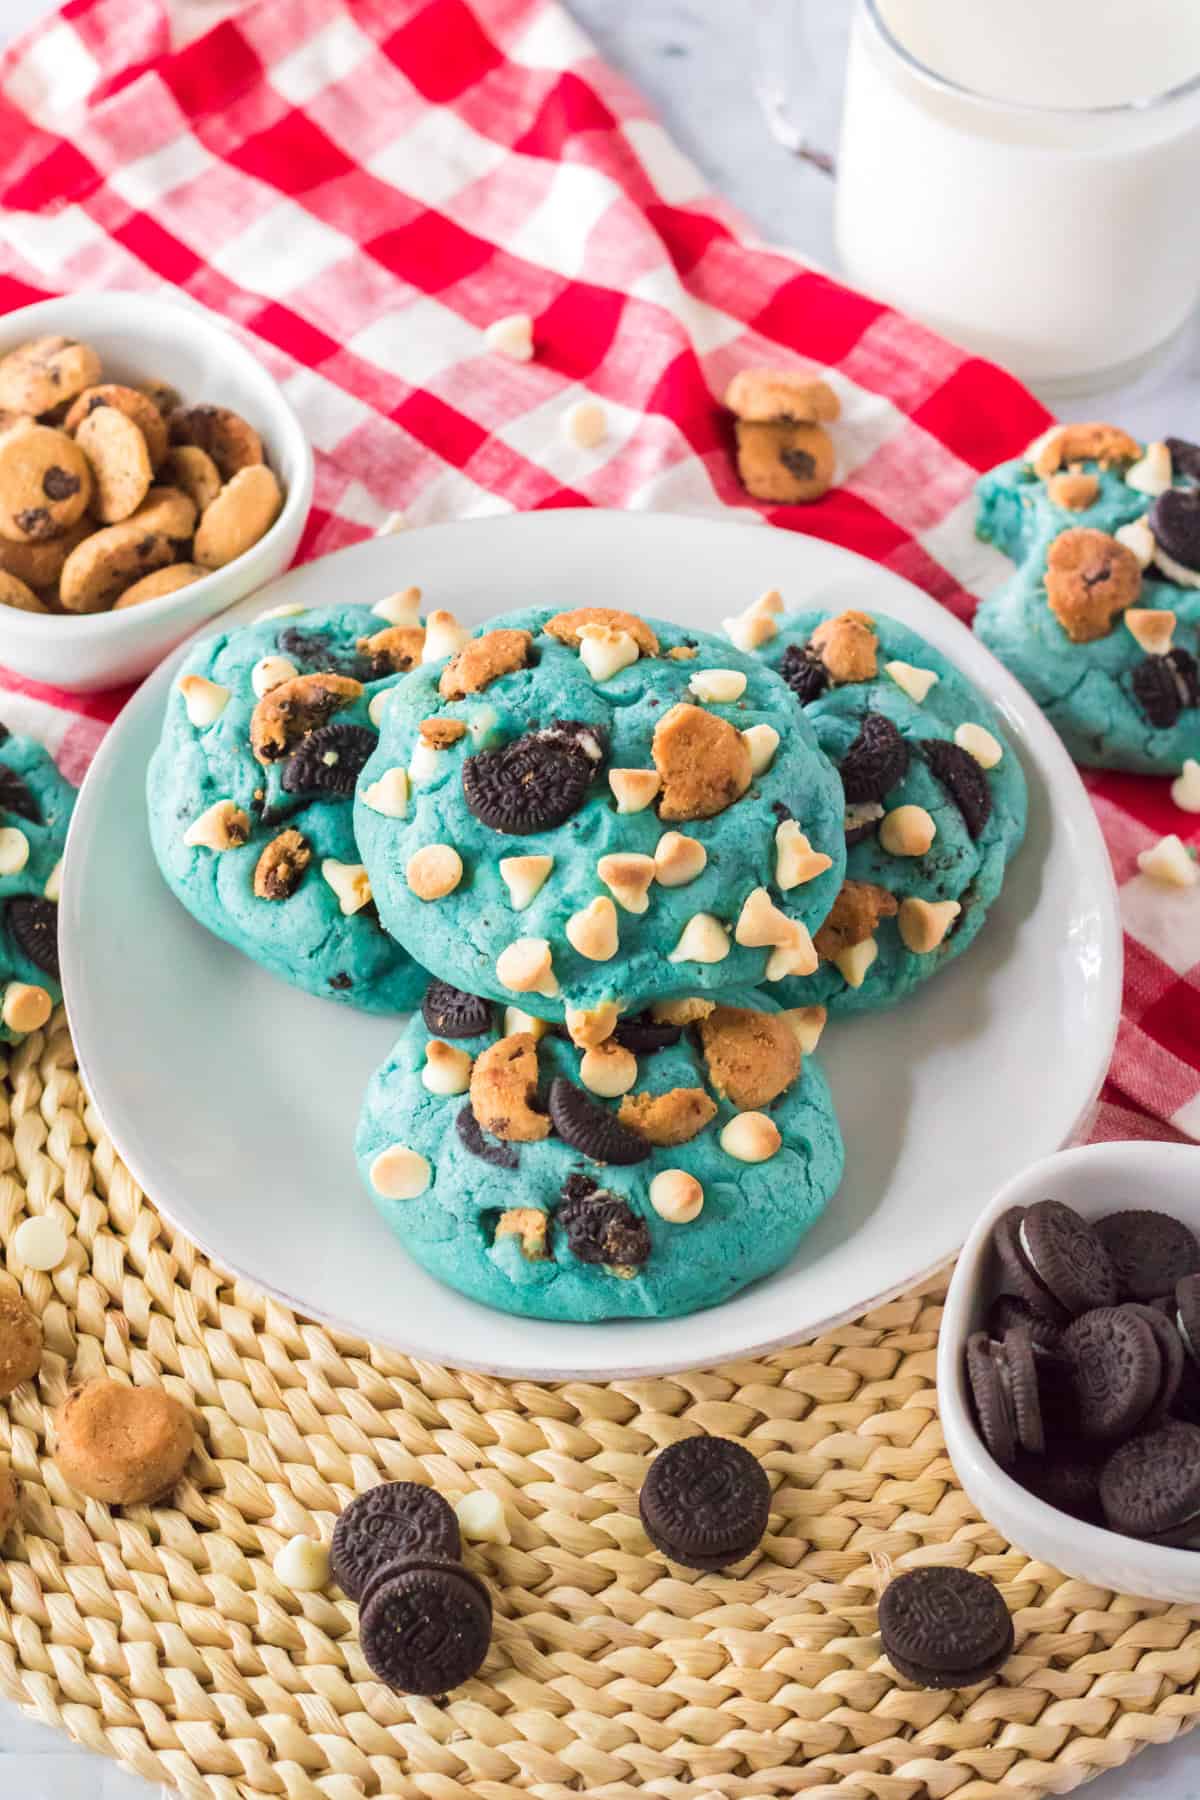
I don’t know about you, but I think chewy cookies are the best thing since sliced bread. Sure, crunchy cookies are fun to dunk in milk, but taking a big bite out of a chewy cookie is just bliss. And these big blue cookies are perfectly, wonderfully chewy.
Adapt the mix-ins to your family’s preference. You can swap out the types of cookies and chocolate chips to make them your own. Use milk chocolate chips instead of white chocolate; opt for Golden Oreos instead of regular ones. You can even add nuts, marshmallows, sprinkles, or candy eyes to make them chunkier.
And while you’re making sweet treats for your own little Cookie Monster, check out my Banana Pudding Cookies, Strawberry Shortcake Cookies, or Peanut Butter Cup Cookies.
But for now, let’s get to these delicious cookies. They’re absolutely perfect for Sesame Street themed birthday parties!
Ingredients
This section includes ingredient notes and substitution options. Get all measurements, ingredients, and instructions in the printable recipe card at the end of this post.
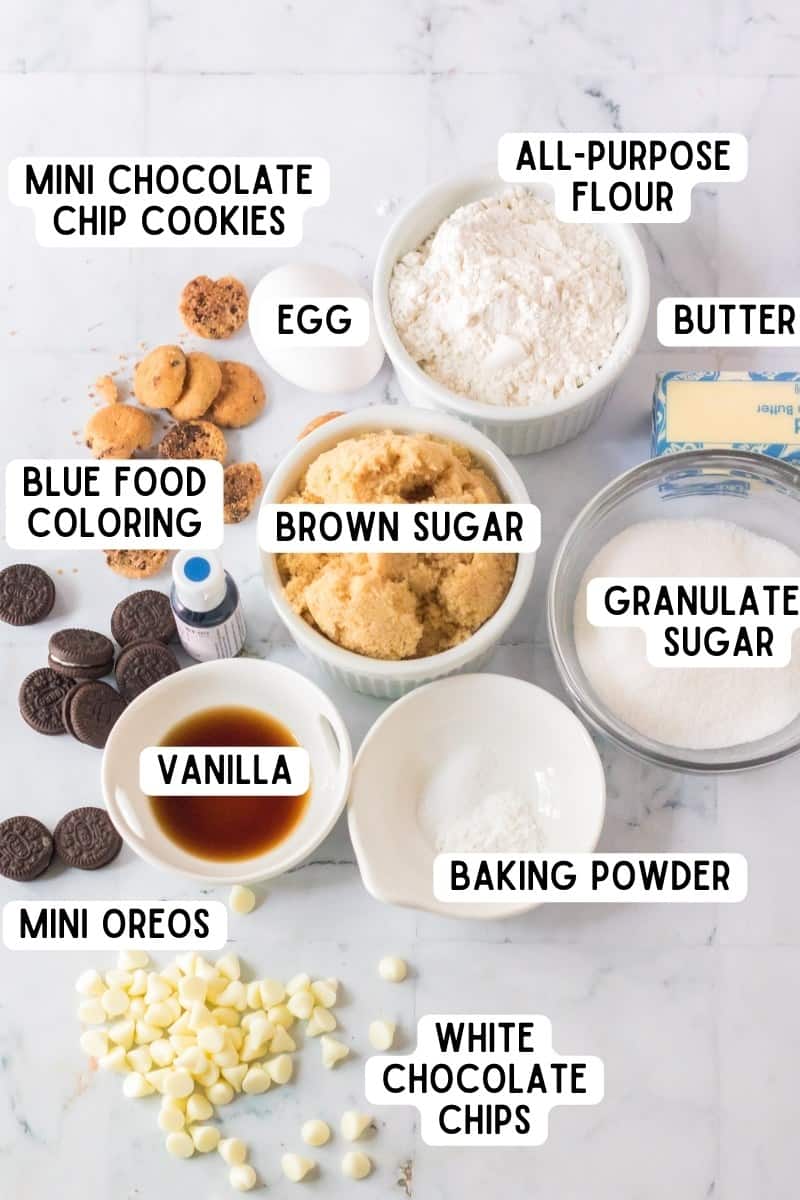
- Butter— Use softened, unsalted butter for this cookie recipe. Make sure you set the butter out at room temperature for at least an hour or two before making the cookies to ensure the butter is softened enough.
- Brown sugar— I used light brown sugar, but dark brown sugar also works. Dark brown sugar has a deeper molasses flavor than the light-colored option.
- White sugar— This recipe calls for a little granulated white sugar mixed in for extra sweetness and texture, but you can use all brown sugar instead if you’d like.
- Egg— The egg helps bind the flour and other ingredients together.
- Vanilla— I recommend pure vanilla extract. Although imitation vanilla may be used if you prefer that.
- Blue food coloring— Gel food coloring will give you a more vivid blue color. While you can use liquid, the cookies will be more of a very pale blue.
- Flour— Regular all-purpose flour.
- Salt— The salt is used to activate the baking powder to help the cookie dough rise. Plus it enhances the flavor of the cookies.
- Baking powder— This is the leavening agent in the cookies that makes them rise to make gorgeous, chewy cookies.
- White chocolate chips— The color of the white chips is so pretty in the blue cookies! However you can replace them with milk chocolate chips, peanut butter chips, etc. if you prefer.
- Mini Oreos— I used mini Oreos for ease of breaking them apart, but regular Oreos crushed up a bit work too. Just get the regular kind—not double or mega stuffed. Any chocolate sandwich cookie you can find at your local grocery store works just fine.
- Mini chocolate chip cookies— Chips Ahoy cookies are our favorite but use any brand you like. Again, regular-sized cookies can be used. Smaller ones are simply easier to work with.
Equipment You’ll Need
Here are all the things you need to make this cookie monster cookie recipe — pretty basic kitchen tools!
How to Make Cookie Monster Cookies
This section shows you how to make the recipe with step-by-step photos and instructions. For the full printable recipe, see the recipe card below.
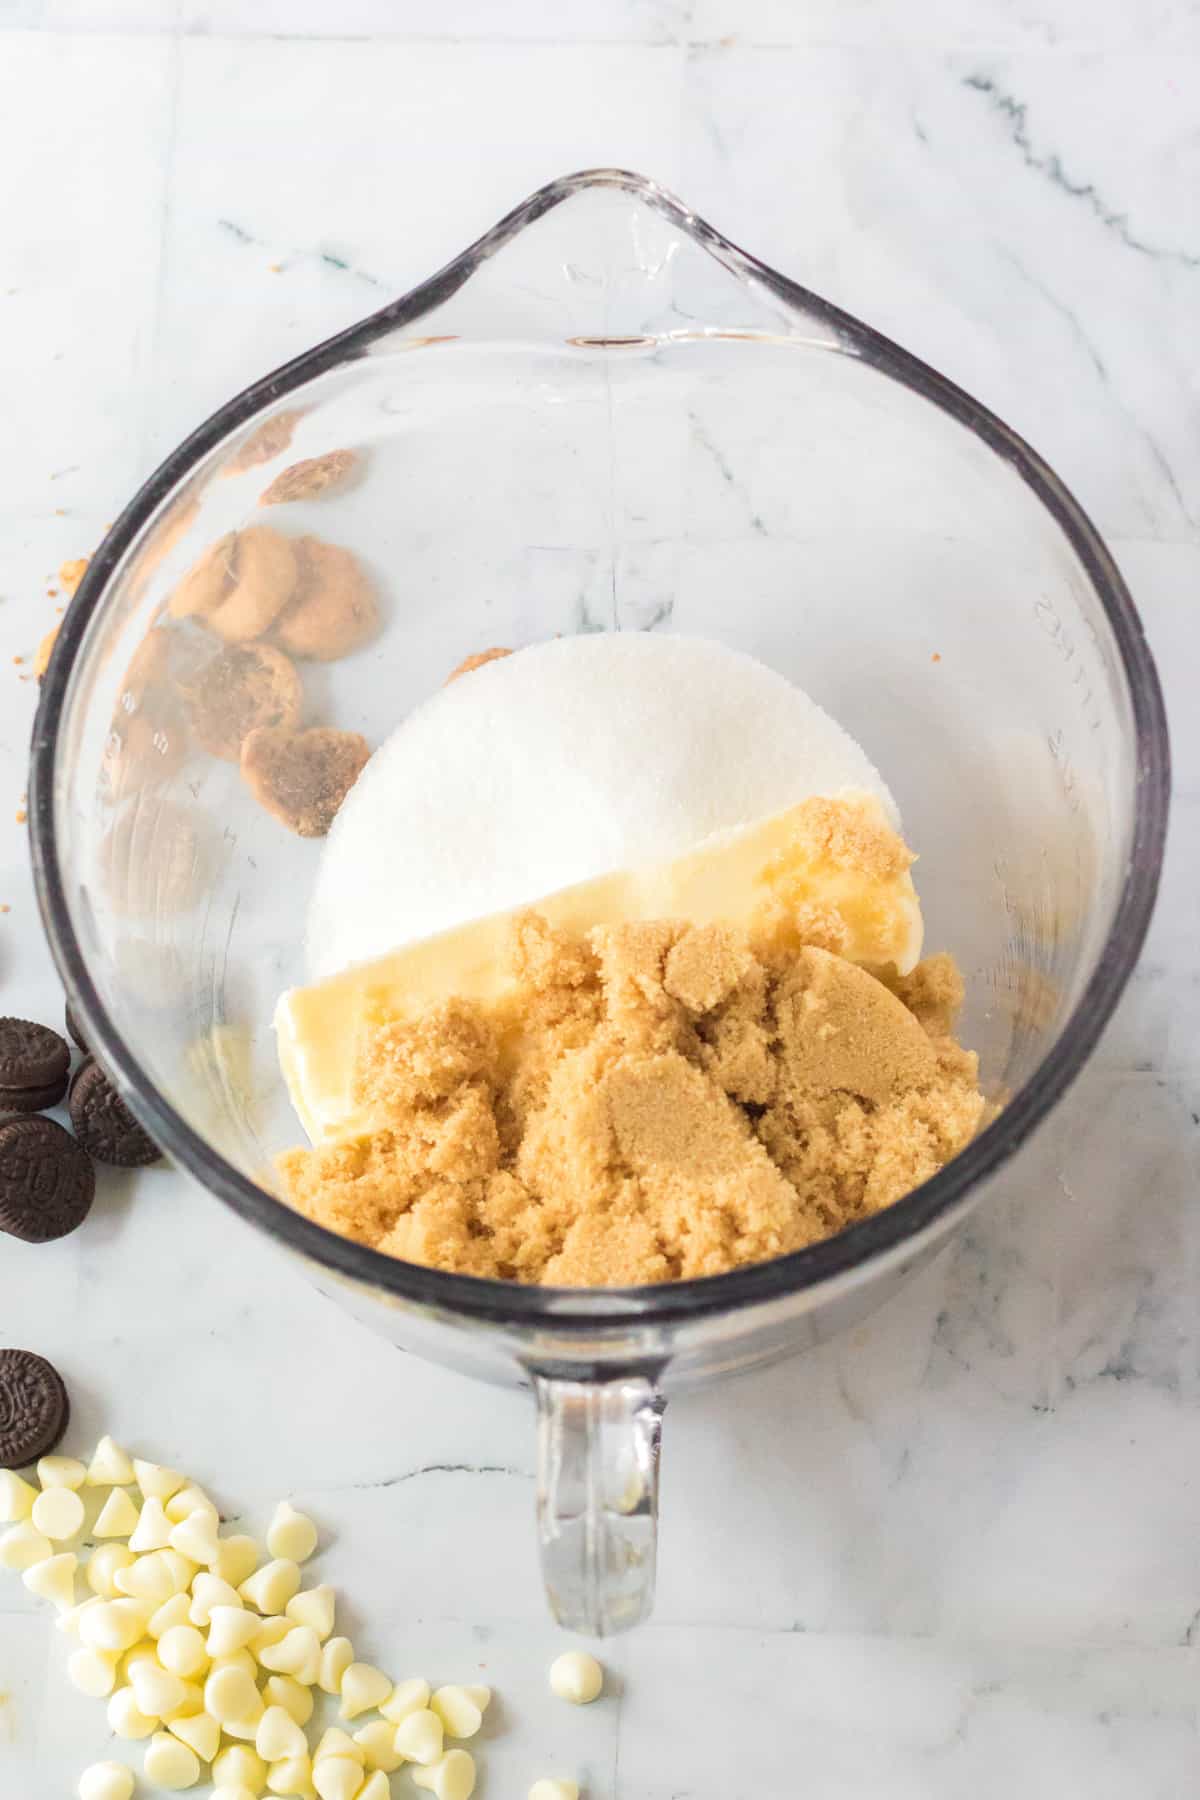
Step 1: Cream the softened butter, light brown sugar, and white sugar together in a large bowl using an electric mixer until fluffy.
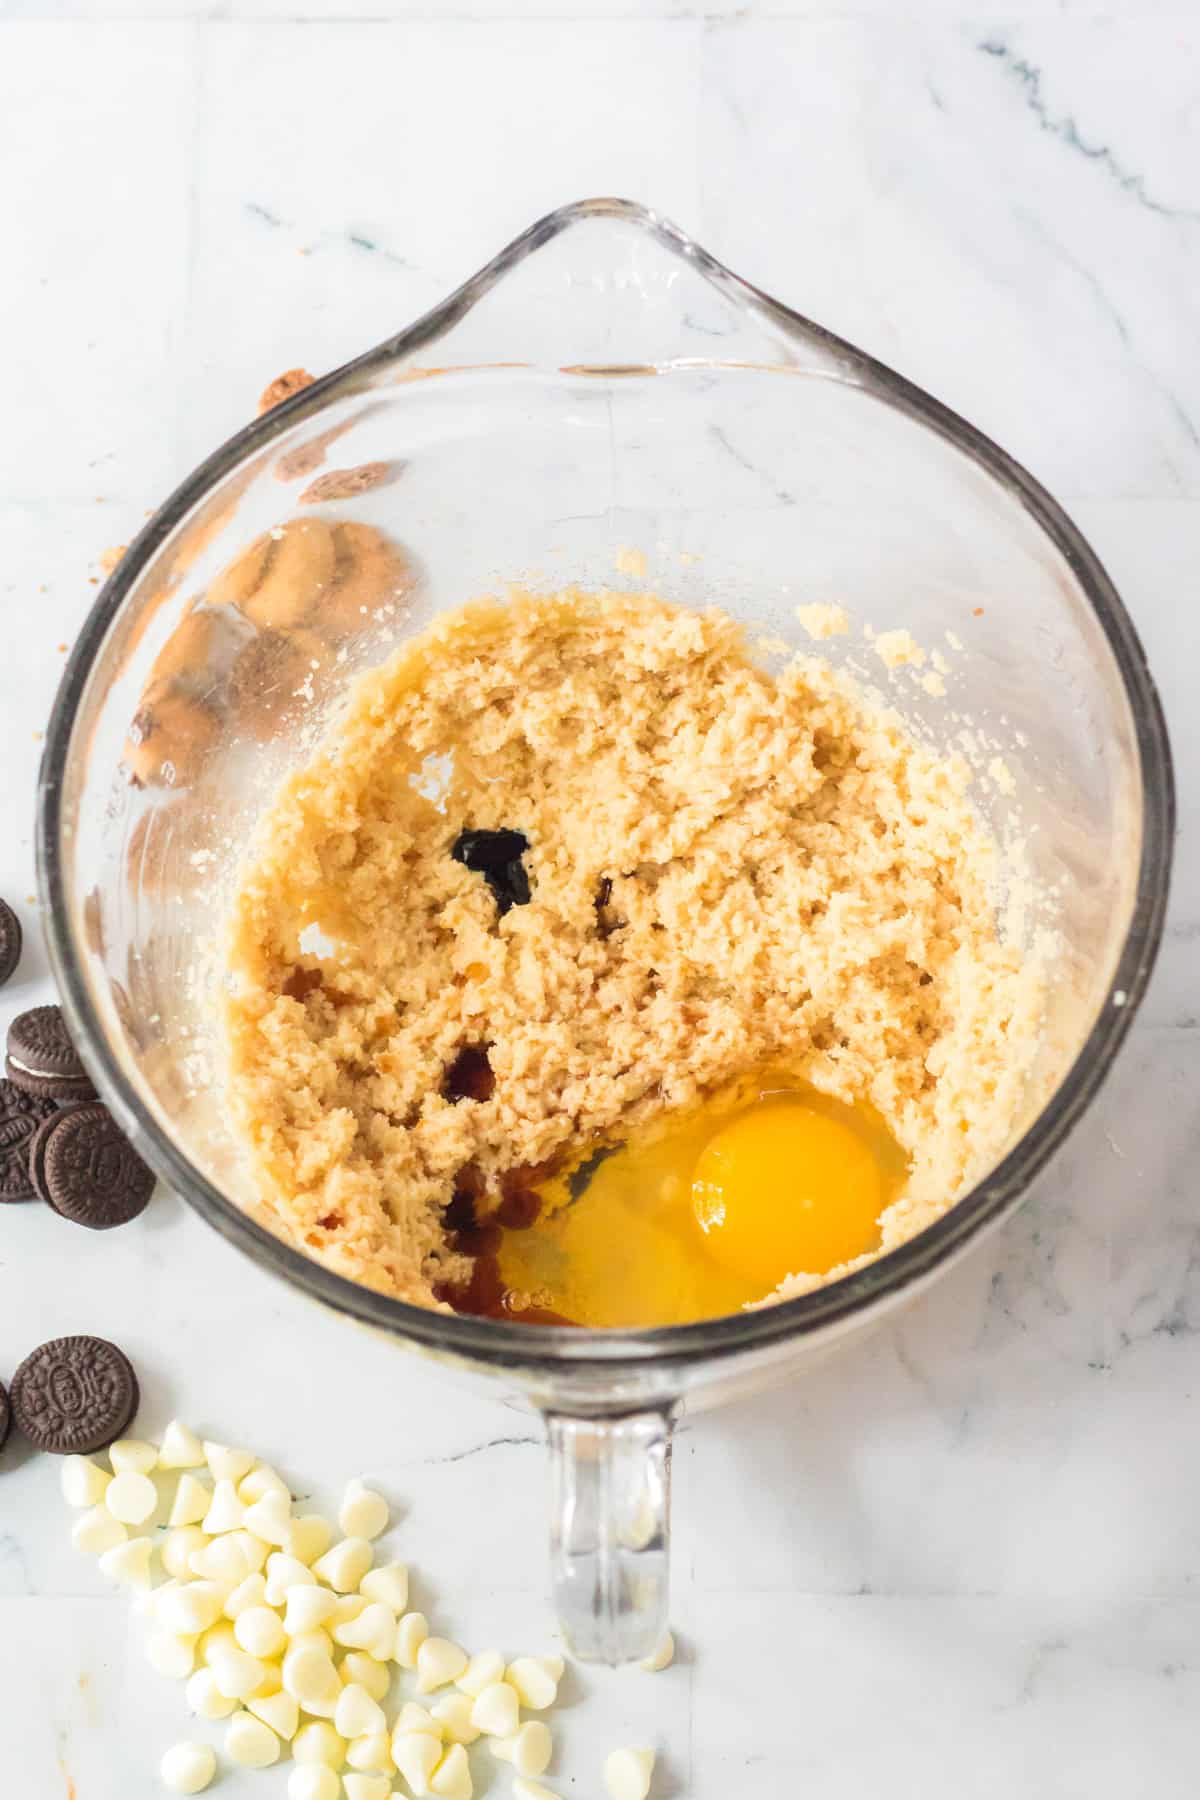
Step 2: Using the hand mixer, beat in one large egg, one teaspoon vanilla extract, and blue food coloring. Start with a few drops and add more coloring if it’s not your desired shade of blue.
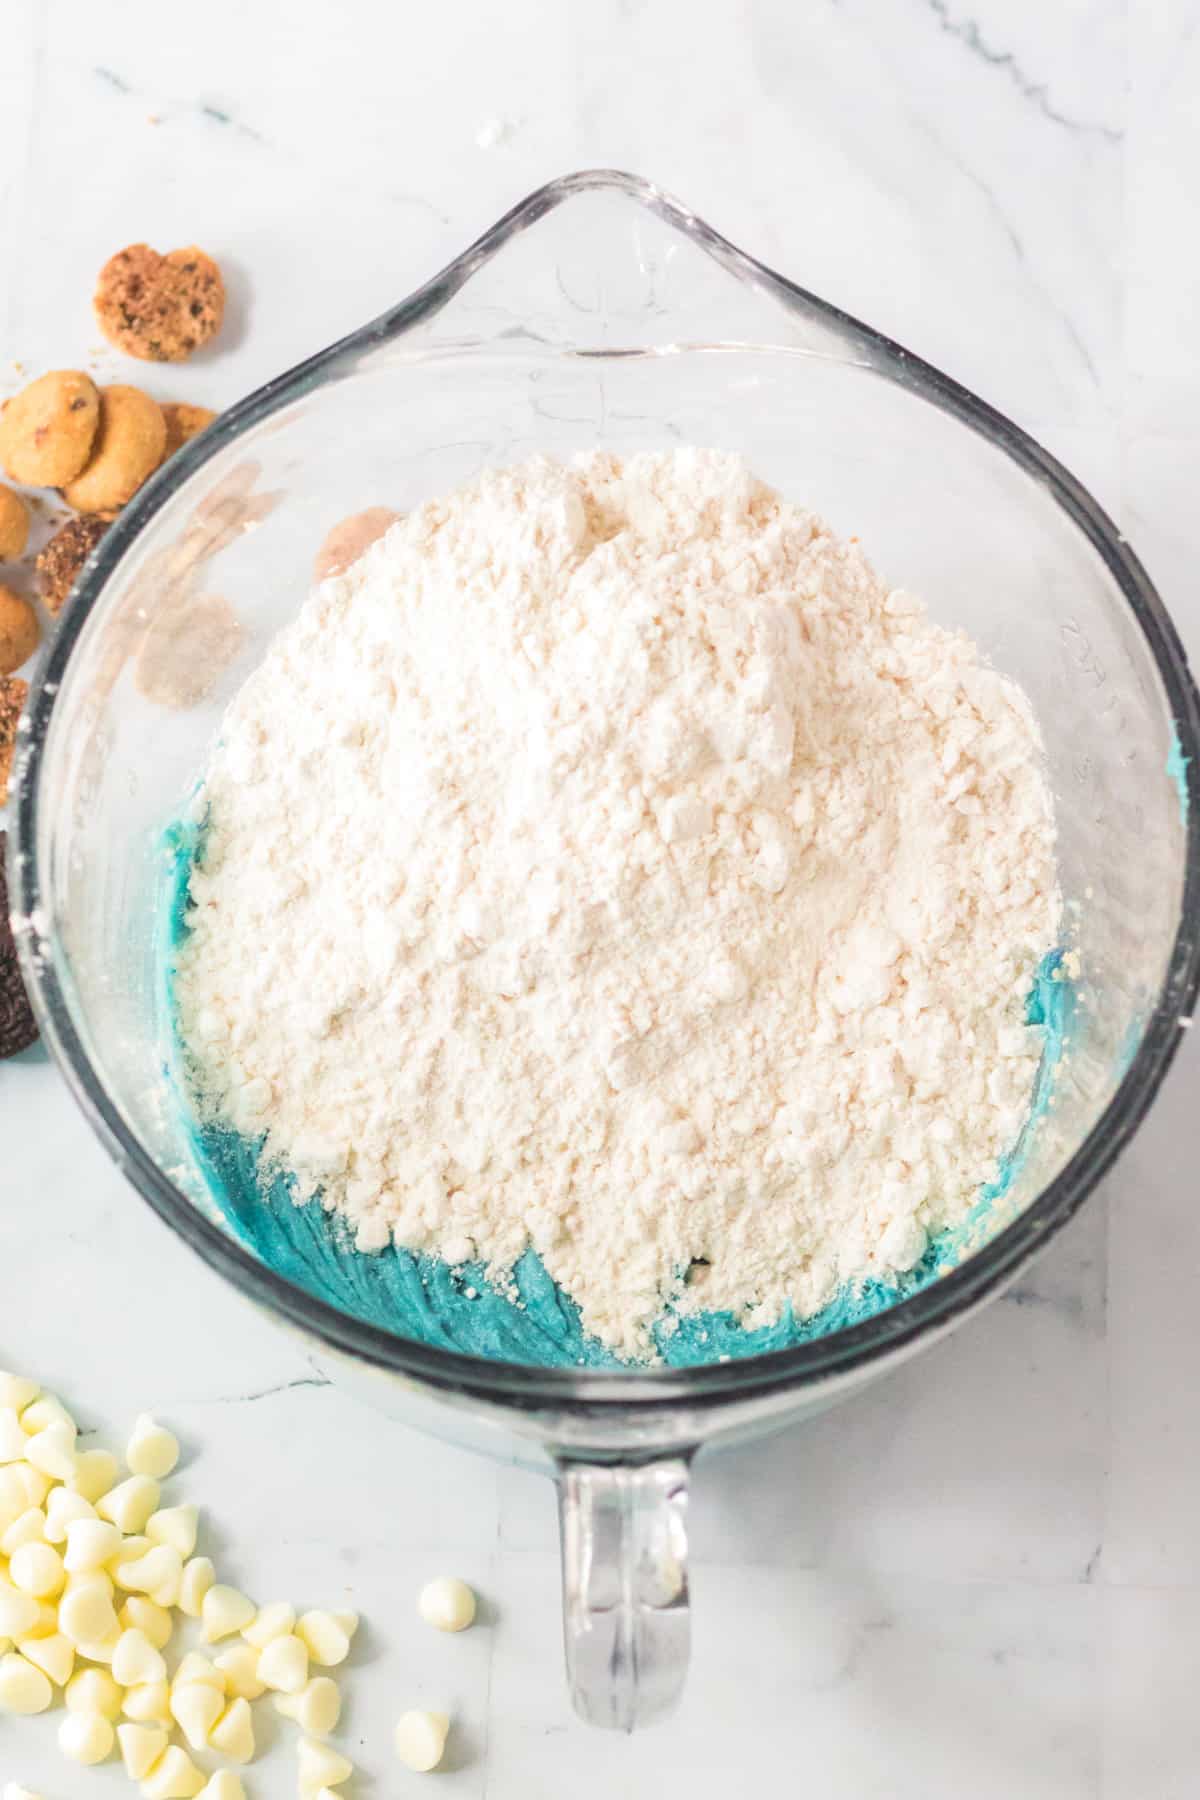
Step 3: Add the flour, baking powder, and salt. Mix the dry ingredients until just combined with the blue mixture.
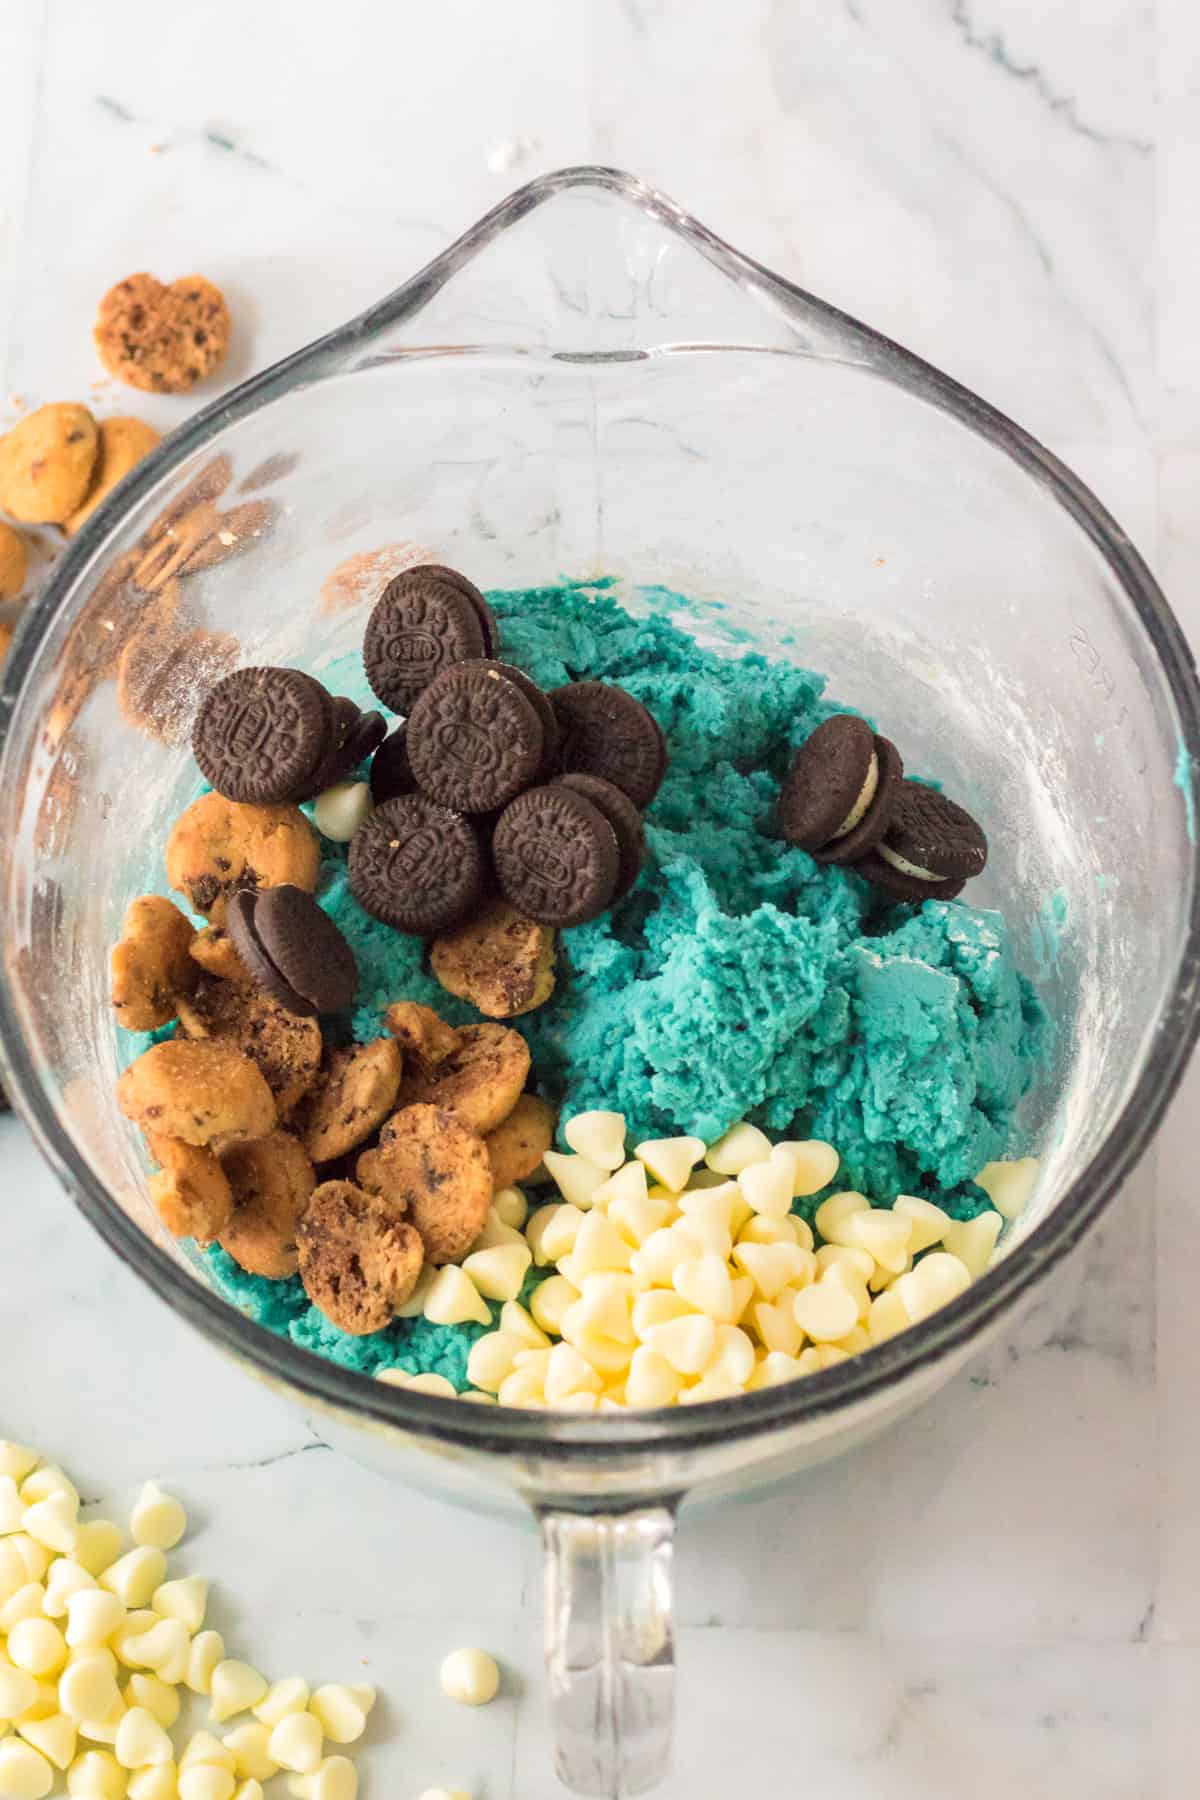
Step 4: Next, stir in the white chocolate chips, Oreo cookie pieces, and mini chocolate chip cookie pieces. Use the mixer or a spoon to break up the cookies just a bit before mixing them in.
Step 5: Divide the cookie dough into six equal portions, forming each portion into a ball.
Step 6: Place each blue dough ball on a lightly greased cookie sheet or use parchment paper to keep them from sticking on an ungreased cookie sheet.
Step 7: Use a spoon or the mixer to break up the remaining mini Oreos and chocolate chip cookies. Place the remaining white chocolate chips, and broken cookie pieces all over the top of the cookie dough.
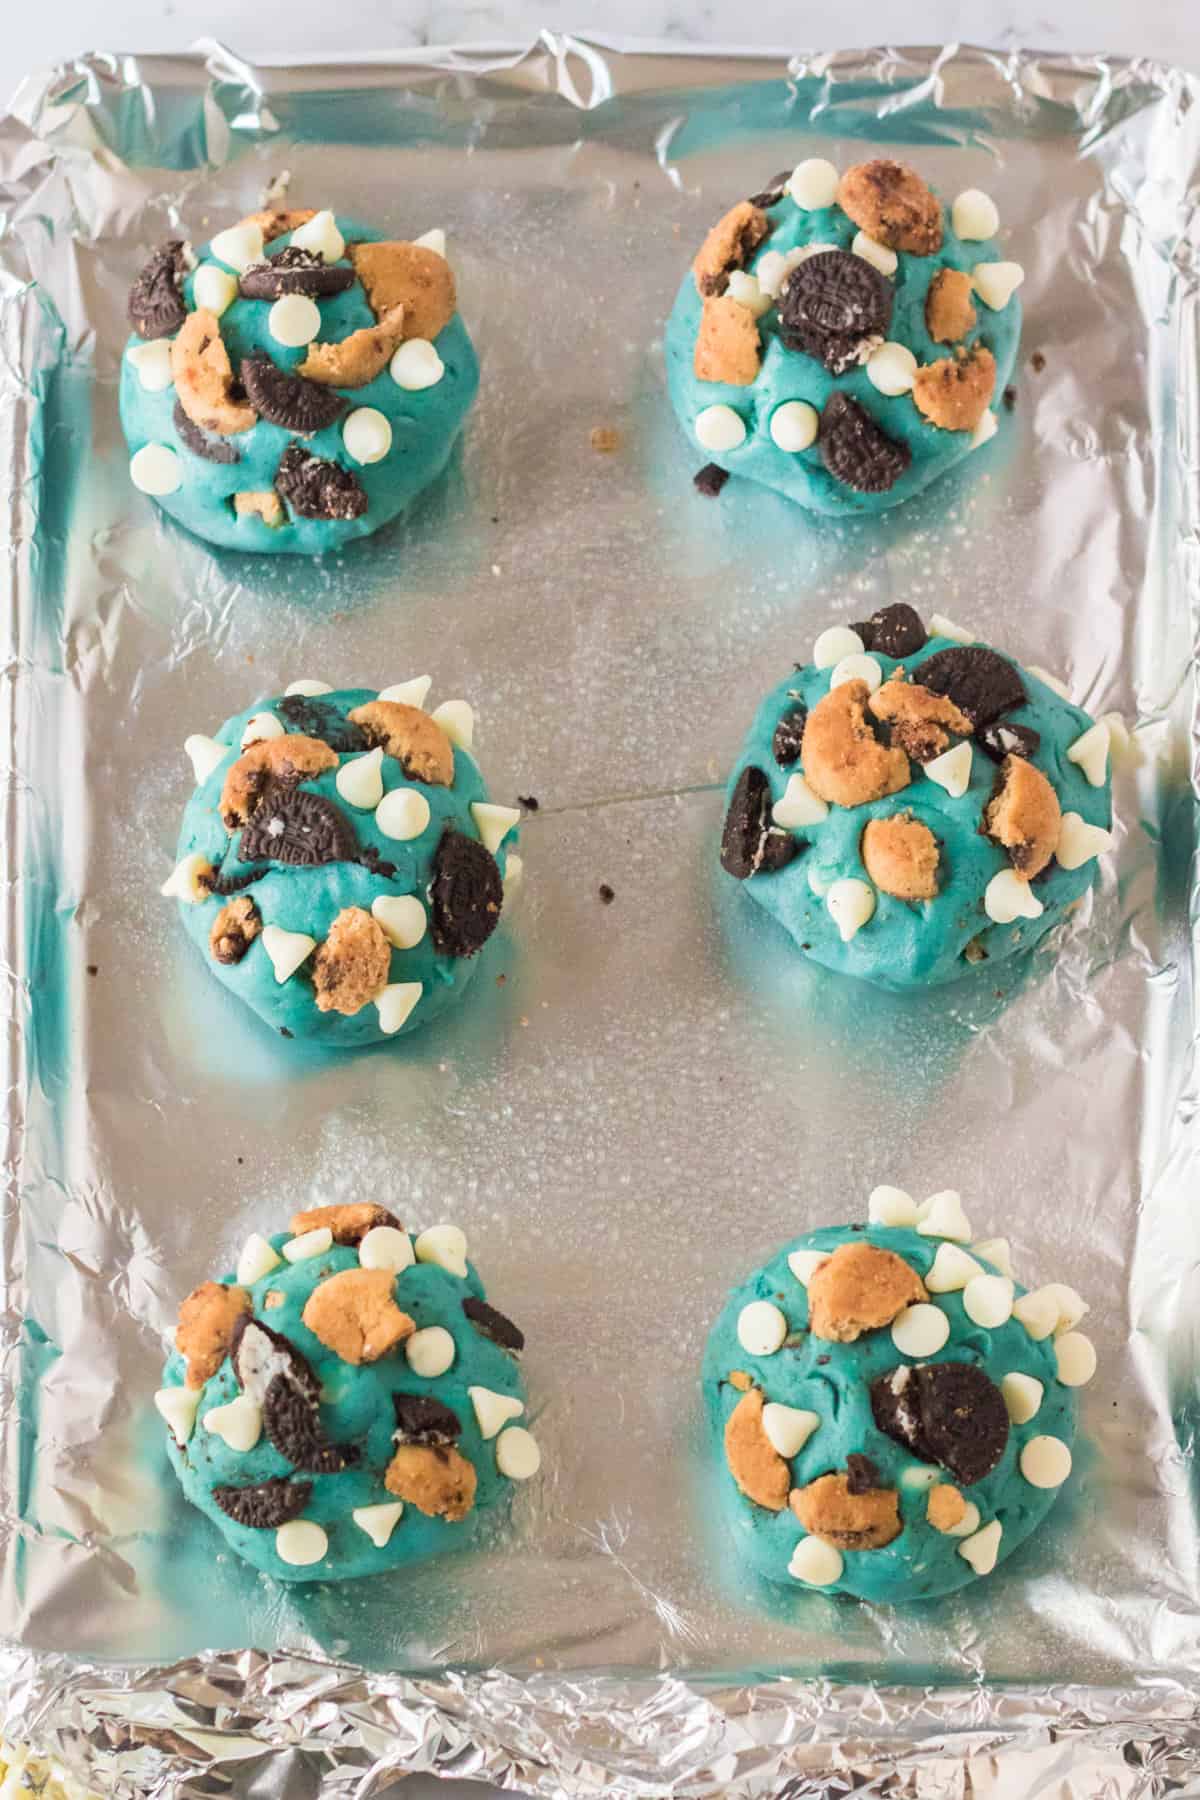
Step 8: Place the baking sheet with the dough in the refrigerator for at least 30 minutes.
Step 9: Bake the blue cookie monster cookies at 350ºF for 15 to 18 minutes until the edges are just golden brown. Don’t let them get dark on the edges — we want the cookies to stay chewy.
Step 10: Cool the blue monster cookies in the pan for 5 minutes and then transfer to a rack to let them cool completely. Enjoy!
Storage and Freezing
These cookies do not need to be refrigerated. In order to keep them chewy, store them at room temperature in an airtight container for 3 to 5 days.
Freeze baked cookies in a freezer bag or airtight container for up to 2 months. Thaw before serving.
Chewy Monster Cookies Tips and Tricks
- You absolutely MUST refrigerate the cookies for at least 30 minutes before baking them. If you don’t, they won’t be as chewy and will spread too thin on the cookie sheet.
- Use blue gel food coloring for the most vivid blue color.
- The amount of food coloring needed varies depending on your ingredients. Just keep adding drops of food coloring a few drops at a time until you achieve your desired blue color.
- Instead of 6 jumbo cookies, you can divide the dough into 12 portions to make a dozen regular sized cookies. You could make mini cookies using small cookie scoops, too! Just make sure you break up your OREO and chocolate chip cookie pieces more if making smaller cookies.
Additions and Variations
Use milk chocolate chips. Instead of the white chocolate chips, you can swap them out for milk chocolate chips, peanut butter chips, or any other flavor you’d like. Mini chocolate chips are another fun idea!
Add candy eyes. If you’re making these monster cookies for Halloween, some candy eyes would be a fun addition to make them look more “monster” like.
Make them dairy free. Need to steer clear of dairy? Use plant-based butter and dairy-free chocolate chips. Make sure any cookie pieces you add are dairy free as well.
Add mini marshmallows. Why not? They’re a great addition to any cookie recipe!
Recipe FAQ
There are a couple of reasons why your cookies may be crunchy instead of chewy. First, if you didn’t refrigerate the dough for at least 30 minutes prior to baking, it will spread too thin in the pan. This will result in overbaking the cookies. Refrigerating the dough is so important!
Second, you may have simply baked the cookies too long. Keep a close eye on the edges, removing the cookies at the very moment the edges are slightly golden brown.
Finally, you may have left them too long in the hot pan after pulling them in the oven. They’ll continue to bake a little in the hot pan, so it’s essential that you remove them after 5 minutes.
In baking, ingredients need to be measured precisely, especially when it comes to flour. You may have added too much flour to the recipe. In the future, make sure you spoon your flour (rather than scoop out your flour) into a dry measuring cup. Scrape off any excess flour with the flat edge of a knife before mixing into the wet ingredients.
Absolutely! They keep in an airtight container for up to 5 days. If you want to enjoy them hot and fresh, prep the dough and let it chill in the fridge for up to 2 days. Pull them out and bake them per the instructions when you’re ready. You can also freeze the unbaked cookie dough for up to 2 months.
More Delicious Cookie Recipes
If you love our famous cookie monster cookies, you’ll also enjoy:
- Lemon Pudding Cookies
- Everything but the Kitchen Sink Cookies
- Mint Chocolate Brownie Cookies
- Chocolate Chip Cake Mix Cookies
- Copycat Oatmeal Creme Pie Cookies
- Red Velvet Cake Mix Cookies
- Carrot Cake Cookies
Cookie Monster Cookies
Ingredients
- ½ cup unsalted butter softened
- ¾ cup light brown sugar
- ¼ cup granulated sugar
- 1 large egg
- 1 teaspoon vanilla extract
- blue food coloring
- 2 cups all-purpose flour
- ½ teaspoon salt
- ½ teaspoon baking powder
- ⅔ cup white chocolate chips divided
- ⅔ cup mini Oreos divided
- ⅔ cup mini chocolate chip cookies divided
Instructions
- In a large bowl with an electric mixer cream together the butter, white sugar, and brown sugar until fluffy.
- Beat in the egg, vanilla, and a bit of blue food coloring. Add more food coloring as needed to reach your desired shade.
- Add in the flour, baking powder, and salt. Mix until just combined.
- Add approximately half each of the white chocolate chips, mini Oreos, and mini chocolate chip cookies, reserving the remaining portion to use to top the cookies before baking. Use your mixer or a spoon to break up the cookies just a bit while stirring them in.
- Divide the dough into 6 equal portions and form each portion into a ball. Place on a lightly greased or lined cookie sheet.
- Break up the remaining mini Oreos and mini chocolate chip cookies. Press the cookies and white chocolate chips into the top of each cookie dough ball.
- Refrigerate dough for at least 30 minutes.
- When ready to bake, preheat the oven to 350ºF and place each dough ball at least 2 inches apart on lined baking sheets.
- Bake for 15-18 minutes or until the edges just start to turn golden brown.
- Cool for 5 minutes and then transfer to a rack to cool completely.
Notes
- Store in an airtight container at room temperature for 3-5 days.
- You must refrigerate these cookies before baking to keep them chewy.
- Gel food coloring works best.
- You can switch out the white chocolate chips for regular chocolate chips if you like.
- This recipe makes 6 large cookies but you can divide the dough into 12 regular-size cookies if you prefer. Just watch the bake time as they will likely take less time to bake.
Nutrition

Did You Make This Recipe?
Share it with me on Instagram @crayonsandcravings and follow on Pinterest @crayonsandcravings for even more!
First published: 09/11/2017. Updated 8/8/2022 with new and improved recipe and photos.






These are LITERALLY the cutest! I love the googly eyes! What a fun recipe!