

Cute Bunny Cupcakes with Marshmallow Ears
Posts may contain affiliate links, meaning that I may earn a commission if you use a link provided.
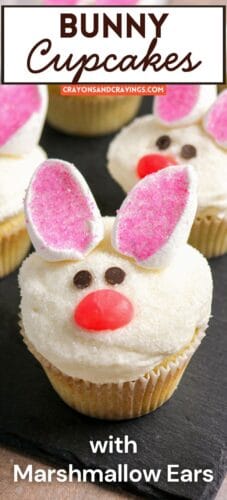
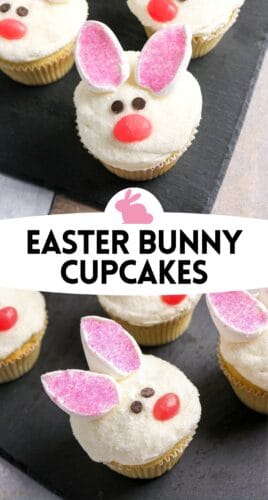
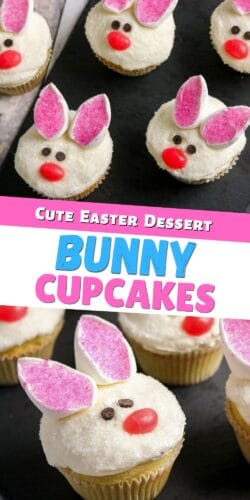
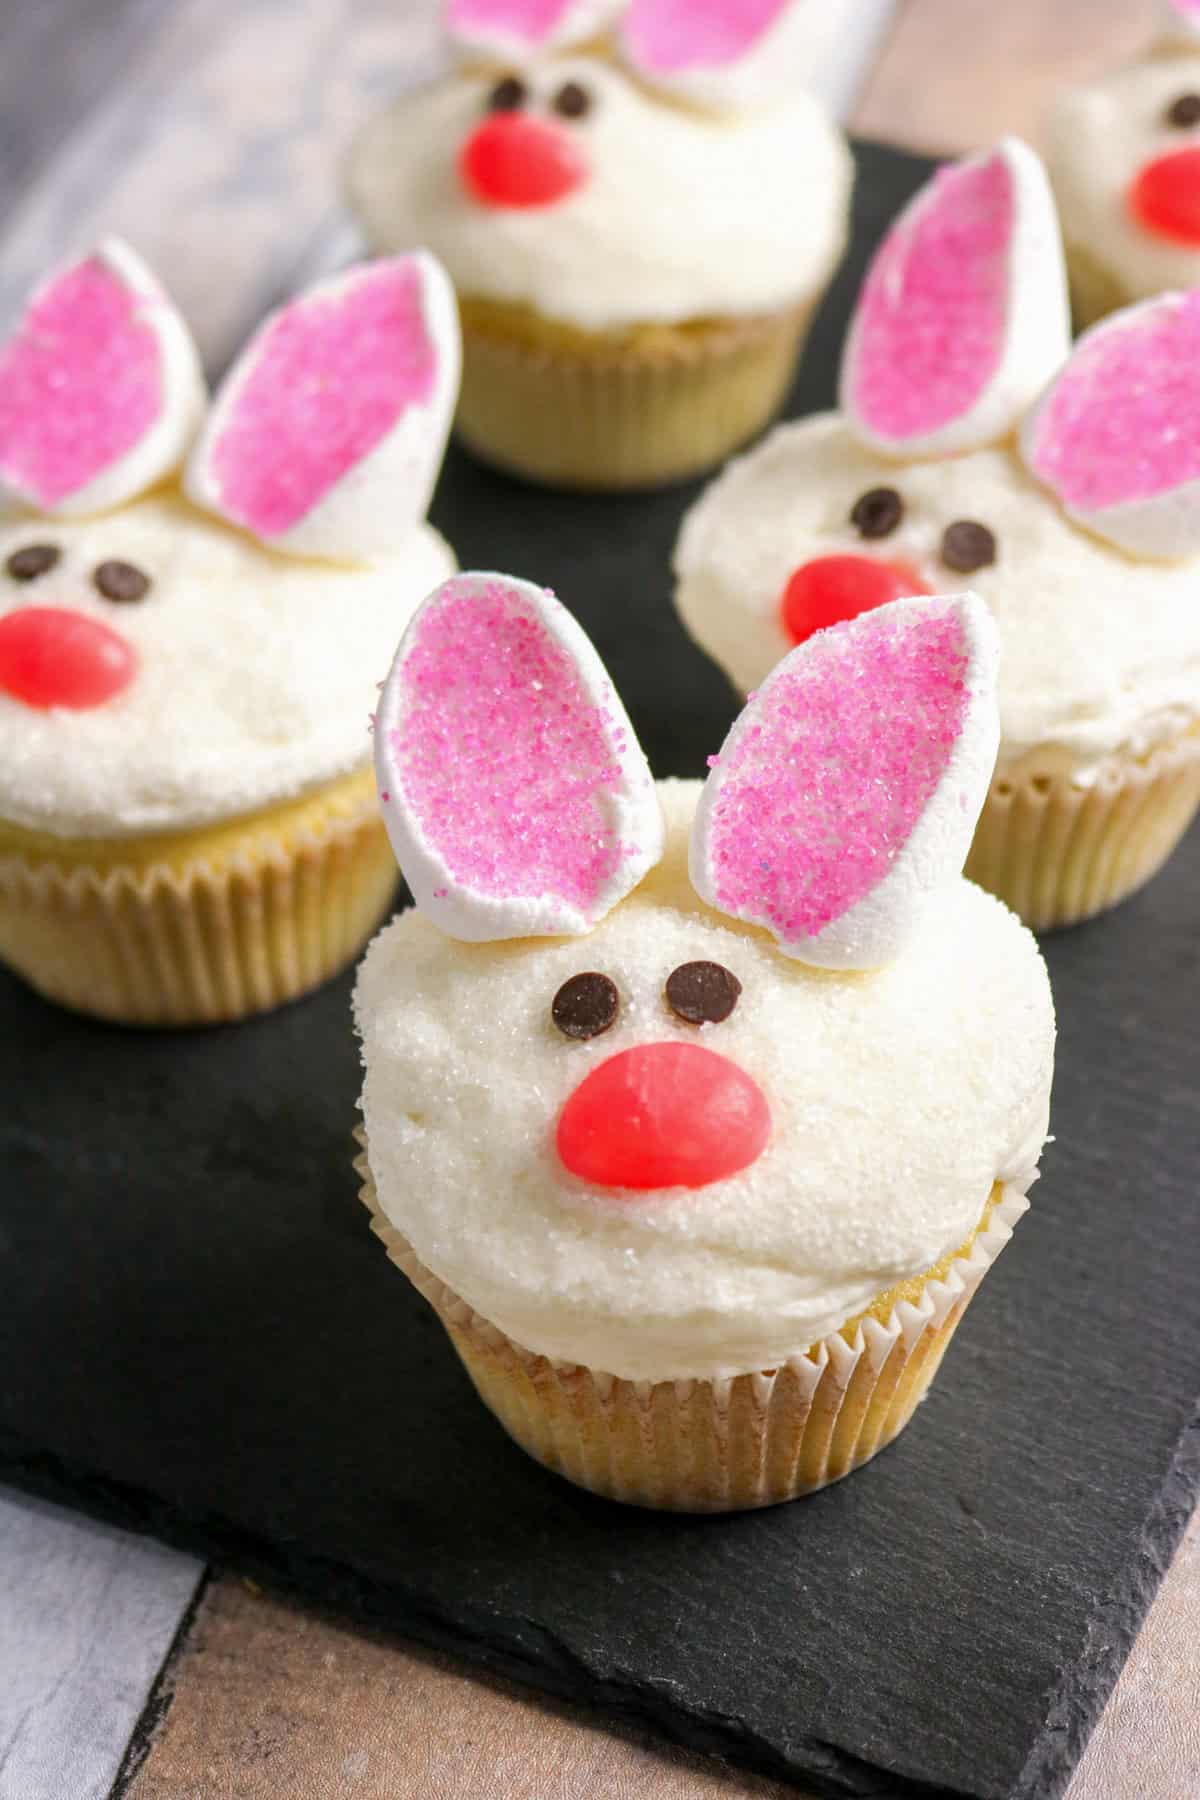
These bunny cupcakes are one of the cutest treats you can make for spring. Soft vanilla cupcakes are topped with fluffy frosting and decorated with marshmallow bunny ears, chocolate chip eyes, and a sweet jelly bean nose.
They’re perfect for Easter parties, classroom treats, or a fun weekend baking project with kids. If you’re planning your holiday menu, be sure to browse my full collection of Easter desserts for more festive treats.
If you’ve ever wondered how to make bunny cupcakes, this recipe keeps things simple. A classic homemade cupcake base and easy decorations make these doable for any level baker.
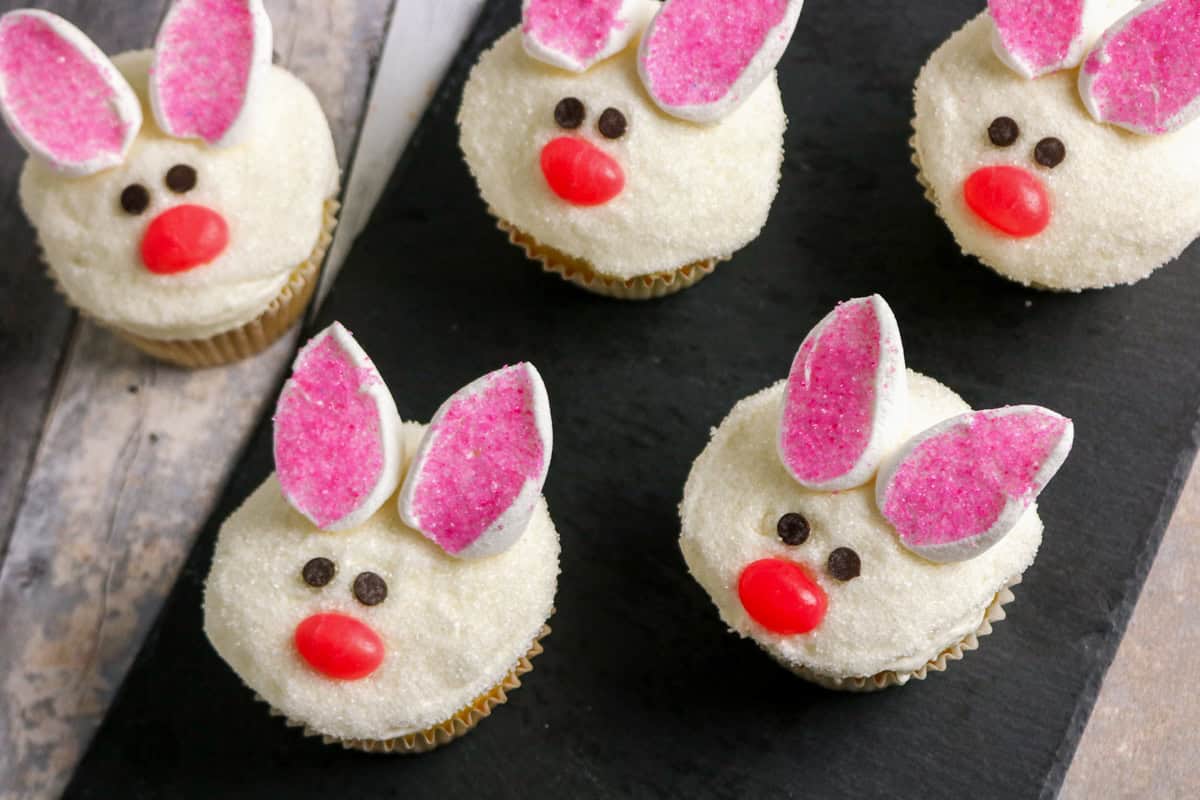
Once finished, you’ll have a tray of cute bunny cupcakes that look like little bunny faces. They’re cheerful, festive, and guaranteed to bring smiles to your Easter table.
Why You’ll Love This Recipe
- Adorable Easter treat. These Easter bunny cupcakes are perfect for spring celebrations.
- Easy to decorate. The marshmallow ears make creating a cupcake bunny simple.
- Kid-friendly baking project. Kids love helping assemble the bunny faces.
- Soft homemade cupcakes. The vanilla base is light, tender, and flavorful.
- Perfect for parties. These bunny rabbit cupcakes always stand out on dessert tables.
Ingredient Notes
This section includes ingredient notes and substitution options. Get all measurements, ingredients, and instructions in the printable recipe card at the end of this post.

- Unsalted Butter – Used in both the cupcakes and frosting. Let it soften to room temperature so it creams smoothly and creates a light texture.
- Whole Milk – Gives the cupcakes the best moisture and flavor, but 2% milk can work if that’s what you have.
- Confectioners Sugar – Also called powdered sugar. Sift if it’s lumpy to keep the frosting smooth.
- White Sanding Sugar, Sprinkles, or Coconut – This creates the bunny’s “fur.” Sanding sugar gives sparkle, while shredded coconut makes the cupcakes look extra fluffy.
- Pink Sanding Sugar – You can order pink sanding sugar on Amazon.
- Marshmallows – Cut diagonally to form the bunny ears. Press the sticky cut side into pink sanding sugar for the inner ear look.
- Mini Chocolate Chips – Used for the bunny eyes. Candy eyes can be used instead if you prefer a more cartoon-style look.
- Pink Jelly Beans – Used for the bunny noses. You can order bag of all pink jelly beans or pick the pink ones out from a mix. If needed, swap with pink candies like M&M’s or Sixlets.
How to Make Bunny Cupcakes
This section shows you how to make the recipe with step-by-step photos and instructions. For the full printable recipe, see the recipe card below.
These Easter bunny cupcakes with marshmallow ears come together in three simple steps.
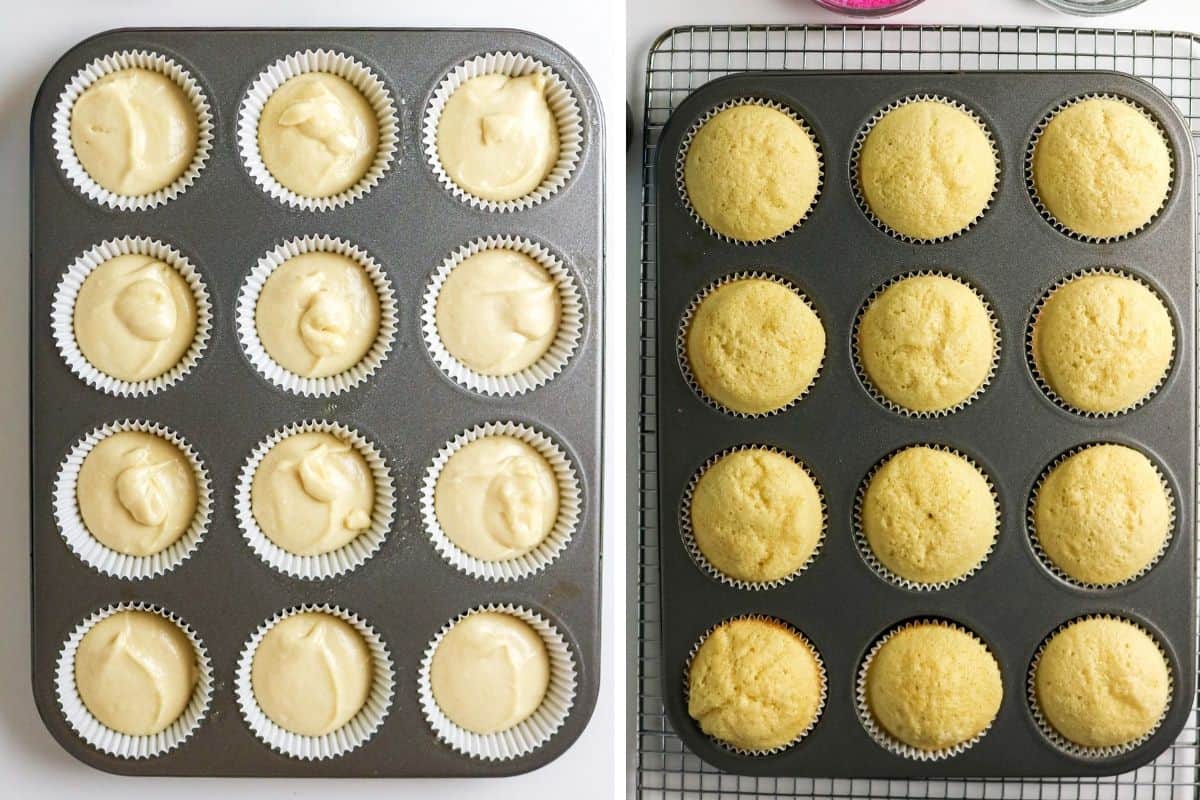
Step 1: Bake the cupcakes
Make the vanilla cupcake batter and bake until light and fluffy.
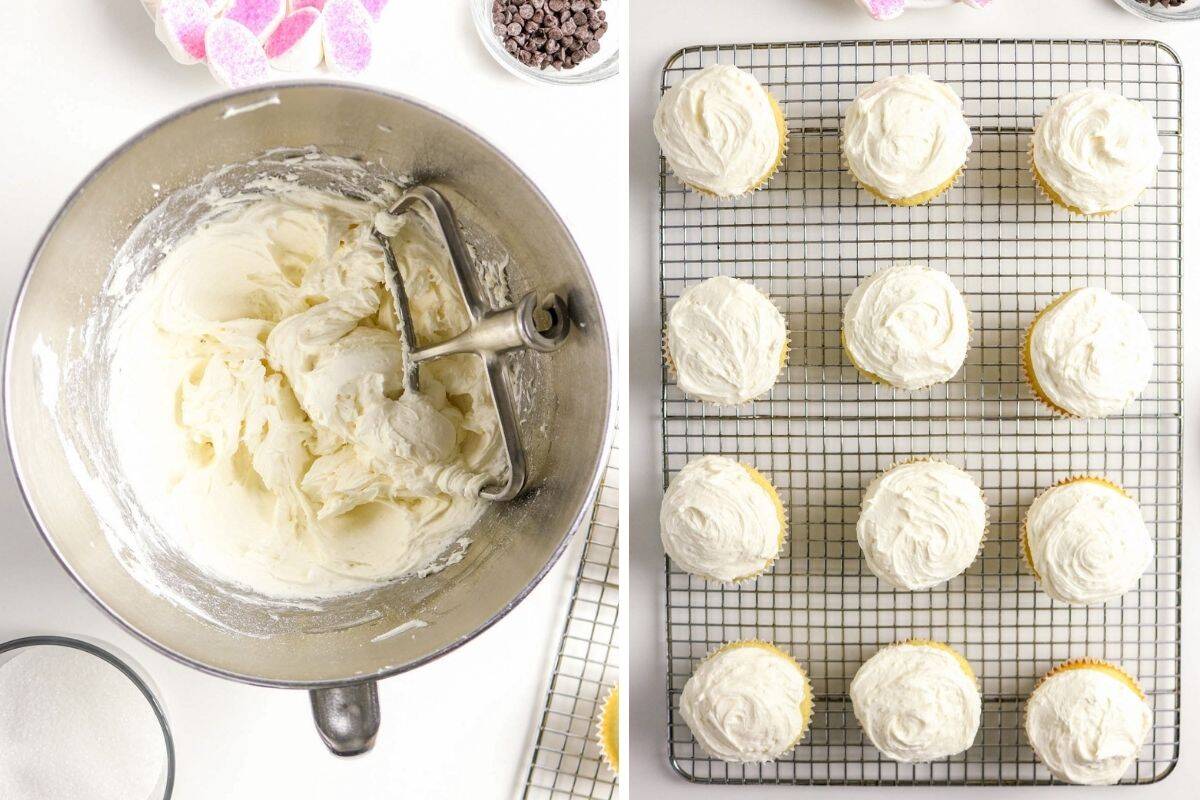
Step 2: Make the frosting
Prepare a quick vanilla buttercream.
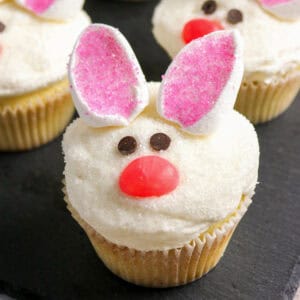
Step 3: Decorate the cupcake bunny faces
Add sanding sugar “fur,” marshmallow ears, chocolate chip eyes, and jelly bean noses.

Storage
Room Temperature: Store the decorated bunny cupcakes in an airtight container for up to 2 days.
Refrigerator: Refrigerate for up to 4 days. Bring to room temperature before serving.
Freezer: Freeze unfrosted cupcakes for up to 2 months. Thaw and decorate when ready to serve.
Make Ahead Tip: Bake the cupcakes one day ahead, then decorate the bunny ears cupcakes the day you plan to serve them.
Tips for Success
- Use room temperature ingredients for smooth batter and frosting.
- Fill cupcake liners two-thirds full to prevent overflow.
- Cut marshmallows with a lightly greased knife for clean bunny ears.
- Press ears gently into frosting so they stay upright.
- Decorate the cute bunny cupcakes the day of serving for the best look.

Additions and Variations
- Coconut Bunny Cupcakes – Use shredded coconut instead of sanding sugar for fluffy bunny fur.
- Chocolate Bunny Cupcakes – Swap the vanilla base for chocolate cupcakes.
- Pastel Easter Bunny Cupcakes – Add pastel sprinkles for a colorful Easter look.
- Shortcut Version – Use a boxed cake mix and store-bought frosting if you need a quick Easter treat.
More Fun and Easy Easter Desserts
- Peeps chicks house
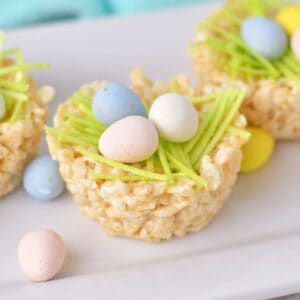
- No-bake rice krispie nests
- Easter Poke Cake
- Delicious bunny bait snack mix
- Pastel Swirl Easter Cupcakes
Bunny Cupcakes
Ingredients
Cupcakes
- 1½ cups all-purpose flour
- 1½ teaspoons baking powder
- ¼ teaspoon salt
- ½ cup unsalted butter, room temperature
- ¾ cup granulated sugar
- 2 large eggs
- 2 teaspoons vanilla extract
- ½ cup whole milk
Frosting
- ½ cup unsalted butter, room temperature
- 2 cups confectioners sugar
- 1-2 Tablespoons whole milk
- 1 teaspoon vanilla extract
- pinch salt
Decorating
- ½ cup white sanding sugar, or white sprinkles or coconut
- 12 large marshmallows
- 2 Tablespoons pink sanding sugar
- 24 mini chocolate chips
- 12 pink jelly beans
Instructions
- Preheat oven to 350°F and line a 12-cup muffin tin with paper liners.
- In a large bowl, cream butter and sugar until light and fluffy, about 2-3 minutes.
- Beat in eggs, one at a time, then mix in vanilla.
- In a medium mixing bowl, whisk together the flour, baking powder, and salt.
- Add the flour mixture in two additions, alternating with the milk, mixing just until combined.
- Divide batter evenly among liners, filling each about two-thirds full.
- Bake 16–18 minutes, or until a toothpick inserted in the center comes out clean. Cool completely.
Frosting
- Beat butter until smooth and creamy. Gradually add confectioners sugar.
- Mix in vanilla, salt, and 1 tablespoon milk. Add more milk if needed until the frosting is smooth and spreadable.
- Spread frosting generously over each cooled cupcake.
Decorating
- Sprinkle or gently roll the frosted cupcake in sanding sugar to create the bunny’s “fur.”
- Cut each marshmallow diagonally to make two ear shapes. Press the sticky cut sides into pink sugar.
- Cut each jelly bean in half to create noses.
- Use a small dab of frosting to attach two marshmallow ears to the frosted cupcakes.
- Add two mini chocolate chips for eyes and half a jelly bean for the nose.
Notes
- Use a vanilla or white cake mix and premade vanilla frosting to save time.
- Lightly grease your knife with non stick spray to make cleaner cuts.
- If the ears lean or slide, trim a tiny slice off the rounded bottom so they sit flat on the cupcake.
- If making ahead, decorate just before serving for best appearance. The cupcakes themselves can be baked ahead, but decorating the same day keeps the sanding sugar and marshmallow ears looking fresh.
Nutrition

Did You Make This Recipe?
Share it with me on Instagram @crayonsandcravings and follow on Pinterest @crayonsandcravings for even more!
Originally Published March 18, 2016. Overhauled with new and improved recipe, process, and photos March 9th 2026.


These are so cute for any time of year. My grandchildren would love these. Thank you so much for sharing
These are really cute cupcakes. I will have to pin for next Easter. Thanks for the creative recipe!
These are adorable and what a super idea! I would love to make these and eat them too!
These are so cute. We love cup cakes. These look delicious.
Oh my gosh these are adorable!! And it’s a recipe that doesn’t use a box mix! Double score!!
This is a seriously value-added cupcake! You get a peanut butter cup, skittles in addition to the cupcake!
These would be good for kids to make.