

Colorful Crayon Slime
Posts may contain affiliate links, meaning that I may earn a commission if you use a link provided.
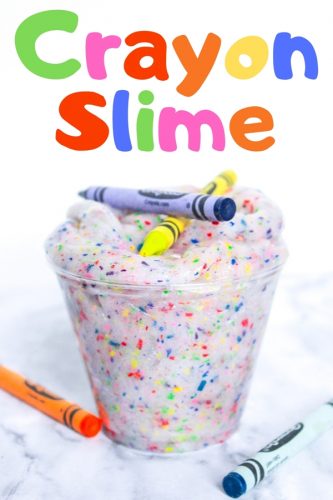
This easy and colorful DIY crayon slime recipe will have you digging through your couch cushions for broken crayons.
DIY Crayon Slime
We love making slime. From unicorn slime to under the sea slime, we have shared plenty of borax-free slime tutorials here on the blog.
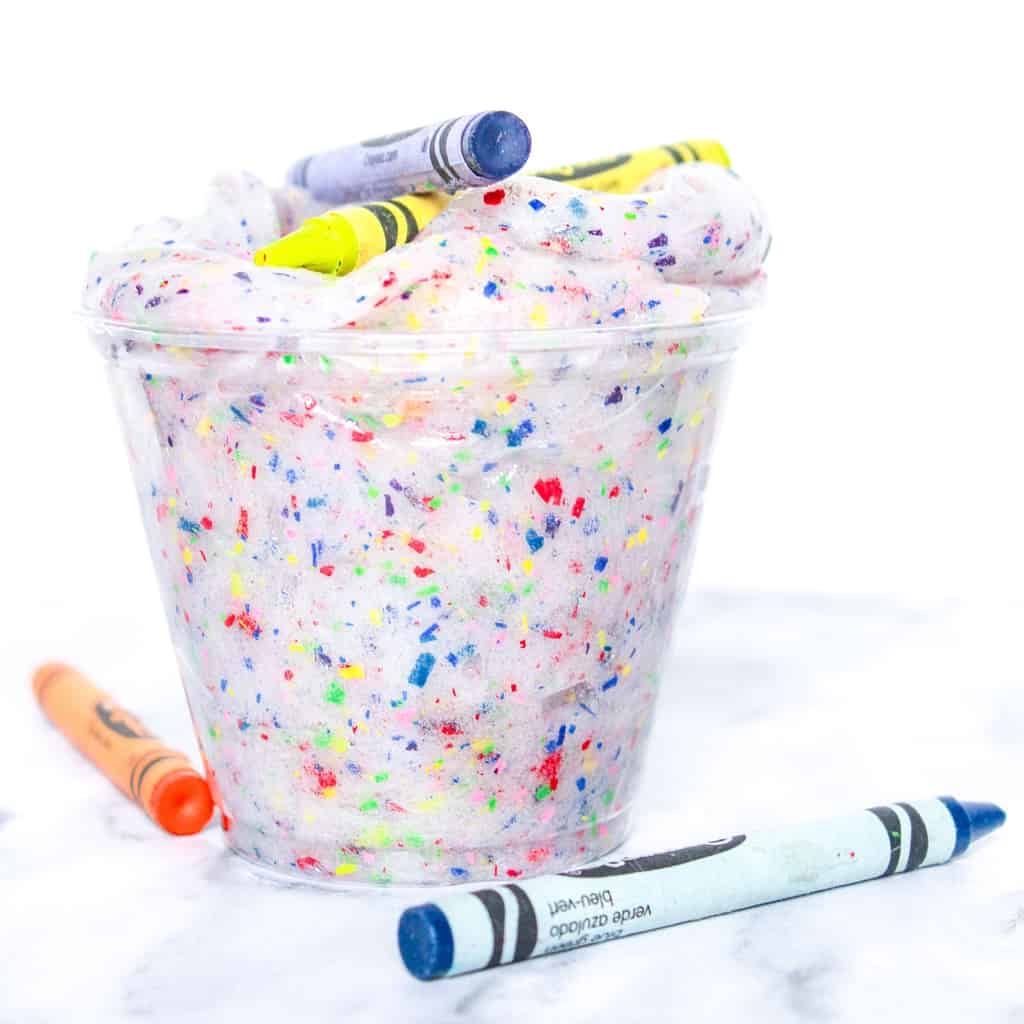
What makes DIY crayon slime different is that it doesn’t call for any food coloring or any glitter — yet it is still very colorful.
Instead, this fun slime gets its color from something you likely have at home already — crayons!
Seriously though, who knew that all those broken crayons could be so useful?
So have the kids help gather up all the broken crayons around the house and have fun turning them into the fun and colorful slime.
How to Make Crayon Slime
This slime is very simple to make. To be honest, the toughest part is peeling and shaving you crayons, and even that is pretty fun to do!
Start by gathering everything that you will need for this easy project:
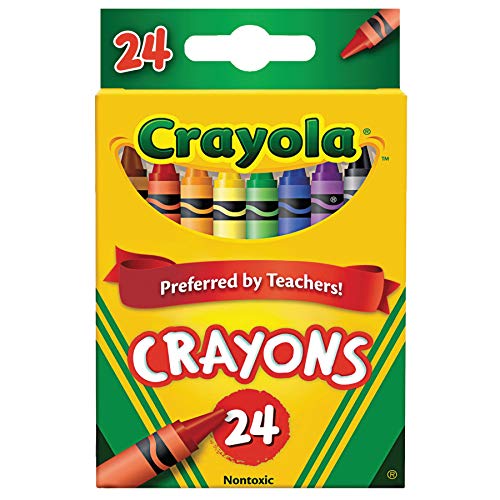
- crayons
- scissors
- medium size bowl
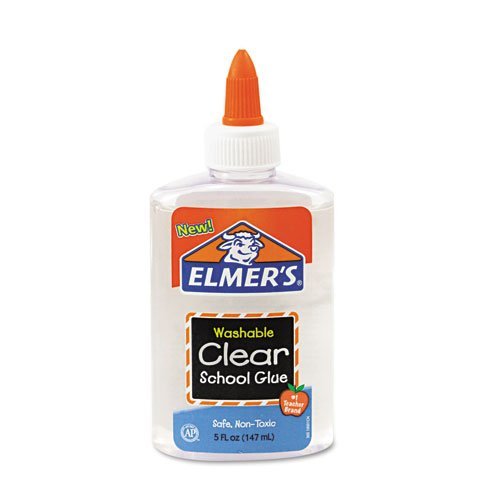
- clear glue
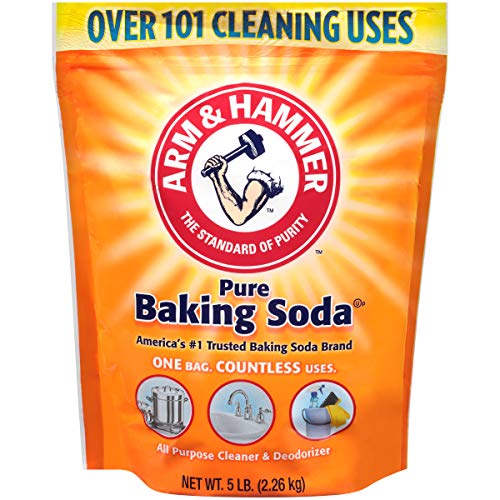
- baking soda
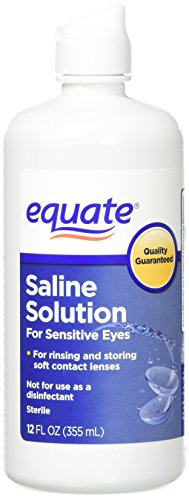
- saline solution
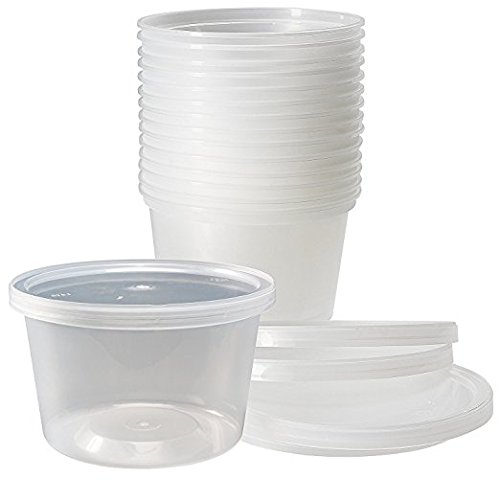
- airtight container (for storage)
Then, begin by unwrapping each of your crayons.
We used about 8 crayons of various colors to help give our slime a rainbow look. You can choose whichever colors you would like.
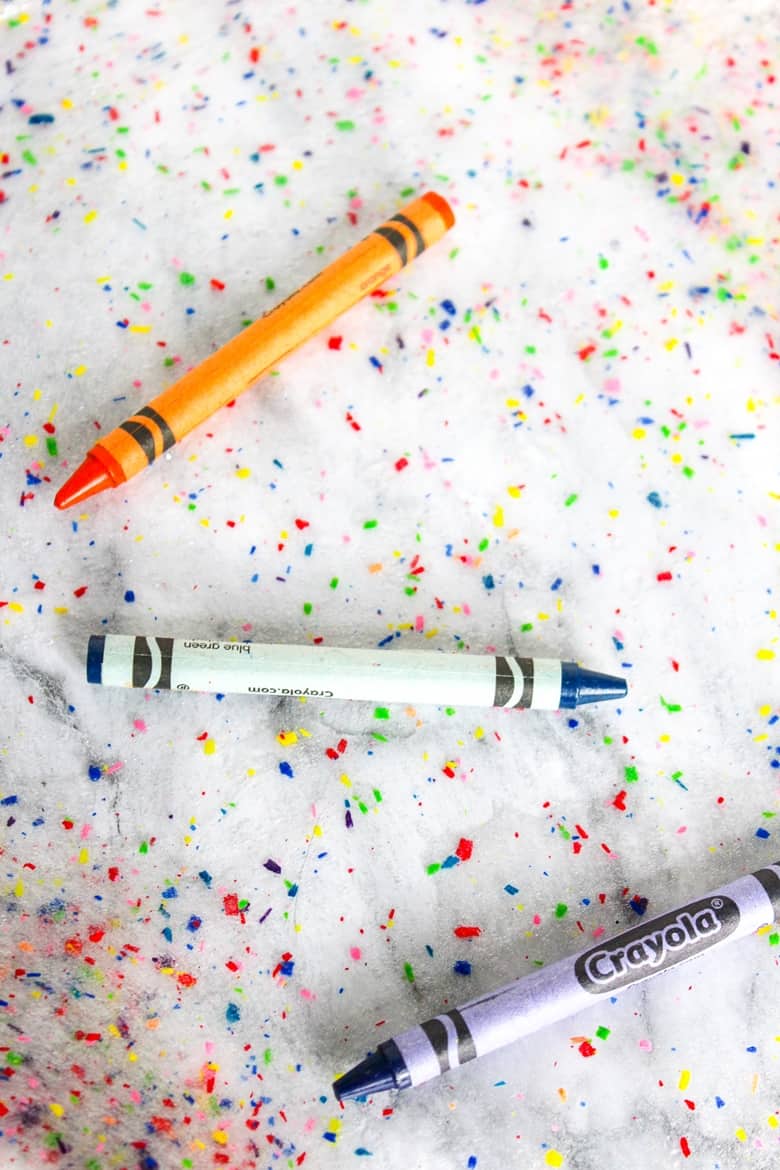
Next, use scissors to “shave” the crayons.
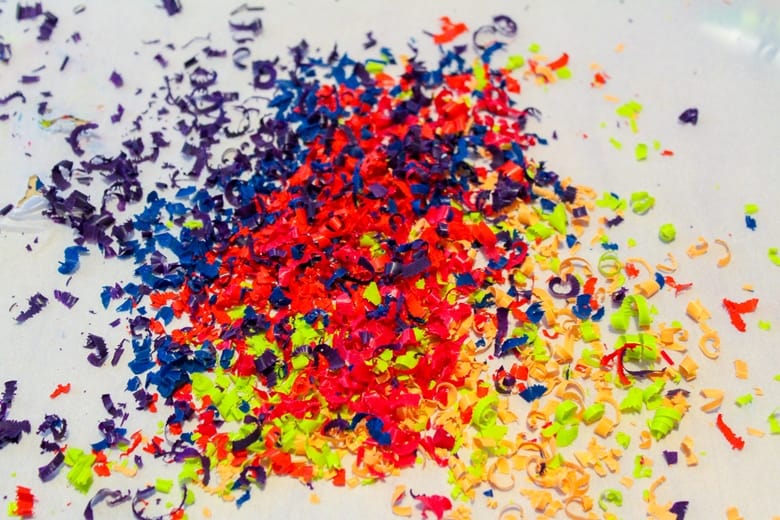
Kids scissors or a vegetable peeler would work to peel the crayons as well.
TIP: shave crayons on top of a sheet of wax paper to make it easy to transfer shavings.
Time to make the slime!
Combine 5 oz clear glue, 1/2 tsp baking soda, and 1/2 cup water in a medium-size bowl.
Add 1 tbsp saline solution.
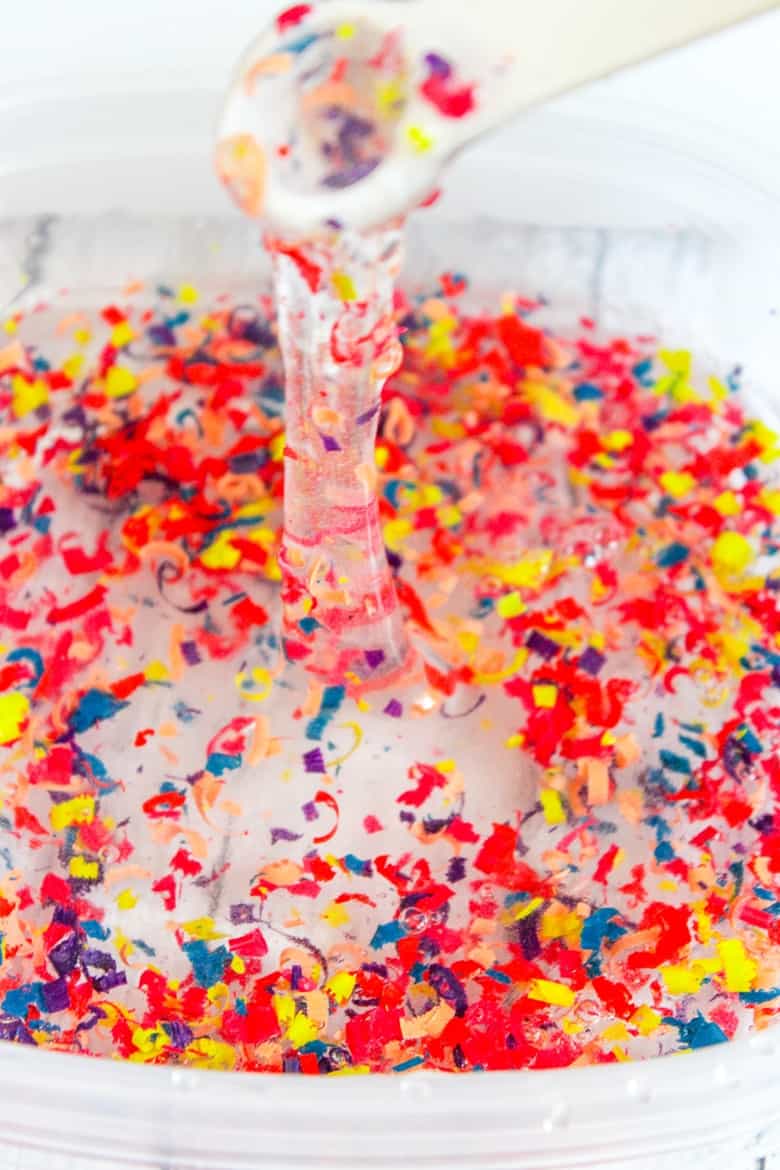
Stir and watch as the slime beings to form.
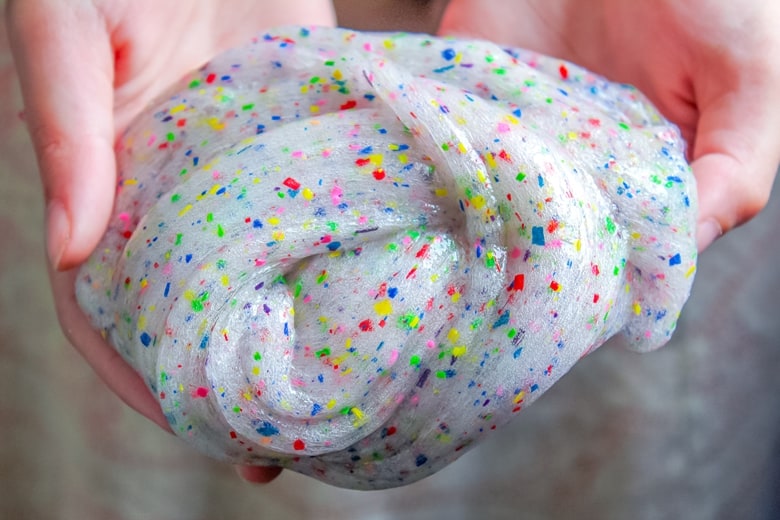
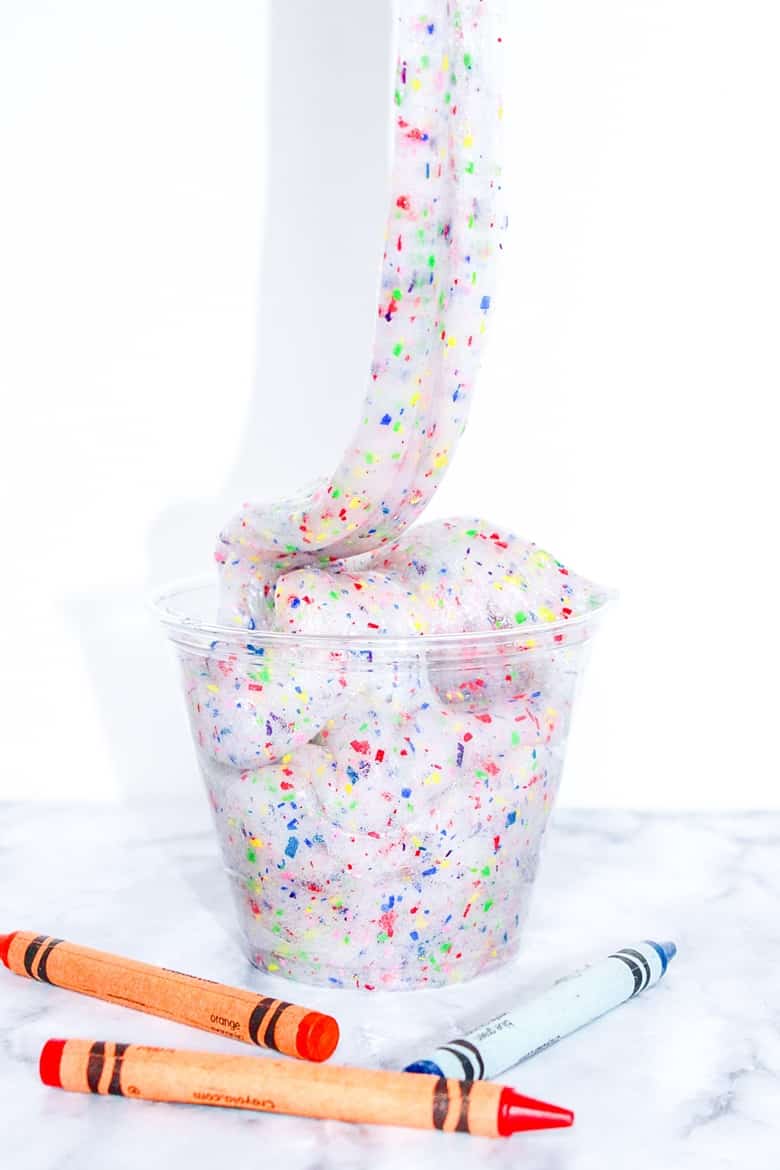
Pull the slime out of the bowl with your hands and knead it. It will be very sticky to being with but will get less sticky as you knead it.
If your slime is just too sticky even after kneading it for a while, add a drop or two of saline solution and knead some more.
I hope that you and the little ones enjoy making and playing with this awesome slime.
If you enjoy this colorful slime, you will love our pom pom slime and galaxy slime as well!
Shop Supplies
Contact Lens Saline Solution Clear School Glue, 5 oz16 oz Food Storage ContainersCrayola Crayons 24 ct (Pack of 2)Arm & Hammer Baking Soda, 5 Lbs

Crayon Slime
Equipment
- Scissors
- wax paper, optional
- medium-size bowl
- spoon for stirring
Supplies
- 5 oz clear glue
- ½ cup water
- ½ tsp baking soda
- 1 Tablespoons saline solution contact solution
- crayons we used about 8
Instructions
- Unwrap crayons.
- Using scissors, carefully "shave" crayons. Shave onto a sheet of wax paper for easy removal.
- In a medium-size bowl, combine glue, water, and baking soda. Stir well.
- Stir in crayon shavings.
- Add saline solution, stirring to mix well.
- Knead the slime until it is no longer sticky.
Notes

Did You Make This Craft?
Share it with me on Instagram @crayonsandcravings and follow on Pinterest @crayonsandcravings for even more!


I would love for the kids at school to make this. But, using a whole bottle of glue per child might get costly. Is there a way to break down the recipe into smaller batches, and if so, how many batches would it yield?
In other words, is the recipe you call for only enough to fill a small food container for one child?
Great question!
The recipe makes the amount of slime shown in the images, which I would say is a great amount for 1 child, or a decent amount to split between two children.
You could have the kids pair up and make the slime in pairs. Then split their slime into 2 “pieces” at the end so each child has their own slime that is still a decent size to play with and enjoy. That way you would only need to make half as many batches as if each child made their own.
Or, you could make one batch of slime together as a class, and keep it in a container in the classroom for the kids to take turns playing with.
If you do go the route of making several batches, I would suggest buying a gallon jug of glue and measuring out 5 oz for each student (or pair of students) rather than buying the individual bottles — this should help save some money 🙂
Could you use regular white school glue instead of clear glue? Would that affect the consistency of the slime?
You certainly could use regular white school glue instead, it just wouldn’t be as clear. Would still work though 🙂
It didn’t work at all! 🙁
this is nonsense i have no borax
My kids have been bugging me to make “slime@“ for some time now ! Going to surprise them on next day off from weather here with this ! Thank you for posting 🎉💗
So thankful you posted this ! Kids have been bugging me to make “slime” , this is great ! Can’t wait to make it with them on the next snow day . Loved the detailed directions – thank you so much !