

Easter Blossom Cookies
Posts may contain affiliate links, meaning that I may earn a commission if you use a link provided.

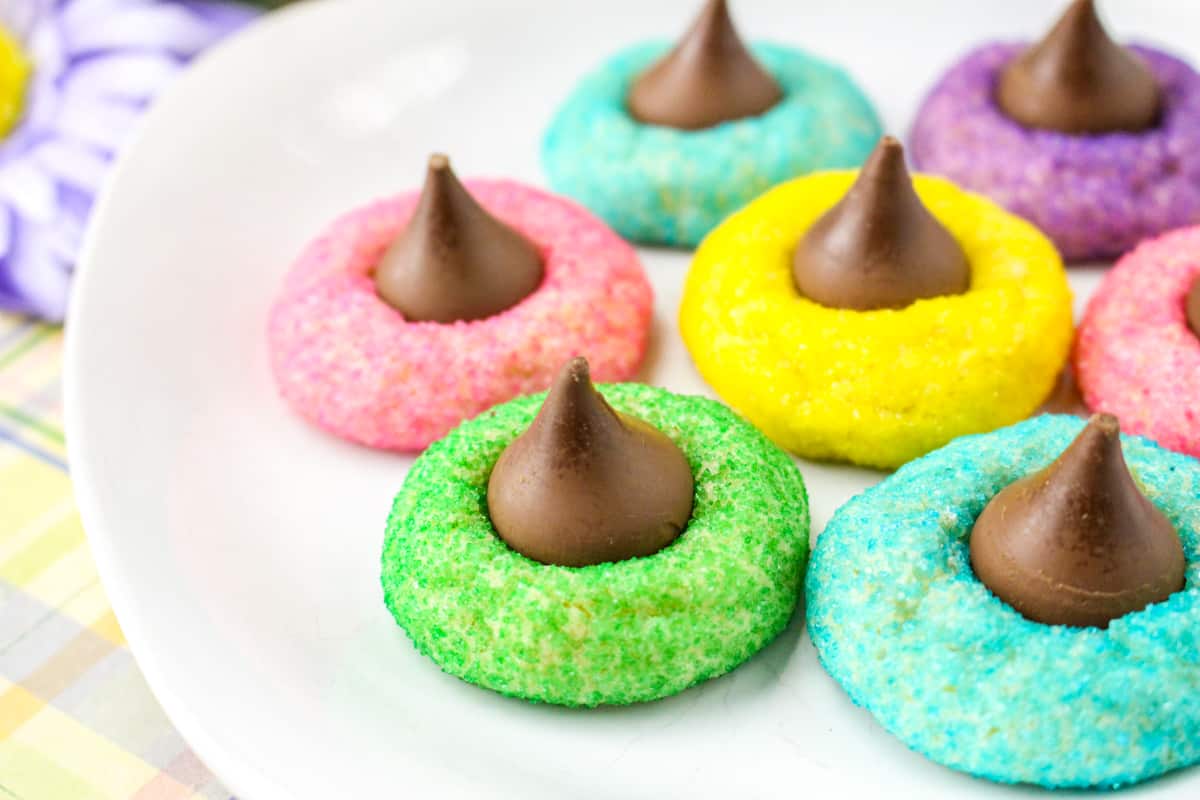
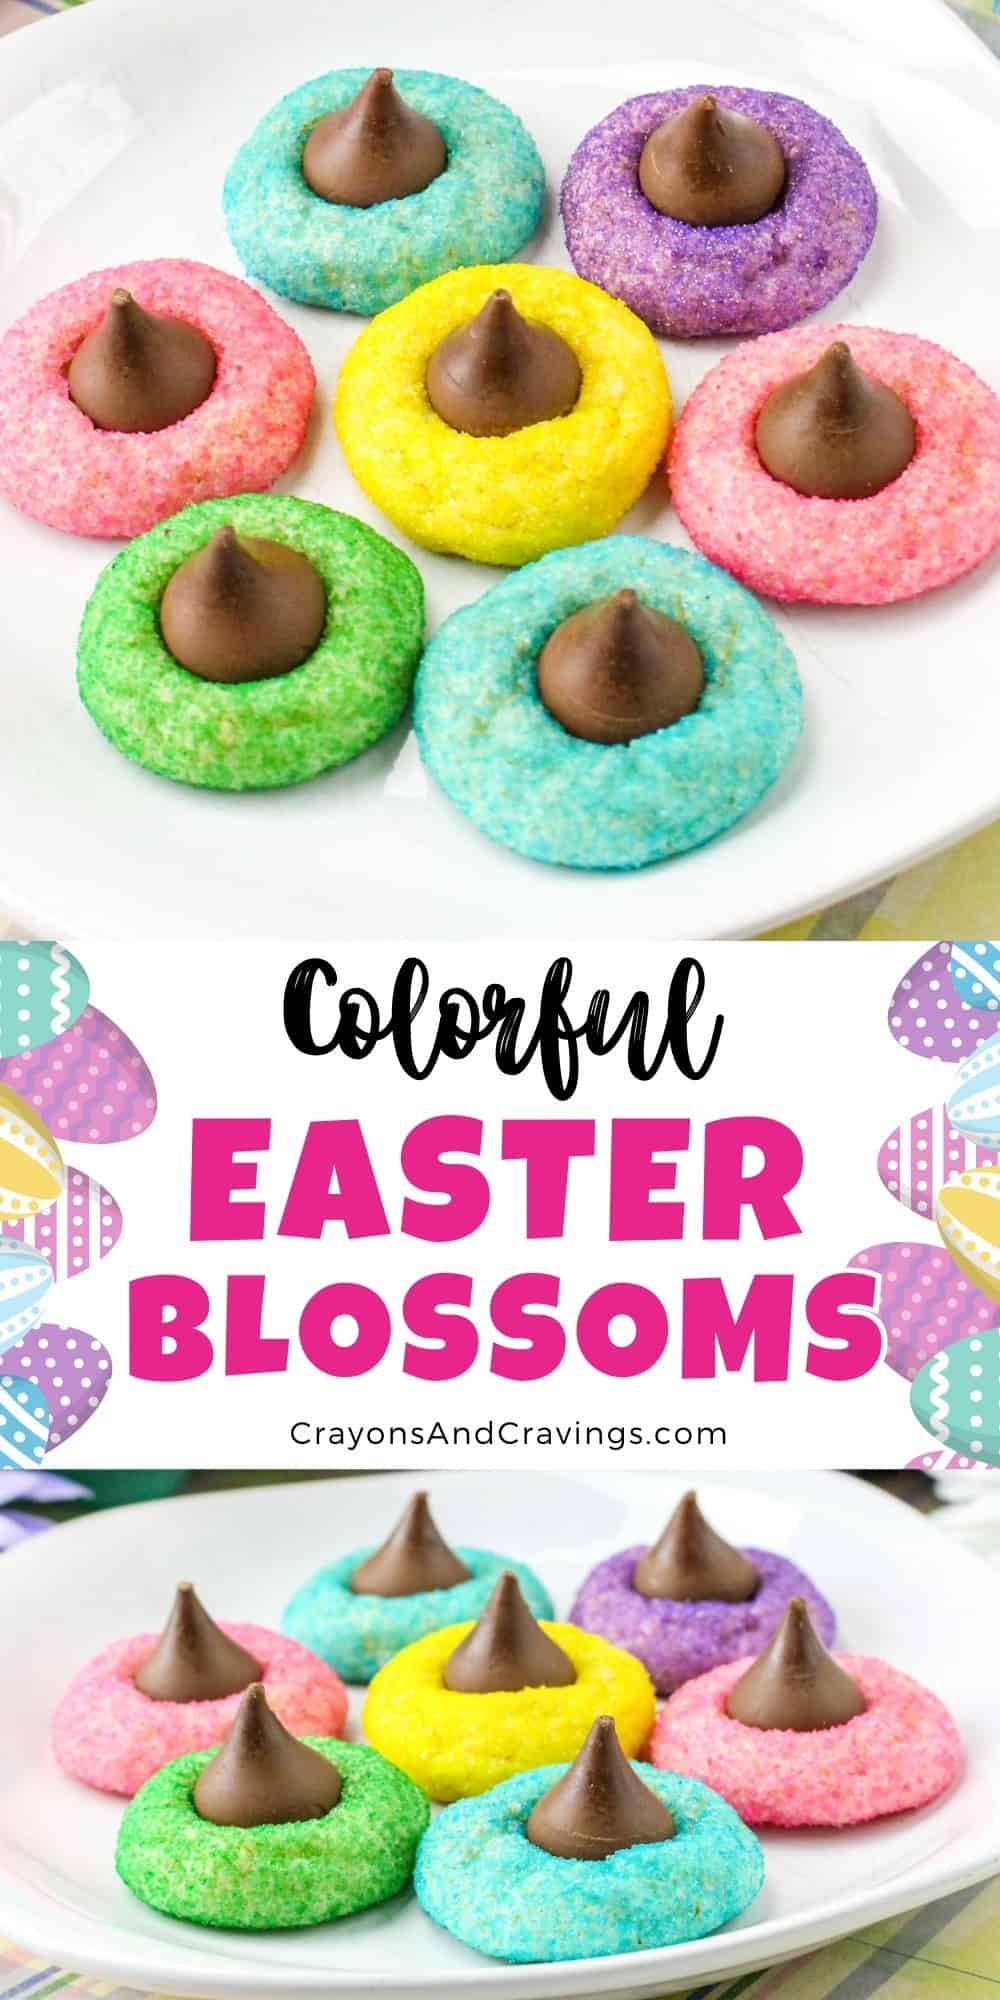
Easter blossom cookies are a colorful, festive twist on classic blossom cookies! A soft and chewy sugar cookie base is rolled in colorful sugar, baked to perfection, and topped with a Hershey’s kiss to create these beautiful and tasty Easter cookies.
I love making cookies for Easter!
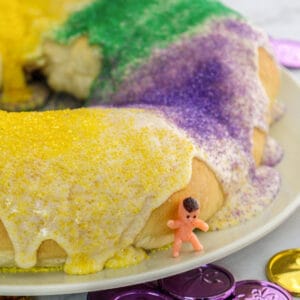
Something about the pretty pastel colors and light, sweet flavors of the season really inspires the baker in me. My Easter cake roll, Easter magic cookie bars, and birds nest cookies are always a huge hit at holiday get-togethers!
These Easter blossom sugar cookies are sure to be no different.
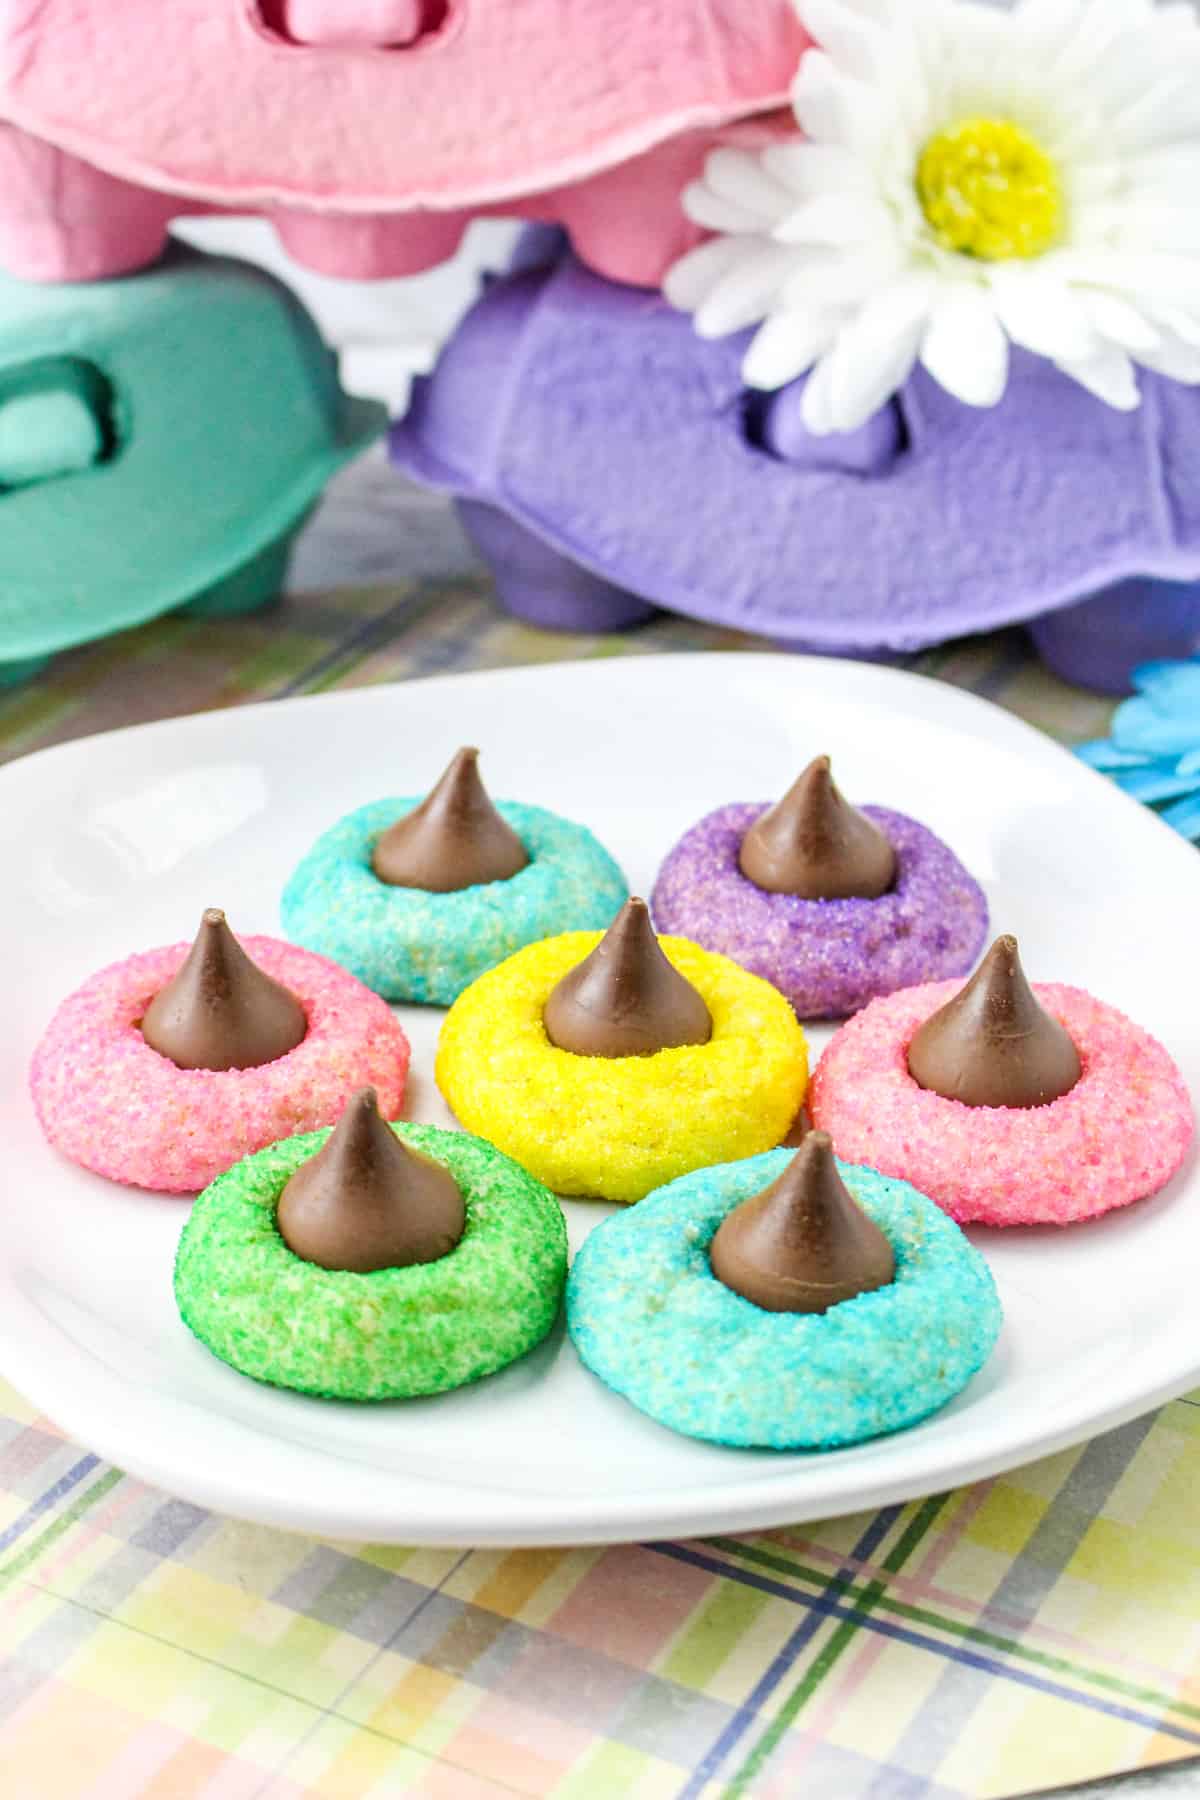
Made with simple pantry staples and a sprinkling of colorful sugar, these colorful blossom cookies are a feast for both the palate and the eyes!
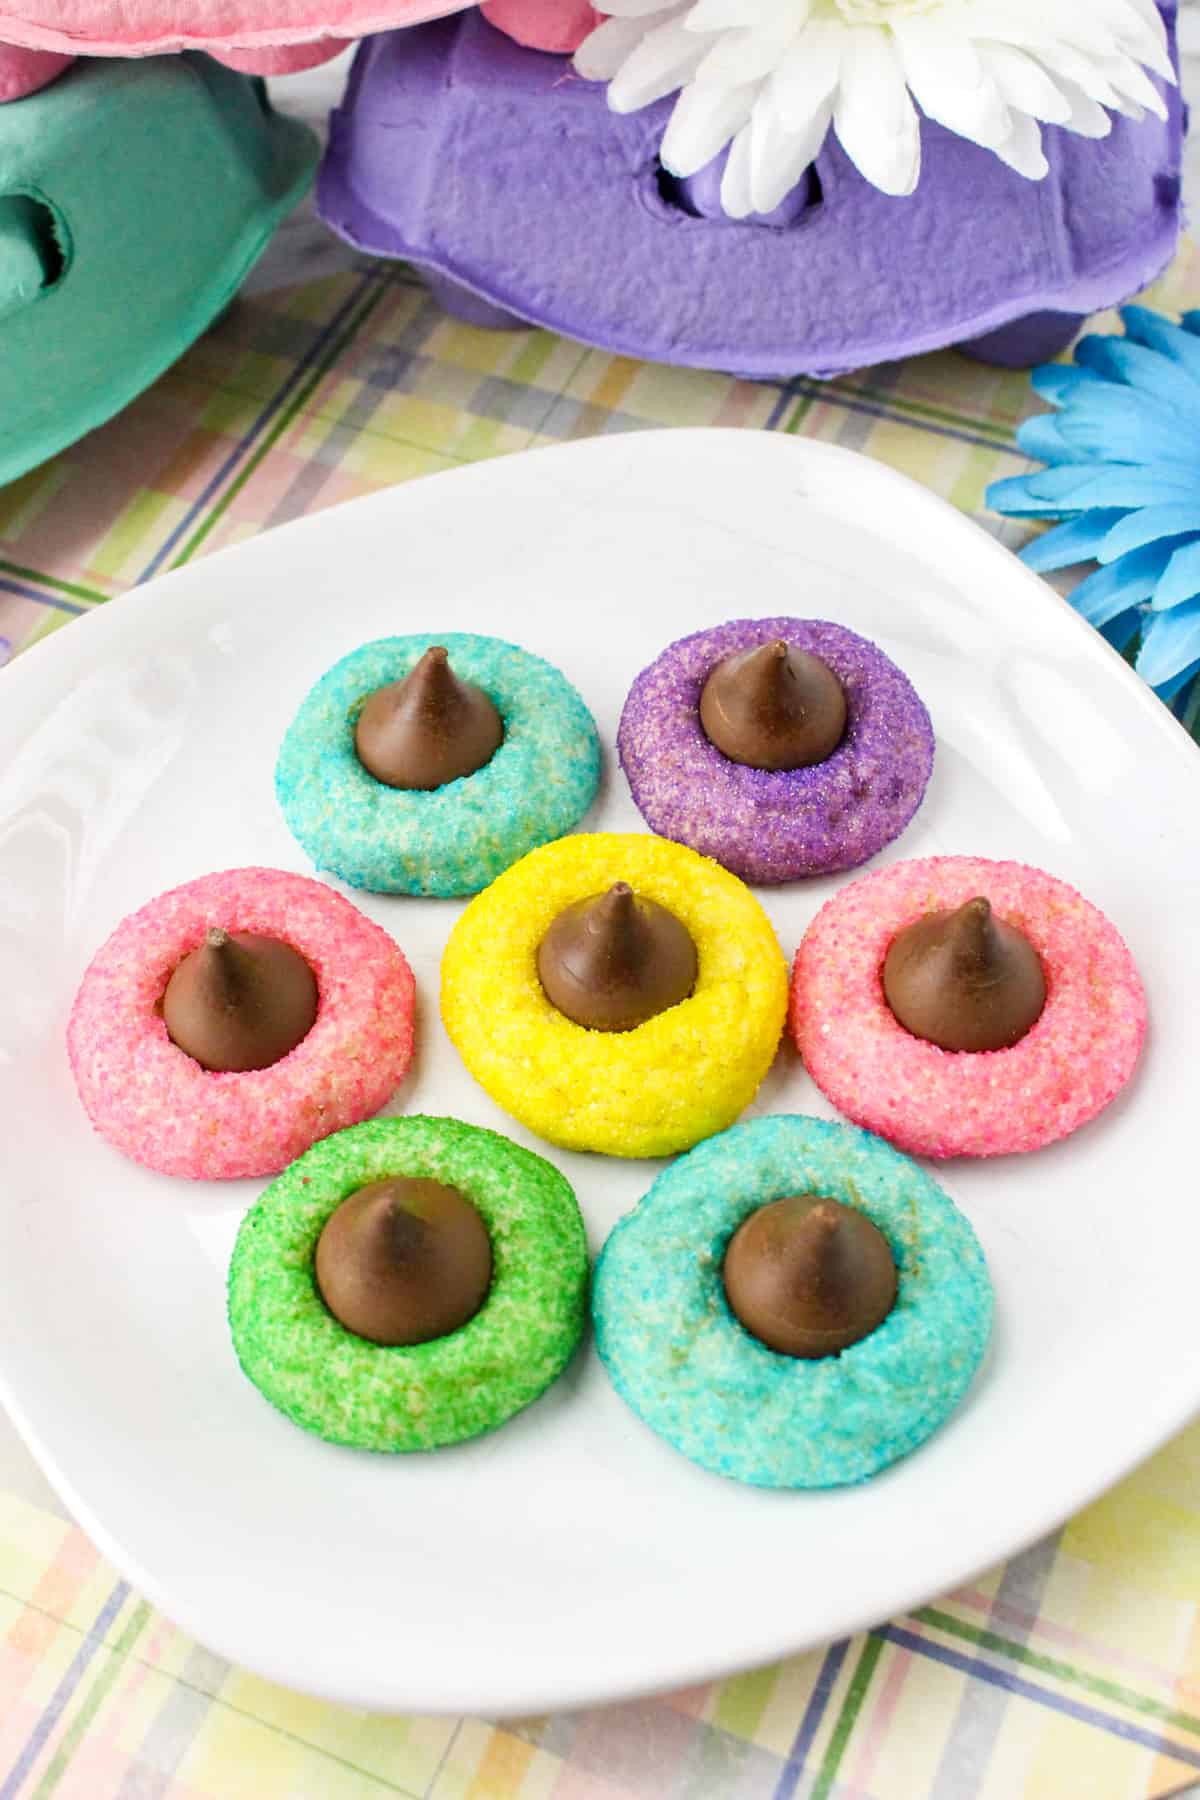
A platter full of these colorful cookies are sure to be the star of any Easter dessert spread.
The best part? These simple, yet delectable cookies can be whipped up in under 30 minutes and make enough to feed a large crowd!.
Ingredients
This section includes ingredient notes and substitution options. Get all measurements, ingredients, and instructions in the printable recipe card at the end of this post.
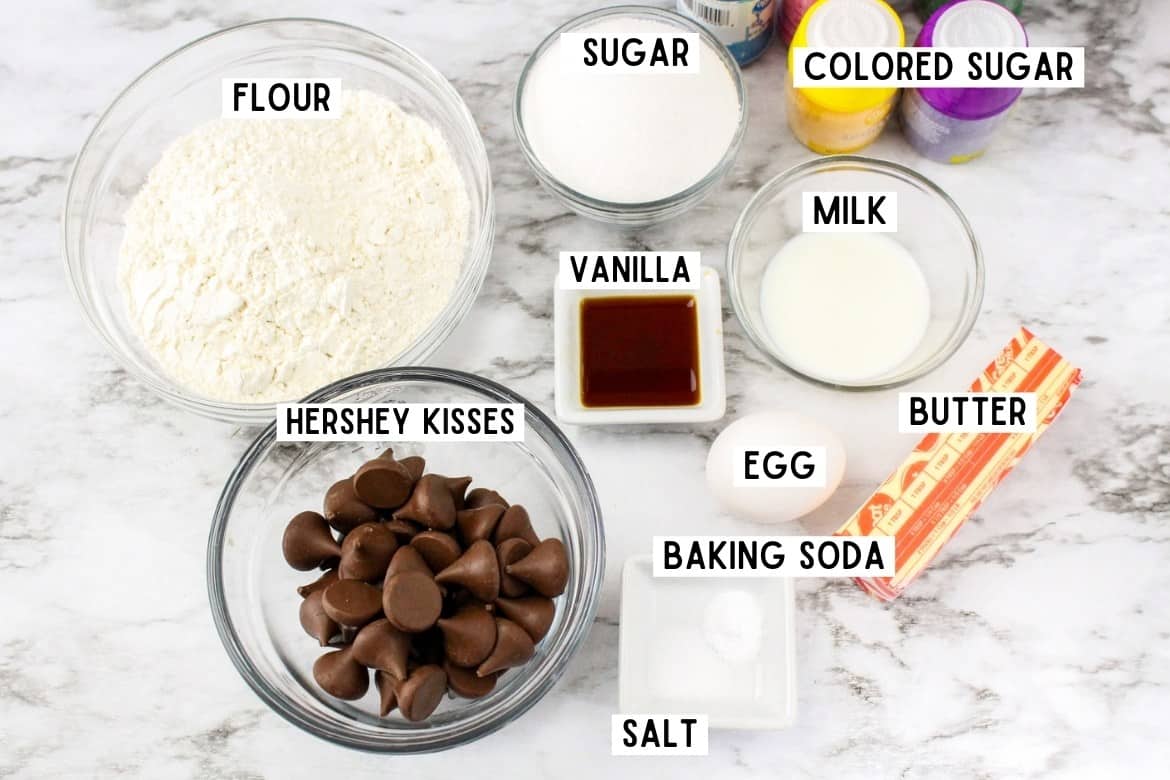
- All-Purpose Flour—A whole wheat flour or a gluten free flour blend would also work.
- Butter—Unsalted and softened but not melted works best.
- Sugar—Granulated sugar is preferred; I’ve yet to test this recipe with alternative sweeteners.
- An Egg—Adds moisture and acts as a binding agent to hold all your other cookie ingredients together.
- Milk—Helps to keep the cookie dough creamy and smooth and adds a delightful chew to your finished cookies.
- Hershey’s Kisses—Little morsels of milk chocolate that give these cookies that iconic “blossom” look.
- Colored Sugar— Also called sanding sugar or sugar sprinkles. Used to coat the outside of each cookie in a pretty pastel color. Also adds a slight crunch. Walmart ususally have a good variety or you can order them on Amazon by individual color or in a multi-pack.
Equipment You’ll Need
When it comes to springtime treats, it really doesn’t get any easier than these Easter cookies with Hershey kisses!
You likely already have all the baking equipment you’ll need to get started. Just make sure that you have baking sheets, parchment paper (I am obsessed with these pre-cut sheets), an electric mixer, a set of mixing bowls, and a small cookie scoop or spoon.
How to Make Easter Blossom Cookies
This section shows you how to make the recipe with step-by-step photos and instructions. For the full printable recipe, see the recipe card below.
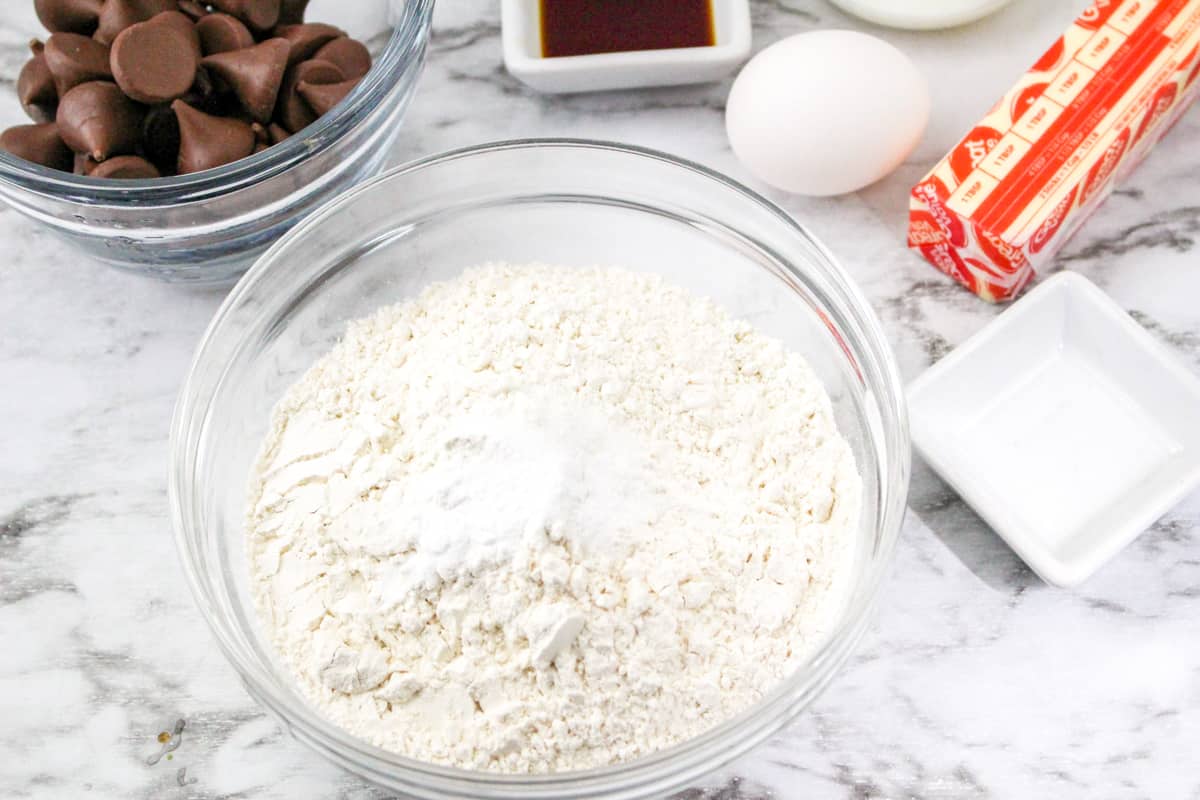
Step 1: In a medium-sized mixing bowl, whisk together the flour, baking soda, and salt. Set aside.
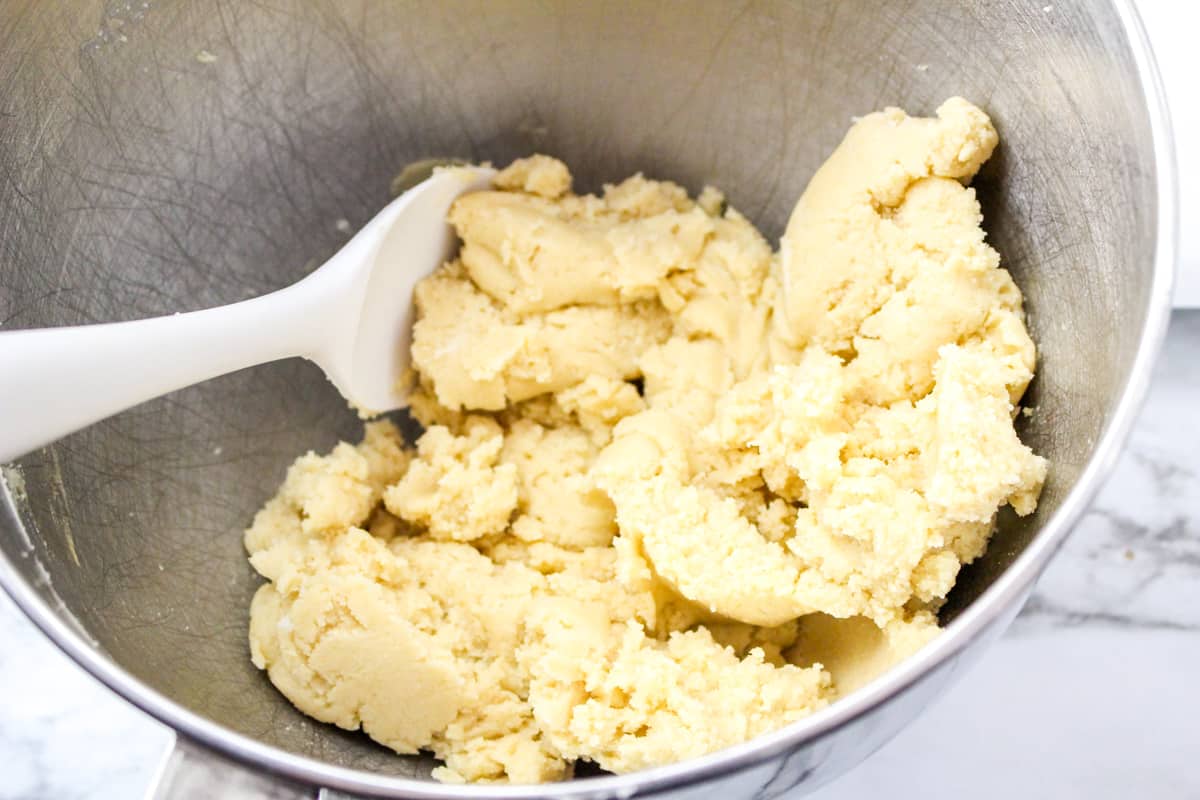
Step 2: In a large mixing bowl, cream the softened butter and granulated sugar until light and fluffy. Add the egg and vanilla extract, mixing until smooth. Mixing on low, add the flour mixture and mix until just combined. Continue mixing on a slow speed as you stream in the milk, adding just enough to soften the dough.
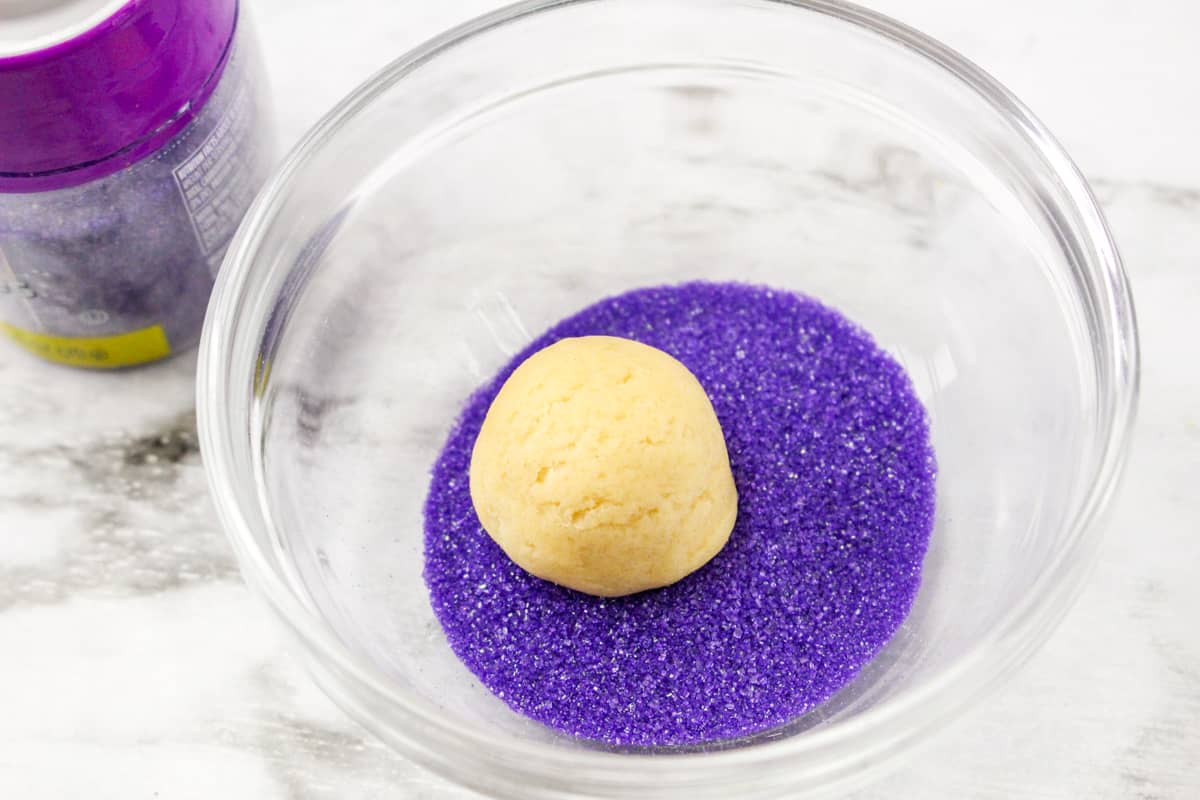
Step 3: Use a small cookie scoop to portion the dough and roll into balls. Then roll each ball in colored sugar.
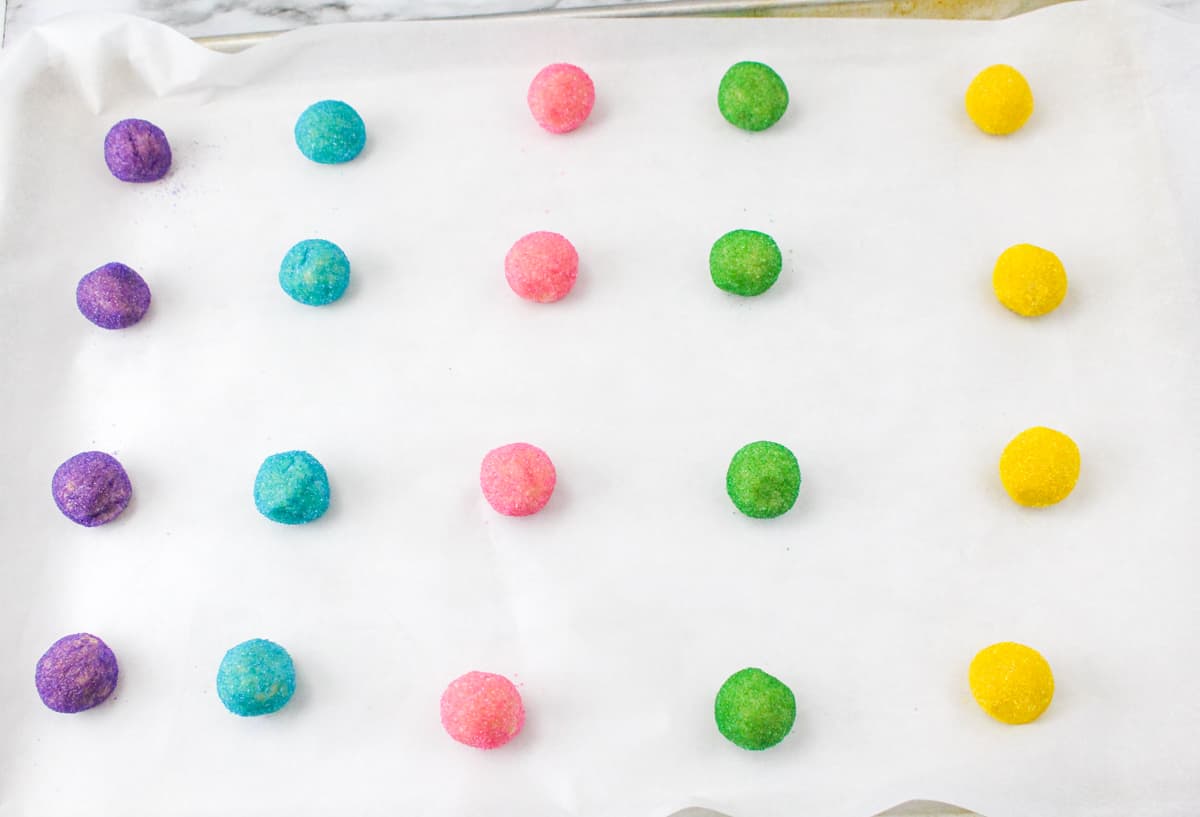
Step 4: Placed sugar-covered dough balls 2-inches apart parchment-lined baking sheets.
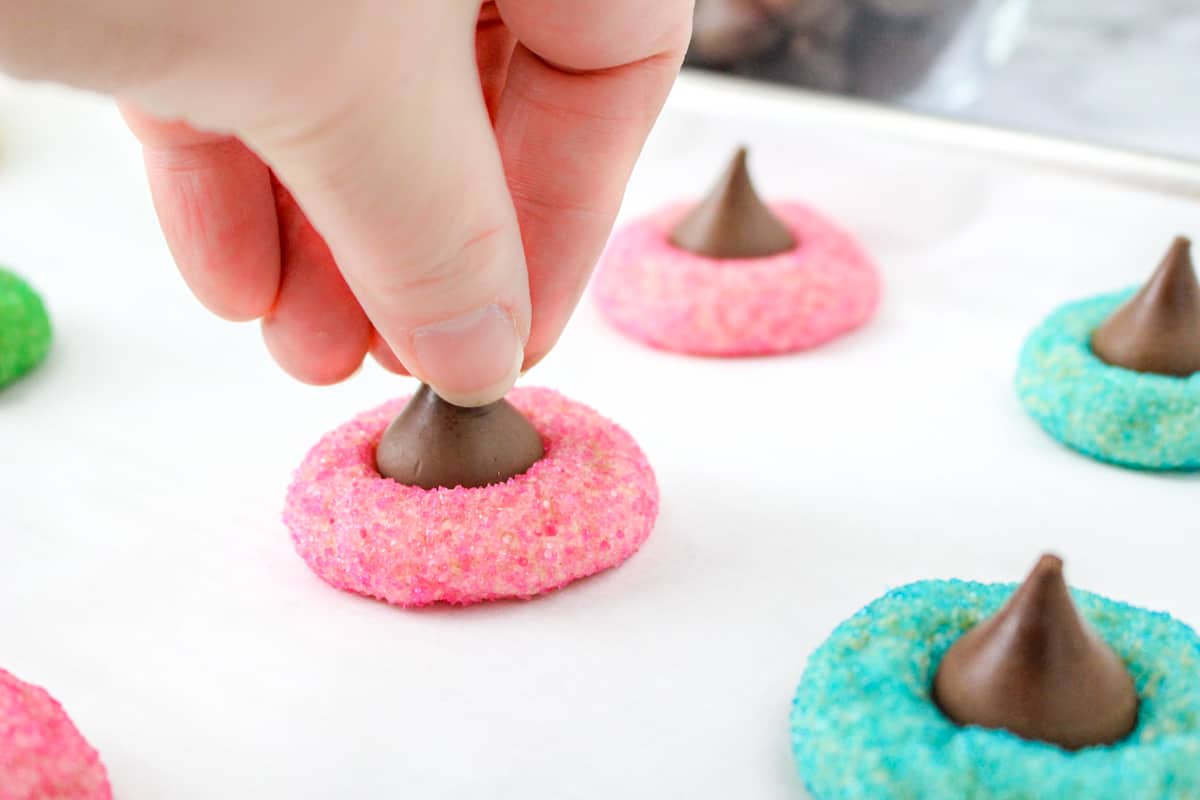
Step 5: Bake the blossom cookies until they’re puffed and the edges are just set, but not browned. Allow the cookies to cool slightly before pressing an unwrapped Hershey’s Kiss into the center of each cookie.
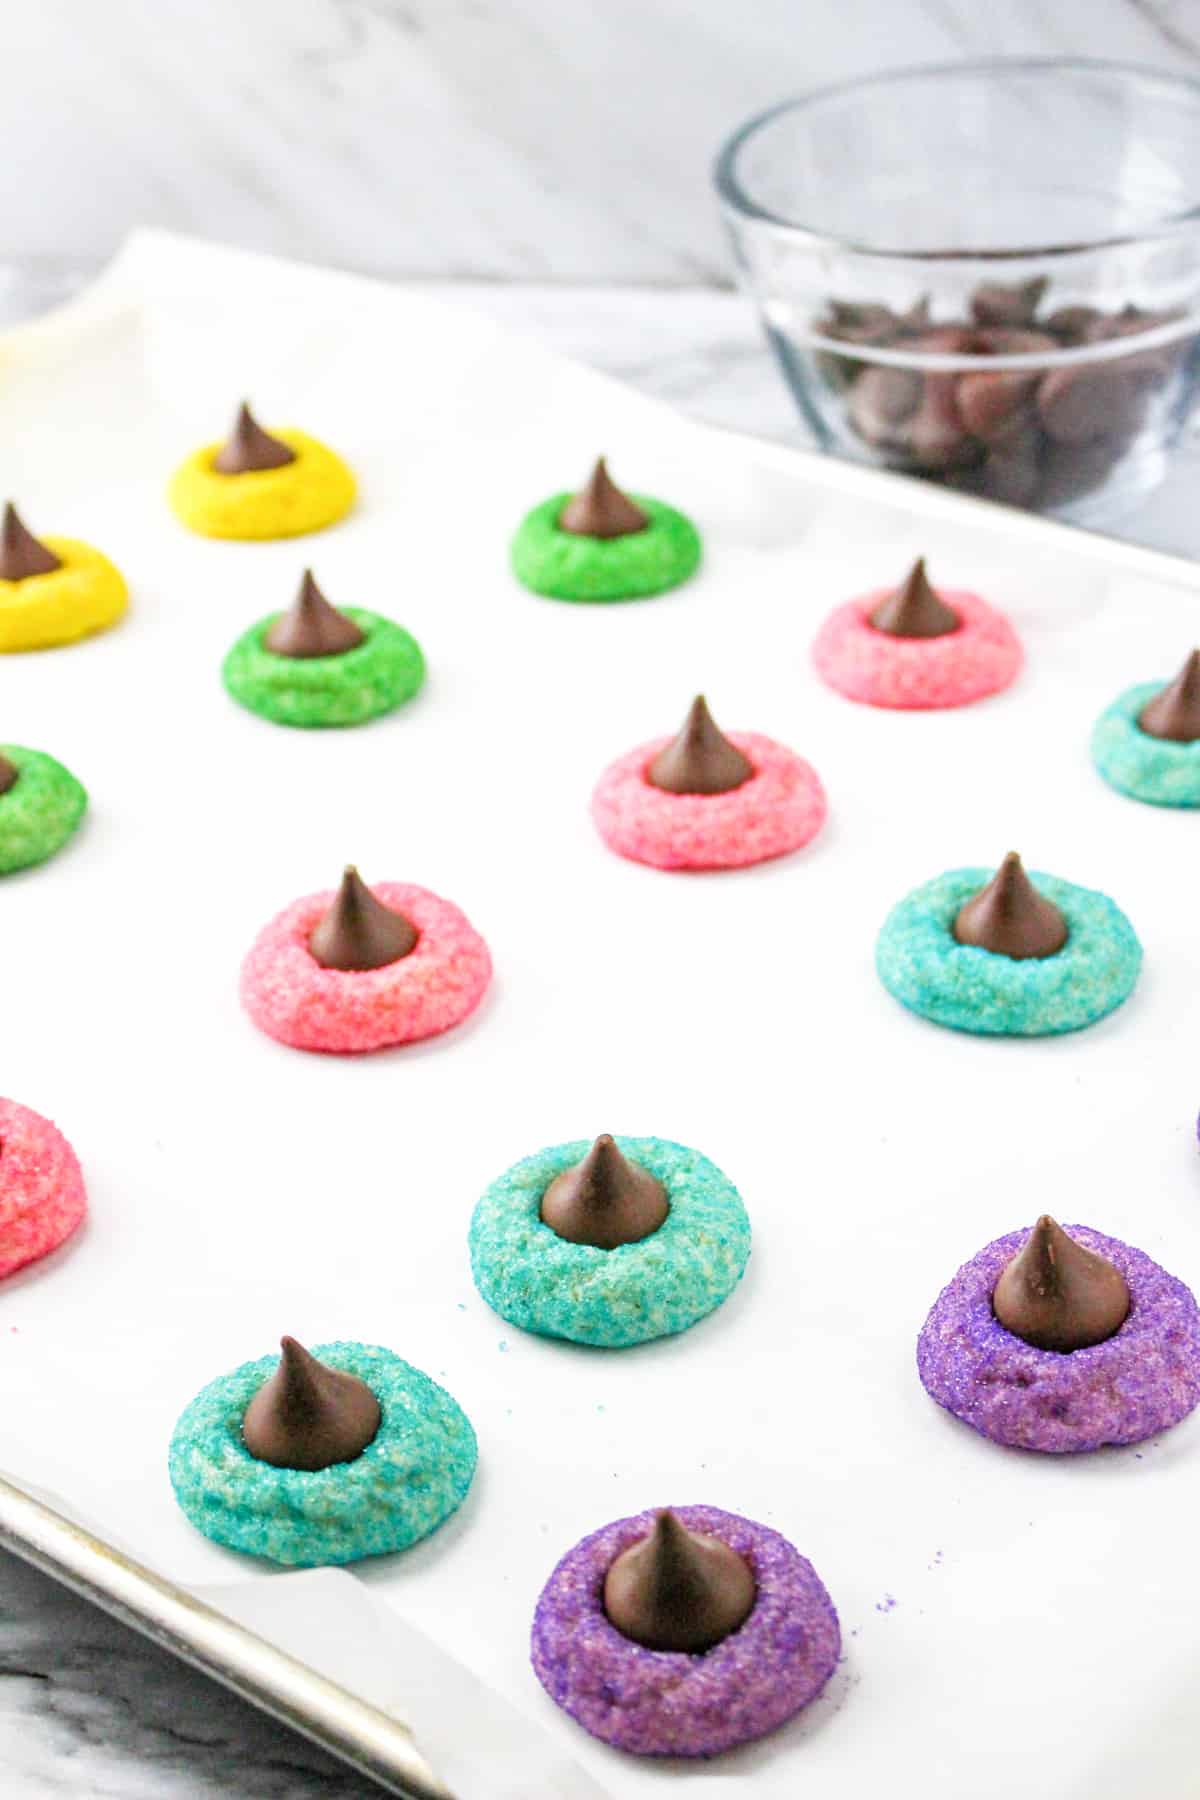
Step 6: Allow the cookies to cool fully then serve and enjoy!
Visit my Easter Cookies Story for another way to see how to make Easter Blossom Cookies.
Storing and Freezing
COUNTERTOP: Place any leftover Easter blossom cookies into an airtight container and keep on the counter for up to 1 week.
REFRIGERATOR: Place your container of leftover cookies into the fridge. If stored properly, they should stay good for up to 3 weeks.
FREEZER: Place the cooled cookies into a freezer bag and store in the freezer for up to 6 months. Just be aware that the drastic change in temperature might cause the chocolate candies to “bloom.” This is harmless but doesn’t look very pretty.
Expert Tips and Tricks
- Be extra careful to not overbake these easter Hershey kiss cookies! They should mattify and puff slightly in the oven, but not brown.
- Save yourself some stress by unwrapping the Hershey kisses ahead of time. This step takes more time than you’d think.
- Initially, the Hershey kisses will look like they’re melting when pressed into the warm cookies. Don’t panic! They will quickly cool and resolidify into the proper shape.
Frequently Asked Questions
If you find that your Easter blossom cookies are spreading too much in the oven, it’s likely because you didn’t form your dough into tight balls before baking. If you flatten these cookies at all before they’re baked, they will spread a lot and turn out super flat.
Almost, but not quite. As you can probably tell from the name, peanut butter blossoms consist of a peanut butter cookie that is baked and then topped with a Hershey’s kiss. Alternatively, these Easter blossom cookies have a sugar cookie base.
Unless you’re working in an extremely hot kitchen, these easy Easter cookies do not need to be chilled before they are baked. If formed and baked correctly, they should spread the perfect amount in the oven.
You should be able to order colored sugar online or find it in the baking aisle. But if you can’t find colored sugar, you can make your own by mixing granulated sugar with a bit of food coloring. Or, for a similar visual effect, you can simply dye your cookie dough in different colors.
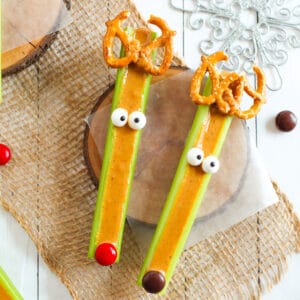
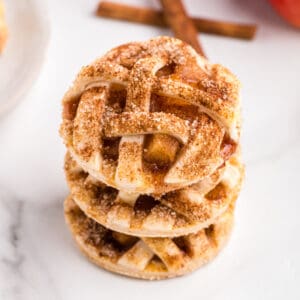
More Tasty Easter Treats
Easter Blossom Cookies
Ingredients
- 2 cups all-purpose flour
- ¼ teaspoon baking soda
- ¼ teaspoon salt
- 1 cup granulated sugar
- ½ cup unsalted butter room temperature
- 1 large egg room temperature
- 1 ½ teaspoon vanilla extract
- 1 to 2 Tablespoons milk
- [various colors of brightly colored sugar]
- [32 Hershey’s Kisses unwrapped]
Instructions
- Preheat the oven to 350° F. Line 2 large baking sheets with parchment paper or silicone baking liners and set aside.
- In a medium-sized mixing bowl, whisk together the flour, baking soda, and salt. Set aside.
- In a separate, large mixing bowl, cream together the butter and sugar until light and fluffy. Add the egg and vanilla extract, beating until combined.
- With the mixer on low, gradually add the flour mixture and beat until just combined.
- Continue mixing on a low speed as you stream in the milk. Add just enough to soften the dough.
- Use a small cookie scoop to portion the dough and then use your hands to roll it into balls. Roll each ball in the colored sugar and place 2-inches apart on the lined baking sheet.
- Bake for 8-10 minutes or until they’re puffed and the edges are just set, but not browned.
- Allow the cookies to cool for 2 minutes then press a Hershey’s kiss into the center of each cookie.
- Allow them to cool for 5 additional minutes before transferring to a wire rack and allowing them to cool completely.
Notes
Nutrition
Did You Make This Recipe?
Share it with me on Instagram @crayonsandcravings and follow on Pinterest @crayonsandcravings for even more!


Is there a way to incorporate food colouring into this recipe instead of coloured sugar?
Sure, you can divide the dough and color it before rolling into balls and baking.
My cookies turned out flat not puffed up. Is this normal?
They should look similar to the pictures- puff up a bit when baked and then flatten slightly when the kiss is pressed into them. If your cookies came out very flat it could be an issue with your ingredients (Did you margarine instead of butter? Perhaps your baking soda is expired? Did you make any substitutions?) or the measurements could be slightly off.
Turned out great, the family loved them!
I made these for Easter, and they were a huge hit. My husband couldn’t stop eating them. Recipe is a keeper for sure. Thank you. Unfortunately, I forgot pictures.
tried 2 batches. looked great in oven. flattened as soon as I took them out.
these cookies are amazing. planning in using the dough recipes and add candy sprinkles mixed into them