

DIY Bunny Ears Headband for Easter
Posts may contain affiliate links, meaning that I may earn a commission if you use a link provided.

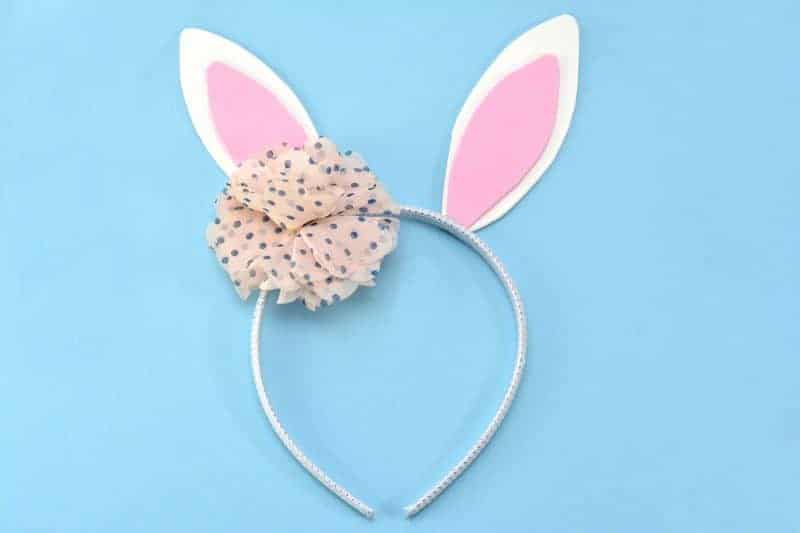
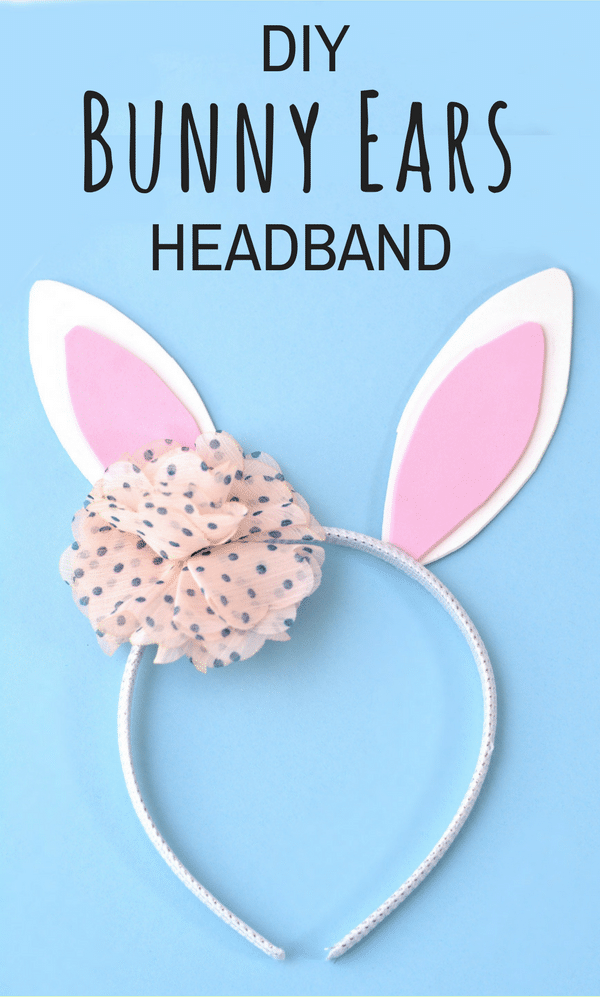
Get in the Easter spirit with this easy no sew DIY Bunny Ears Headband. This easy bunny headband craft is perfect for boys and girls alike, as the flower can be left out or replaced with a little top hat!
Are you looking for fun and easy crafts for your kids to make this Easter?
You’re not going to find many Easter crafts that are cuter and easier than this adorable DIY bunny ears headband.
Best of all, you can find almost everything you need for this fun DIY bunny headband at the dollar store. This means you can make several of these headbands without breaking the back, which is perfect if you want to make them with a group of kiddos.
Whether you make these Easter headbands with the kids, or make them for the kids as part of their Easter baskets, they will totally be a hit.
Plus, the kids will look super cute wearing their bunny ears on Easter!
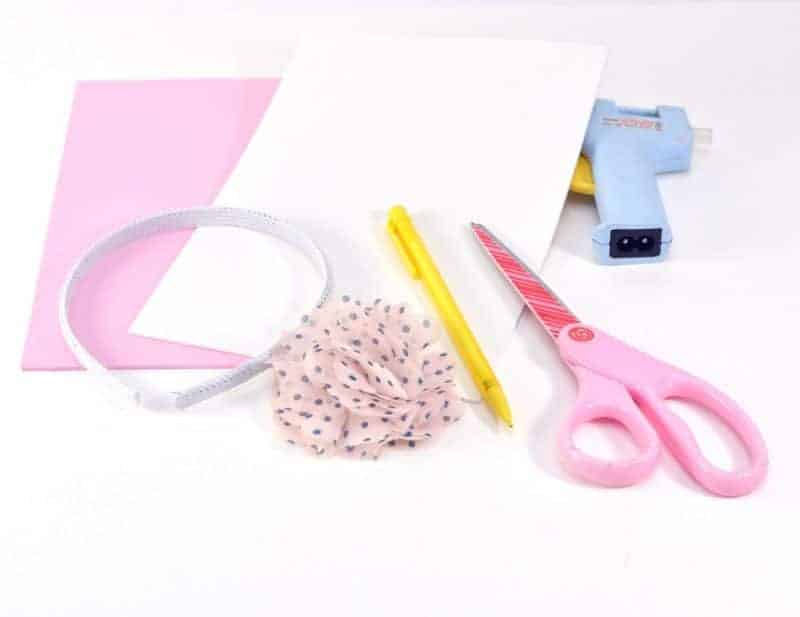
DIY Bunny Ears Headband Materials
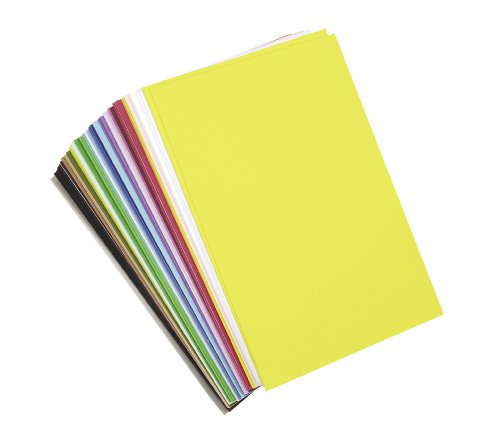
- Pink and white craft foam
- Scissors
- Pencil
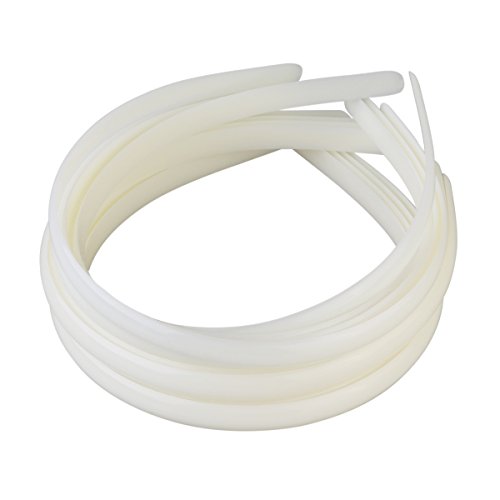
- Headband
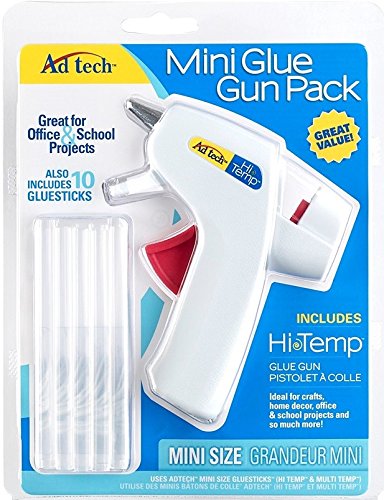
- Hot glue gun
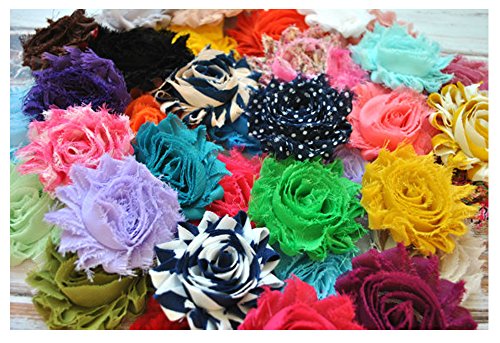
- Flower decoration (optional)
A few notes about the supplies:
Glue Gun — This craft does require a hot glue gun, as regular craft glue isn’t really strong enough to keep the ears in place. You will obviously want to help younger children with this step.
Flower Decoration — We added a poofy flower to our headband, but it is totally optional. You could add a different adornment such as a tiny top hat or just leave the headband plain. Either way, it is going to be super cute!
Craft Foam — While we used pink and white foam for our bunny ears headband, you can let your kids use whatever colors they like best for their headbands. Bunnies can be black, tan, brown, gray, or even spotted. But hey, if your little ones want green or blue bunny ears, why not let them go for it and have fun with it?
Shop Bunny Ear Headband DIY Materials
Set of 12 Plain Headbands Chiffon Fabric FlowersFoam Sheets, assorted colorsMini Hi-Temp Glue Gun
How to Make Your Bunny Ears Headband
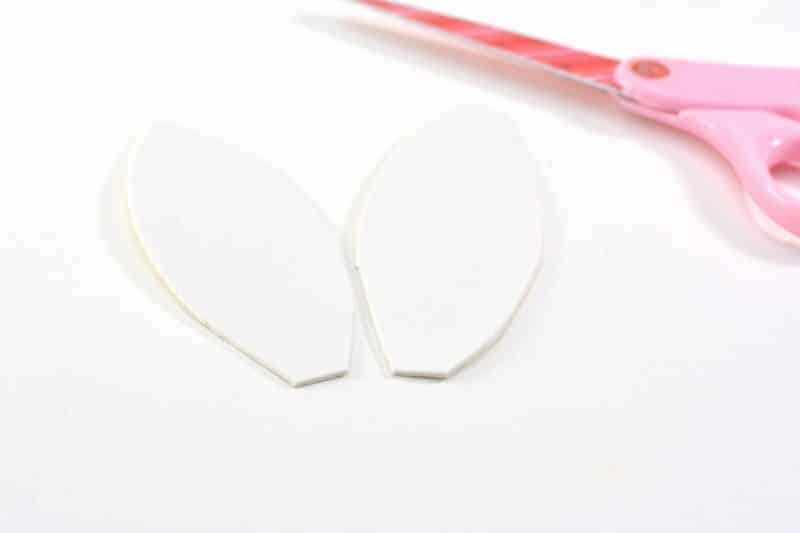
Use a pencil to draw the shape of rabbit ears on a piece of white craft foam. Use your headband as a size reference. Then, cut the ears out.
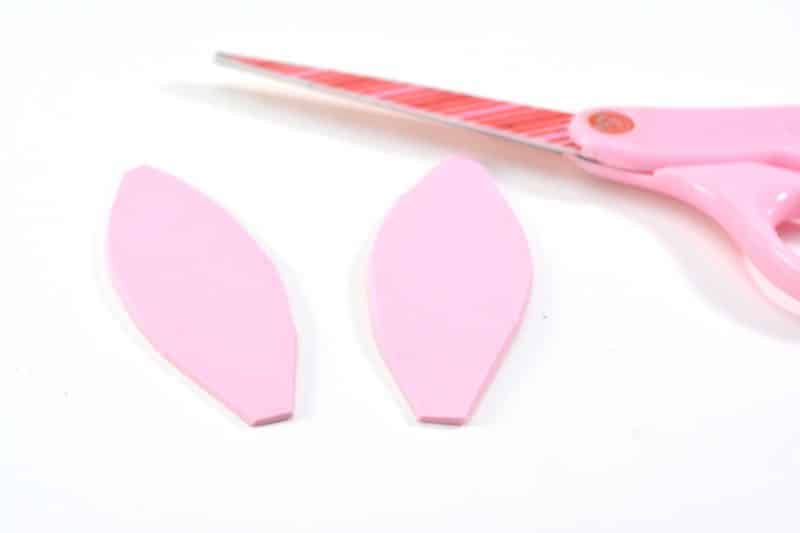
Next, repeat the process with the pink craft foam, but make the pieces smaller so that they will fit well inside your white ears. Use image for reference.
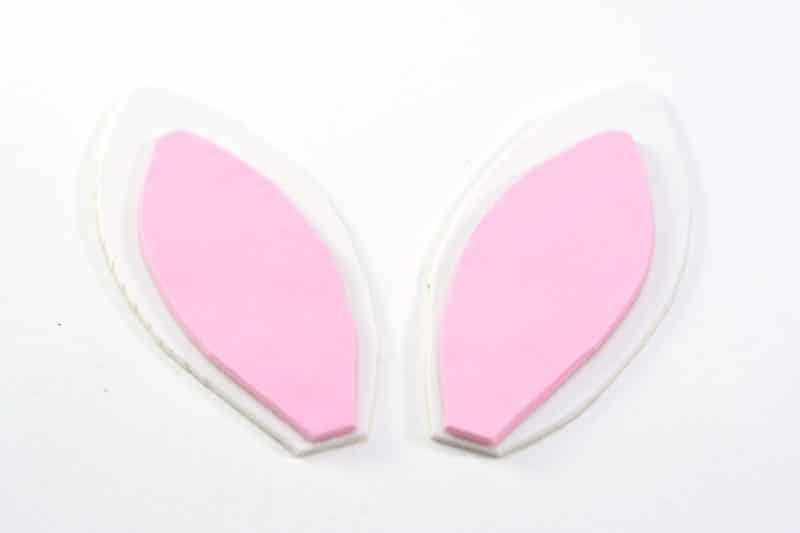
Glue the pink foam shapes on top of the white craft foam ear shapes, with the bottom edges lining up.
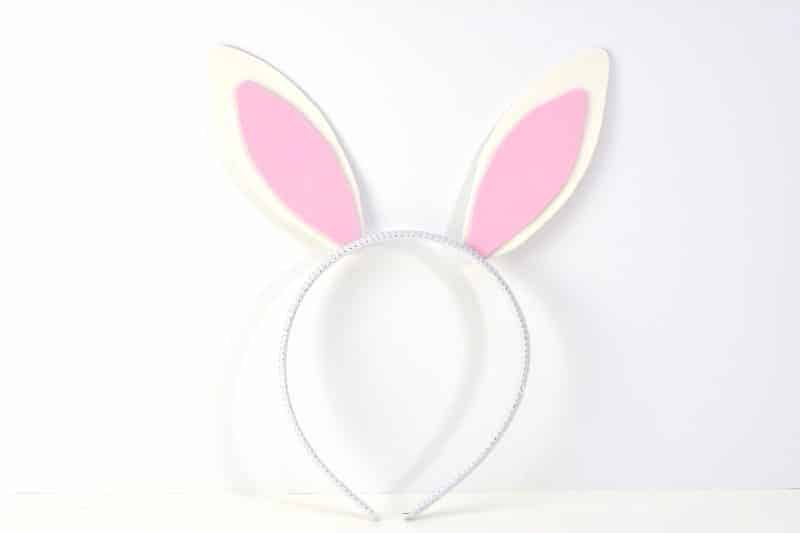
Use a hot glue gun to attach the bunny ears to the top of the headband. Hold the ears in place until the glue dries (1-2 minutes).
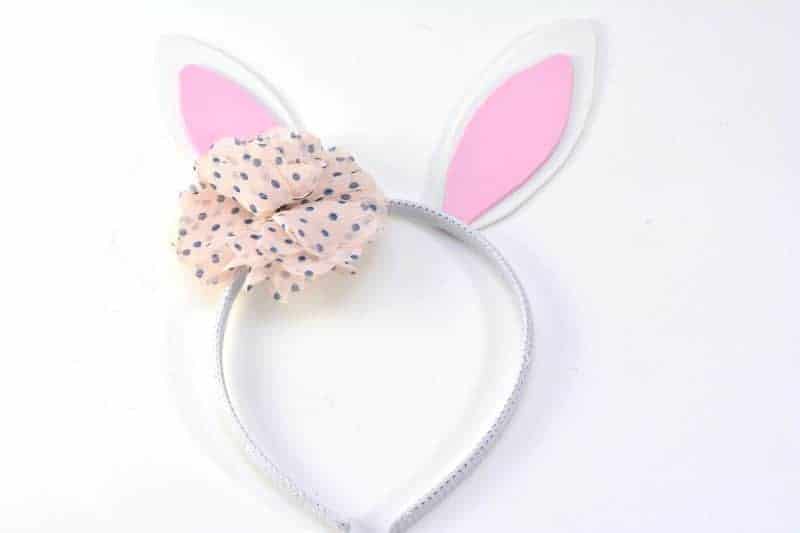
Finally, glue a floral accent to the headband near the bottom of one of the bunny ears (optional).
I hope that you have fun making your DIY bunny ears headbands and that you are your family have a wonderful Easter!
More Cute Easter Craft Ideas
DIY Bunny Ears Headband
Equipment
- pencil
- Scissors
- hot glue gun
Supplies
- pink craft foam
- white craft foam
- headband
- flower decoration optional
Instructions
- Using a pencil, outline the shape of rabbit ears on a piece of white craft foam. Use your headband as a size reference. Then, cut the ears out.
- Repeat the process with the pink craft foam, but make the pieces smaller so that they will fit well inside your white ears.
- Glue the pink pieces on top of the white pieces, with the bottom edges lining up.
- Glue the bunny ears to the top of the headband. Hold the ears in place until the glue dries (1-2 minutes).
- Glue a floral accent to the headband near the bottom of one of the bunny ears, if desired.
Did You Make This Craft?
Share it with me on Instagram @crayonsandcravings and follow on Pinterest @crayonsandcravings for even more!
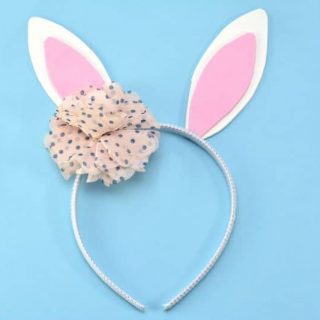
Pin for Later


This will be awesome to make with my granddaughter! I love it! 😃
This is so cute. My granddaughter would love this. Thank you so much for sharing
That is a super simple craft that is adorable! Perfect for Easter!
I LOVE these! I’m going to make them with my daughter, and niece! They’ll love it!