Blackberry Jam Without Pectin
Posts may contain affiliate links, meaning that I may earn a commission if you use a link provided.
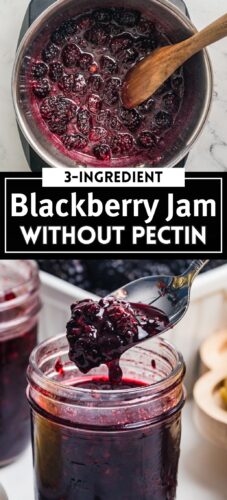
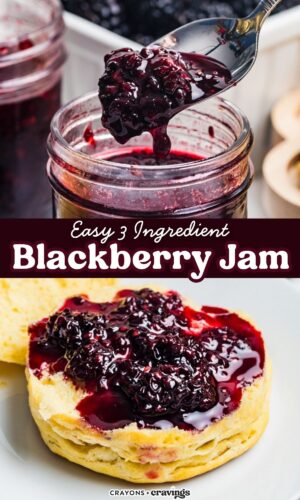
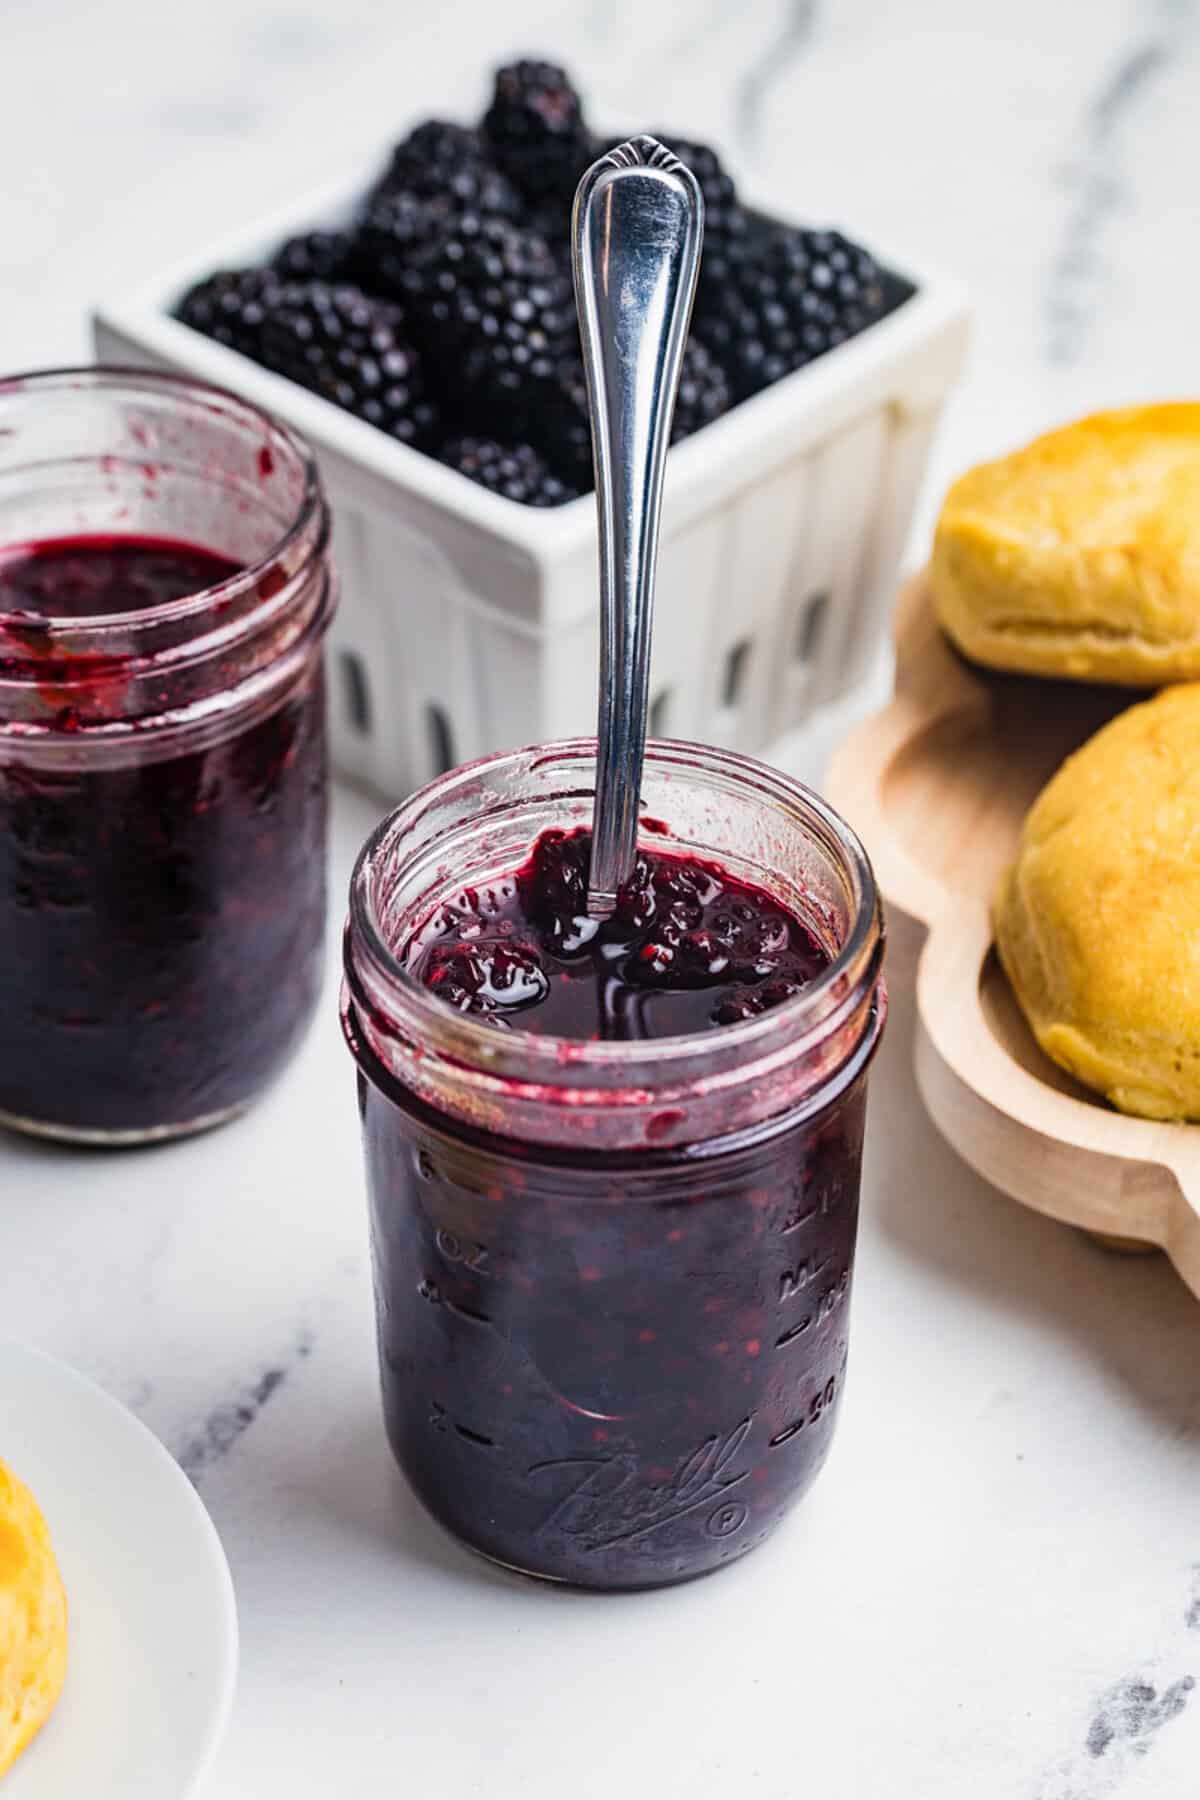
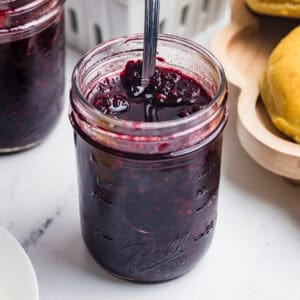
This homemade blackberry jam recipe without pectin is easy to make with just three ingredients: fresh blackberries, lemon juice, and sugar. It’s a small batch refrigerator jam, so there’s no canning equipment or special skill needed.
Blackberries make some of my favorite jam. The color is the deep purple-black you can only get from real fruit, and the flavor sits right between sweet and tangy. If you love berry jams, my blueberry jam and raspberry jam are both made the same easy way.
Lemon juice is doing real work here. Blackberries have a little natural pectin in their seeds and skins, but they need a boost from acid to properly gel. That’s why this recipe uses 2 tablespoons of lemon juice, a bit more than my other berry jams.
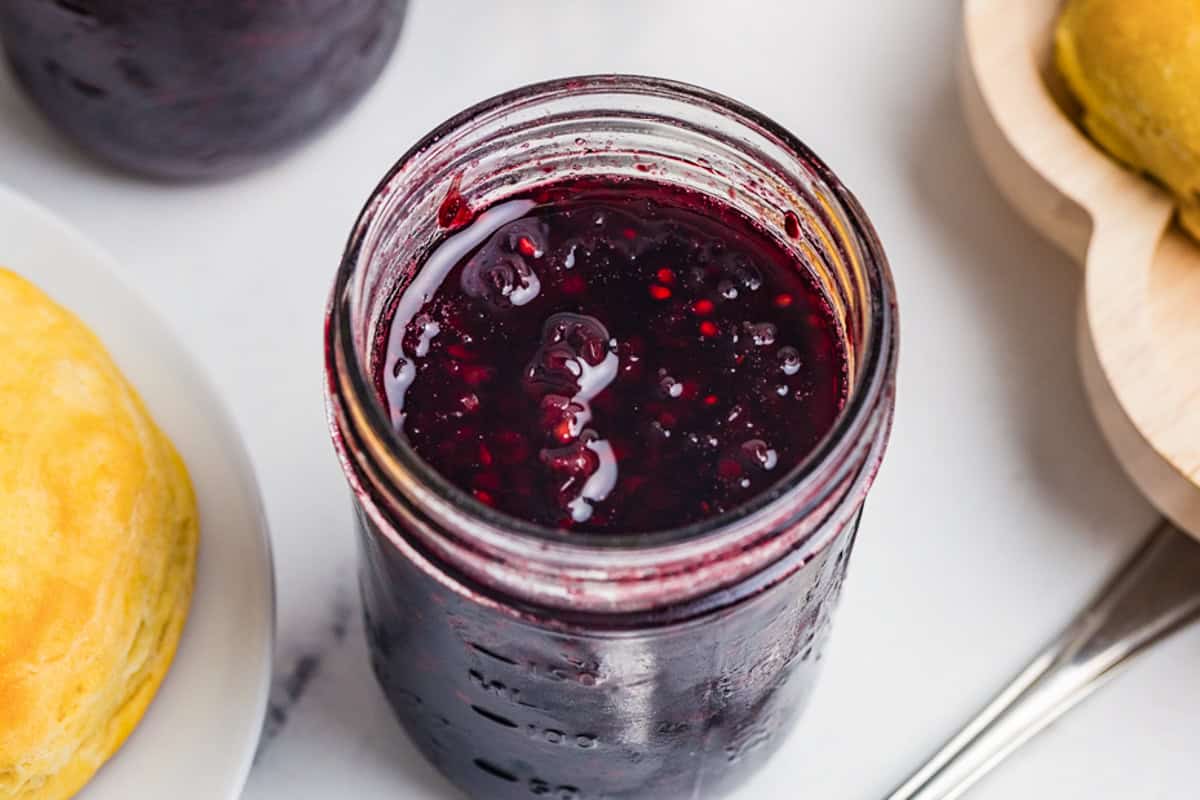
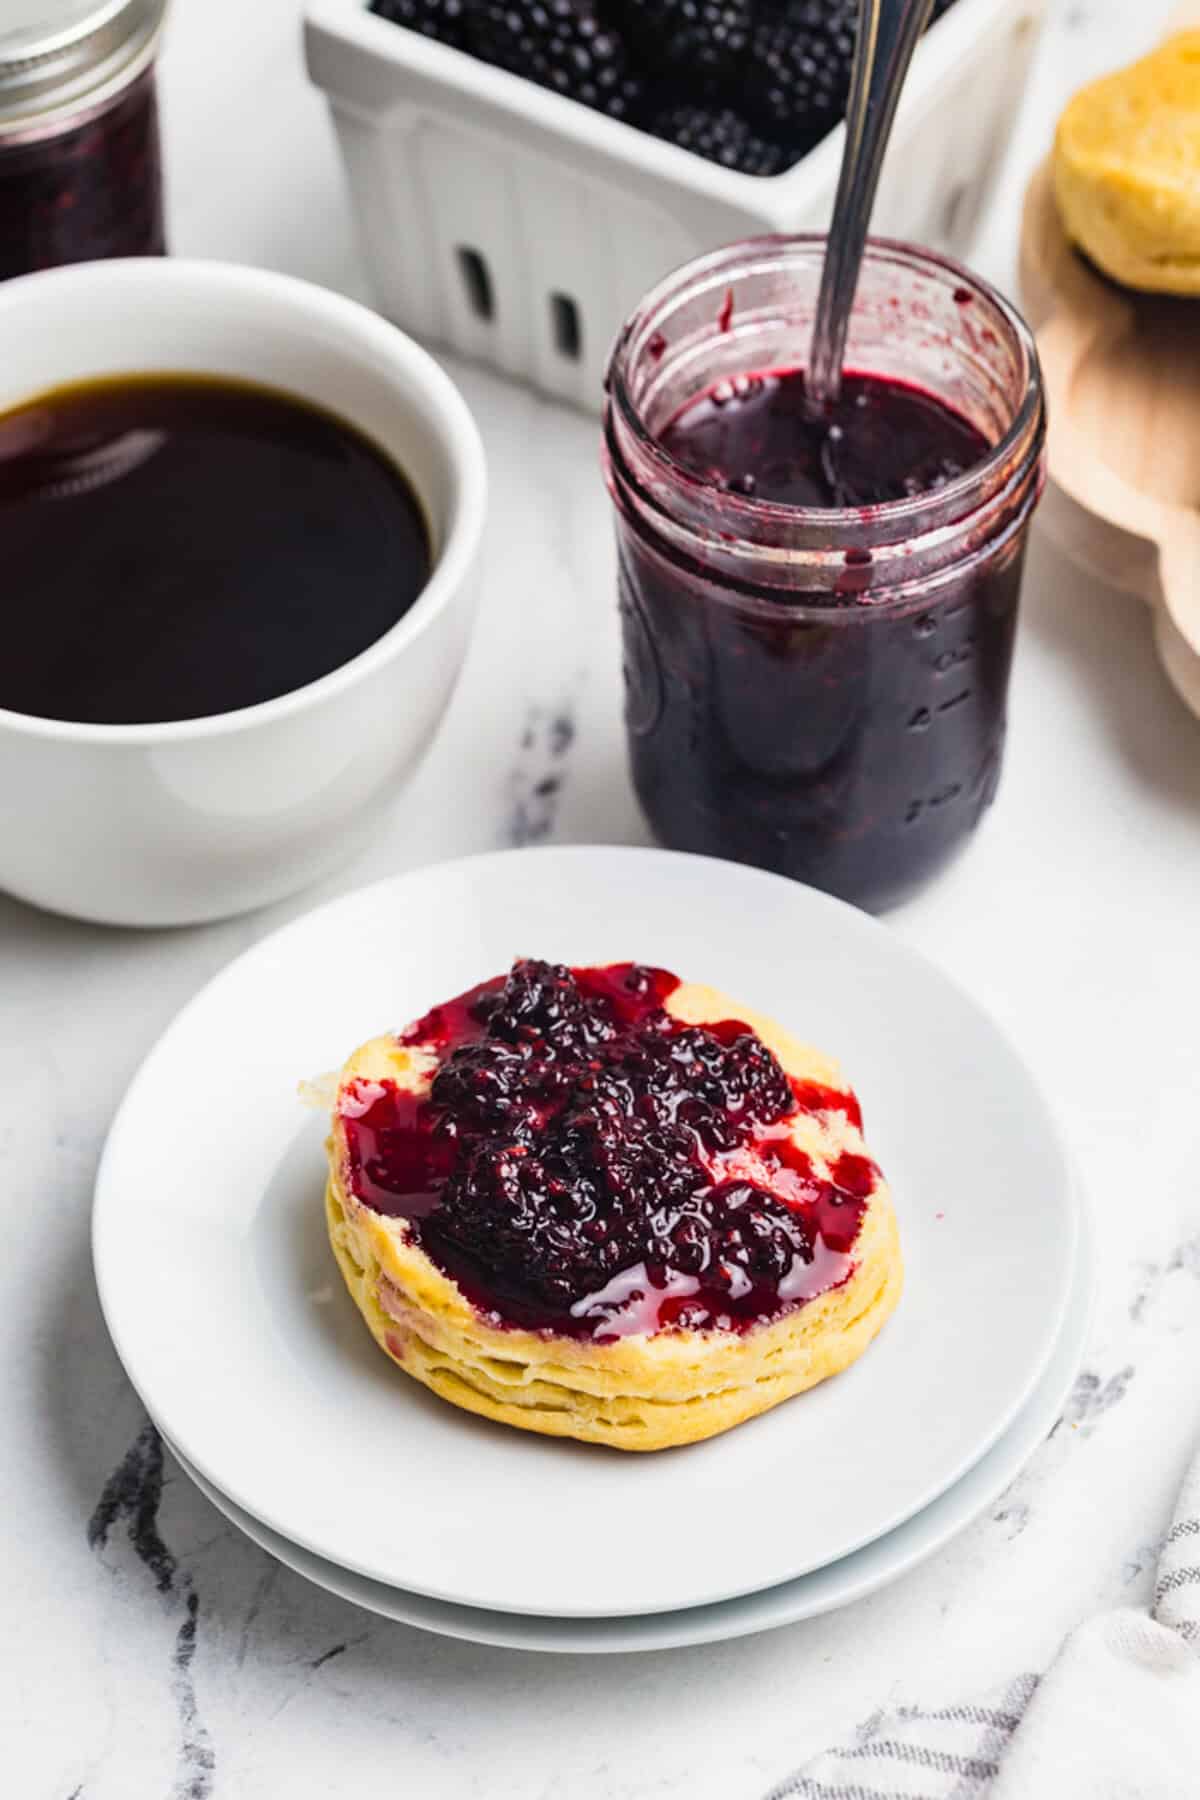
It’s perfect spooned over warm biscuits, swirled into Greek yogurt, or layered on a peanut butter sandwich. No-fuss and made with simple ingredients.
Why You’ll Love This Blackberry Jam
- 3 simple ingredients — blackberries, sugar, and lemon juice.
- Fresh or frozen berries work — no need to wait for blackberry season.
- Strain or leave the seeds — keep the rustic texture or run it through a sieve for a smoother jam.
- Quick and easy — 25 minutes and a saucepan, that’s it.
- Reader favorite for biscuits, toast, english muffins, and homemade PB&Js.
Ingredients
This section includes ingredient notes and substitution options. Get all measurements, ingredients, and instructions in the printable recipe card at the end of this post.
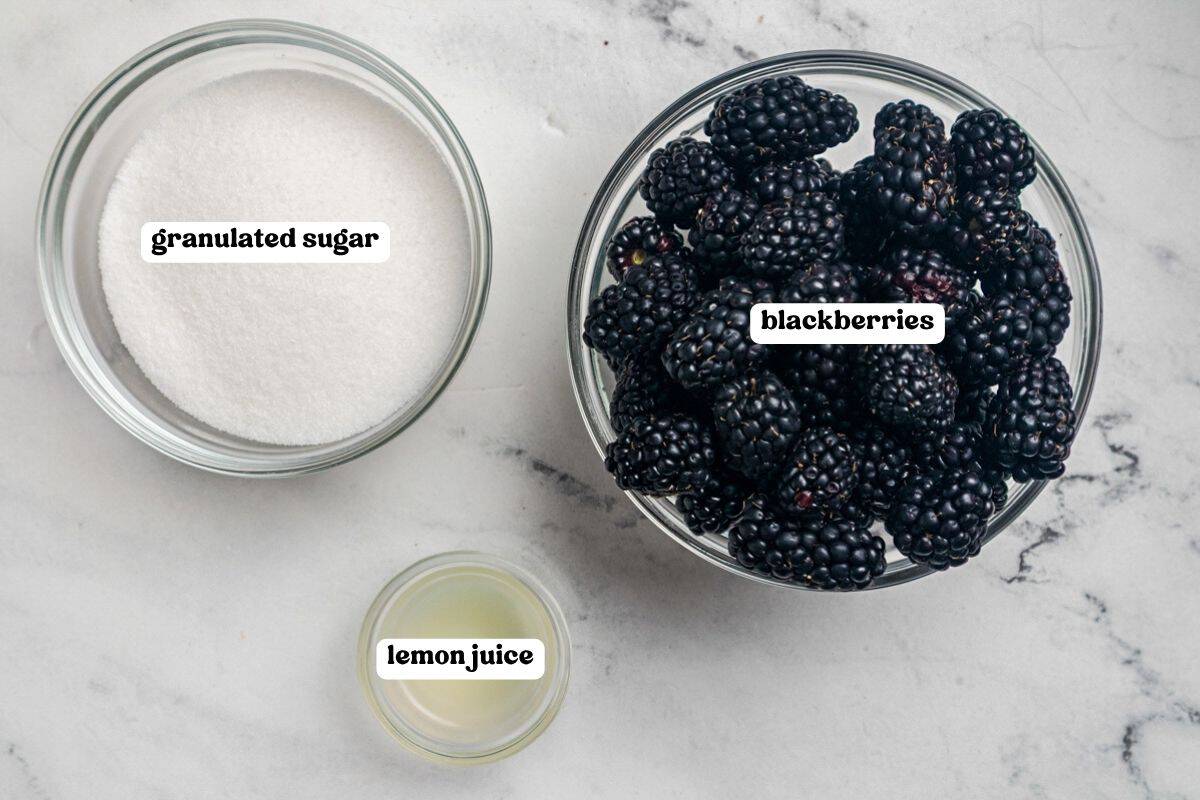
- Blackberries — 12 oz, about 2 ½ cups, with any stems removed. Fresh or frozen both work. Frozen berries don’t need to be thawed. Have extra berries on hand? My Blackberry Dump Cake uses them up too.
- Granulated sugar — sweetens the jam and helps it set.
- Fresh lemon juice — 2 tablespoons, about the juice from one lemon. Blackberries need a little extra acid to thicken well, so don’t skip it.
- Pinch of salt — optional. A small pinch sharpens the berry flavor.
How to Make Blackberry Jam Without Pectin
This section shows you how to make the recipe with step-by-step photos and instructions. For the full printable recipe, see the recipe card below.
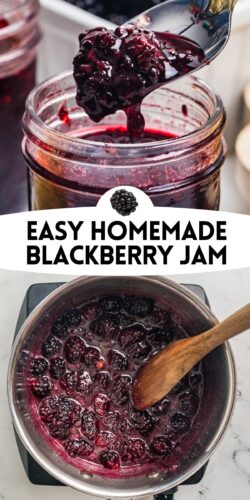
Step 1: Add the blackberries, sugar, lemon juice, and a pinch of salt to a medium saucepan. Place over medium heat.
Step 2: Stir occasionally as the berries soften. They’ll start to burst and release dark purple juice within a few minutes.
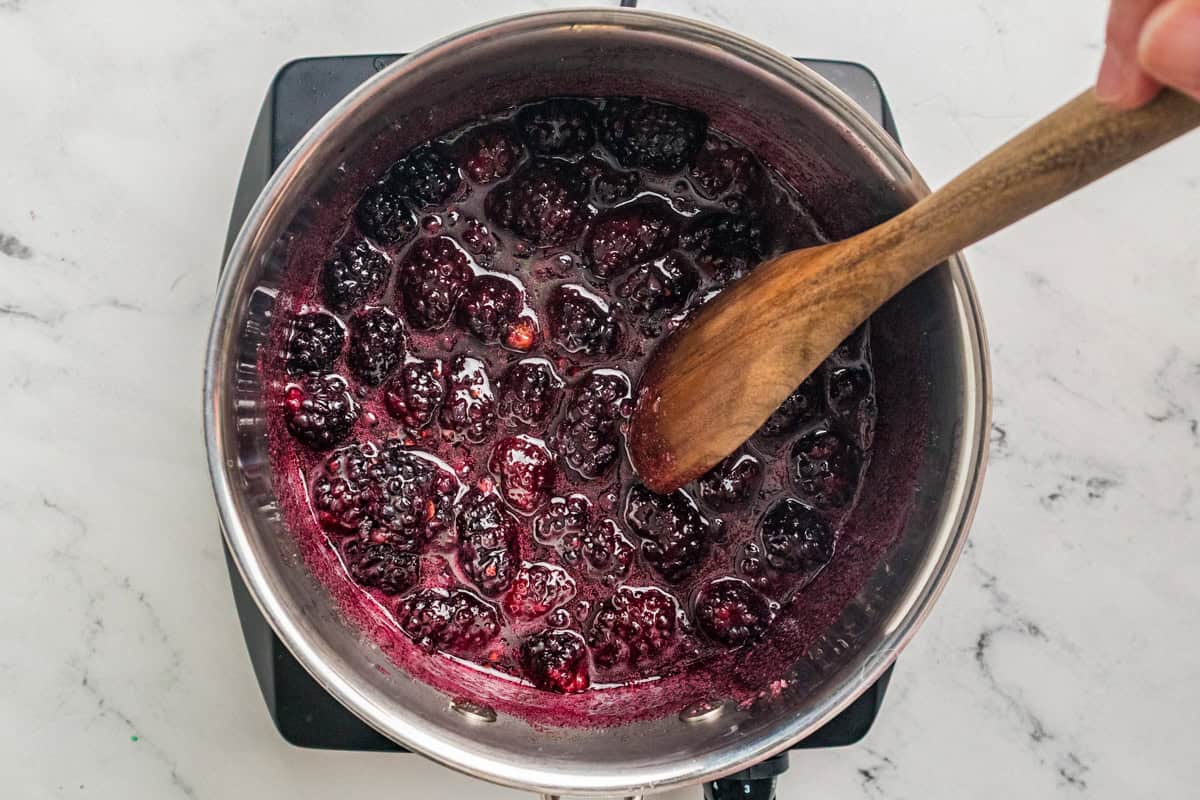
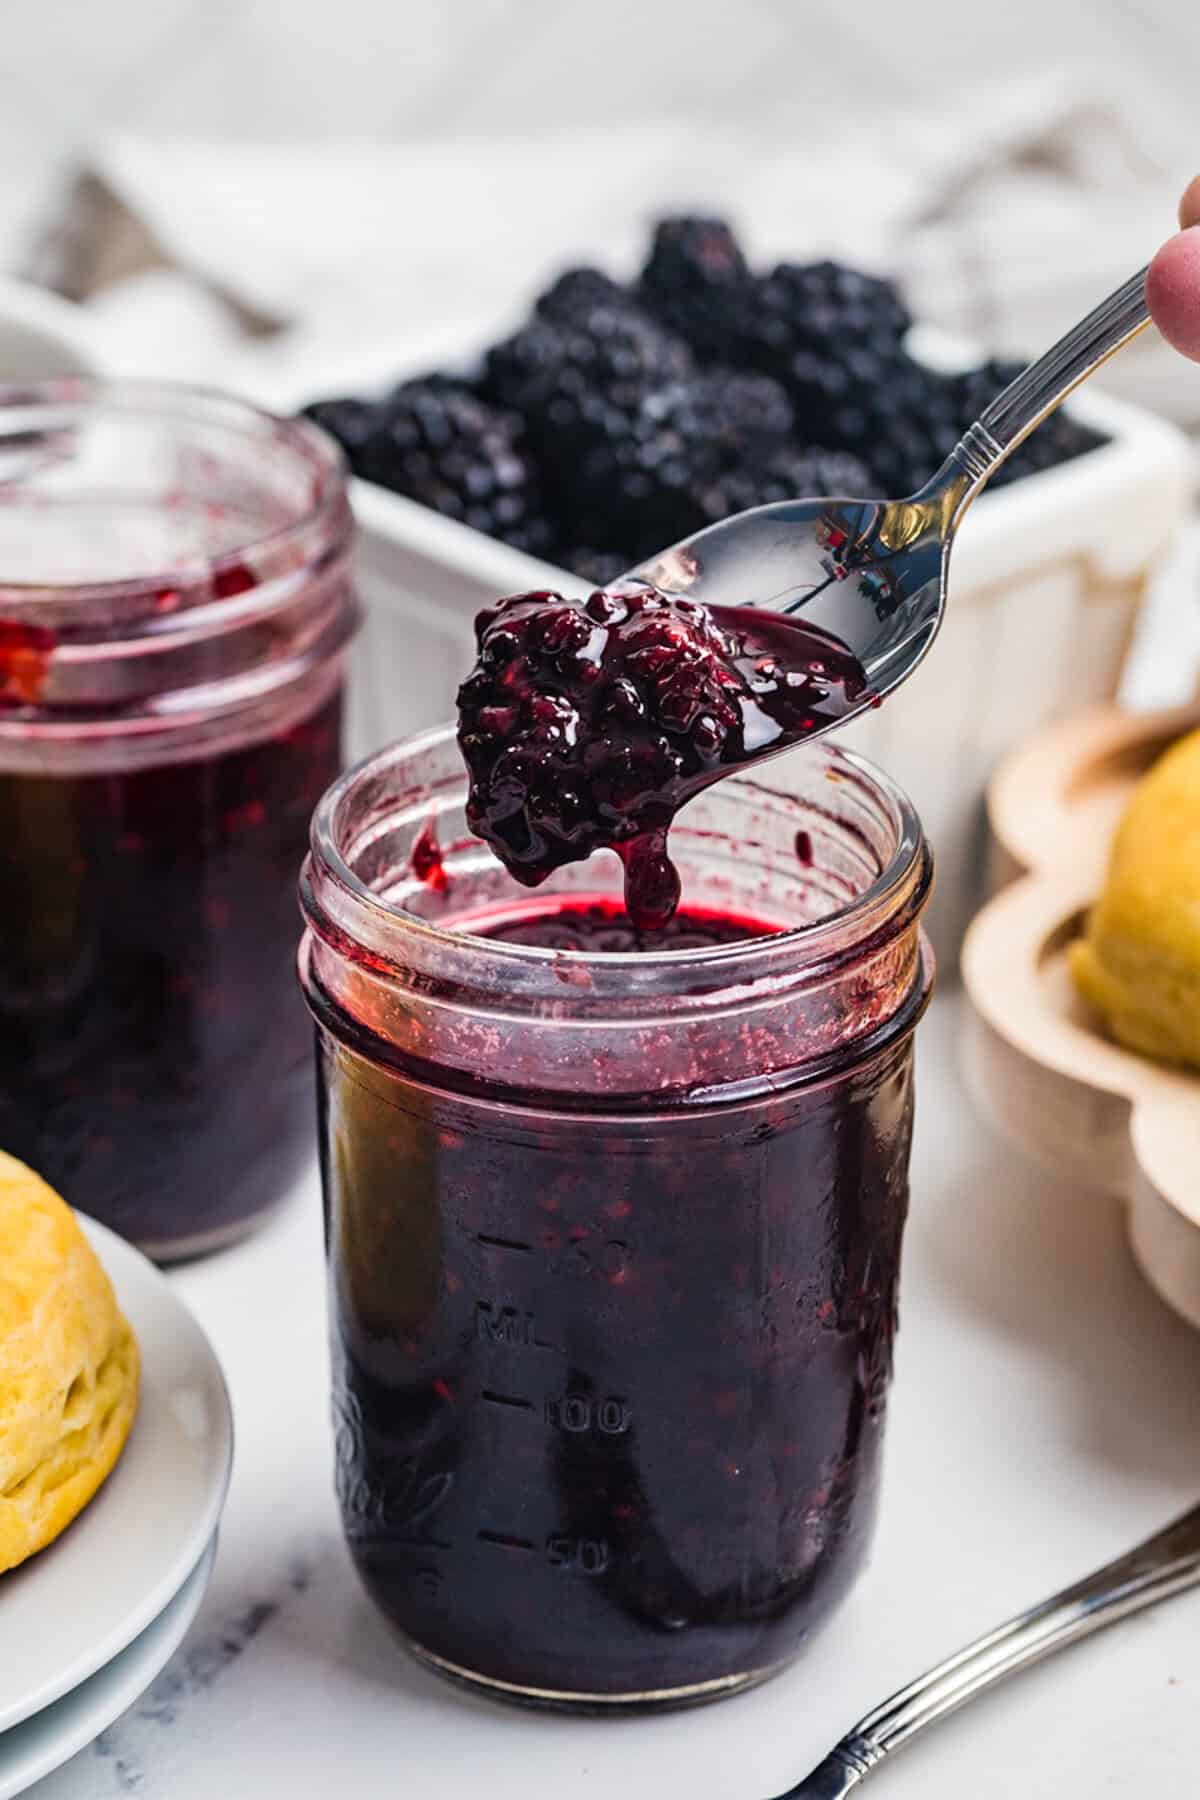
Step 3: As the jam cooks, mash the berries with the back of a spoon or a potato masher until you reach the texture you want. Leave some berries whole for a chunkier jam.
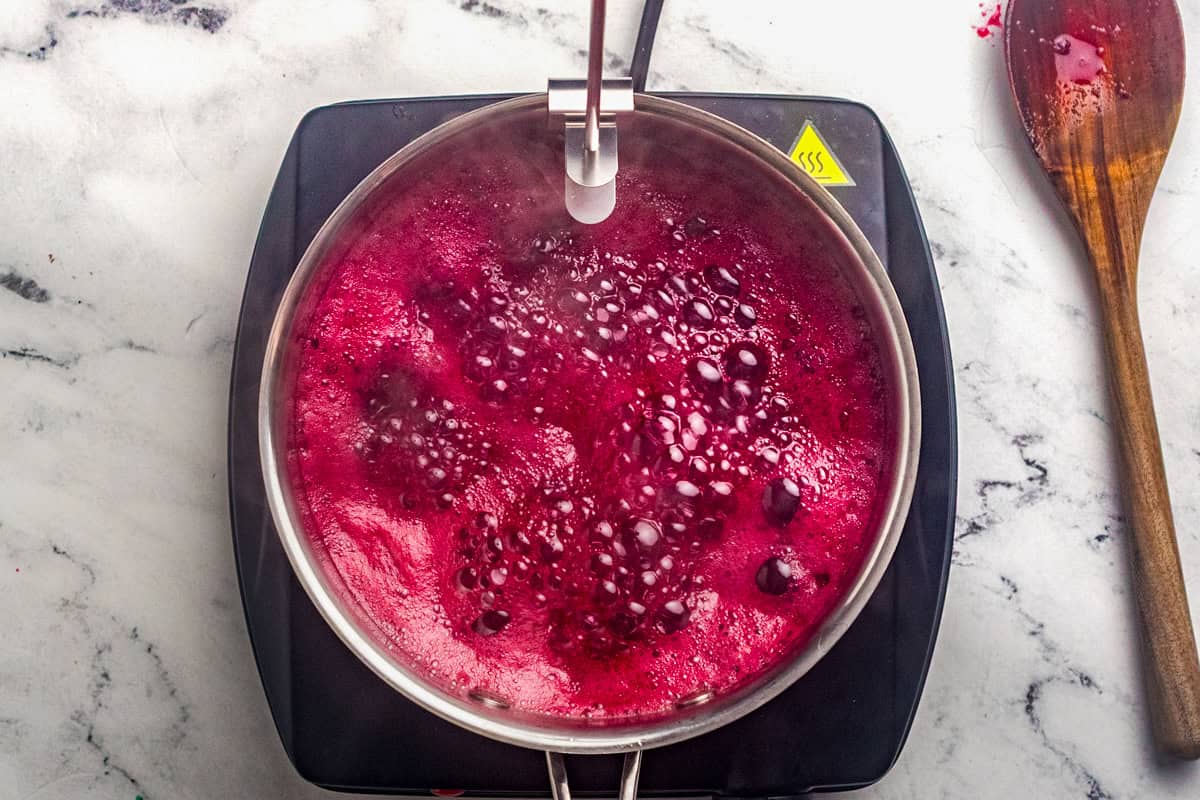
Step 4: Simmer for about 15 minutes, stirring often, until the jam thickens and reaches 210–220°F.
How to Tell When the Jam Is Done
An instant-read candy thermometer is the easiest way to nail the texture every time. Blackberry jam is set at 210-220°F. No thermometer? The chilled plate test works in a pinch. Freeze a small plate before you start. Drop a spoonful of hot jam onto the cold plate, wait 30 seconds, and push your finger through. If the trail stays open and the jam wrinkles, it’s done. Otherwise simmer a few minutes longer and test again.
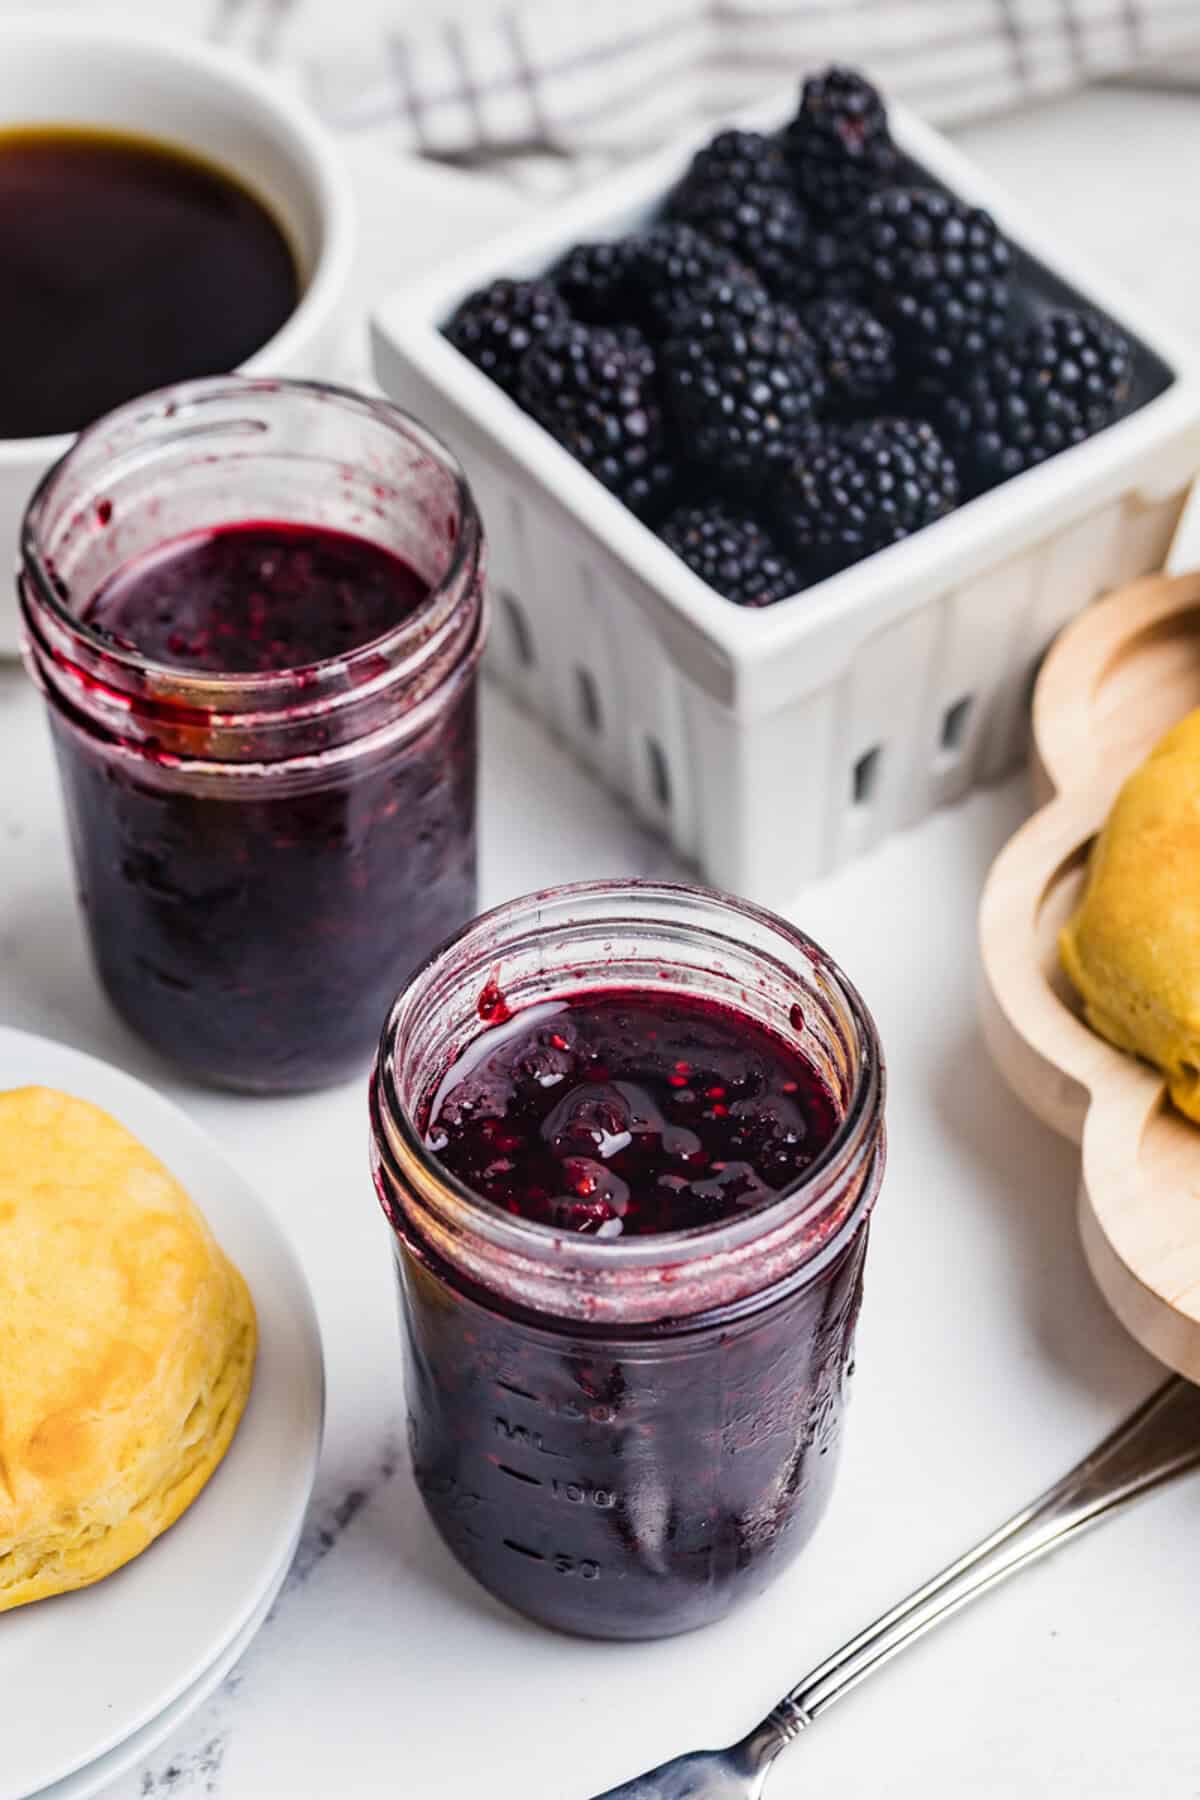
Step 5: Remove from heat and let cool in the pot for a few minutes.
Step 6: Pour into wide mouth mason jars and cool completely on the counter before refrigerating.
Should You Strain the Seeds?
Blackberry seeds are small but noticeable. Whether to strain them comes down to how you’ll use the jam.
- Leave the seeds in for everyday use on biscuits, toast, and PB&Js. The texture is rustic and the seeds aren’t a problem.
- Strain the seeds if you’re using the jam in a layer cake, filling cookies, or want a smooth, pastry-shop finish. Push the hot jam through a fine mesh strainer with the back of a spoon. You’ll lose a little volume but get a velvety smooth jam.
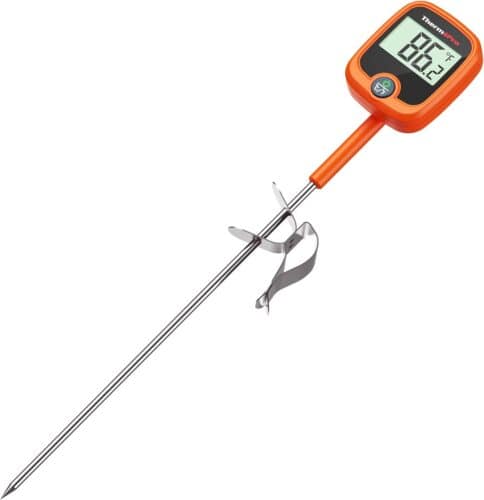
The Thermometer I Use
This digital candy thermometer takes the guesswork out of candy, jams, and no-bake cookies. Big, easy-to-read digital display, quick cleanup, and the difference between “perfect” and “do-over.”
A Quick Note on Canning
This homemade blackberry jam is not made for water-bath or pressure canning. It’s a refrigerator and freezer jam, meant for short-term storage only. If you want a shelf-stable version, please follow a tested canning recipe with proper jar sterilization and processing times.
Storage
- Refrigerator — store in an airtight jar for up to 3 weeks.
- Freezer — freeze in a freezer-safe jar or container for up to 3 months. Leave ½ inch of space at the top for expansion. Thaw overnight in the fridge.
The jam will fully set after about 24 hours in the fridge.
Tips for the Best Blackberry Jam
- Check for stems. Pick through your blackberries before cooking and pull off any small stems. They’re easy to miss but no fun to bite into.
- Use the lemon juice. Blackberries need extra acid to thicken without added pectin.
- Mash to taste. A potato masher gives you the most control over texture. Leave a few whole berries for visual appeal.
- Watch for the slow bubble. The jam is close to done when the bubbles change from fast and foamy to slow and glossy.
- Use a thermometer. Takes the guesswork out or knowing when the jam is done cooking.
- Strain while hot. If you want a seedless jam, carefully push it through a fine mesh sieve while it’s still hot and pourable.
More Easy Homemade Jam Recipes
Blackberry Jam Without Pectin
Equipment
Ingredients
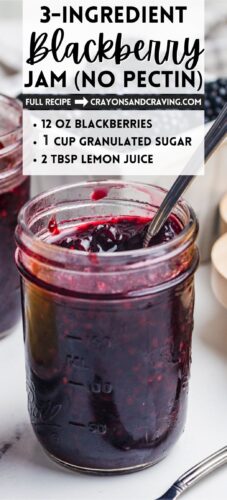
- 12 oz blackberries, about 2 ½ cups
- 1 cup granulated sugar, or more, to taste
- 2 Tablespoons lemon juice, freshly-squeezed (juice from about 1 a lemon)
- pinch salt, optional
Instructions
- In a medium saucepan, combine blackberries, sugar, lemon juice, and salt (if using).
- Cook over medium heat, stirring occasionally, until the berries soften and burst. Mash with the back of a spoon or a potato masher to your desired texture.
- Once the mixture comes to a boil, reduce heat to medium low and simmer, stirring frequently, until the jam thickens and reachers 210-220℉.
- Remove from heat and carefully pour in to clean jars, leaving ½ inch of space at the top. Allow to cool completely before placing on lids and refrigerating. The jam can be enjoyed as soon as it cools but will be fully set after about 24 hours in the fridge.
Notes
Nutrition
Did You Make This Recipe?
Share it with me on Instagram @crayonsandcravings and follow on Pinterest @crayonsandcravings for even more!