

Raspberry Jam (No Pectin)
Posts may contain affiliate links, meaning that I may earn a commission if you use a link provided.

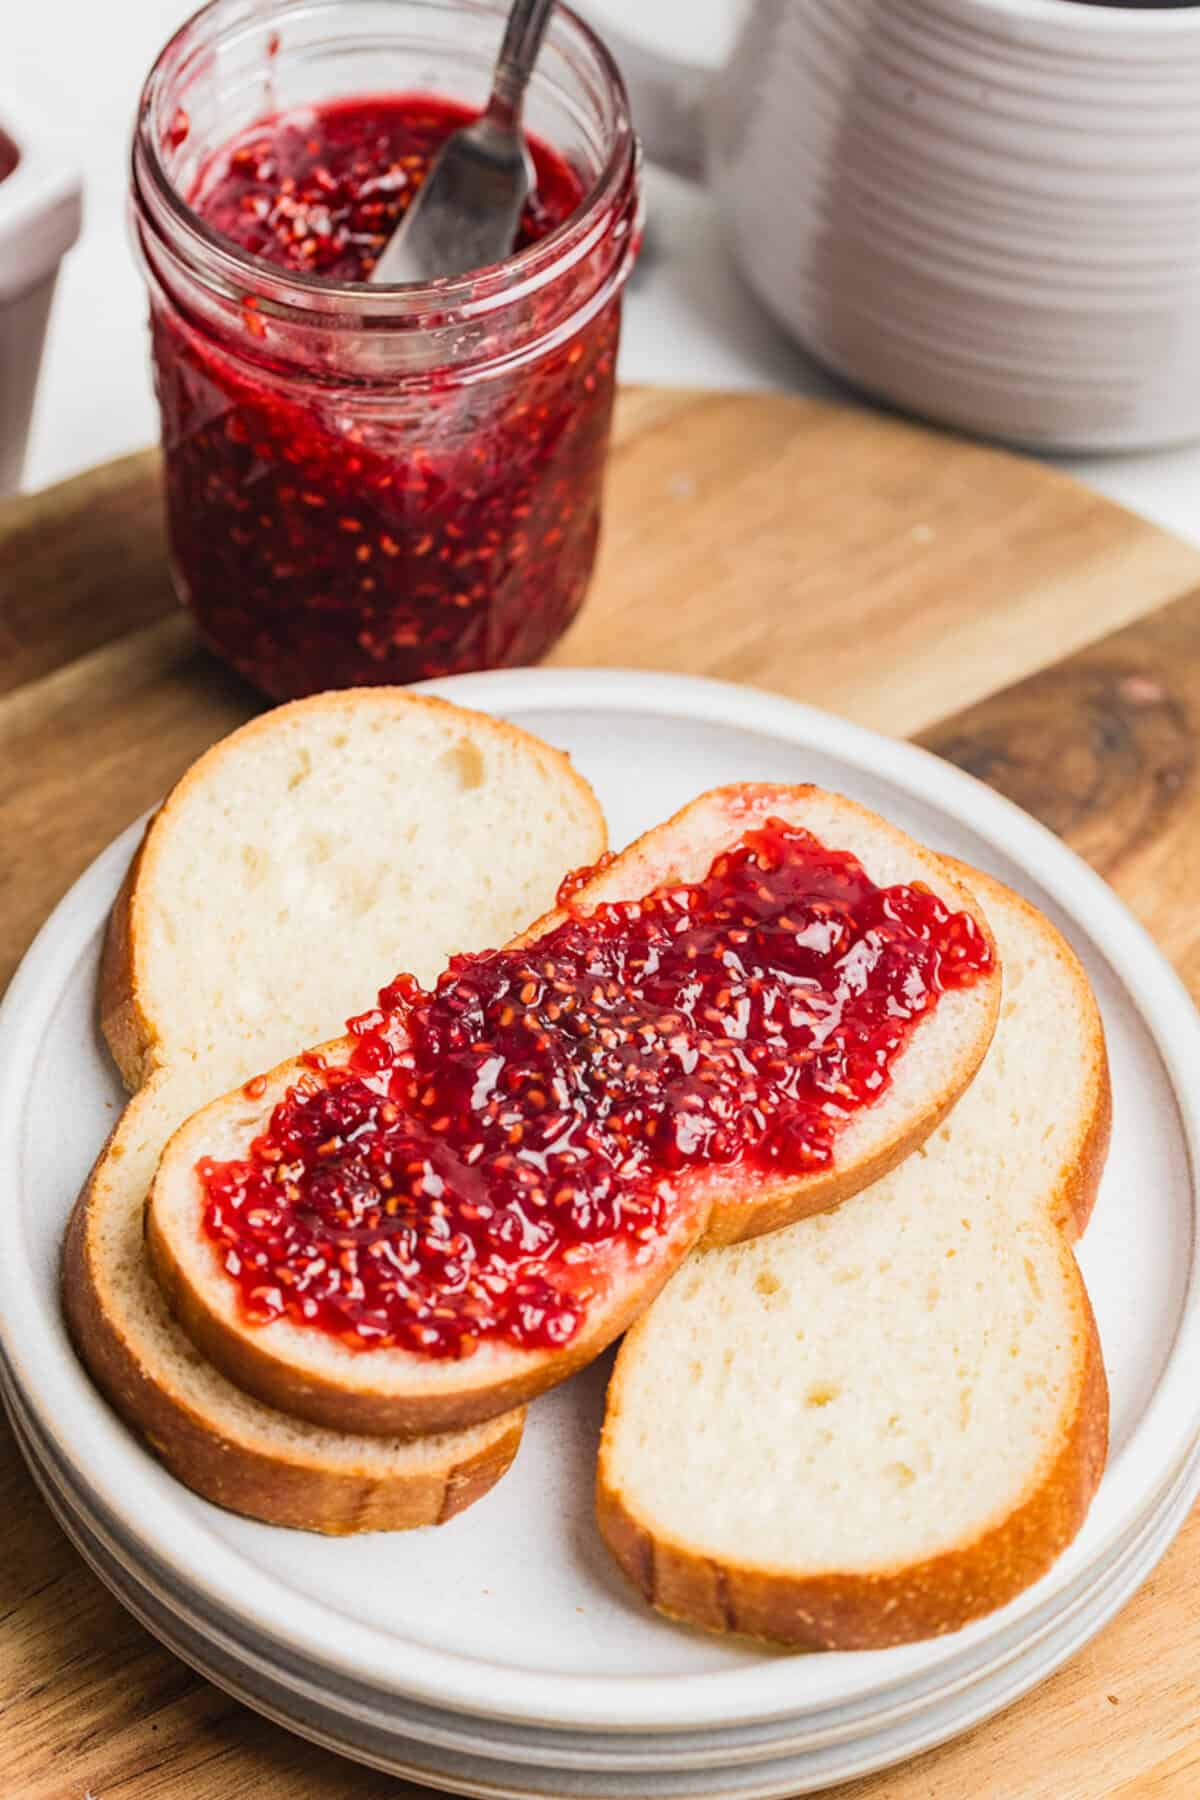
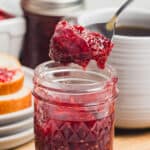
This easy raspberry jam recipe is sweet, tart, and full of fresh raspberry flavor. It’s a small batch refrigerator jam made with just three simple ingredients. No pectin or canning equipment needed.
Raspberry jam is the one I reach for most when I’m baking. It’s perfect for filling thumbprint cookies, swirling into cheesecake bars, or sandwiching between layers of cake. If you love berry jams, give my strawberry jam and blueberry jam recipes a try as well.
Raspberries cook down fast, so you’ll have jars of jam ready in under half an hour. Bright red, soft set, and made with simple ingredients.
Why You’ll Love This Raspberry Jam
- 3 simple ingredients — raspberries, sugar, and lemon juice.
- Bakery-style flavor — perfect for thumbprint cookies and cake fillings.
- Fresh or frozen berries work — frozen raspberries make this a year-round recipe.
- Quick small batch — about 25 minutes total, no canning equipment needed.
Ingredients
This section includes ingredient notes and substitution options. Get all measurements, ingredients, and instructions in the printable recipe card at the end of this post.
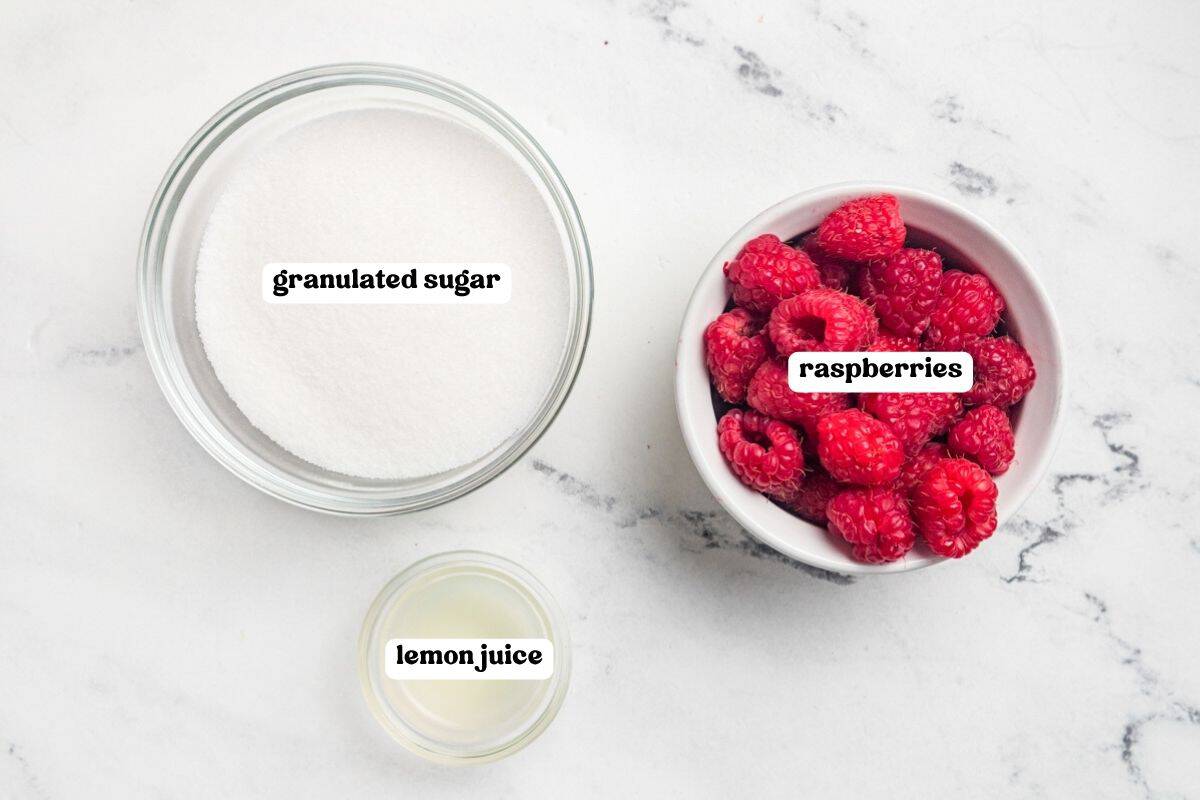
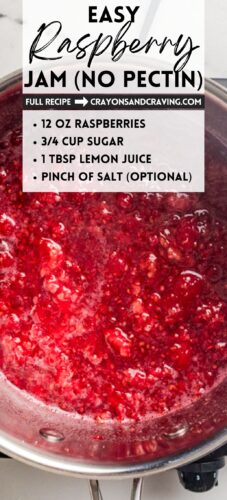
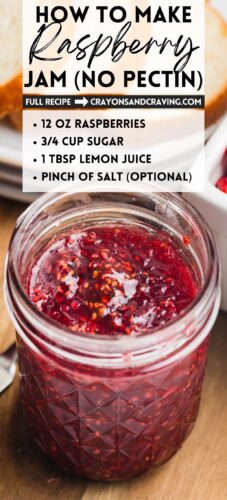
- Raspberries — 12 ounces, about 2 ½ to 3 cups. I always prefer a fresh raspberry jam but frozen berries are an option as well.
- Granulated sugar — sweetens the jam and helps it set.
- Lemon juice — fresh is preferred, but bottled lemon juice will work. The lemon juice has natural pectin that helps the jam set. And the acid balances the natural sweetness of the raspberries.
- Pinch of salt — optional. A small pinch enhances the flavor of the raspberries.
How to Make Raspberry Jam
This section shows you how to make the recipe with step-by-step photos and instructions. For the full printable recipe, see the recipe card below.
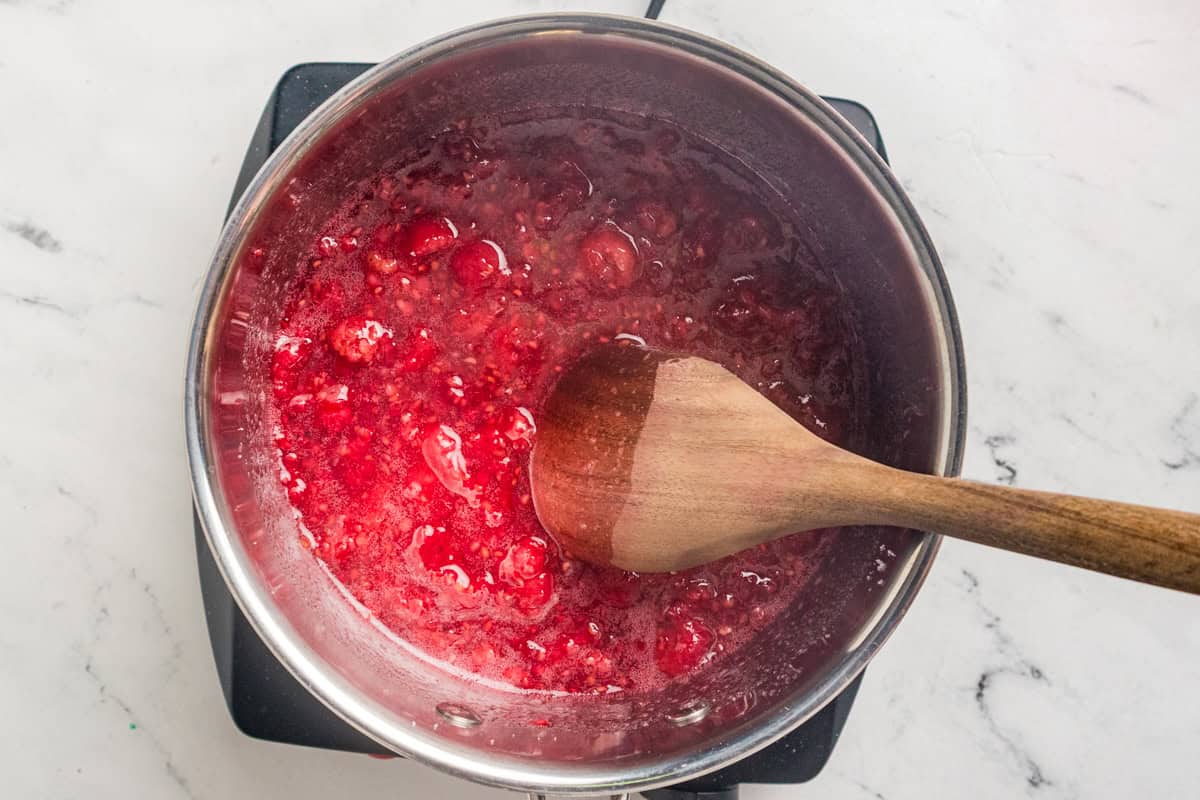
Step 1: Add the raspberries, sugar, lemon juice, and a pinch of salt to a medium saucepan. Place over medium heat.
Step 2: Stir gently as the raspberries break down. They’ll lose their shape in just a couple of minutes. Mash the berries a bit with the back of a spoon to your desired texture.
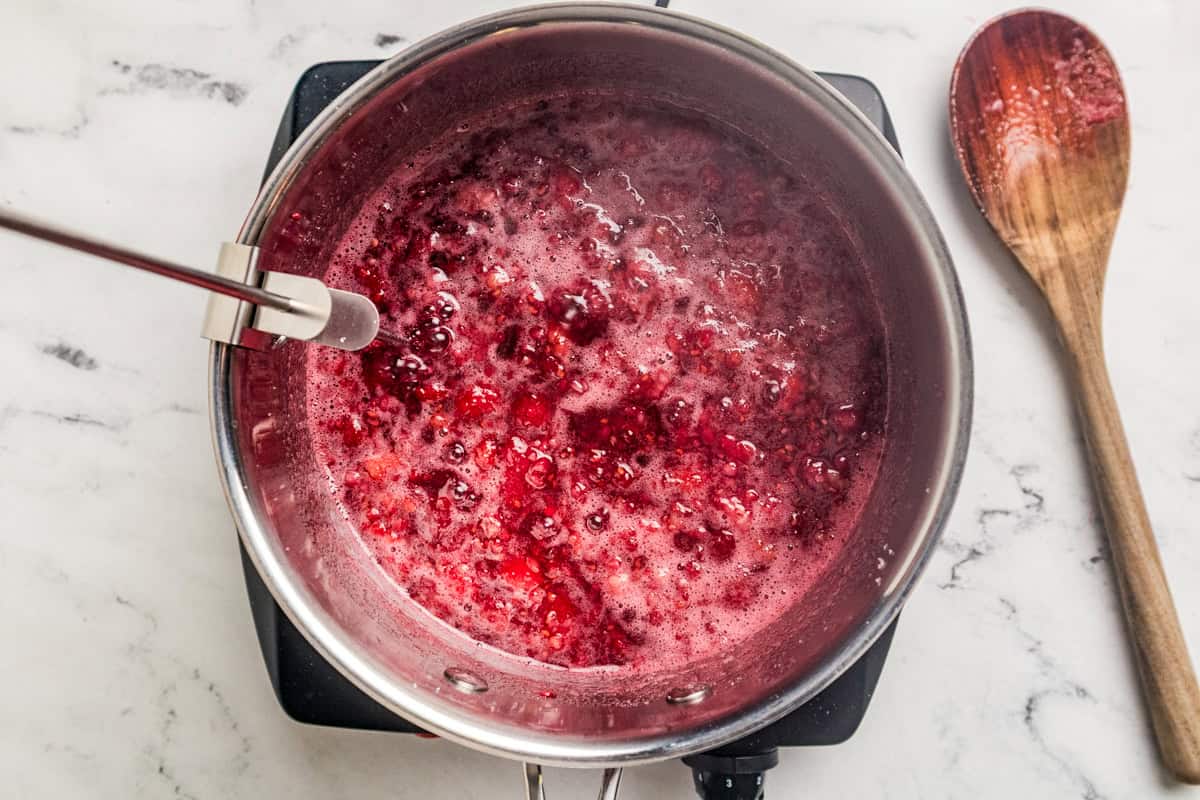
Step 3: Simmer for 11 to 15 minutes, stirring often, until the jam thickens and the bubbles look slow and glossy.
Step 4: Remove from heat and let cool for about 5 minutes.
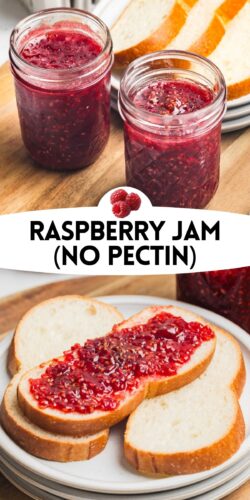
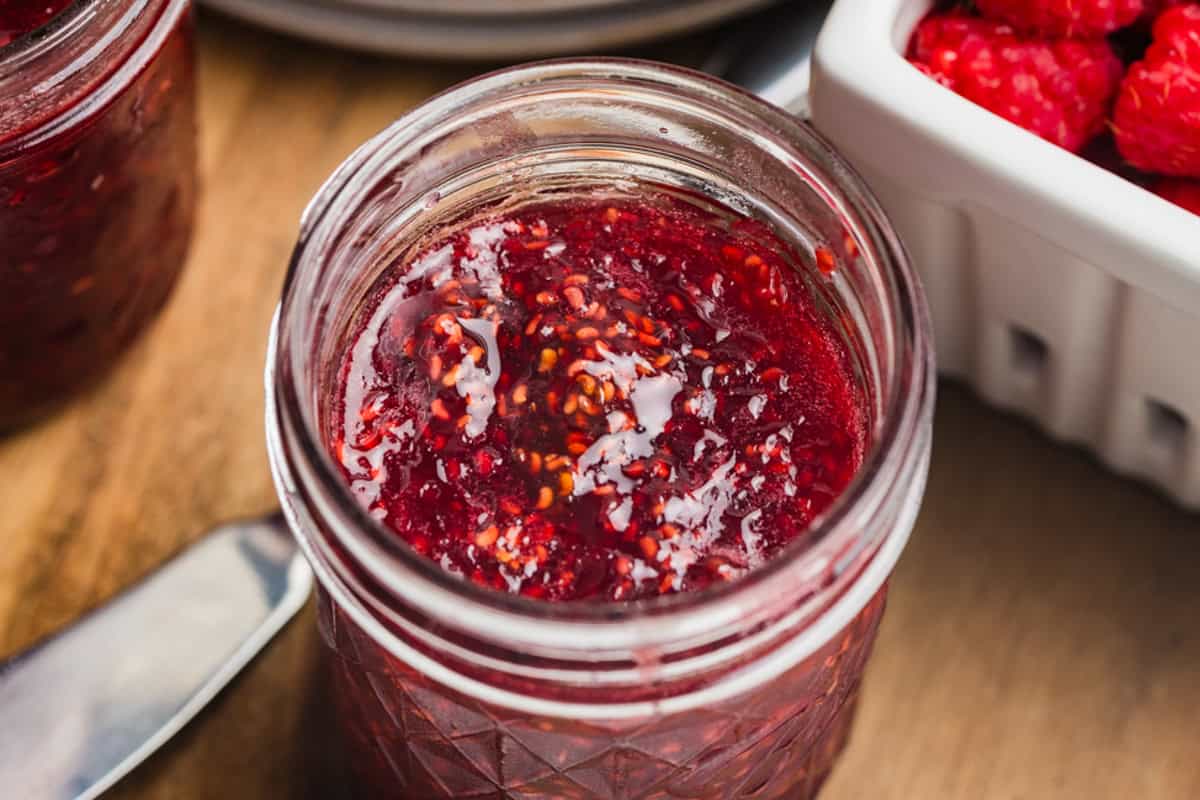
Step 5: Transfer the jam into glass jars and allow to cool at room temperature on the counter before covering and placing in the refrigerator.
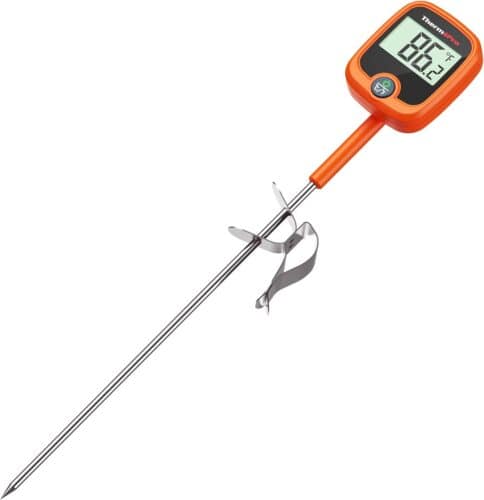
The Thermometer I Use
This digital candy thermometer takes the guesswork out of candy, jams, and no-bake cookies. Big, easy-to-read digital display, quick cleanup, and the difference between “perfect” and “do-over.”
Chilled Plate Test
If a thermometer isn’t an option, the chilled plate test can work in a pinch. Pop a small plate in the freezer at the start. When you think the jam is ready, drop a spoonful on the cold plate, wait 30 seconds, then push your finger through it. The jam should hold its shape and wrinkle slightly. If it spreads back out, keep cooking and test again.
Seedy or Seedless?
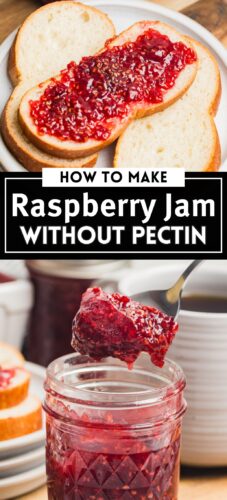
Raspberry seeds are tiny, but you’ll notice them. For most uses, I leave them in. For thumbprint cookies, cake fillings, or anything where smooth texture matters, push the hot jam through a fine mesh sieve before jarring. You’ll lose a little volume, but the result is the kind of glossy raspberry jam you’d find in a bakery filling.
Ways to Use Raspberry Jam
- Fill thumbprint cookies with a small spoonful in each center.
- Stir into the icing for a lemon raspberry cake.
- Use as a filling for tarts or between cake rounds.
- Drop into homemade raspberry bars.
- Swirl into Greek yogurt, oatmeal, or vanilla ice cream.
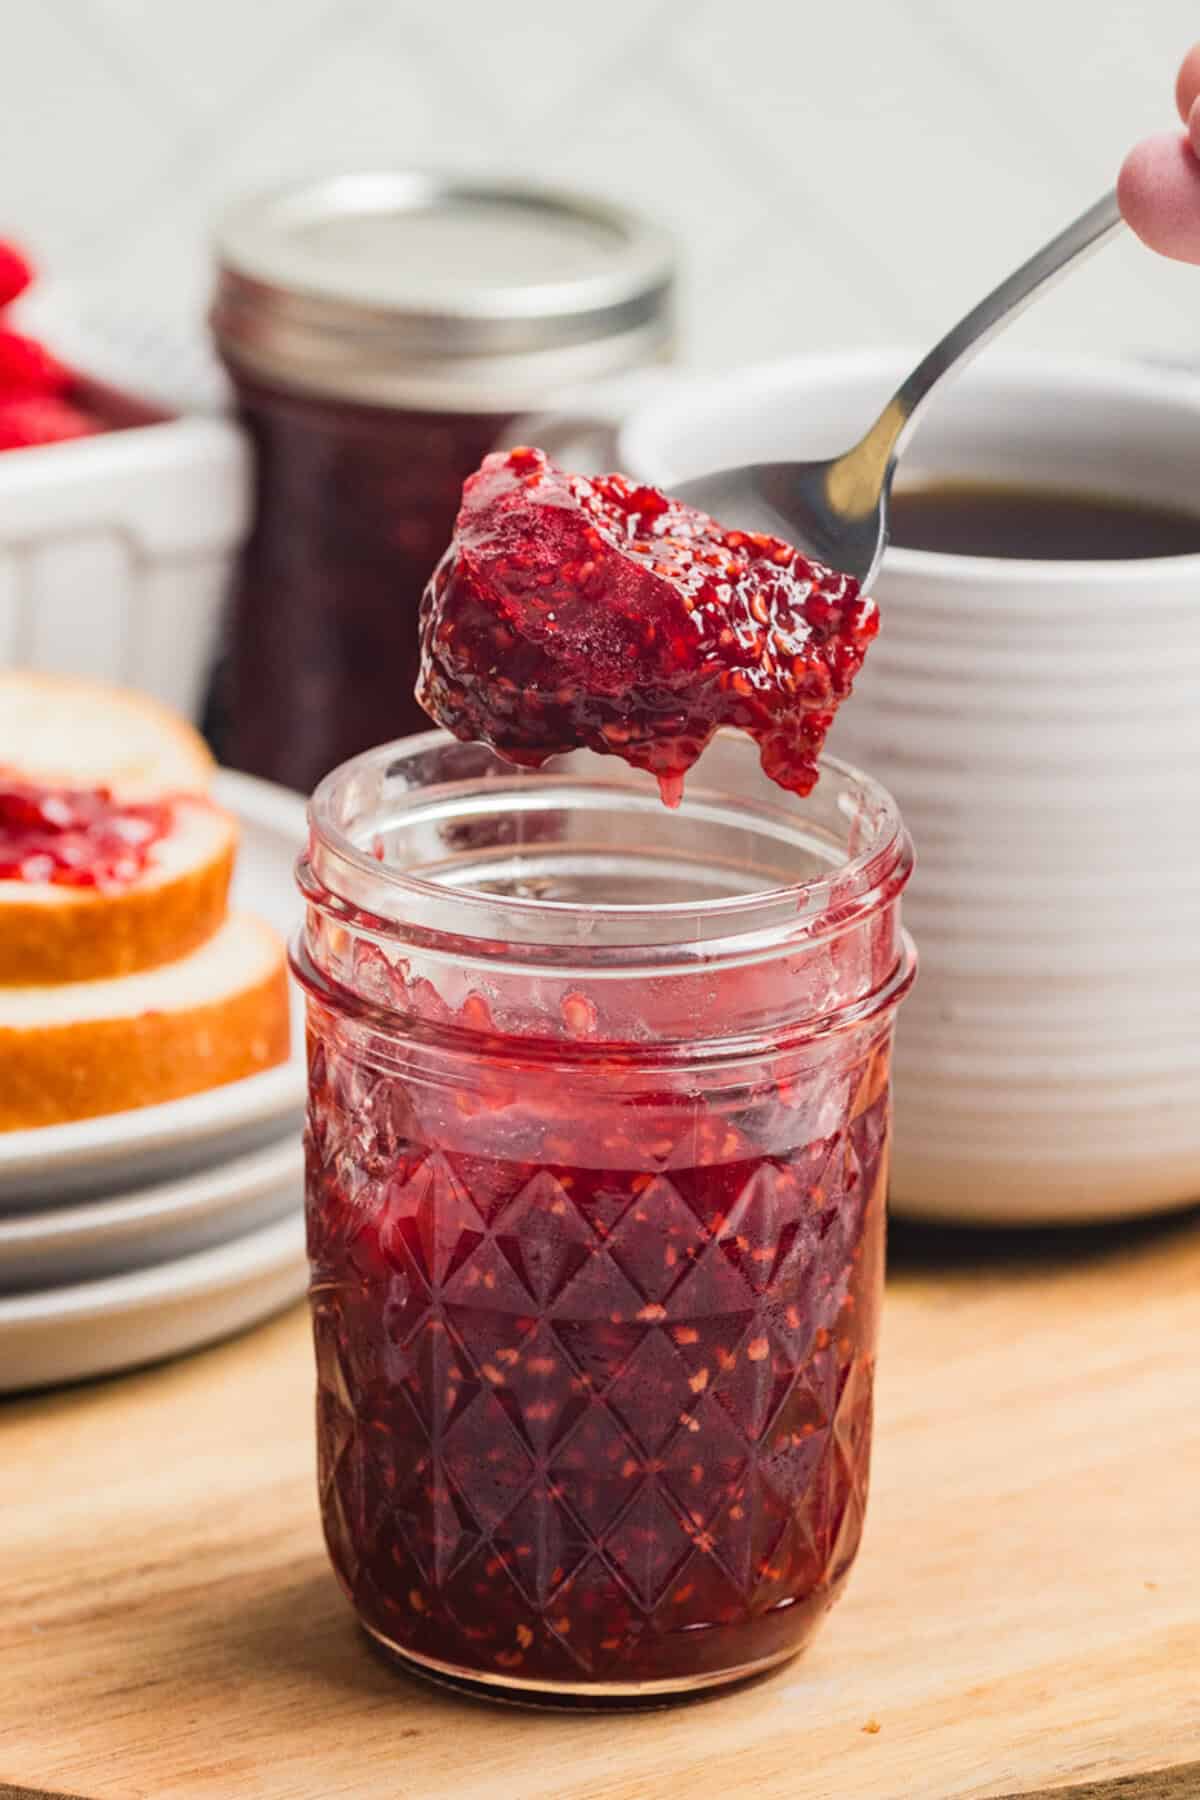
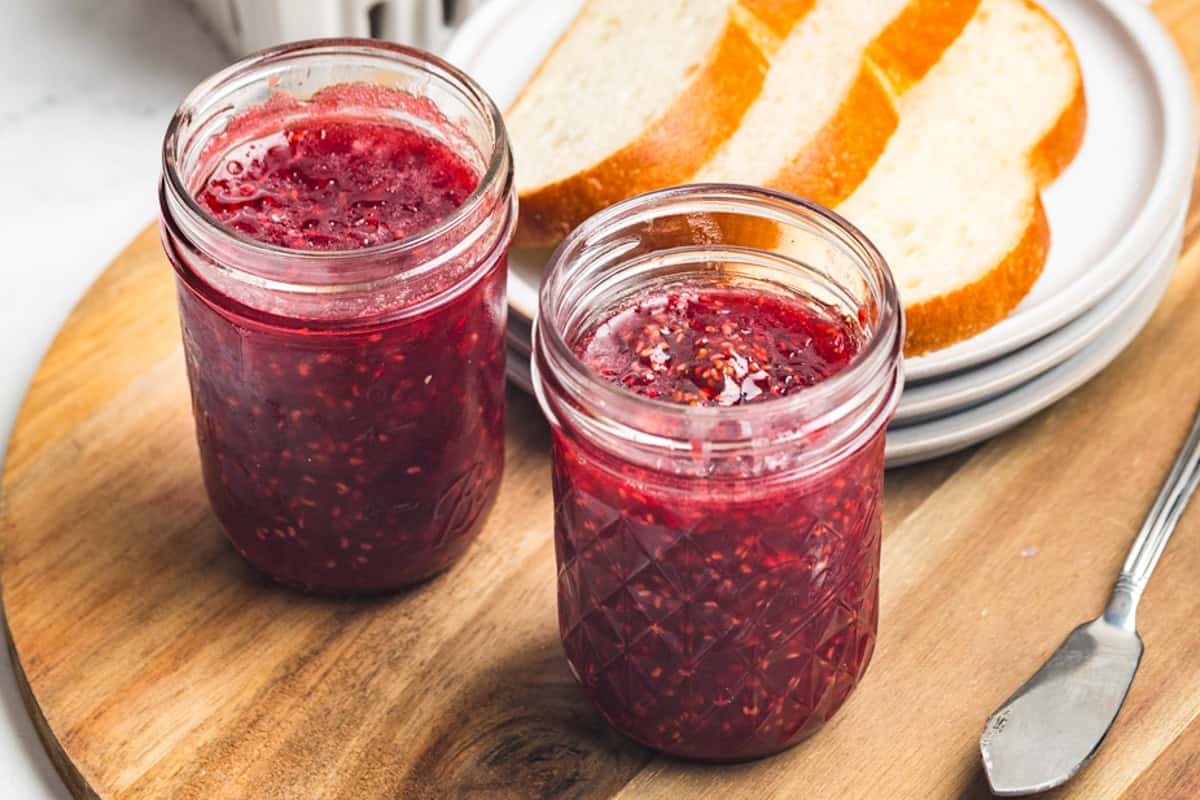
- Spread on toast, biscuits, or buttered croissants.
Storage
- Refrigerator — store in an airtight jar for up to 3 weeks.
- Freezer — freeze in a freezer-safe jar or container for up to 3 months. Leave ½ inch of space at the top for expansion. Thaw overnight in the fridge.
The jam fully sets after about 24 hours in the fridge.
Note: This raspberry jam is not made for water-bath or pressure canning. For a shelf-stable version, follow a tested canning recipe with proper jar sterilization and processing times.
Tips for the Best Raspberry Jam
- Stir gently. Raspberries break down fast. Stirring too aggressively turns the whole batch into a fully smooth sauce.
- Watch the time. Raspberry jam cooks faster than firmer berry jams. Start checking the texture at 10 minutes.
- Strain if you’re baking with it. A fine mesh sieve removes the seeds for cookies and cakes.
- Use fresh raspberries. Fresh tastes best!
Additions and Variations
- Vanilla raspberry jam — stir in ½ teaspoon of vanilla extract after cooking for a soft, bakery-style flavor.
- Lemon zest — add 1 teaspoon with the sugar for a brighter, more citrus-forward jam.
- Berry blend — swap half the raspberries for fresh blackberries or strawberries.
More Easy Homemade Jam Recipes
Find all of my small-batch jam recipes in one place.

Easy Raspberry Jam (No Pectin)
Equipment
- 8-ounce jelly jars wide mouth, wide lids
Ingredients
- 12 oz raspberries, about 2 ½ to 3 cups, fresh or frozen
- ¾ cup granulated sugar, or more to taste
- 1 Tbsp lemon juice
- pinch salt, optional
Instructions
- Add the raspberries, sugar, lemon juice, and salt to a medium saucepan over medium heat.
- Stir gently as the raspberries break down and release their juices. Mash with the back of a spoon or potato masher to your desired texture.
- Once the raspberry mixture comes to a gentle boil, reduce the heat to medium-low and simmer, stirring often, until the jam has thicken and reachers 210 – 220°F. This should take about 11-15 minutes.
- Pull the pan from heat and allow hot jam to cool in the pot for 5 minutes.
- Transfer jam into glass jars, stopping about ½ inch below the rim. Let the jars cool on the counter before sealing and refrigerating. The jam will continue to thicken in the fridge and will be fully set after about 24 hours.
Notes
Nutrition
Did You Make This Recipe?
Share it with me on Instagram @crayonsandcravings and follow on Pinterest @crayonsandcravings for even more!


sounds 😋