

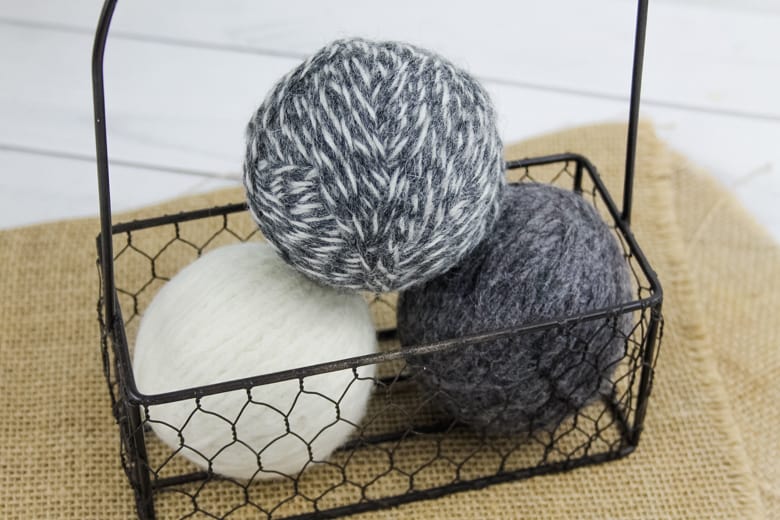
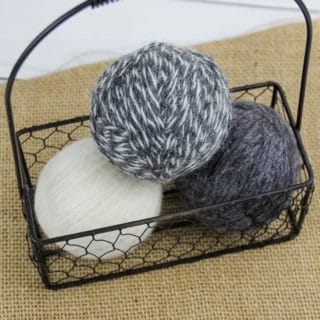
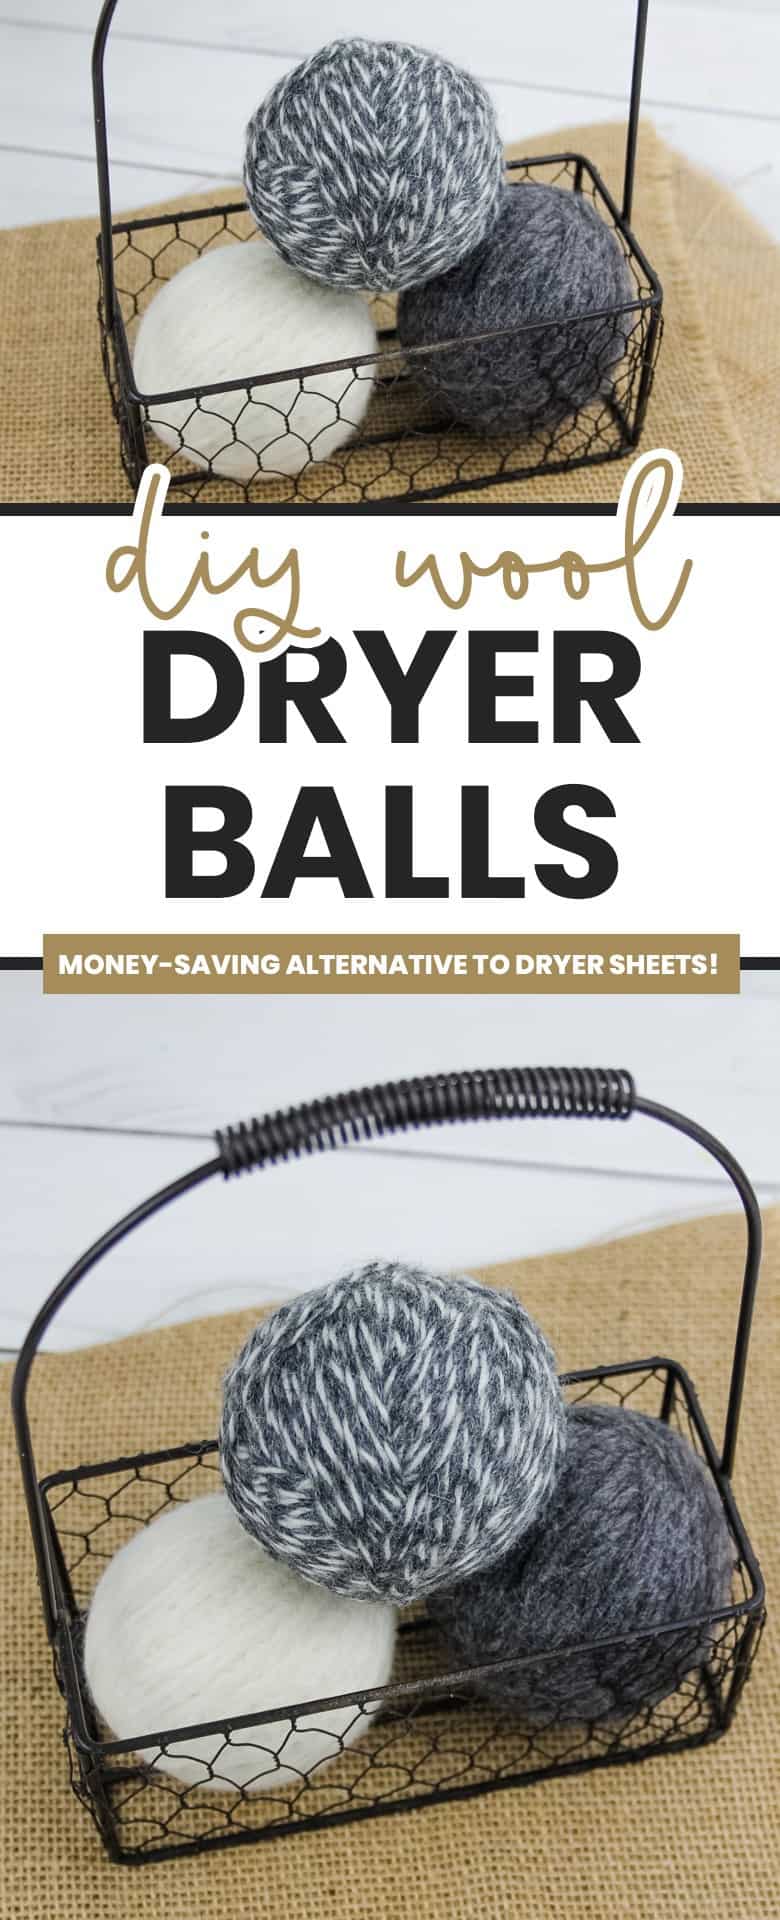
DIY Wool Dryer Balls
Posts may contain affiliate links, meaning that I may earn a commission if you use a link provided.
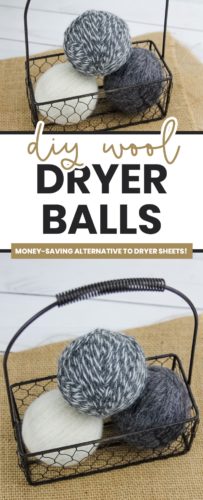
These DIY dryer balls are the perfect natural alternative to dryer sheets and fabric softener. Easy to make and so simple to use. You’ll wonder why you didn’t try these out sooner!

If you’ve seen any of my other posts, you might start to think I’m obsessed with laundry. Truth is – I just really like DIY projects and having a set routine.
These wool dryer balls achieve both of those things as they are an amazing alternative to fabric softener or dryer sheets. They save soooooo much money across the lifetime of a few of these!
Once you start using these, you will wonder how you went so long without them!
DIY Dryer Balls
I think the best thing about these though, is how easy they are to not only make but use as well.
If you’ve put off making these simply because learning how to make wool dryer balls sounds complicated, rest assured they’re not.
Roll them in balls, throw them in the washer and dryer, and you’re done! Okay, there’s more to it than that, but you get the idea.
Of course, you could opt to order a set of 100% Wool Dryer Balls on Amazon if you aren’t feeling like DIYing them.

What are dryer balls?
If you’ve never heard of dryer balls before, they’re balls of wool that are said to be a good alternative to dryer sheets, reducing static and if essential oils are added, make your laundry smell great!
Some other benefits of wool dryer balls include:
- Decreases drying time, saving you money on laundry
- Free of chemicals that commercial products commonly include
- Very cost-effective as they will typically last many years
- Don’t affect the absorbency of linens, unlike commercial softeners
- Increases fluffiness and decreases static while drying
- A GREAT natural alternative to fabric softeners and dryer sheets!
>> Be sure to check out our DIY fabric softener for another great laundry alternative!
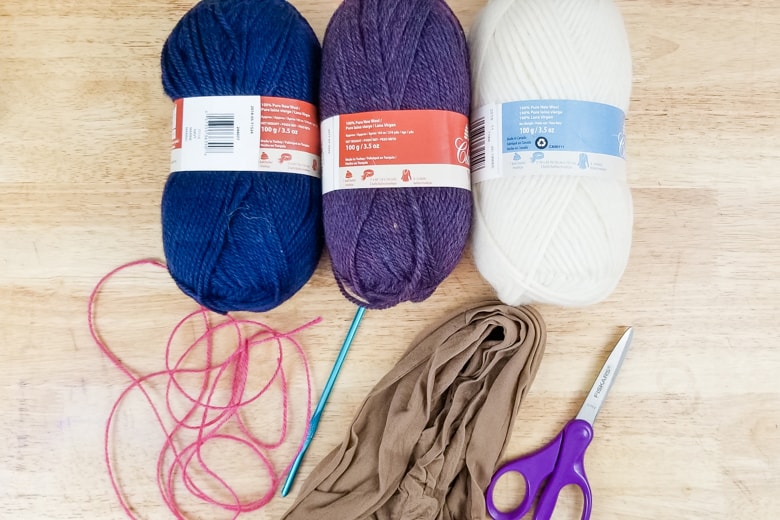
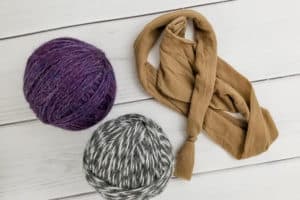
DIY dryer balls supplies
- wool
- crochet hook
- scissors
- pantyhose
How to make wool dryer balls
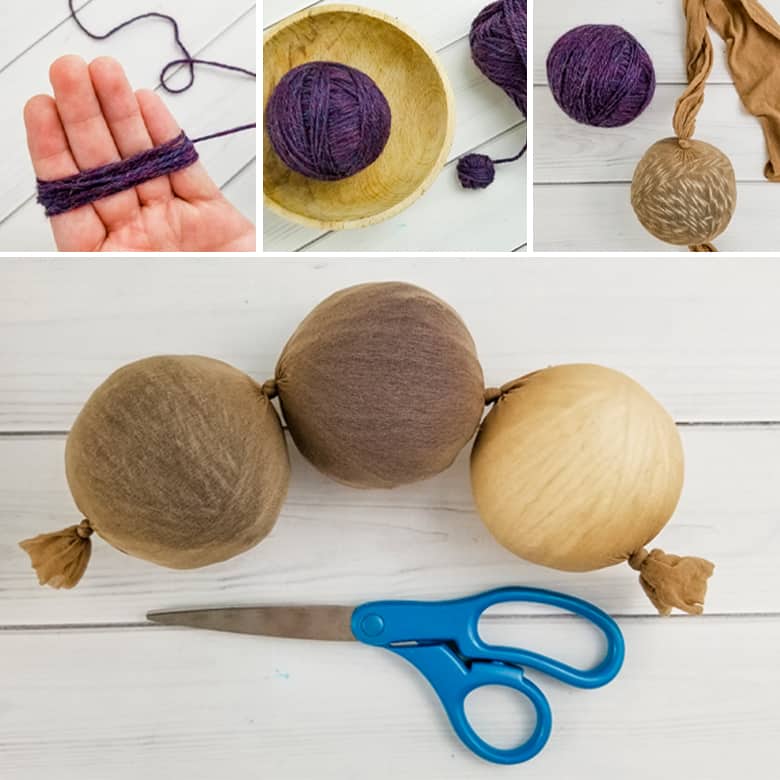
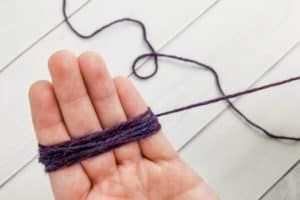
START YOUR BALL: Find the beginning piece of yarn and wrap it around your four fingers horizontally 10-15 times. Slip the yarn from your fingers and pinch it closed. Wrap the yarn around the center 10 times. You’ve now created the base of your dryer ball!
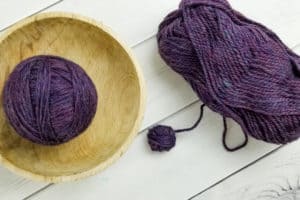
CONTINUE WRAPPING: Continue to wrap the yarn around the base of your ball, alternating directions, until it is the size of a baseball. Keep wrapping until you are satisfied with the overall size of your wool dryer ball.
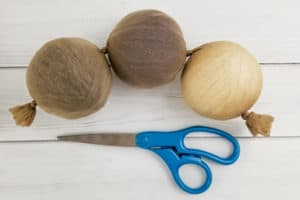
CUT YOUR YARN: Once you’ve achieved the size you’re wanting, cut the yarn and push the end of the yarn into one end of the ball with your crochet needle.
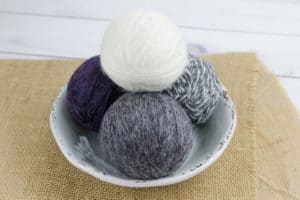
REPEAT: Repeat this process for 3-4 additional wool dryer balls, or as many as you’d like to make.
PREPARE TO WASH: Cut the leg off your pantyhose and tie a knot in the foot. Push one of your yarn balls into the hose and tie a knot. Repeat for the remaining wool dryer balls and tie a knot into the open end. You should be able to fit 4-5 DIY dryer balls into one leg.
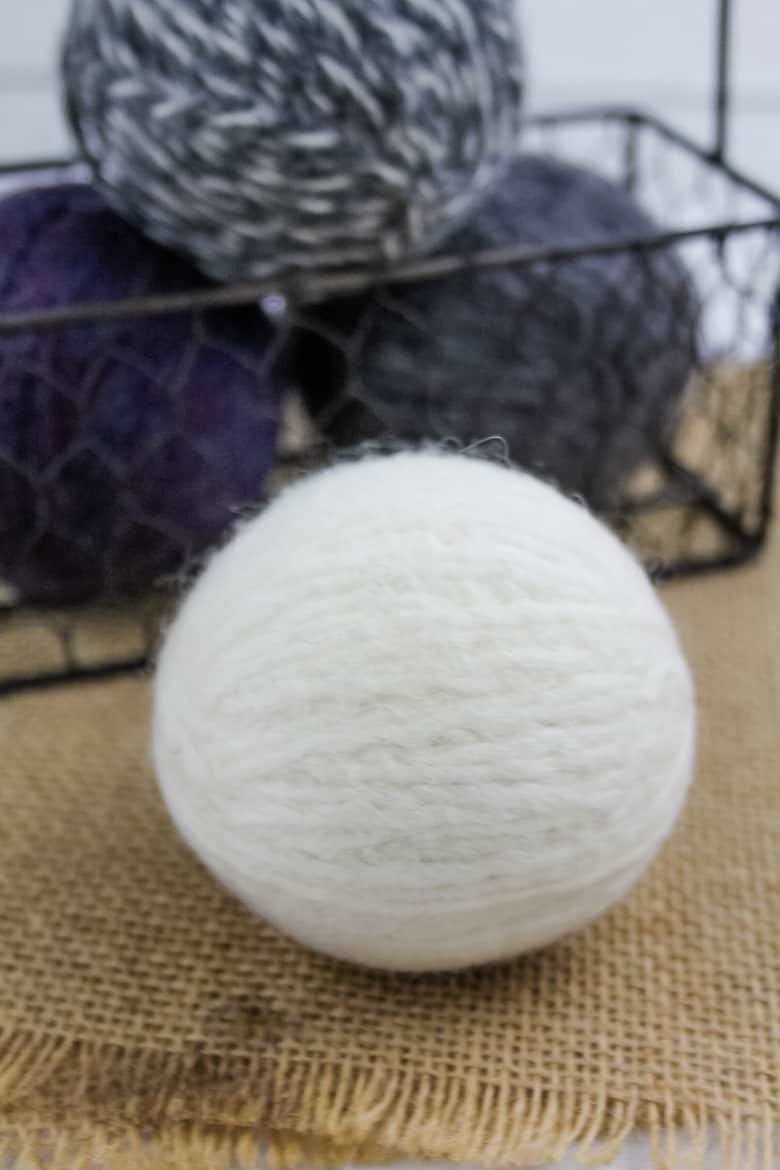
WASH AND DRY: Add your pantyhose with dryer balls into the washing machine and run on hot. Once the cycle ends, transfer to the dryer on high heat. This process will fuse the yarn together. Repeat as needed until your dryer balls are well felted.
How do dryer balls work?
As these DIY dryer balls bounce around, they will separate your clothes, thus allowing more hot air to circulate. As they tumble around your dryer, they will fluff your laundry, reduce static, and reduce wrinkles. They also will pull moisture out of your clothes, so the more dryer balls are in a load, the shorter the drying time will be.
Are wool dryer balls safe?
In my personal opinion, yes. I have been using them daily in my dryer for over 5 years without any issues. Also, I couldn’t find any evidence to support dryer balls damaging machines.
What type of wool is best for DIY dryer balls?
For best results, find 100% wool material, avoiding anything including added materials. Be sure to avoid anything labeled with superwash or machine washable as this will not felt well.
I’ve heard thick, lightly spun, roving wool works great as well, although I have yet to try it myself.
How many dryer balls should you use?
The more the better! For a small load, I recommend 4-6 wool dryer balls to be used. For bigger loads, use at least 6.
The more you use, the shorter the drying time!
You can store your wool dryer balls in the cabinet above your machines and throw them in as needed.
When should you replace your dryer balls?
Generally, you want to replace them once they start unraveling. Assuming they’re wrapped nice and tight, you shouldn’t have to worry about this for several years!
DIY Dryer Balls
Equipment
- Scissors
Supplies
Instructions
- Find the beginning piece of yarn and wrap it around your four fingers horizontally 10-15 times.

- Slip the yarn from your fingers and pinch it closed. Wrap the yarn around the center 10 times.
- Keep wrapping the yarn around the small ball, alternating directions, until it is the size of a baseball. Continue wrapping until you are satisfied with the overall size of your wool dryer ball.
- Cut the yarn and push the end of the yarn into one end of the ball with your crochet hook. Repeat this process for as many as you’d like to make.
- Cut the leg off your pantyhose and tie a knot at the foot. Push a dryer ball into the pantyhose and tie a knot. Repeat for remaining dryer balls and tie a knot at the open end. 4-5 dryer balls should fit per leg.
- Add to the washing machine and wash on hot. Transfer to the dryer on high heat. This process will fuse the yarn together, you may need to add a few towels to cut down on the noise of the balls bouncing around. If the balls come out of the dryer and still need more felting, repeat the process. It might take 3 or 4 cycles in the washer and dryer to be completely felted.

Notes
Did You Make This Craft?
Share it with me on Instagram @crayonsandcravings and follow on Pinterest @crayonsandcravings for even more!
Pin it for later


Are these heavy enough to fluff a down coat or comforter? I get that they can be used for clothing like a dryer sheet but like a tennis ball your version does not seem to have the weight to really tumble a larger item.
Do you think I could put a rock on the inside at the beginning to get the weight?
They aren’t really heavy enough to do a great job with something that bulky. Adding a rock or weight in the beginning is a good idea that I hadn’t thought of!