

No-Bake Peanut Butter Pie
Posts may contain affiliate links, meaning that I may earn a commission if you use a link provided.

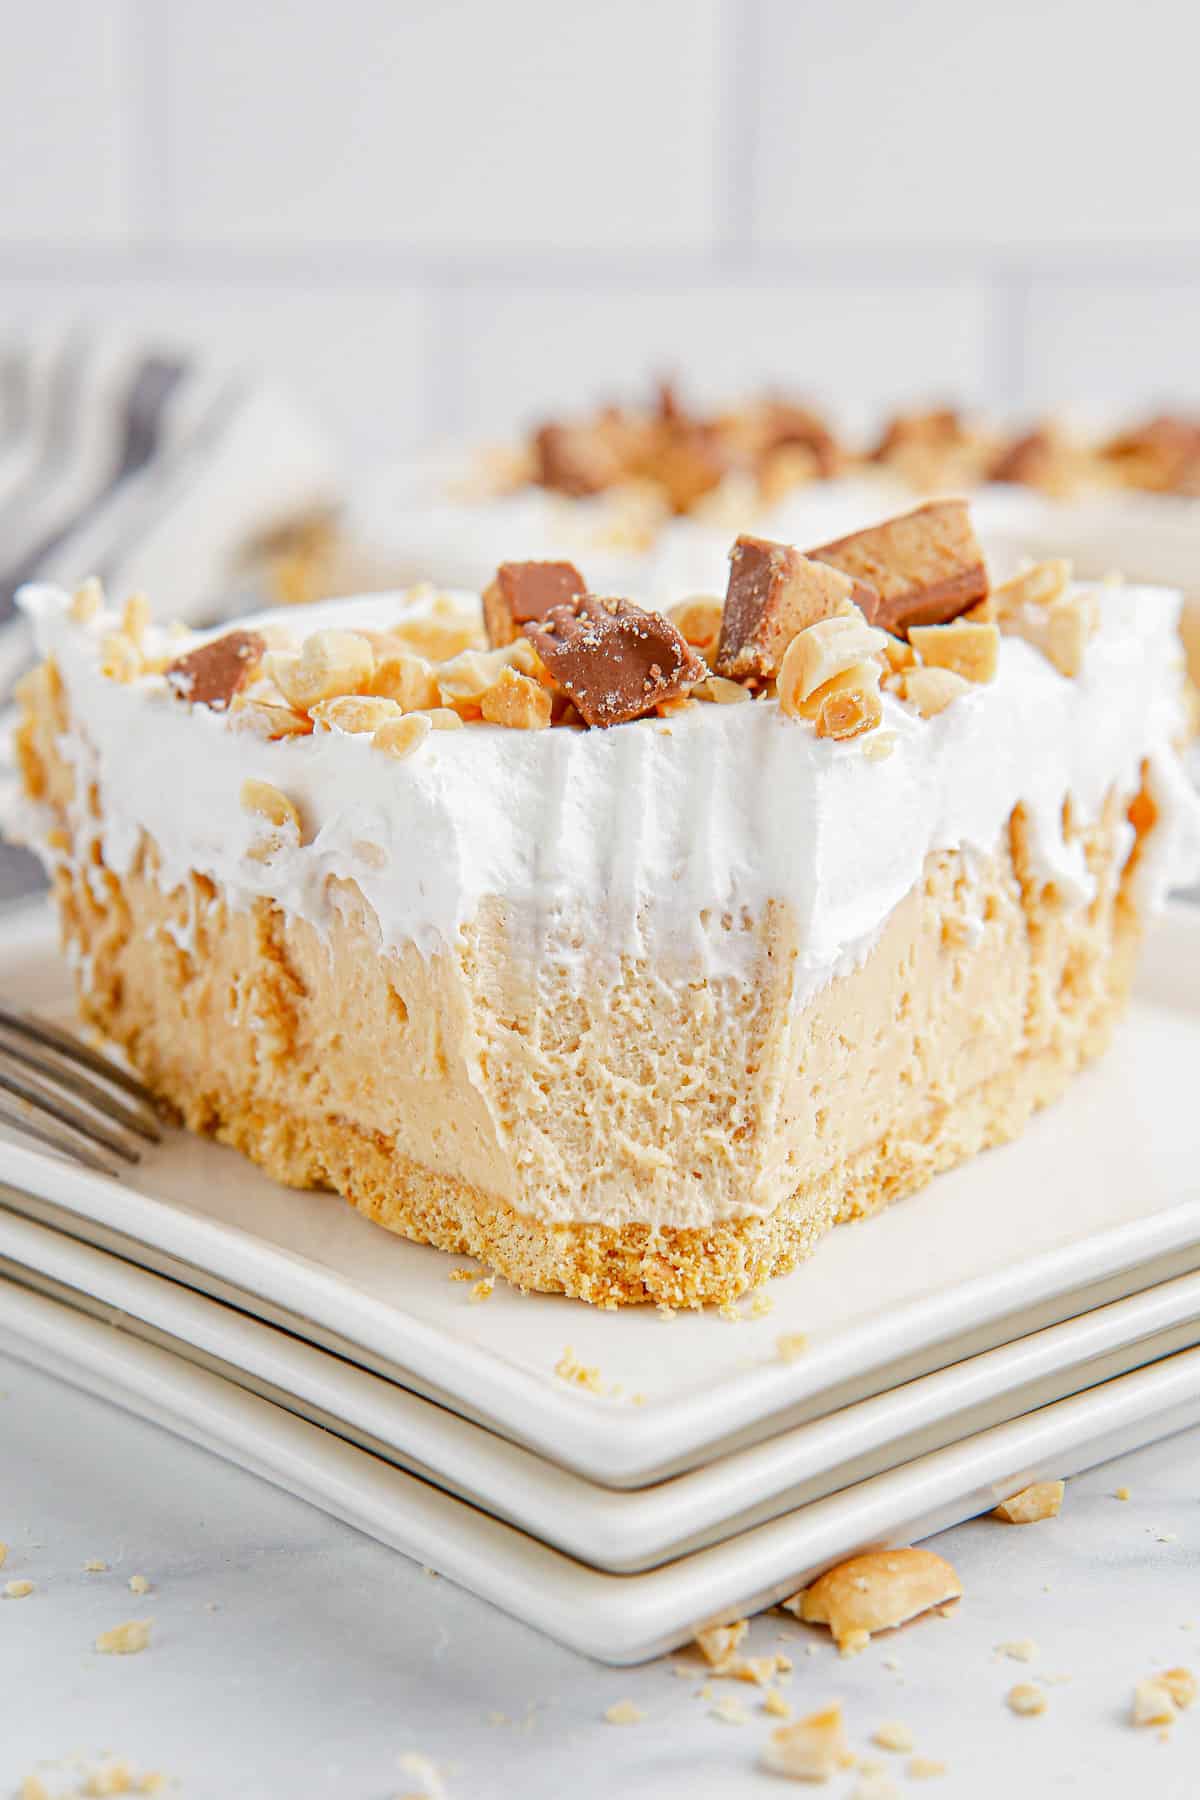
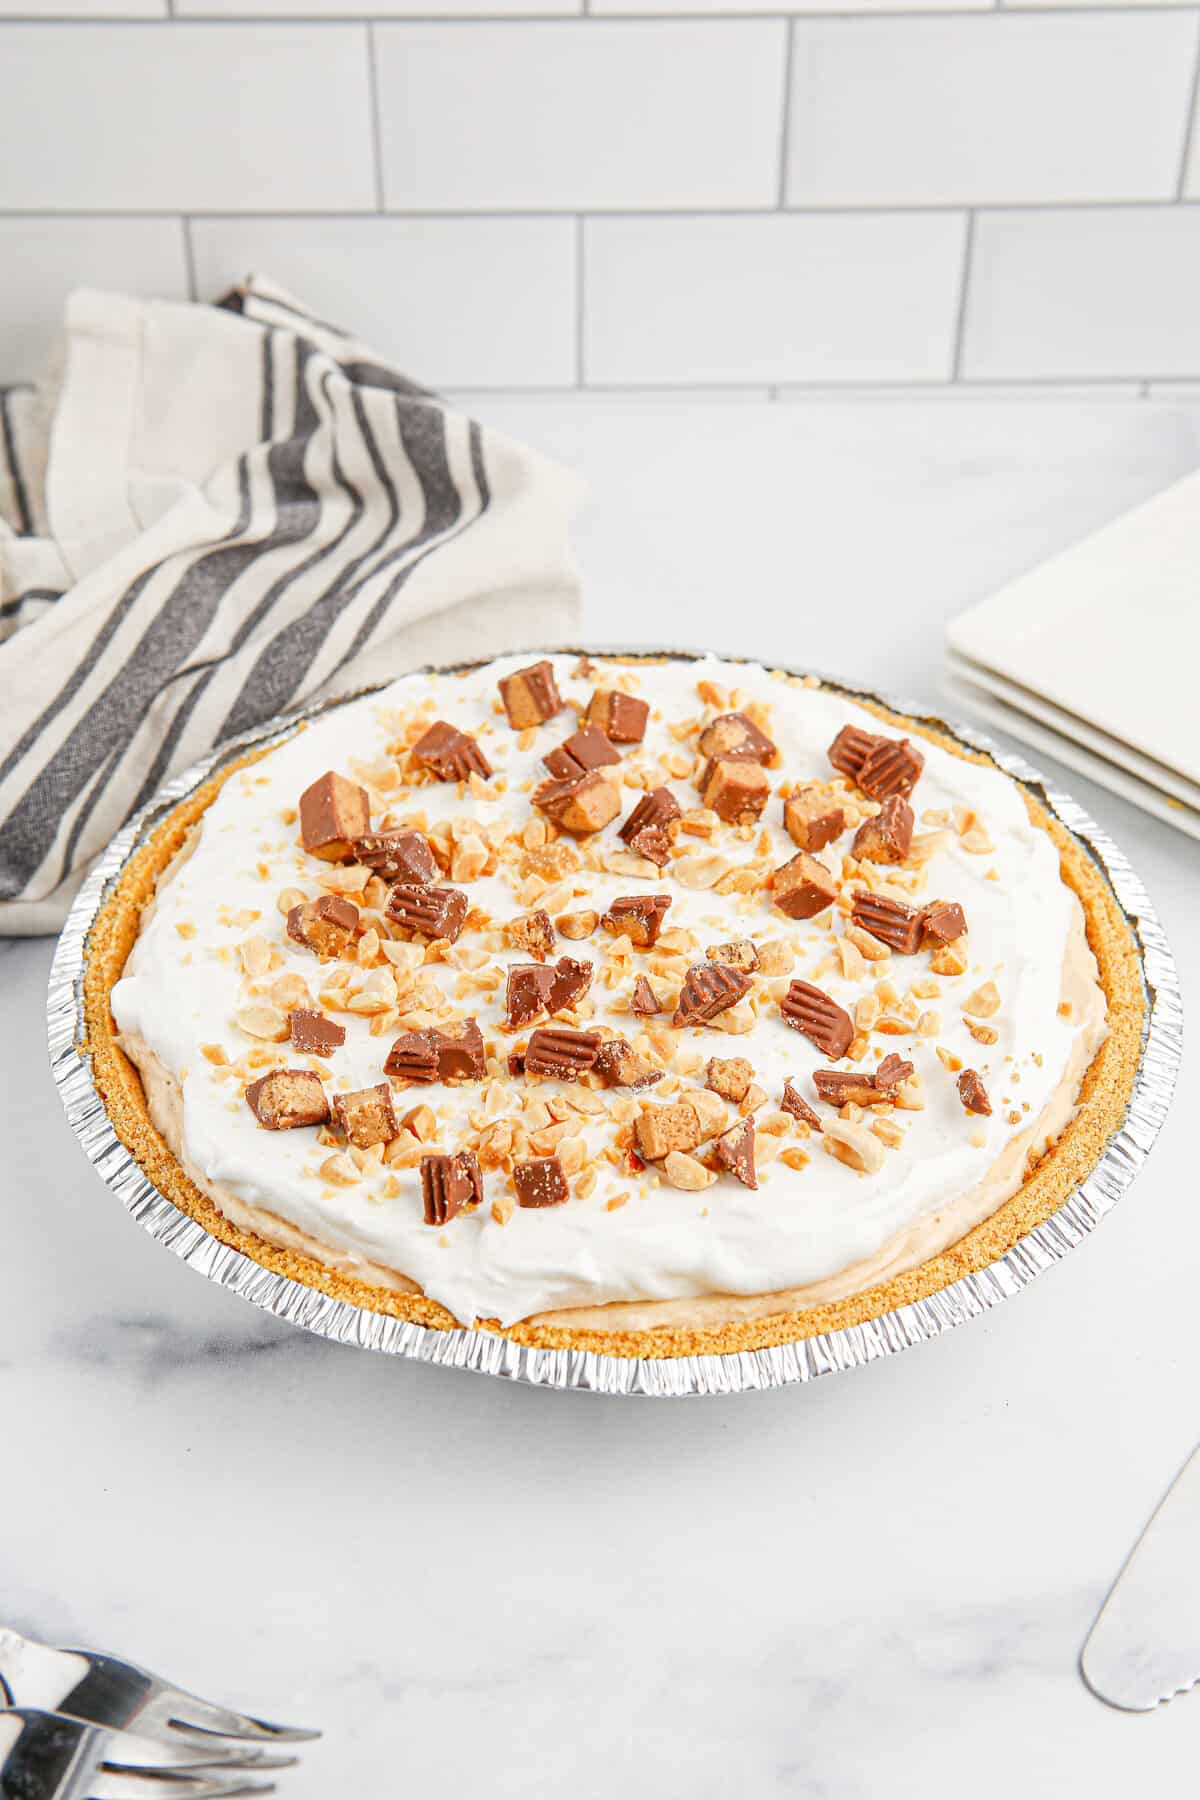
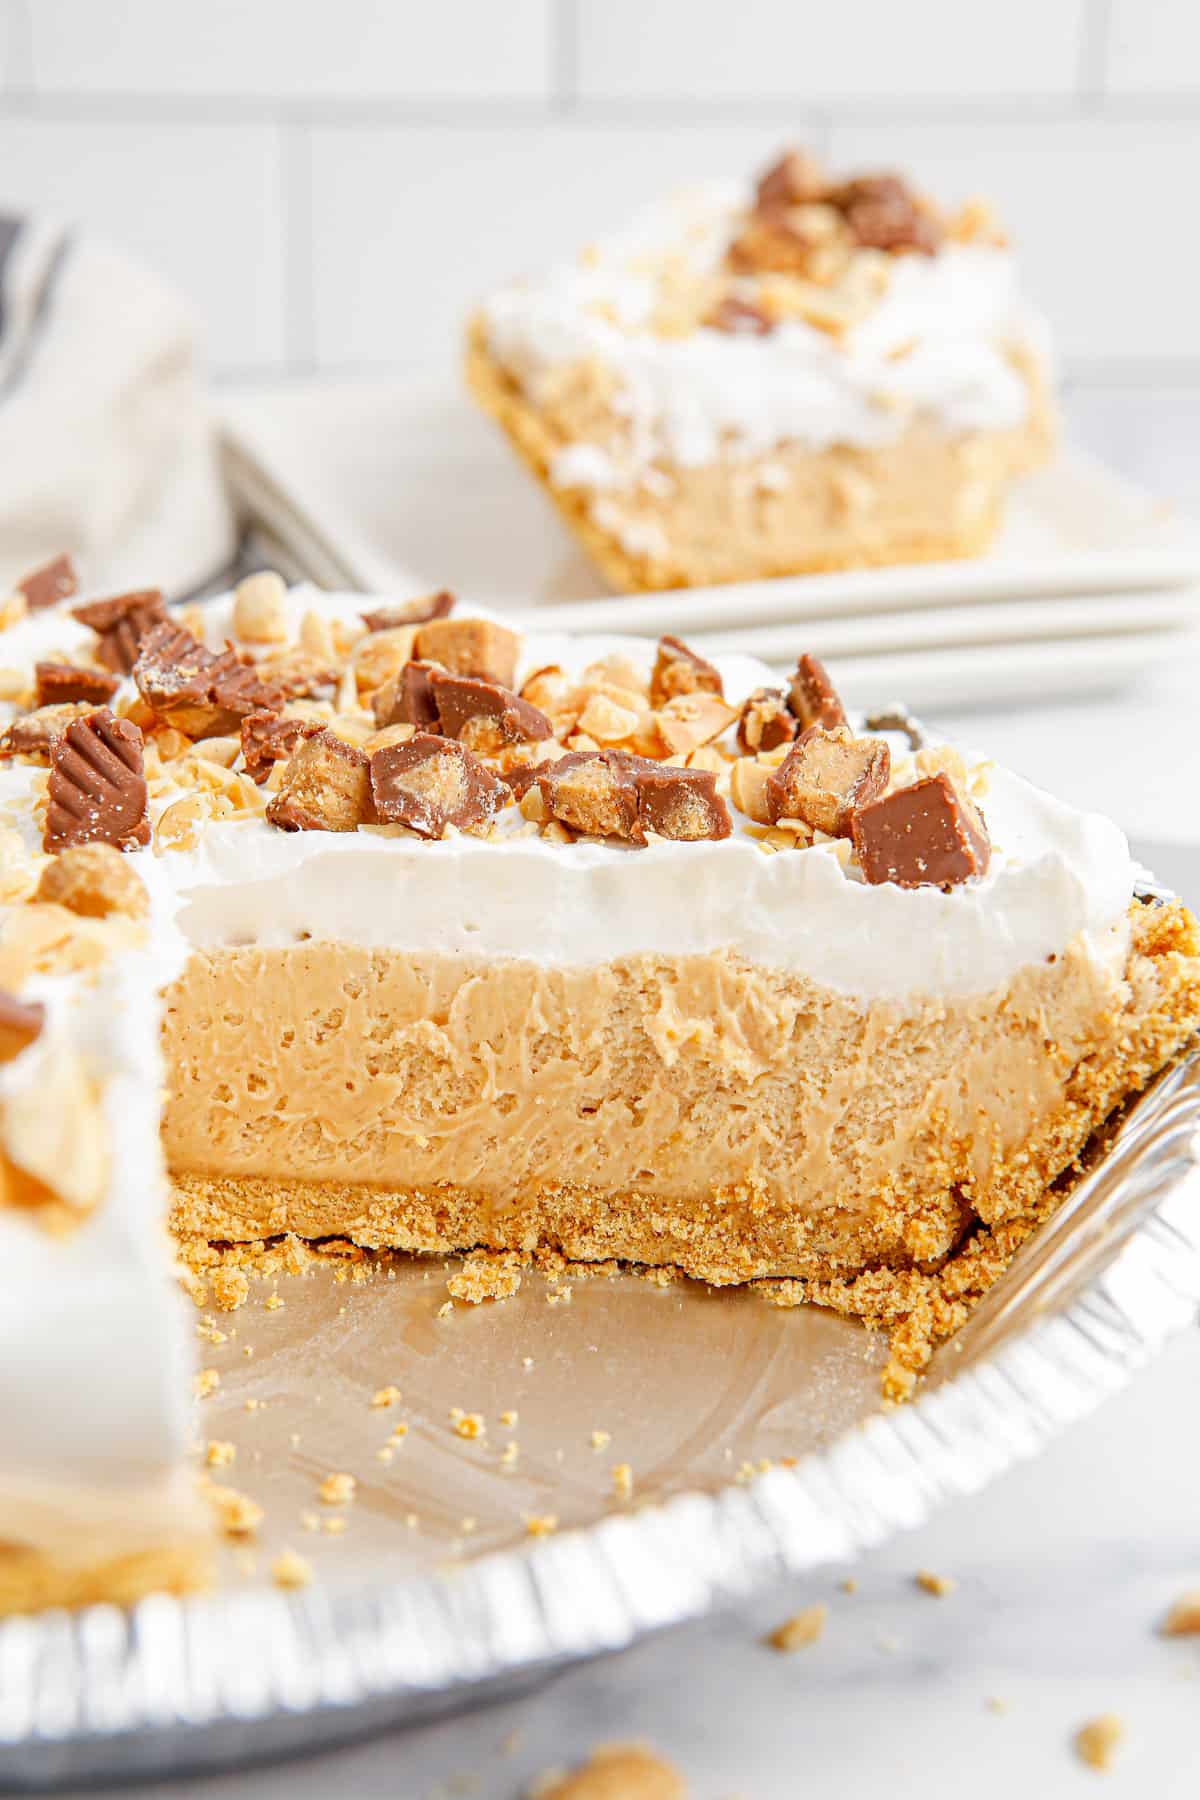
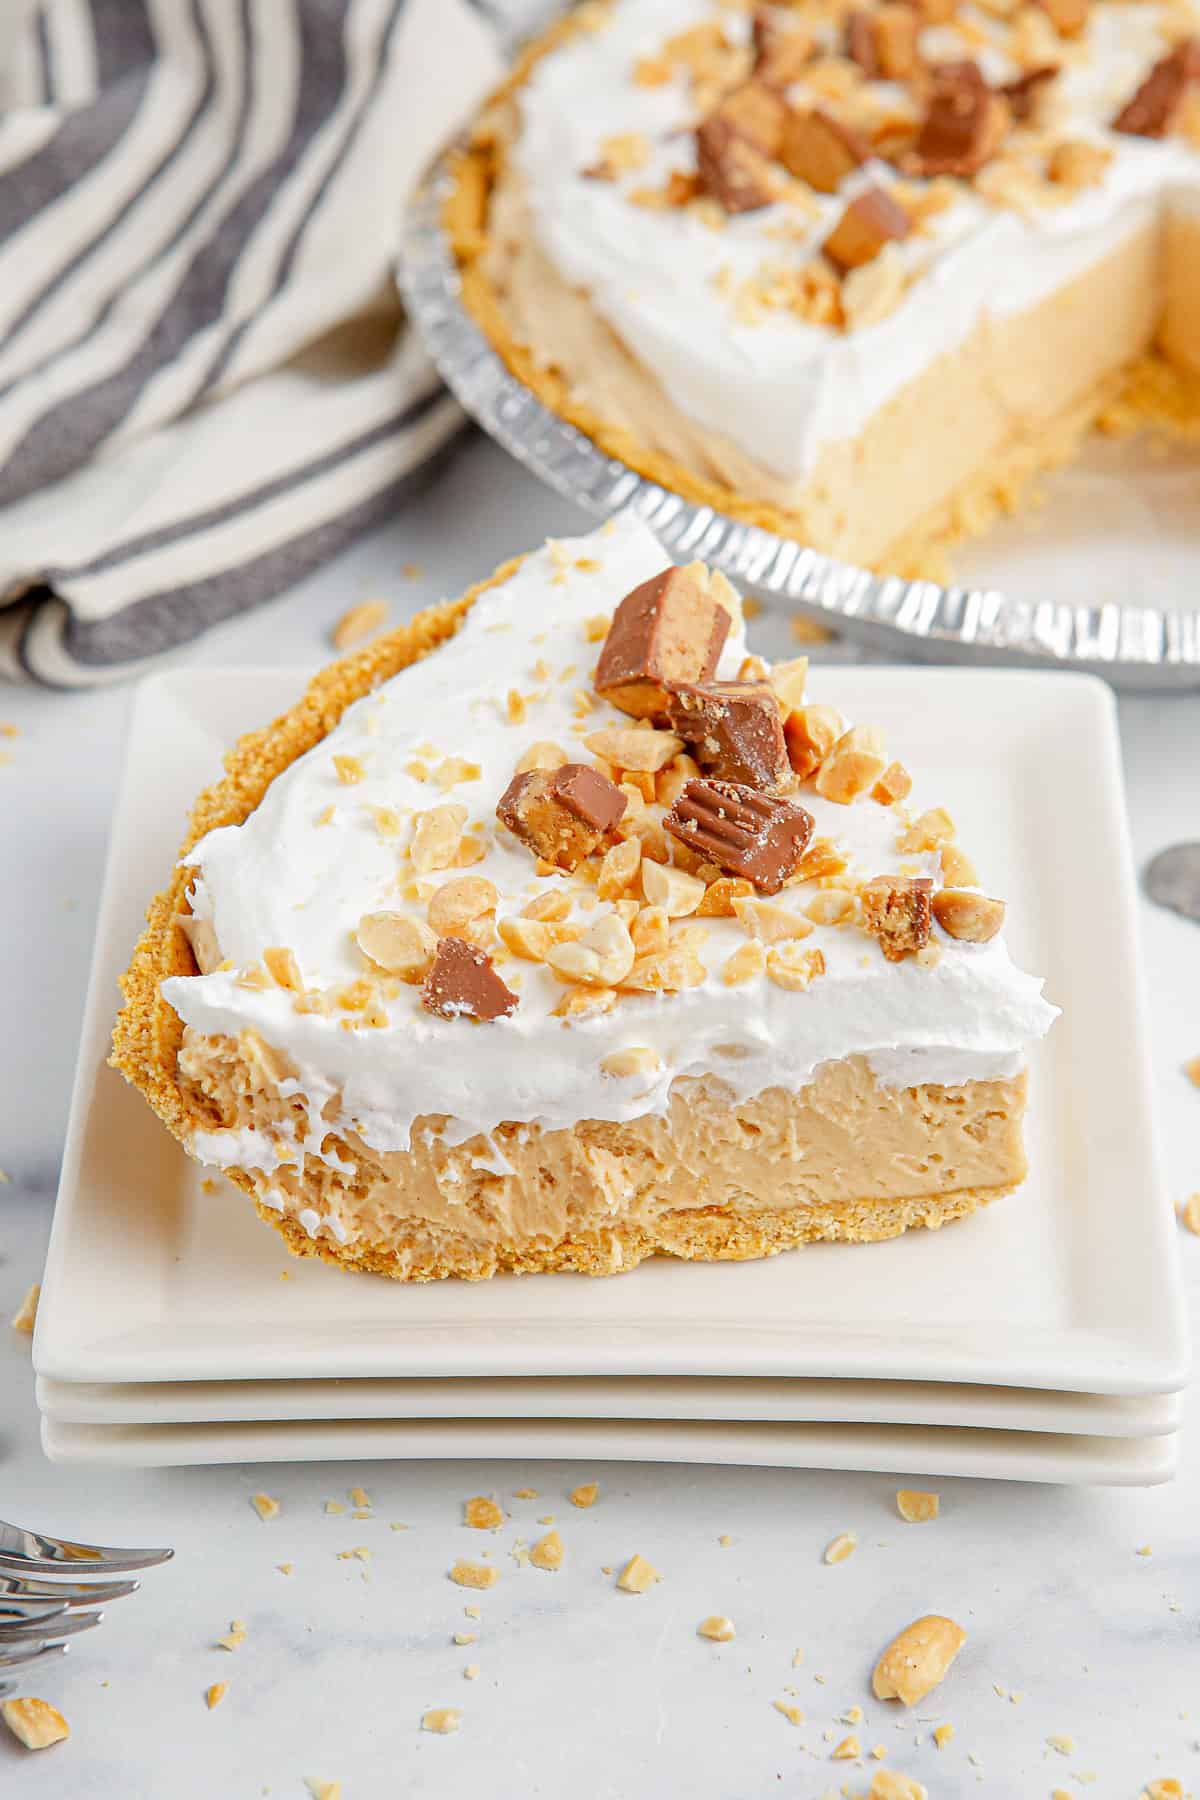
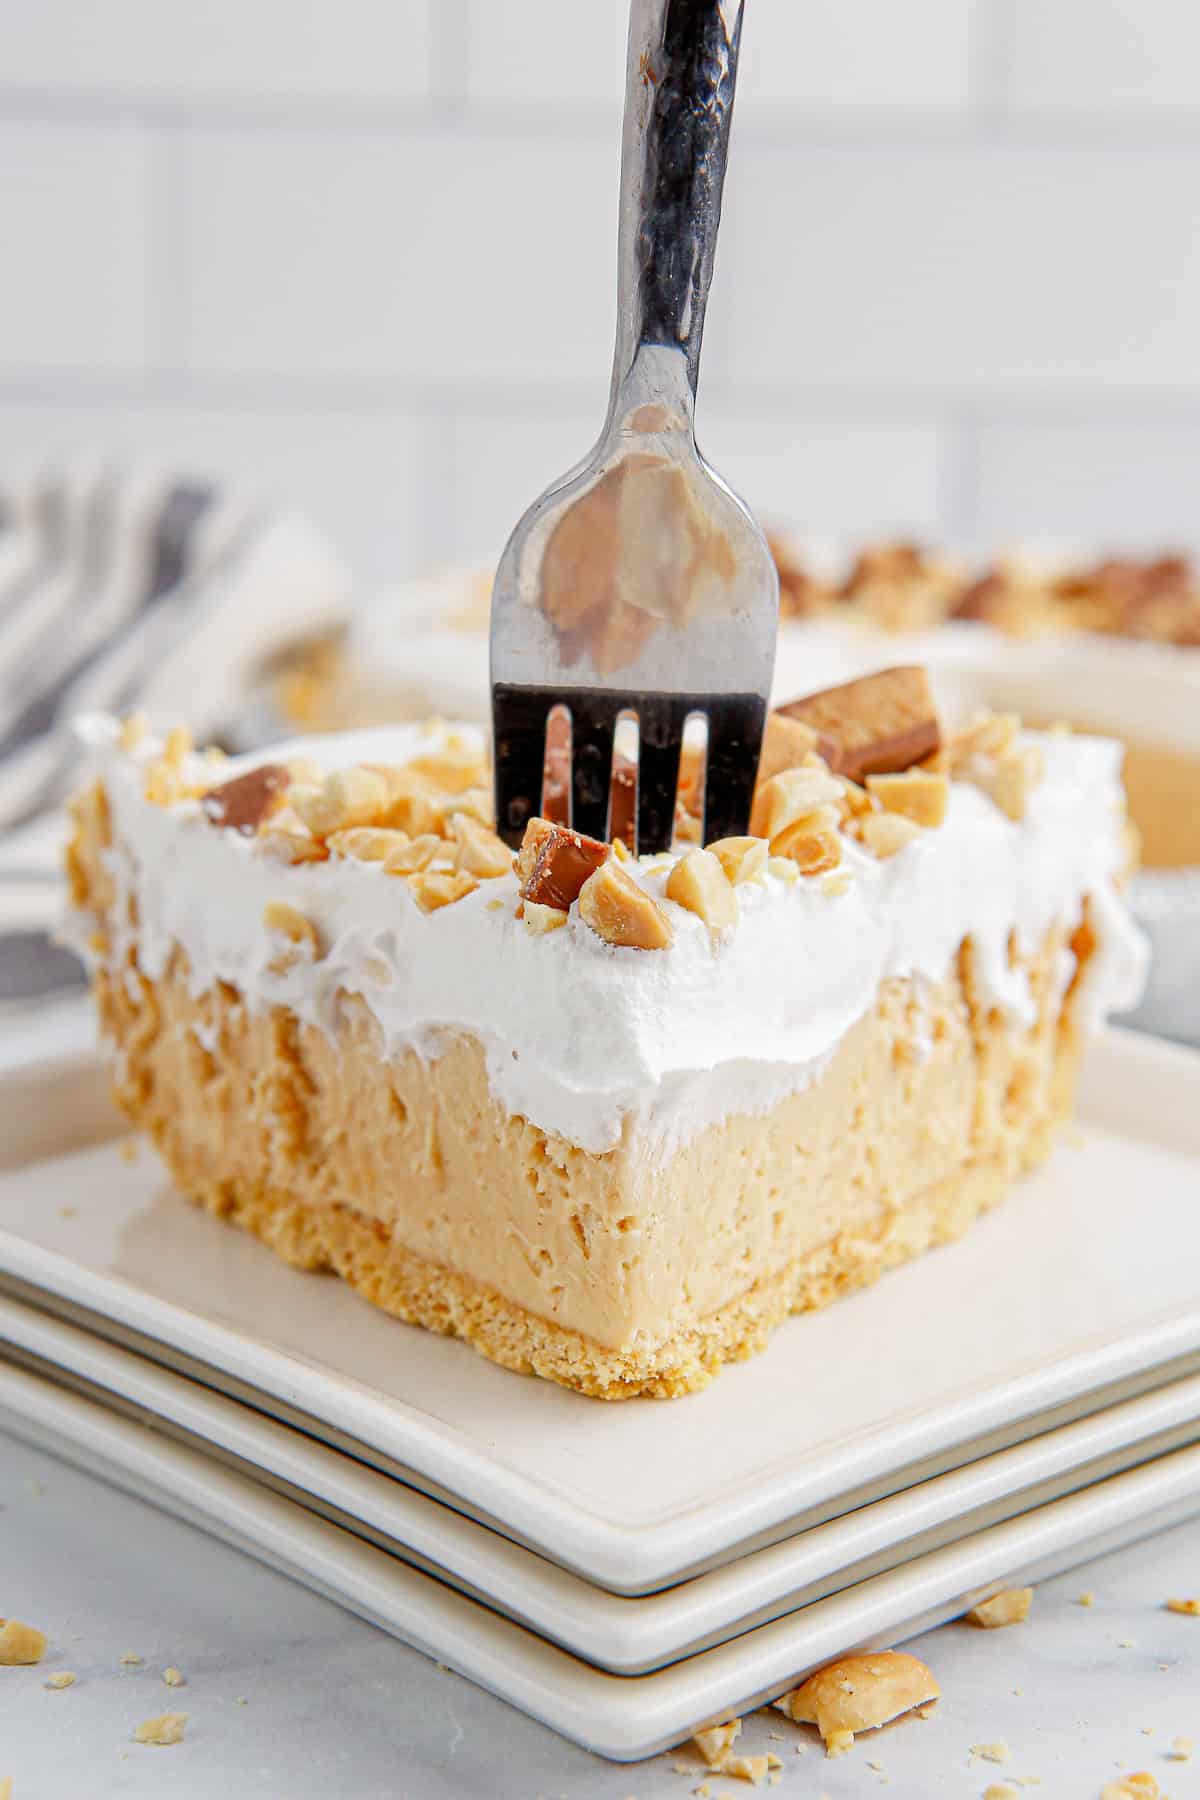
This no bake peanut butter pie is a peanut butter lover’s dream. The smooth, creamy filling made with peanut butter, cream cheese, powdered sugar, and Cool Whip is piled into a graham cracker crust and topped with more whipped topping, nuts, and pieces of peanut butter cups. Decadent, delicious, and downright easy!
Peanut butter lovers will also go crazy for my Chocolate Peanut Butter No Bake Cookies, Chocolate Peanut Butter Rice Krispie Treats, and Peanut Butter Cup Cookies.
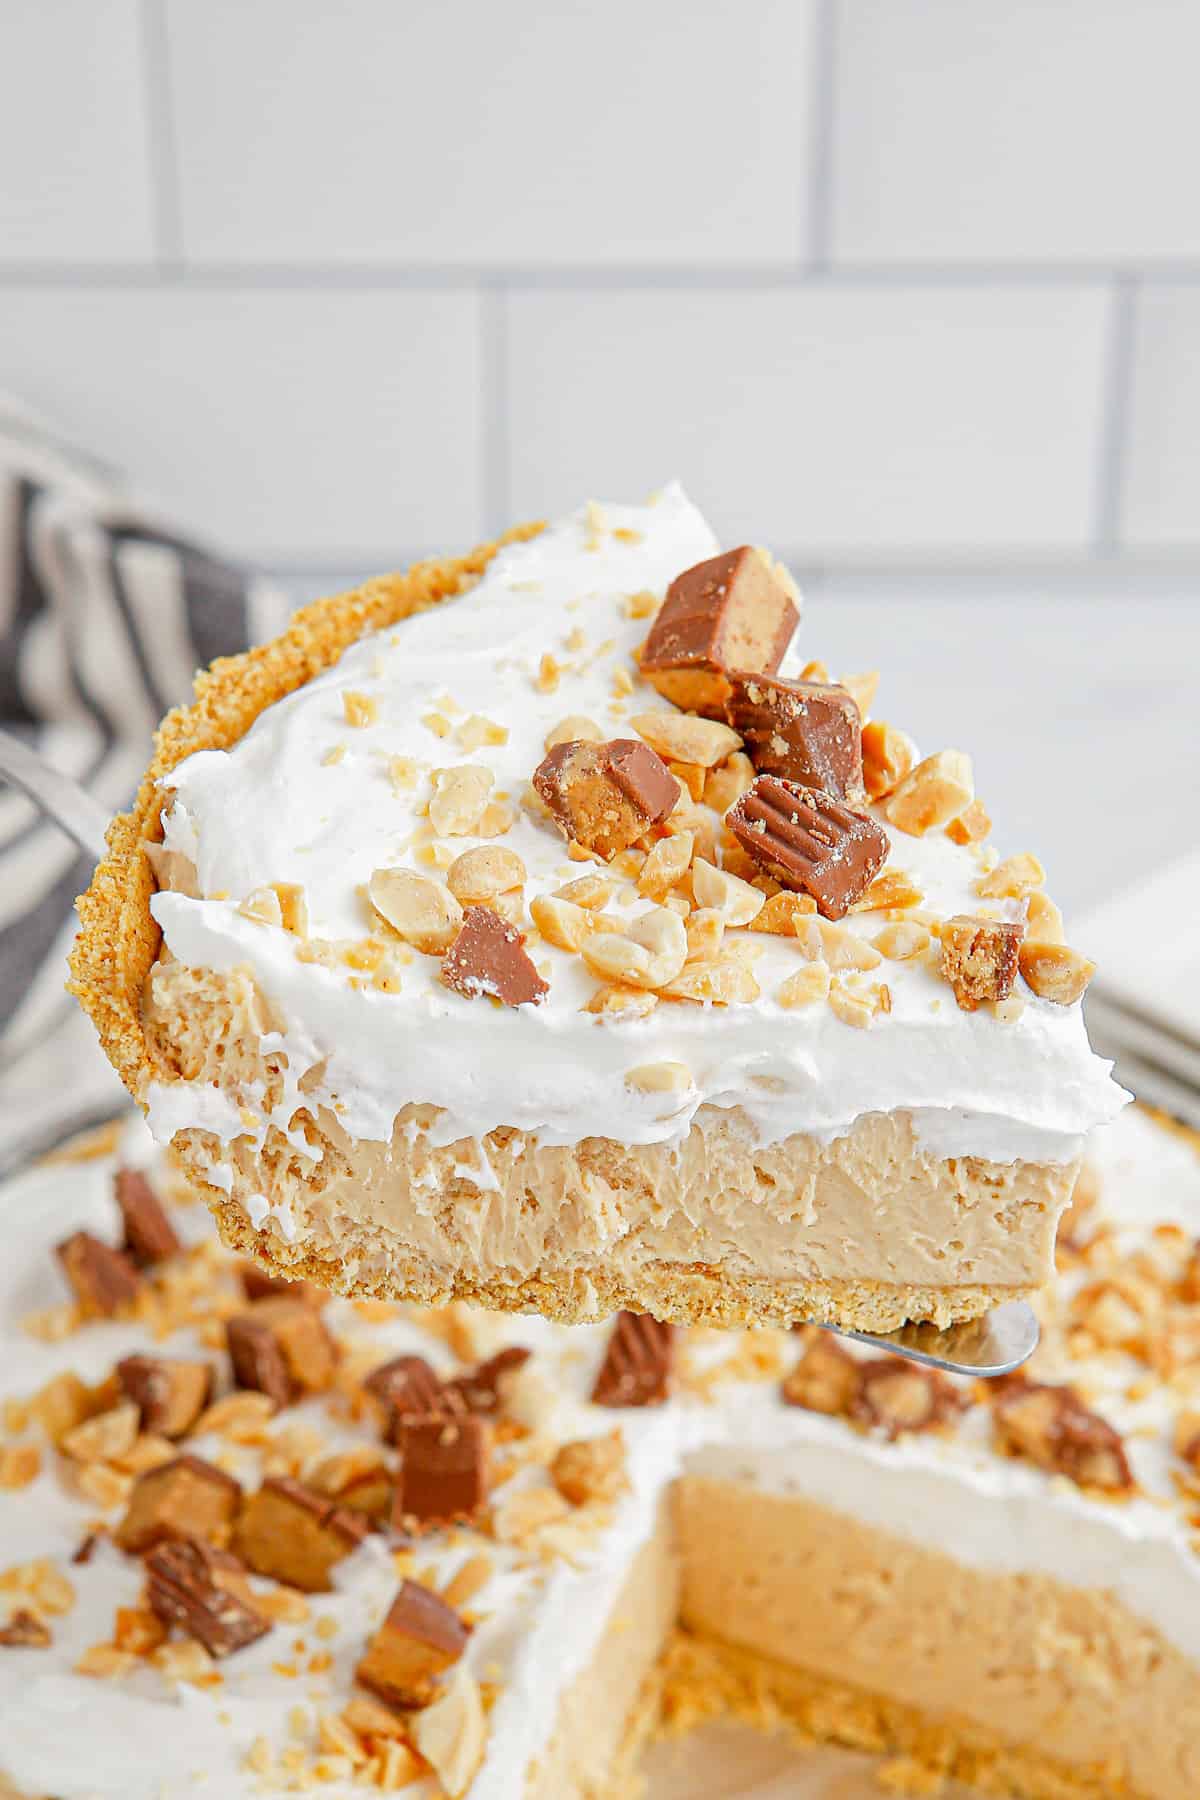
If you’re looking for an indulgent dessert that’s quick and easy to make, then look no further than this no bake peanut butter pie. With a creamy peanut butter filling in a graham cracker crust topped with whipped cream, nuts, and candy pieces, this pie is sure to satisfy your sweet tooth.
Best of all, it requires no baking, so you can whip it up in no time and have it ready to serve in just a few hours. You’ll need just 10 minutes to prepare it and about 4 hours to let it set up.
It tastes even better if it sets up overnight, so it’s the perfect make-ahead dessert for holidays and family gatherings. I know — waiting is hard — but it’ll be so worth it when you slice into that peanut buttery goodness.
Ready for the easiest, tastiest peanut butter pie you’ll ever make? Grab your ingredients and let’s get started on this delicious and indulgent treat!
Ingredients
This section includes ingredient notes and substitution options. Get all measurements, ingredients, and instructions in the printable recipe card at the end of this post.
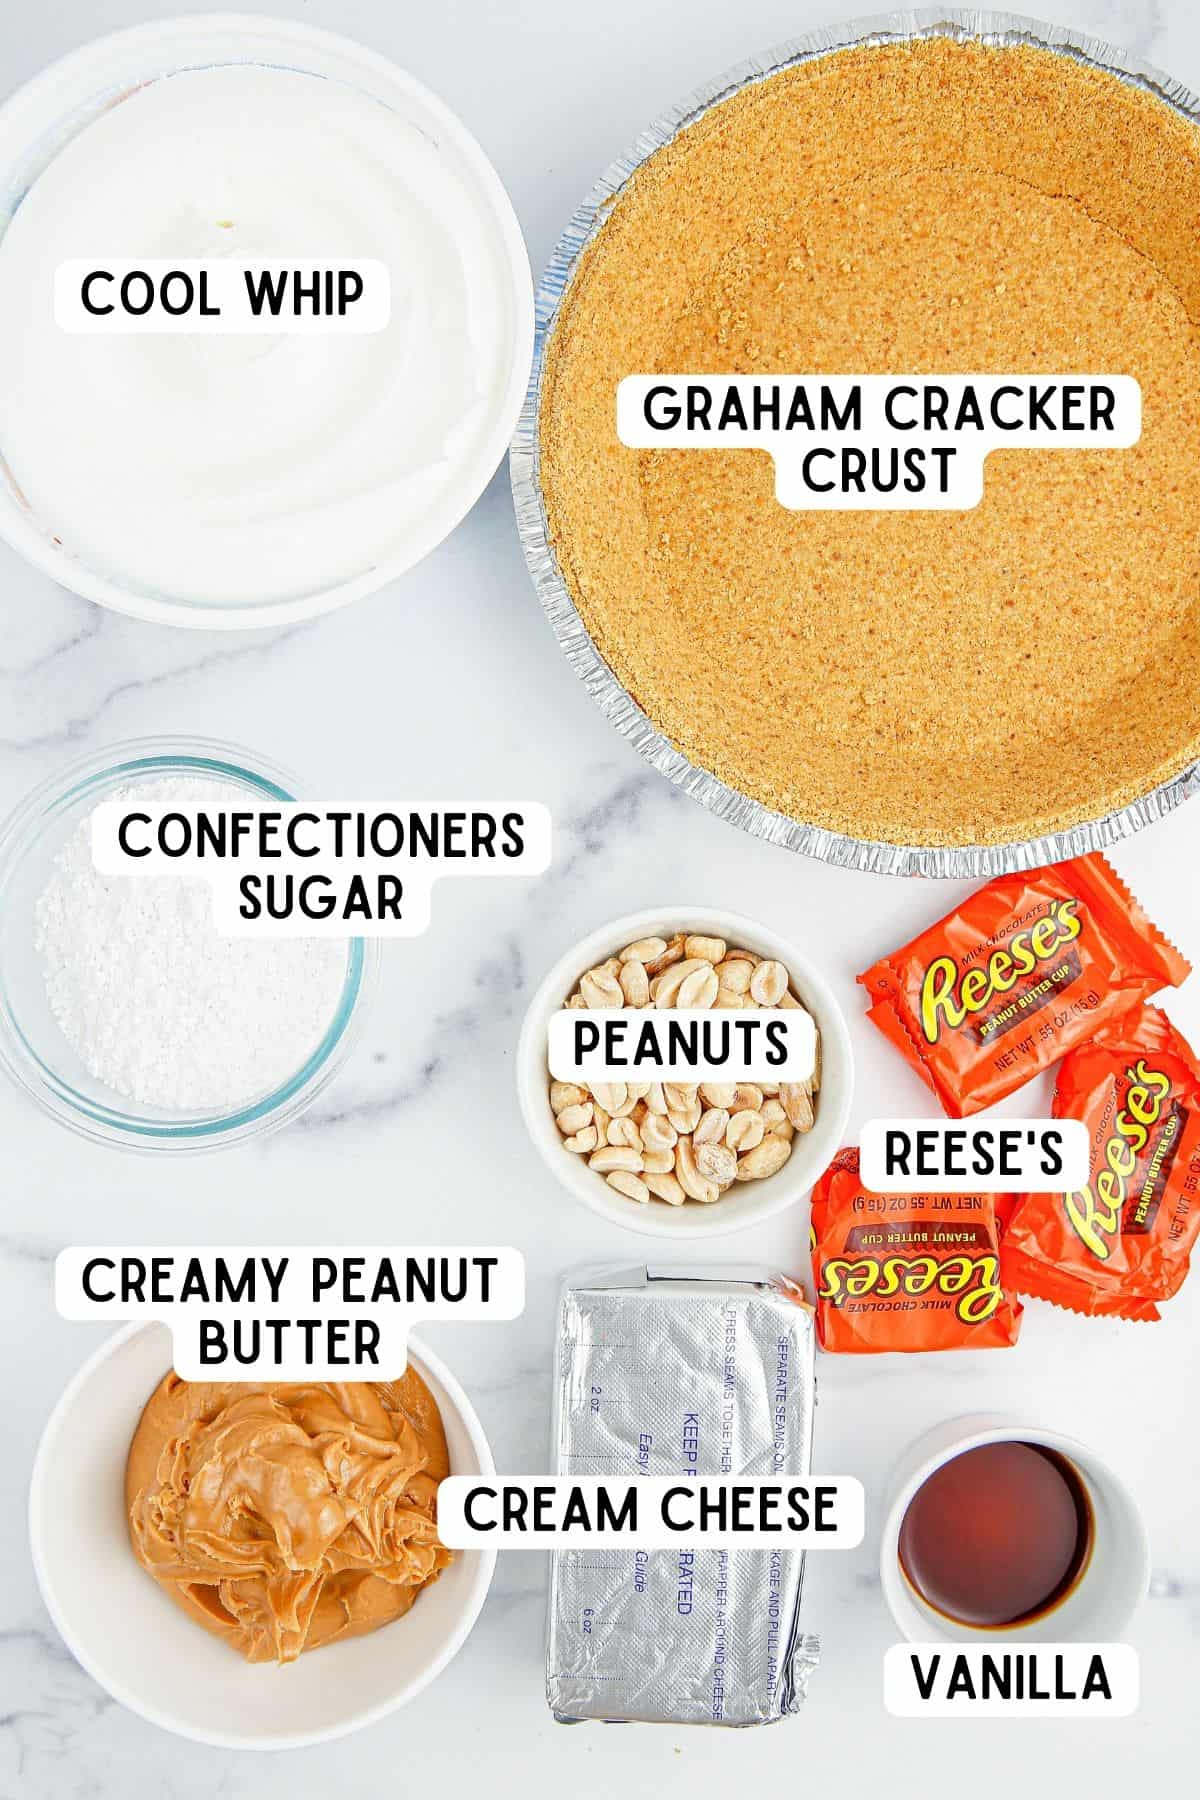
- Graham Cracker Crust — I use a 9-inch pre-made crust to save time in the kitchen, but you can opt for a homemade crust if you have the extra time. An Oreo cookie crust is delish in this recipe, too.
- Cream Cheese — Make sure it’s softened to room temperature. It’s easier to mix the ingredients when it’s soft and makes for a creamier pie.
- Peanut Butter — Use creamy peanut butter to create the ultimate creamy, dreamy peanut butter cheesecake mixture when you combine it with the cream cheese. I don’t recommend natural peanut butter since it’s harder to mix in and the oil may separate.
- Confectioners’ Sugar — This adds sweetness to the pie filling. Powdered sugar blends better with the other ingredients. While some peanut butter pie recipes call for granulated sugar, you sometimes end up with a grainy texture.
- Vanilla — Pure vanilla extract gives the pie a little flavor boost.
- Whipped Topping — Cool Whip or store brand whipped topping can be used. Thaw the Cool Whip in the refrigerator before making your no-bake pie. You’ll combine it with the peanut butter and cream cheese mixture to make the pie filling light and fluffy.
- Reese’s Peanut Butter Cups — Who doesn’t love the magical pairing of chocolate and peanut butter? Chop a few of these peanut butter cups to sprinkle over the opt of your pie.
- Peanuts — Top the pie with some chopped peanuts for a little bit of crunch in every bite. You can leave them off, if you prefer.
Kitchen Supplies
Gather the following kitchen tools to get started on your easy peanut butter pie recipe:
- large mixing bowl
- electric mixer
- rubber spatula
- offset spatula or butter knife, for spreading
How to Make No Bake Peanut Butter Pie
This section shows you how to make the recipe with step-by-step photos and instructions. For the full printable recipe, see the recipe card below.
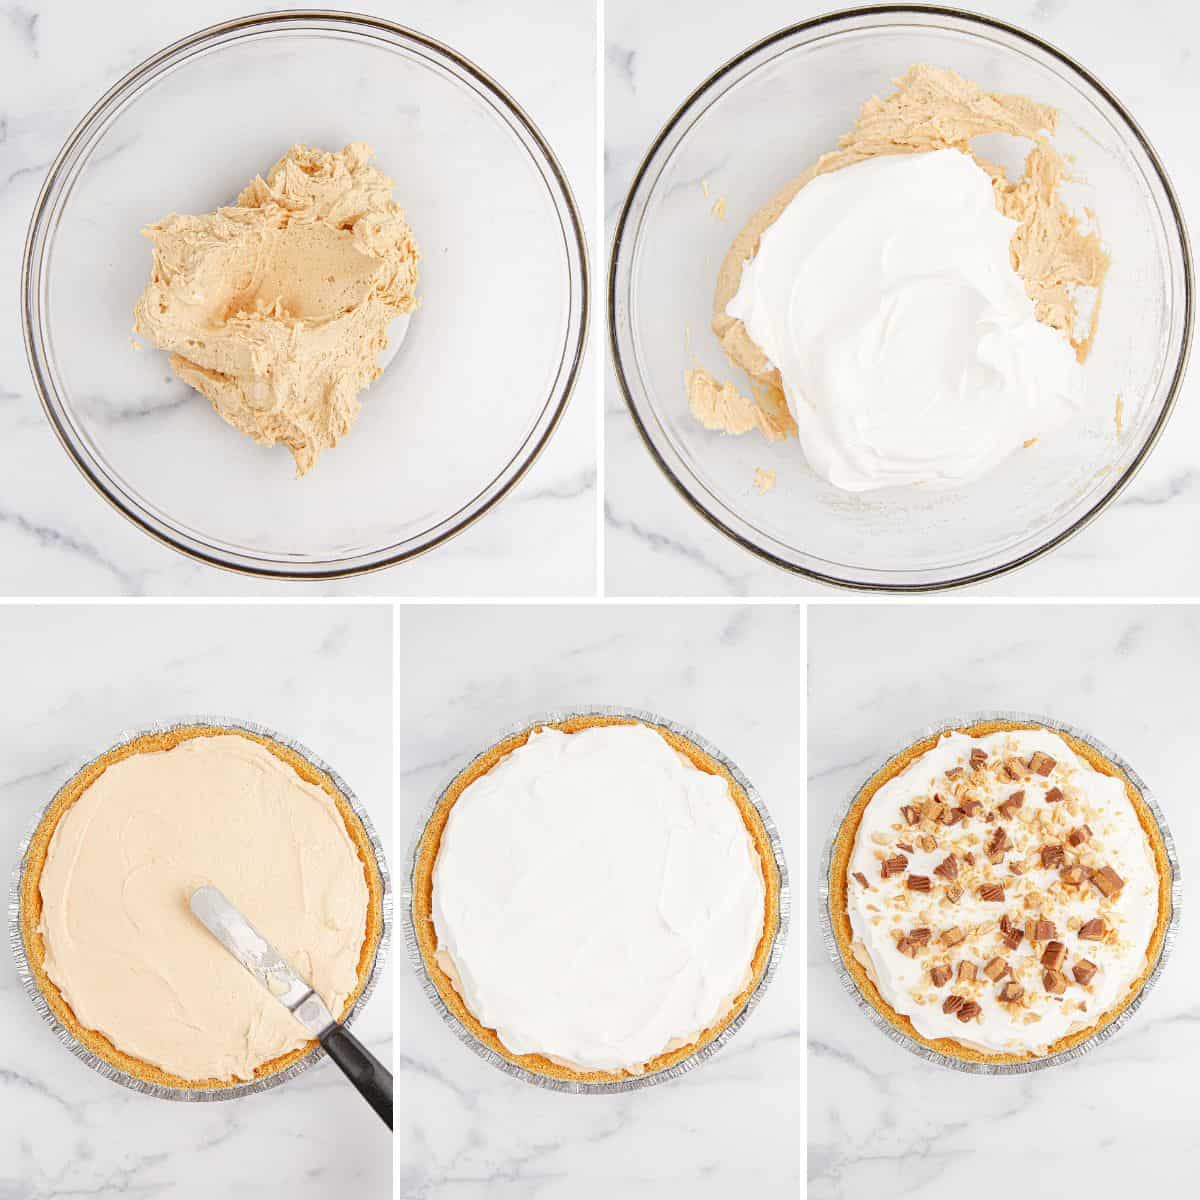
Step 1: Add the cream cheese, peanut butter, powdered sugar, and vanilla extract to a large mixing bowl. Using an electric hand mixer, beat the ingredients together until smooth.
Step 2: Gently fold in 1 1/2 cups of the whipped topping until it’s just combined.
Step 3: Pour the mixture into the crust and smooth it out on top. Spread the leftover Cool Whip over the peanut butter filling.
Step 4: Sprinkle the top with chopped peanuts and chopped Reese’s peanut butter cups.
Step 5: Refrigerate the pie for at least 2-4 hours. Overnight is even better to let it firm up before serving.
Storage and Freezing
Store this no bake peanut butter pie covered tightly with plastic wrap or in an airtight container in the refrigerator for up to 3 days.
Can you freeze no bake peanut butter pie?
Yes, you can! After the pie sets up in the fridge overnight, wrap the pie tightly with plastic wrap and then again with aluminum foil. Store in the freezer for up to 3 months.
Thaw in the refrigerator for at least 8 hours or overnight before serving or serve as a frozen pie after it has set out for at least 10 minutes.
Tips and Tricks for Easy No Bake Peanut Butter Pie
- Cut the softened cream cheese into cubes to make it easier to mix with the peanut butter and sugar.
- Love frozen pies? This is a great frozen peanut butter pie. Just let it sit for about 10 minutes before slicing into it to ensure that it’s not too hard to cut or eat.
- You can omit the vanilla if you don’t have any on hand. It’ll taste great without it, but the vanilla adds depth of flavor to the peanut butter mixture.
- You may have some leftover peanut butter pie filling after making your pie. It’s delicious slathered on graham crackers or as a dip for vanilla wafers.
Additions and Variations
Use a chocolate crust. For more of that classic chocolate-peanut butter flavor, use an Oreo cookie pie crust instead of the graham cracker crust like I do in this Oreo Peanut Butter Pie recipe.
Drizzle with chocolate sauce. It’ll look beautiful and taste amazing with a drizzle of chocolate sauce or chocolate syrup on top.
Coat the crust in magic shell. Add some Magic Shell (an ice cream topping) to the graham cracker crust, spreading it out evenly. Place the crust in the fridge while you prepare the pie filling. It’ll set up on the crust just like it does on ice cream, adding a firm layer of chocolate in the bottom. Yum!
Add a peanut butter drizzle. Melt a couple of tablespoons of peanut butter in a microwave-safe bowl in 15-30 second increments, stirring between each interval until it’s totally melted. Drizzle over the top of the pie for an extra oomph of peanut butter flavor.
Top with peanut butter and chocolate chips. Instead of the chopped peanut butter cups in this no bake peanut butter pie recipe, try Reese’s peanut butter chips and chocolate chips sprinkled over the top.
Recipe FAQ for No-Bake Reese’s Peanut Butter Pie
This easy no-bake version of peanut butter pie is made with creamy peanut butter, cream cheese, powdered sugar, vanilla, whipped topping, crushed peanuts, Reese cups, and a pre-made graham cracker crust.
No-bake peanut butter pie is good for about 3 days in the fridge. If you plan on storing the pie longer, freeze it instead.
I recommend using store-bought whipped topping instead of whipped cream, which will give your pie a light and fluffy texture for days. Homemade whipped cream can be used but it won’t hold up as well as it typically deflates rather quickly.
More Easy No-Bake Desserts
Who says you need an oven to make a delicious dessert? Try one of these easy and tasty no-bake dessert recipes the next time your sweet tooth needs a fix.
- No-Bake Strawberry Jello Pie – the perfect summertime dessert.
- Easy Banana Pudding Pie – try it instead of banana pudding for a potluck or holiday gathering.
- Lemon Lush – bright, lemony flavor that’s perfect for spring.
- No-Bake Éclair Cake – creamy and decadent for when you really want to indulge!
- Kool Aid Pie (Vintage Recipe!) – Easy, no-bake 4-ingredient dessert!
- Or for even more great no-bake desserts try one of these 11 easy dessert salad recipes.

No-Bake Peanut Butter Pie
Ingredients
- 8 ounces cream cheese softened to room temperature
- 1 cup creamy peanut butter
- ¾ cup confectioners sugar
- 1 teaspoon vanilla extract
- 8 ounces whipped topping such as Cool Whip, thawed and divided
- 1 pre-made graham cracker pie crust
- 2-3 Reese’s peanut butter cups chopped
- ½ cup crushed peanuts optional topping
Instructions
- In a large bowl with an electric or hand mixer, beat together the cream cheese, peanut butter, powdered sugar and vanilla extract until smooth.
- Gently fold in half (about 1 ½ cups) of the whipped topping until just combined.
- Pour the mixture into your prepared pie crust and smooth out the top with a spatula or frosting knife. Spread the leftover whipped topping across the top of the peanut butter filling.
- Sprinkle the chopped Reese's peanut butter cups and peanuts over the top of the pie.
- Refrigerate for 2-4 hours, or overnight before serving to firm up. Slice and serve, enjoy!
Notes
Nutrition

Did You Make This Recipe?
Share it with me on Instagram @crayonsandcravings and follow on Pinterest @crayonsandcravings for even more!


Delicious
When you put pie in refrigerator for setup, do you cover pie in plastic wrap or not?
I cover it with the plastic lid that comes with the graham cracker crust.